

How to Build a Balloon Rocket on a String for Kids
What Is a Balloon Rocket on a String?
A balloon rocket on a string is a hands-on physics experiment where an inflated balloon zips along a stretched string, powered only by the air escaping from inside. It's one of those rare activities that feels like pure play while sneaking in some real science learning.
The good news? You likely have what you need sitting around your house right now.
At a Glance:
- Recommended Age Range: 4–6 years old for skill level (with adult help); kids ages 3–8 tend to enjoy watching and participating. Some sources suggest ages 5–9 can handle more independent setup.
- Time to Complete: About 15–20 minutes from start to first launch
- Budget: $0–$5, depending on what you have at home
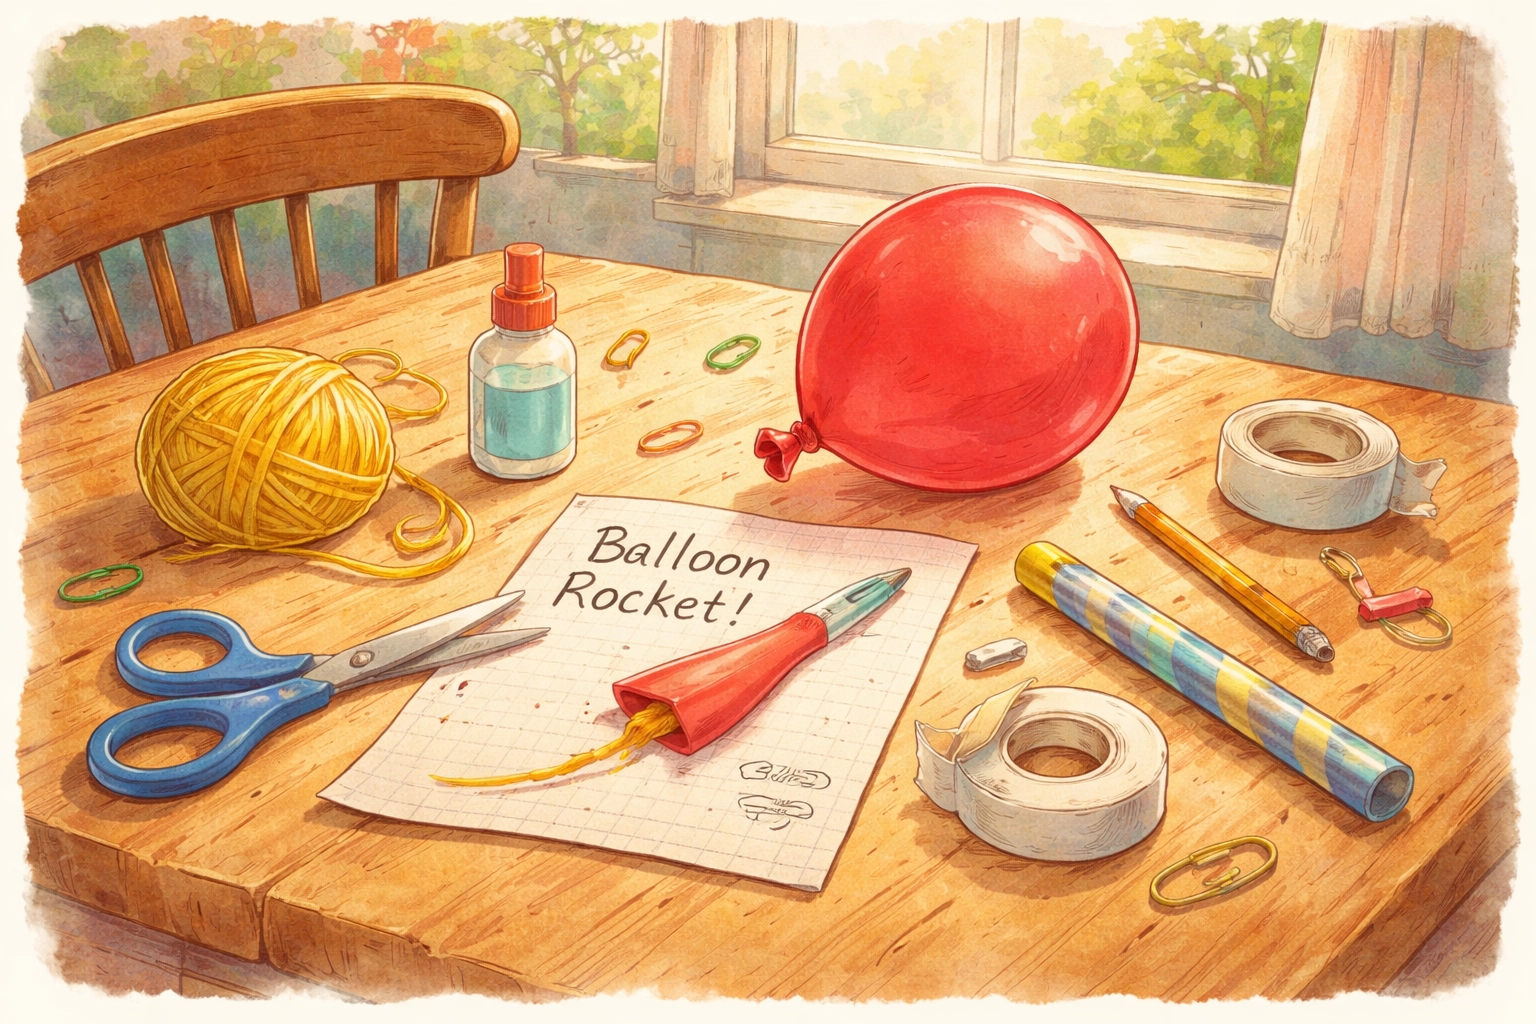
What You'll Need: Materials and Estimated Costs
One of the best parts of this project is that you can pull it off with items from your junk drawer or recycling bin. Here's a breakdown of what to gather:
| Material | What It's For | Estimated Cost |
|---|---|---|
| Balloon (1 or more) | The "rocket" engine | $0–$2 (often found in party supply stashes) |
| String or yarn (10–15 feet) | The track for your rocket | $0–$1 (use what you have) |
| Plastic drinking straw (1) | Guides the balloon along the string | $0 (from your kitchen drawer) |
| Tape (masking or clear) | Attaches balloon to straw | $0–$1 |
| Scissors | Cutting string and straw | $0 (household item) |
| Two chairs, door handles, or sturdy objects | Anchor points for the string | $0 |
Total Estimated Cost: $0–$5
If you need to buy a small pack of balloons and a roll of string, you might spend a few dollars. But if you have leftovers from a birthday party or a ball of yarn in a craft bin, this project can cost nothing at all.
Step-by-Step Instructions
Step 1: Set Up Your Launch Track
Find two sturdy anchor points in your room: two chairs work well, or you can tie one end to a door handle and the other to a stair railing. The farther apart they are, the more dramatic the launch.
Cut a piece of string or yarn about 10–15 feet long. Tie one end securely to your first anchor point.
Step 2: Thread the Straw
Before tying off the other end, slide your plastic straw onto the string. You can use the full straw or cut it in half: either tends to work fine. The straw will act as a guide, keeping your balloon moving in a straight line.
Once the straw is on, pull the string tight and tie it to your second anchor point. The string should be taut with no sag in the middle. A loose string can slow down or stop your rocket mid-flight.
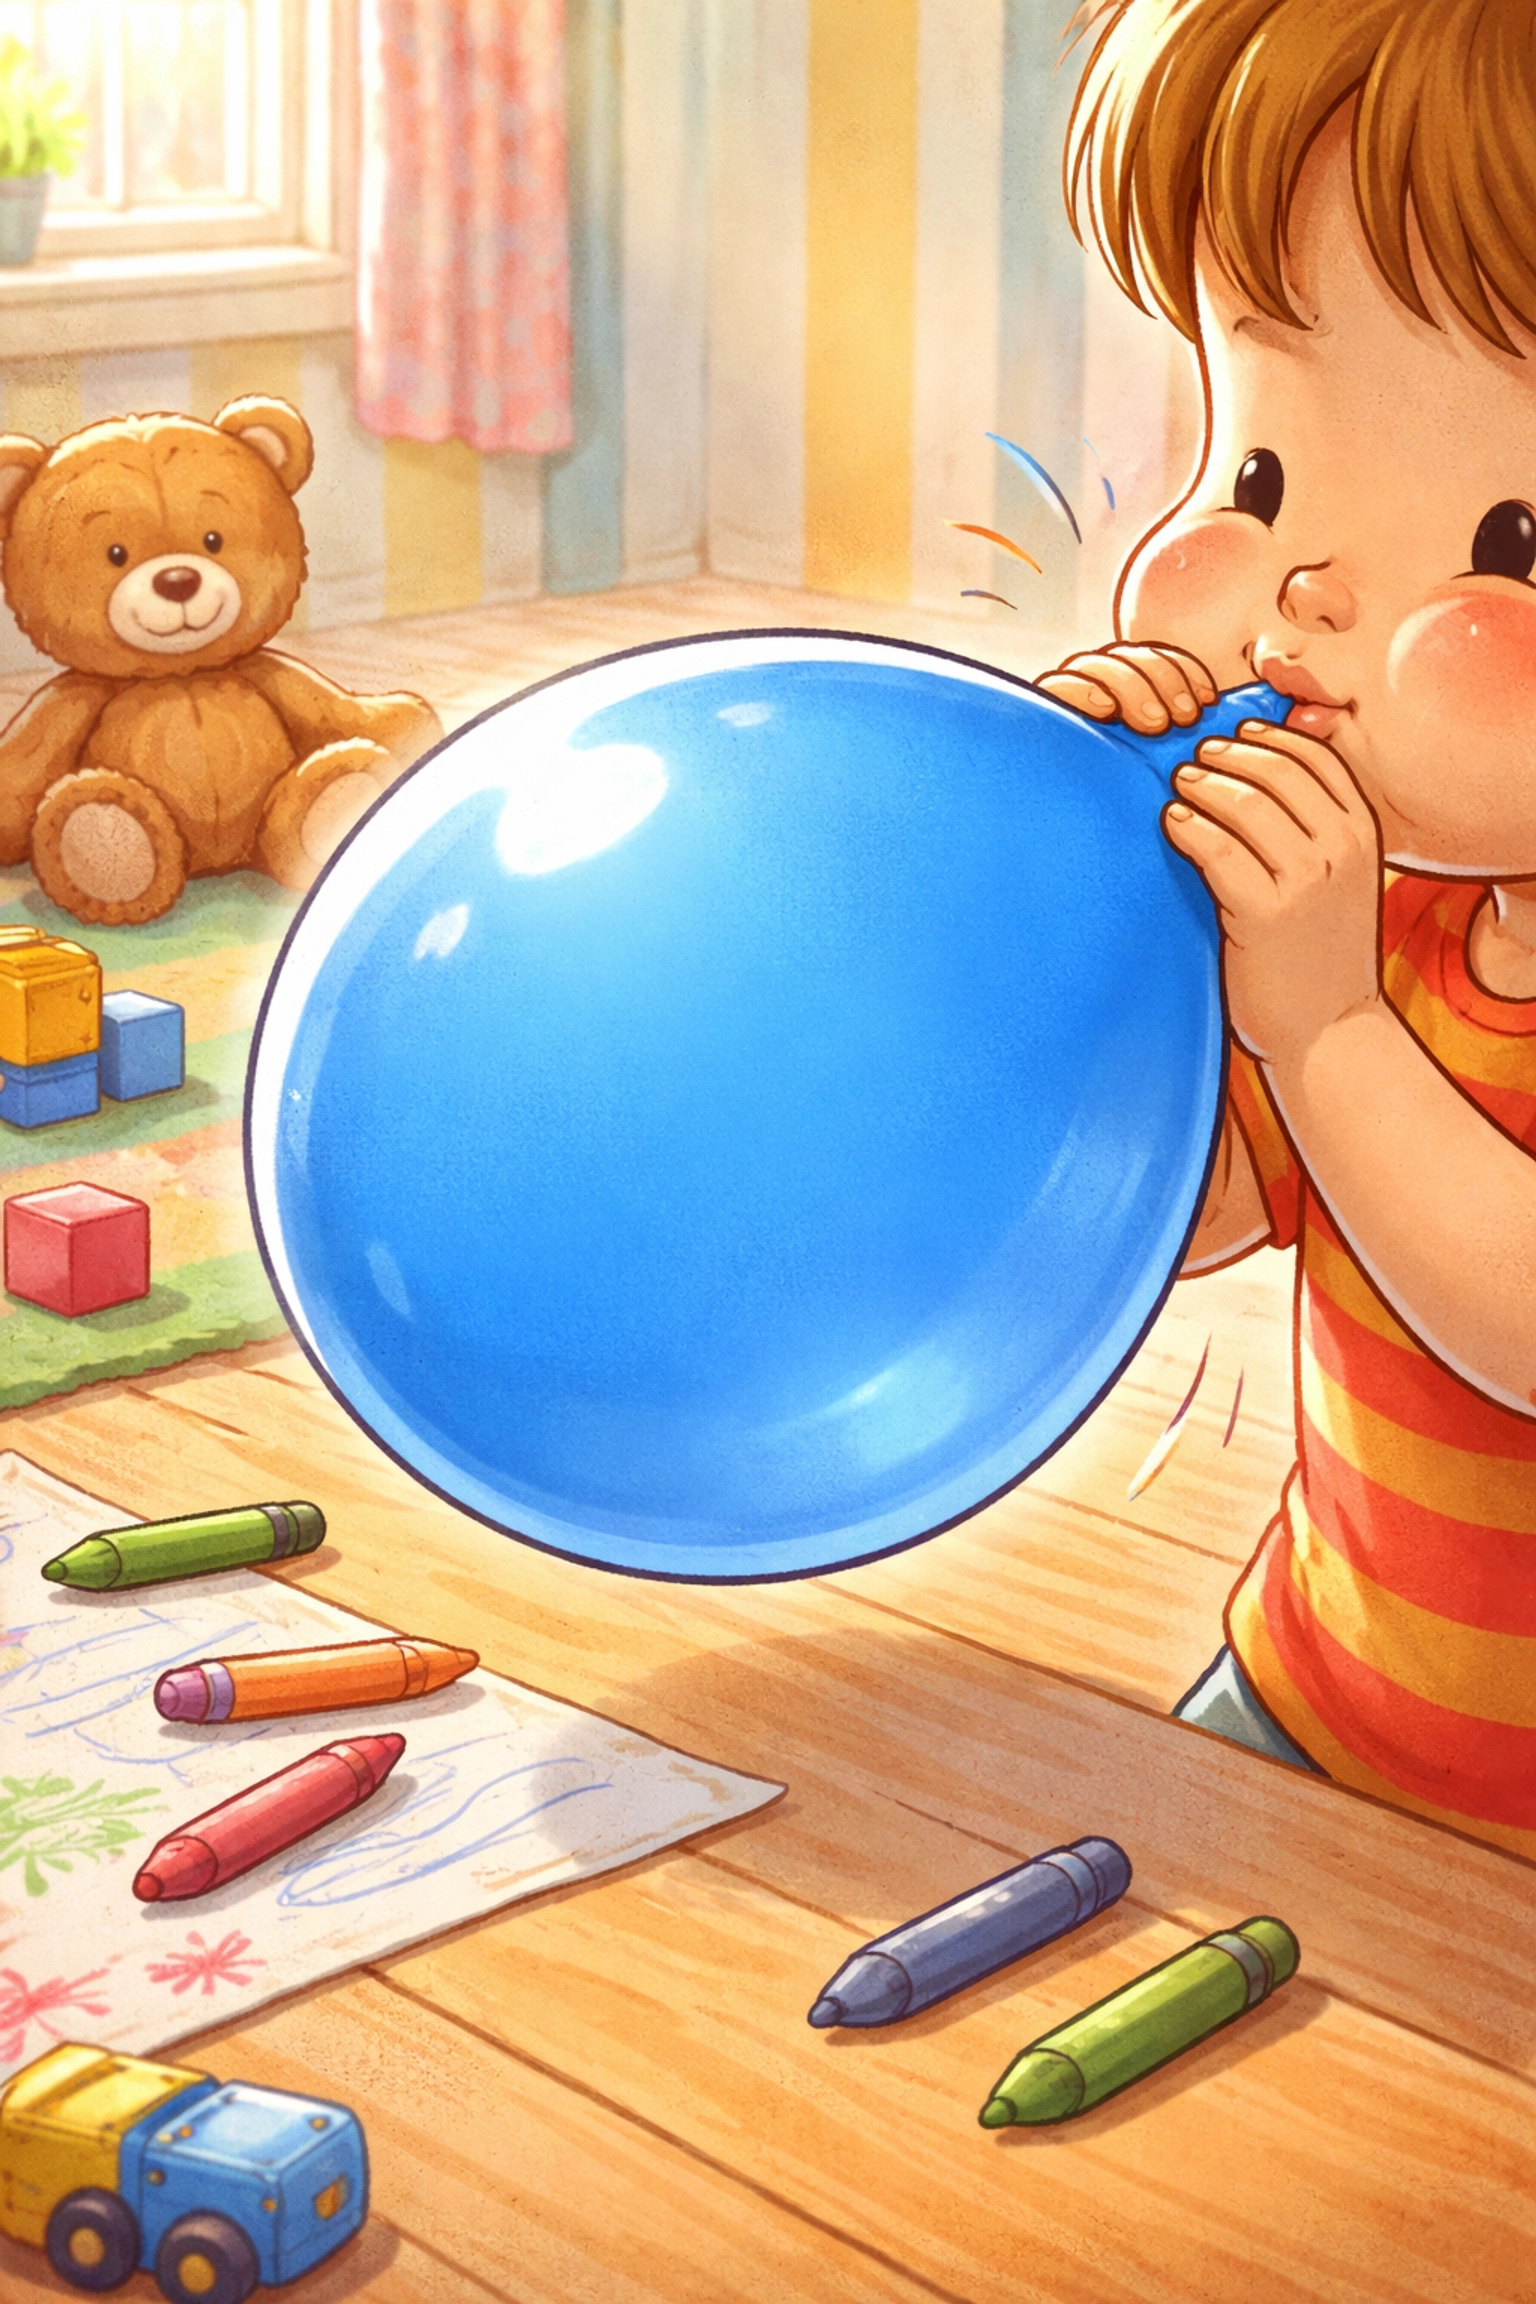
Step 3: Inflate the Balloon (But Don't Tie It!)
Here's where kids get excited. Blow up the balloon about halfway to three-quarters full. The key is to not tie the end: you need that air to escape and power your rocket.
Pinch the opening closed with your fingers (or have your child pinch it) to keep the air inside while you prepare for launch.
Step 4: Attach the Balloon to the Straw
While someone holds the balloon pinched shut, use two small pieces of tape to secure the balloon to the straw. Position the tape so the balloon sits underneath the straw, with the opening of the balloon facing backward (toward your starting point).
Make sure the tape holds firmly but doesn't squeeze the balloon so tightly that it pops.
Step 5: Move to the Starting Line
Slide the straw (with the balloon attached) to one end of the string. This is your launch pad.
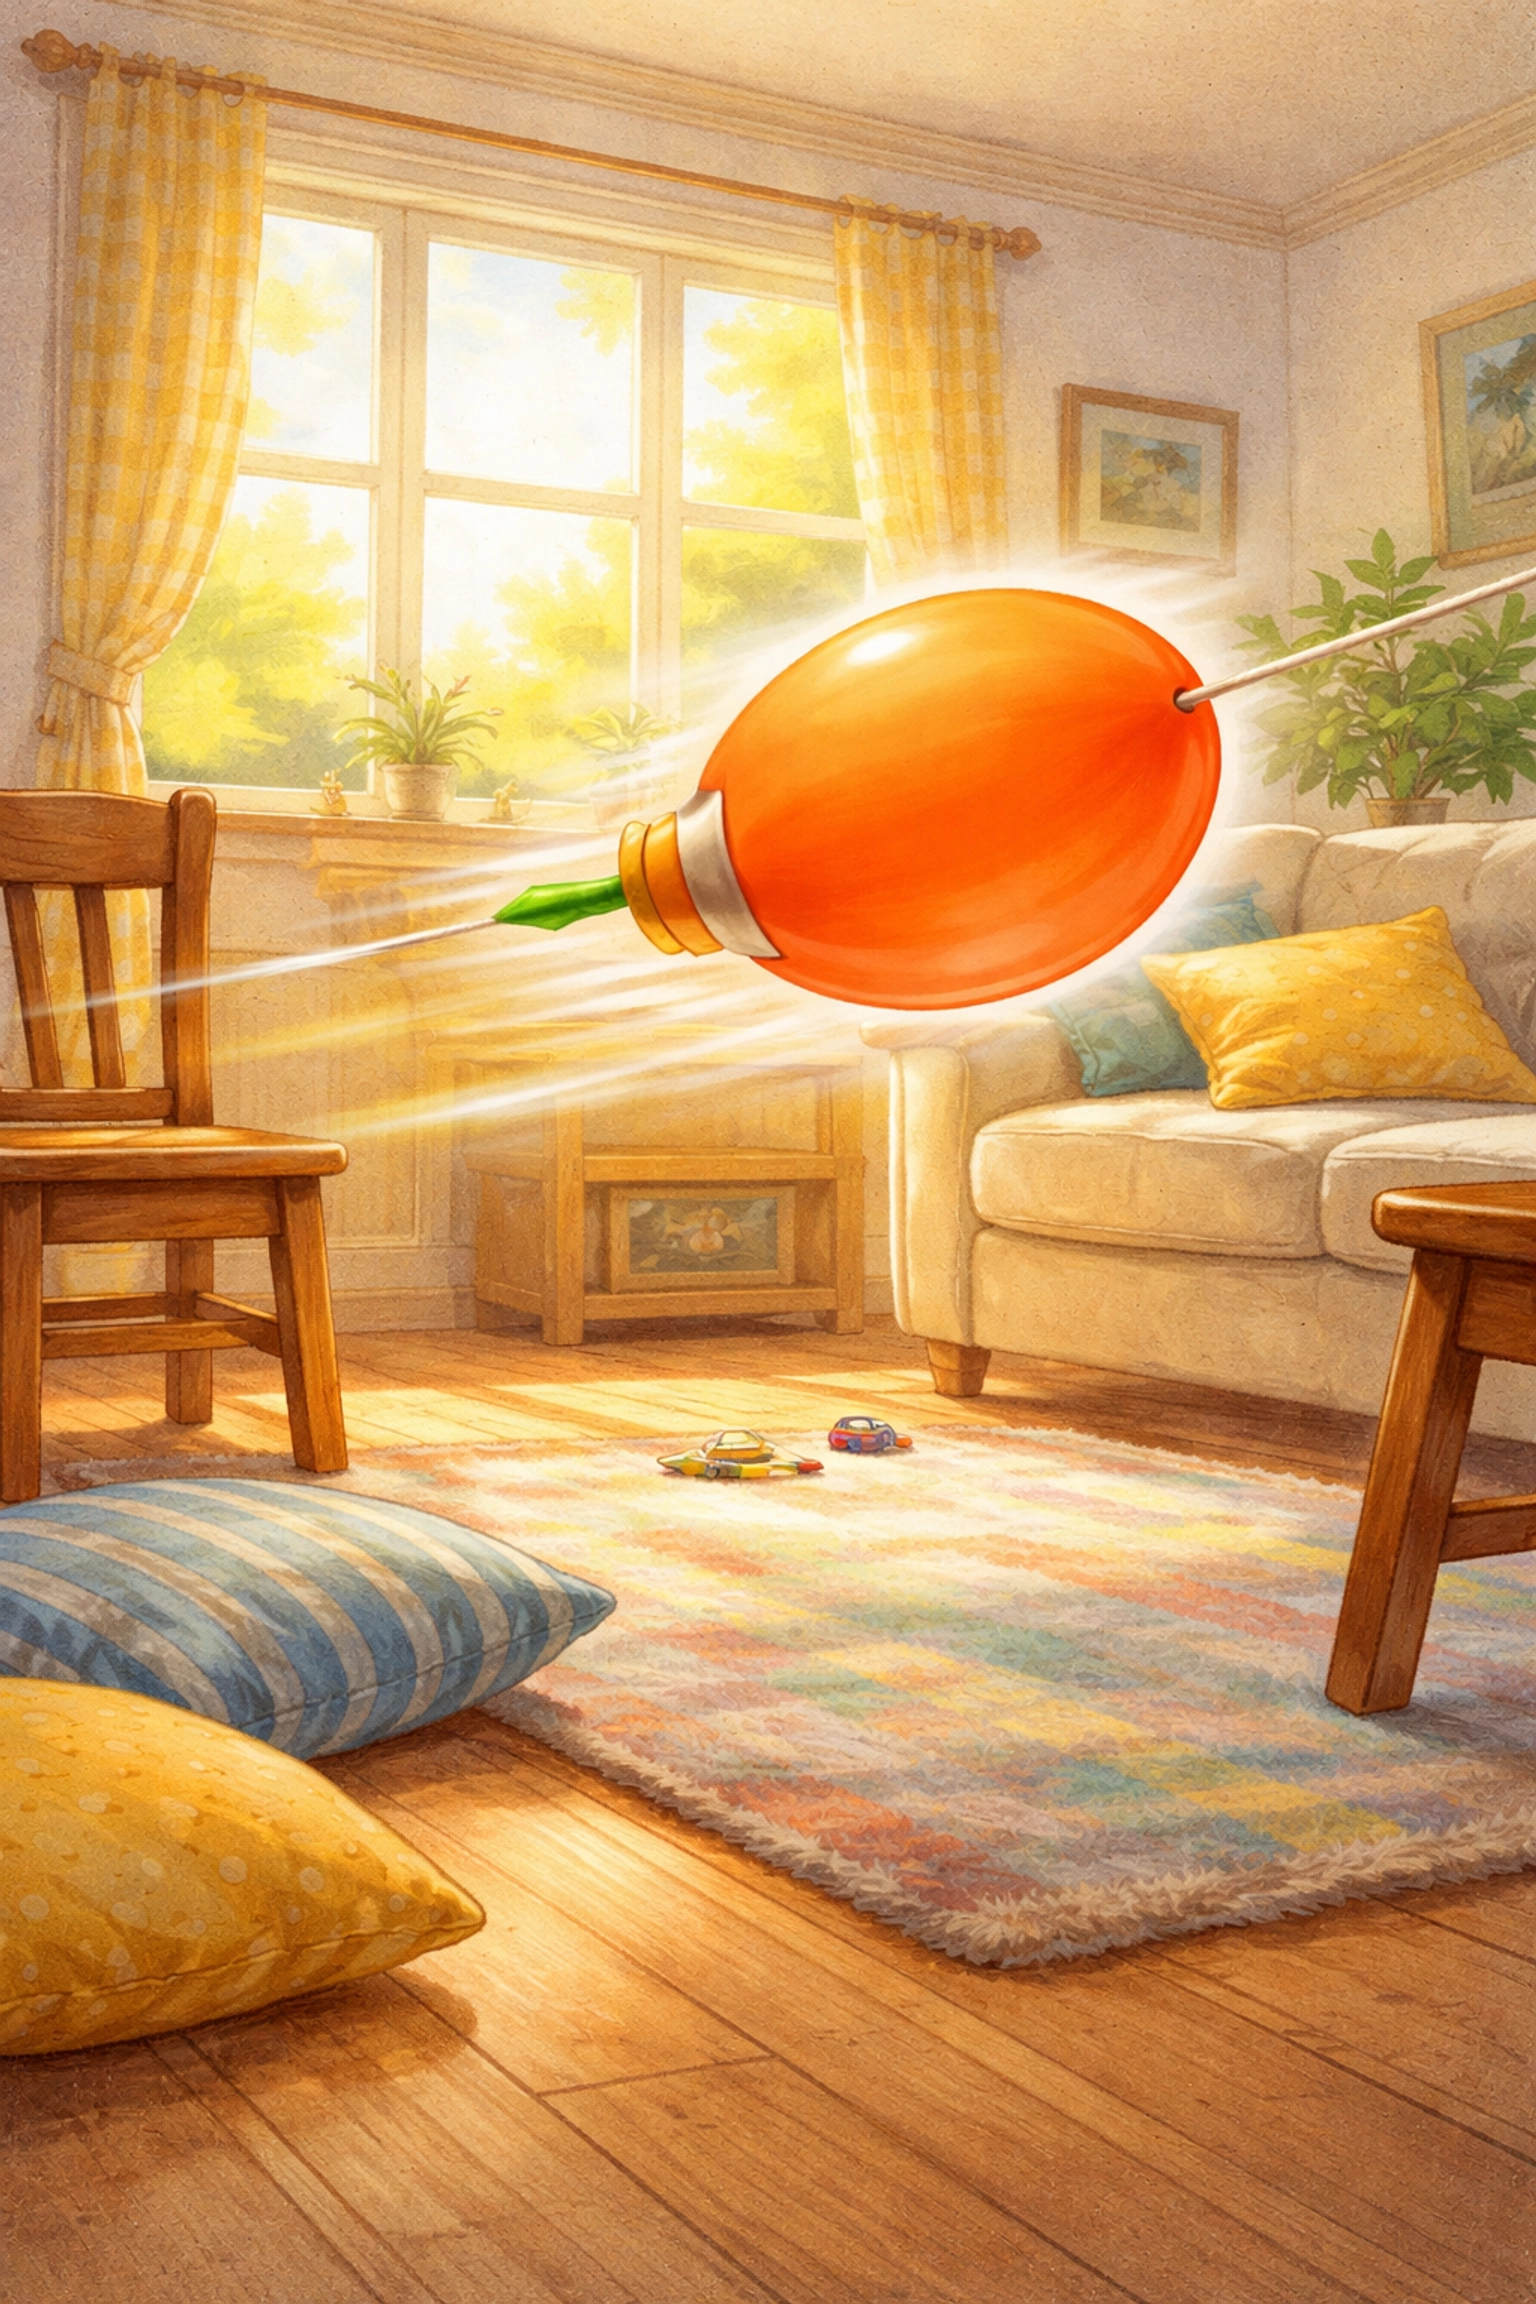
Step 6: Countdown and Launch!
This is the moment. Count down from three (or ten, if your child prefers the drama), then release the pinched end of the balloon.
The balloon should zoom along the string toward the other anchor point. If it works on the first try, celebrate! If it wobbles, falls off, or doesn't move much, don't worry: that's part of the experiment.
Why Does This Work?
The balloon rocket demonstrates something called Newton's Third Law of Motion: for every action, there's an equal and opposite reaction.
When you release the balloon, the air inside rushes out the back. That escaping air pushes against the air around it, which creates a force that propels the balloon forward along the string.
It's the same basic principle that helps real rockets launch into space: just on a much smaller (and less explosive) scale.
You don't need to dive deep into physics with a 4-year-old, but even a simple explanation like "the air shooting out the back pushes the balloon forward" can plant a seed of curiosity.
Experiments and Variations to Try
Once you've launched a few rockets, the real fun begins: experimenting. Here are some ideas to extend the activity:
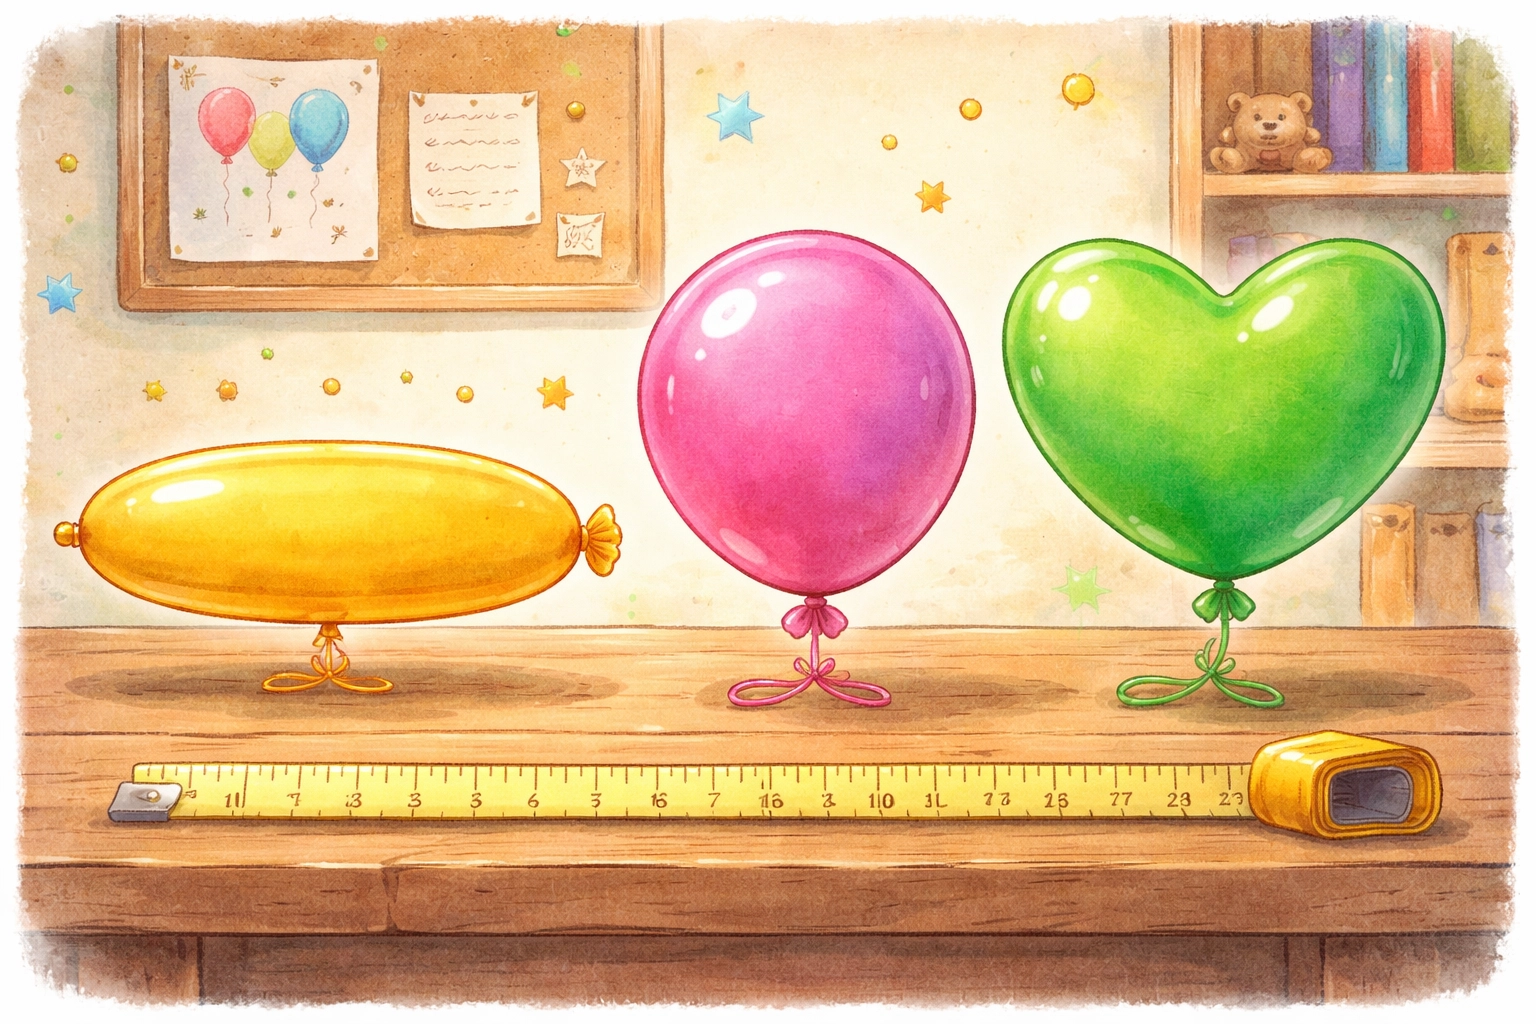
Try Different Balloon Shapes
Long "airship" style balloons tend to travel in a straighter line than round balloons. Round balloons can wobble or spin, which is fun to watch but may not go as far.
Change the Inflation Level
What happens if you blow the balloon up all the way versus just a little? Does a fuller balloon go faster or farther?
Test Different String Materials
Swap out yarn for fishing line, twine, or thread. Smoother string may reduce friction and help the balloon travel farther.
Adjust the Angle
Instead of keeping the string perfectly horizontal, try tilting it so the balloon travels uphill or downhill. Does gravity help or hurt?
Race Two Rockets
If you have two straws and two balloons, set up parallel tracks and race them side by side. This is especially fun with siblings or friends.
Tips for a Smoother Launch
- Keep the string tight. A saggy string creates friction and can stop the balloon before it reaches the end.
- Use fresh balloons. Older balloons that have been stretched out may not hold air as well.
- Tape placement matters. If the tape is crooked or the balloon is off-center, the rocket may veer off or get stuck.
- Expect some trial and error. Part of the learning is figuring out what went wrong and adjusting. If your first launch flops, that's not failure: that's science.
What Kids Might Learn
Beyond the giggles and the "again, again!" requests, this activity touches on a few concepts that can grow with your child:
- Cause and effect: Releasing the balloon causes it to move.
- Basic physics: The idea that forces can push things in opposite directions.
- Problem-solving: Adjusting the setup when something doesn't work.
- Fine motor skills: Pinching the balloon, taping, and threading the straw all involve coordination.
You don't need to quiz them afterward. Watching, playing, and experimenting is enough.
Wrapping Up
A balloon rocket on a string is one of those rare activities that delivers a lot of bang for very little effort or cost. It's quick to set up, easy to repeat, and satisfying for a wide age range: from toddlers who just want to watch the balloon zoom to older kids who want to run experiments.
FAQ: Balloon Rocket on a String
- What kind of string works best for balloon rockets? Smooth string like fishing line or thin nylon cord works best because it has the least friction. Regular yarn or rough twine can slow the rocket down.
- Why won't my balloon rocket move? Check to make sure the string is pulled tight and that the straw is moving freely. If the balloon is too small or the straw is taped at an awkward angle, it might not have enough "thrust" to zoom across.
- Can we do this experiment indoors? Yes! It's actually better indoors because wind won't interfere. A long hallway or a large living room is the perfect "launch pad" for your balloon rockets.
References
- Science Buddies: Balloon Rocket Experiment
- NASA Space Place: Newton's Laws of Motion
- Steve Spangler Science: Balloon Rocket Activities