

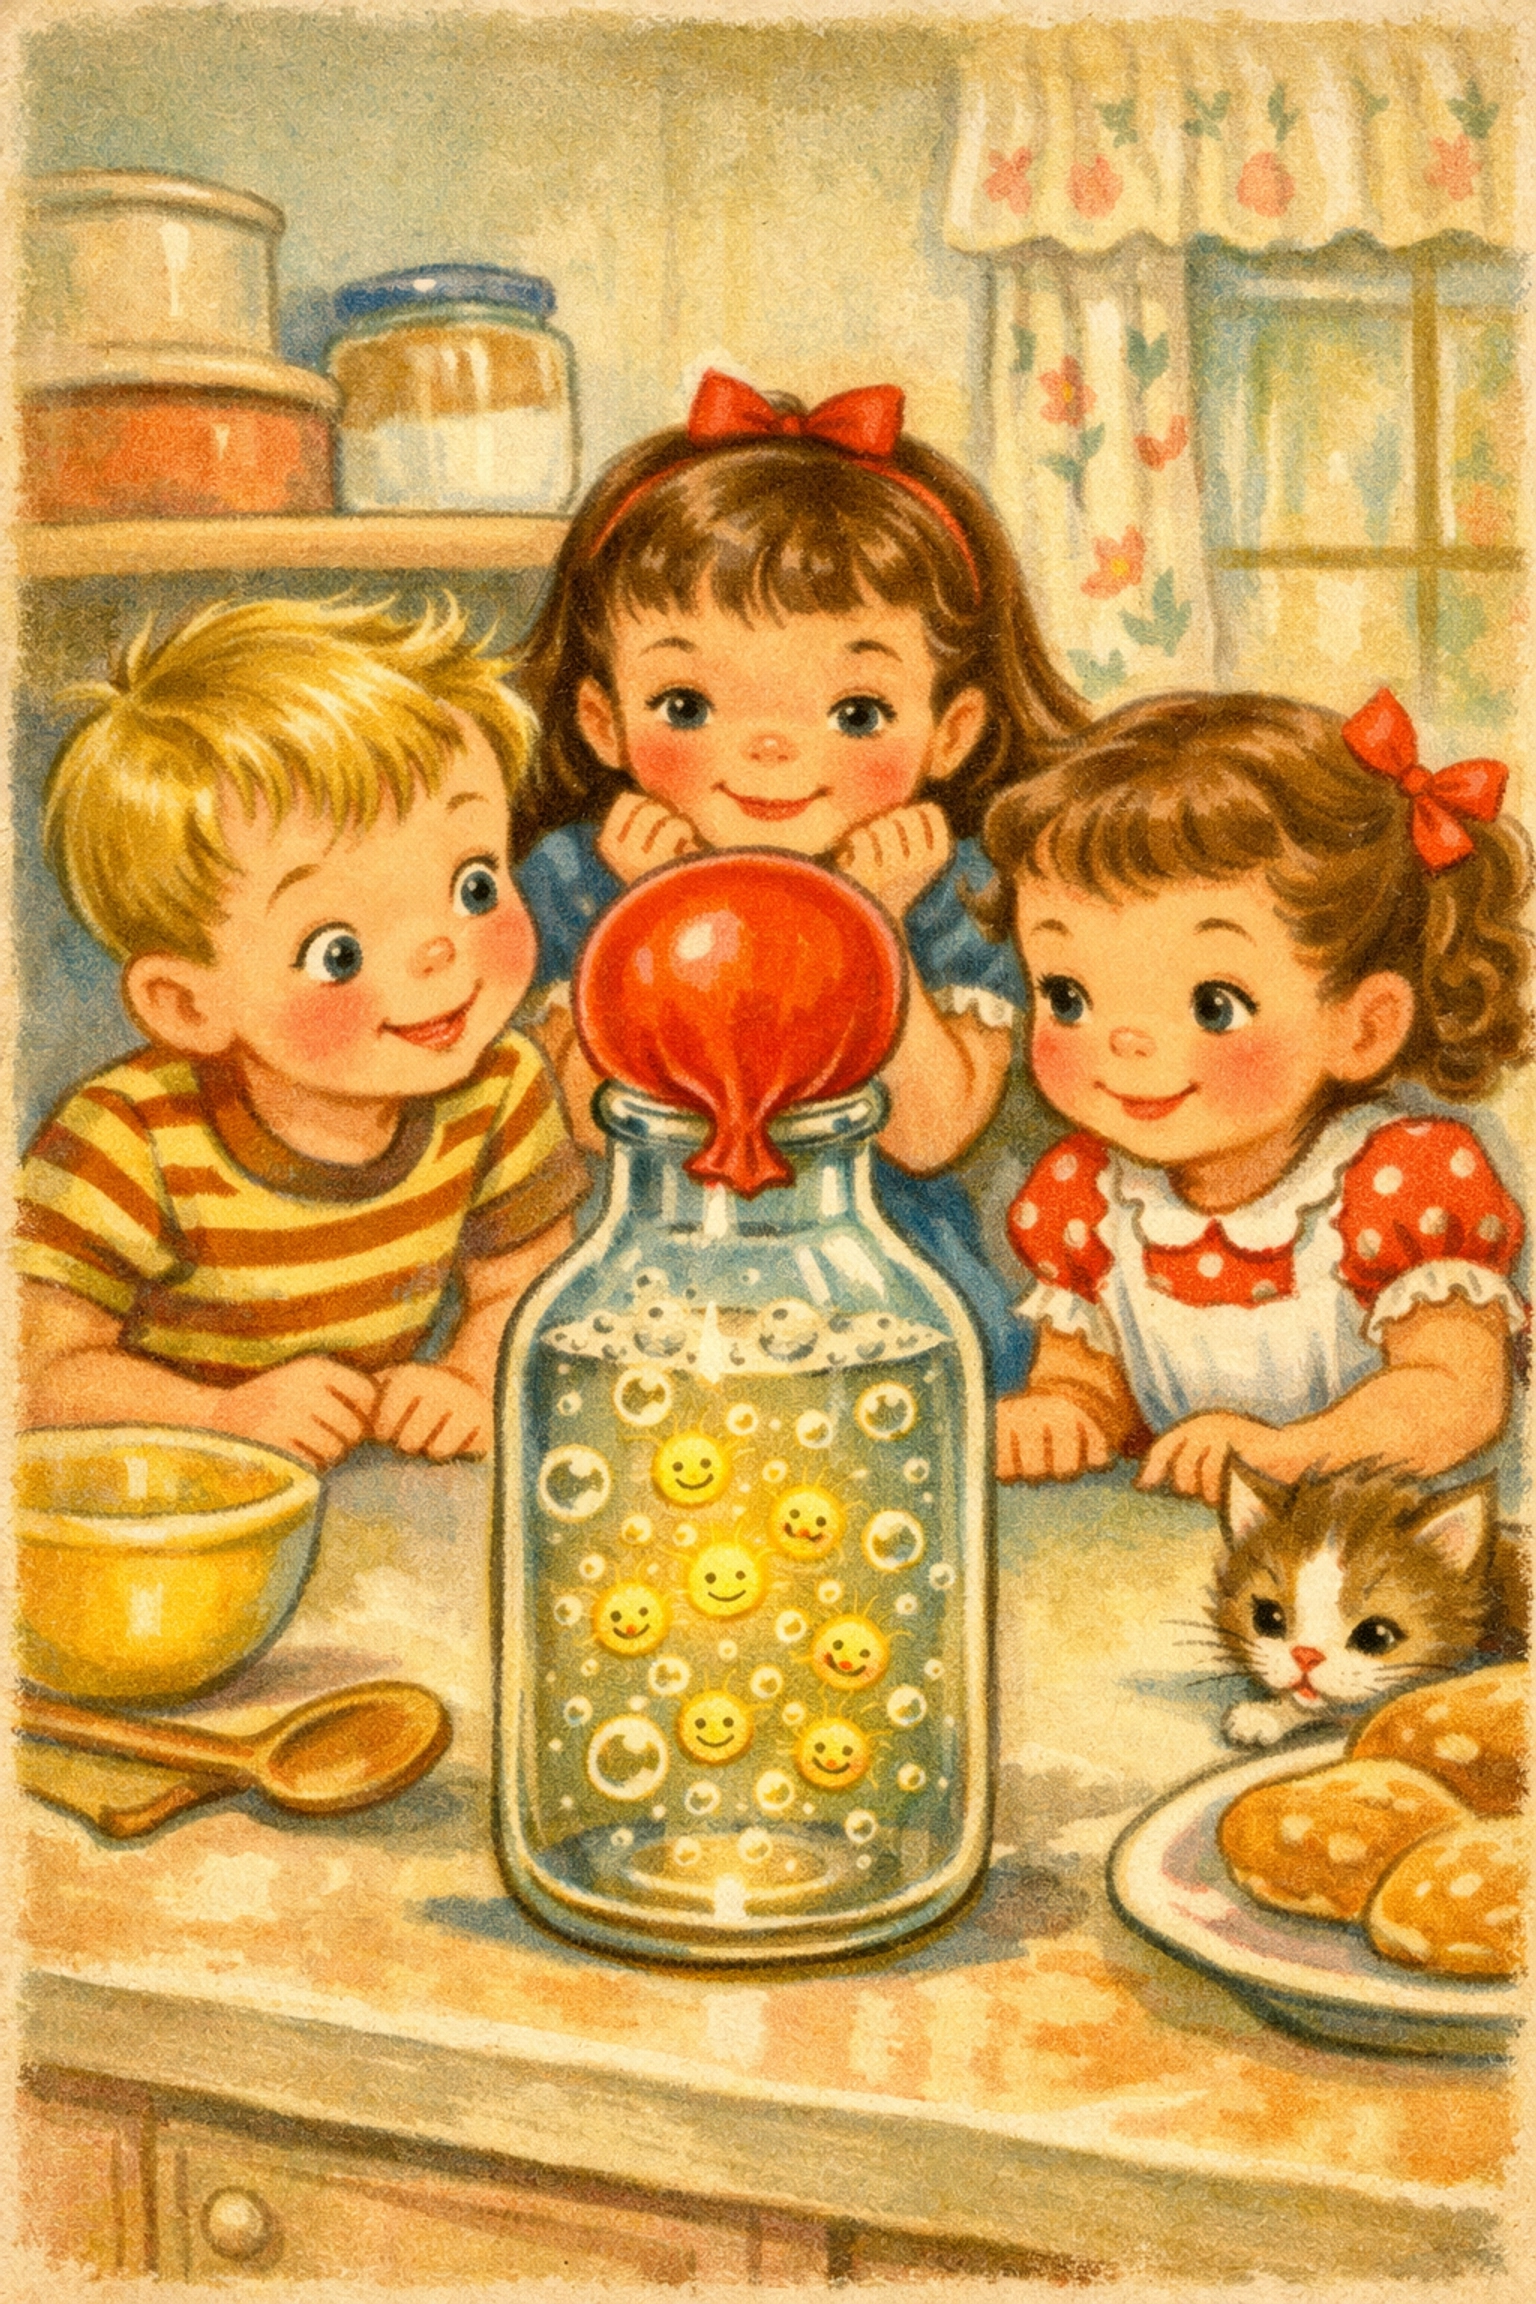
Yeast Balloons: The Science of Fermentation and Gas
At-a-Glance Experiment Overview
| Category | Details |
|---|---|
| Mess Level | 3/5 (some sticky sugar residue) |
| Time Needed | 1–2 hours for observation |
| Estimated Cost | $2–$4 |
| Safety Gear | Safety glasses (precaution for balloon expansion) |
| Age Range | Middle to older kids (8+) |
| Adult Help | Warming water, stretching balloon over bottle |
| Core Science | Fermentation and carbon dioxide production |
How Do Yeast Balloons Work?
Yeast balloons demonstrate fermentation in action. When you mix yeast with warm water and sugar, the yeast "eats" the sugar and produces carbon dioxide gas as a byproduct. This gas fills the balloon attached to your bottle, creating a visible, and surprisingly enthusiastic, demonstration of microscopic life at work. It's like having millions of tiny helpers inflate a balloon for you while you watch!
What You'll Need
Materials
- 1 empty plastic bottle (12–16 oz water or soda bottle works well)
- 1 packet active dry yeast (about 2¼ teaspoons)
- 2 tablespoons granulated sugar
- 1 cup warm water (not hot, around 100–110°F)
- 1 balloon (standard party balloon)
- Measuring cups and spoons
- Funnel (optional but helpful)
Safety Gear
- Safety glasses (balloons can occasionally pop during expansion)
Step-by-Step Instructions
Step 1: Prepare Your Workspace
Set up on a counter or table where you can leave your experiment undisturbed for an hour or two. Lay down a towel or tray underneath in case of spills, yeast mixtures can get a bit sticky.
Step 2: Warm the Water (Adult Step)
An adult should warm about one cup of water to roughly 100–110°F. This temperature feels comfortably warm to the touch but not hot. Water that's too hot can harm the yeast, while water that's too cool won't activate it effectively.
Step 3: Add Sugar to the Bottle
Pour two tablespoons of sugar into your empty plastic bottle. A funnel can help keep things tidy, but you can also carefully pour it in directly.
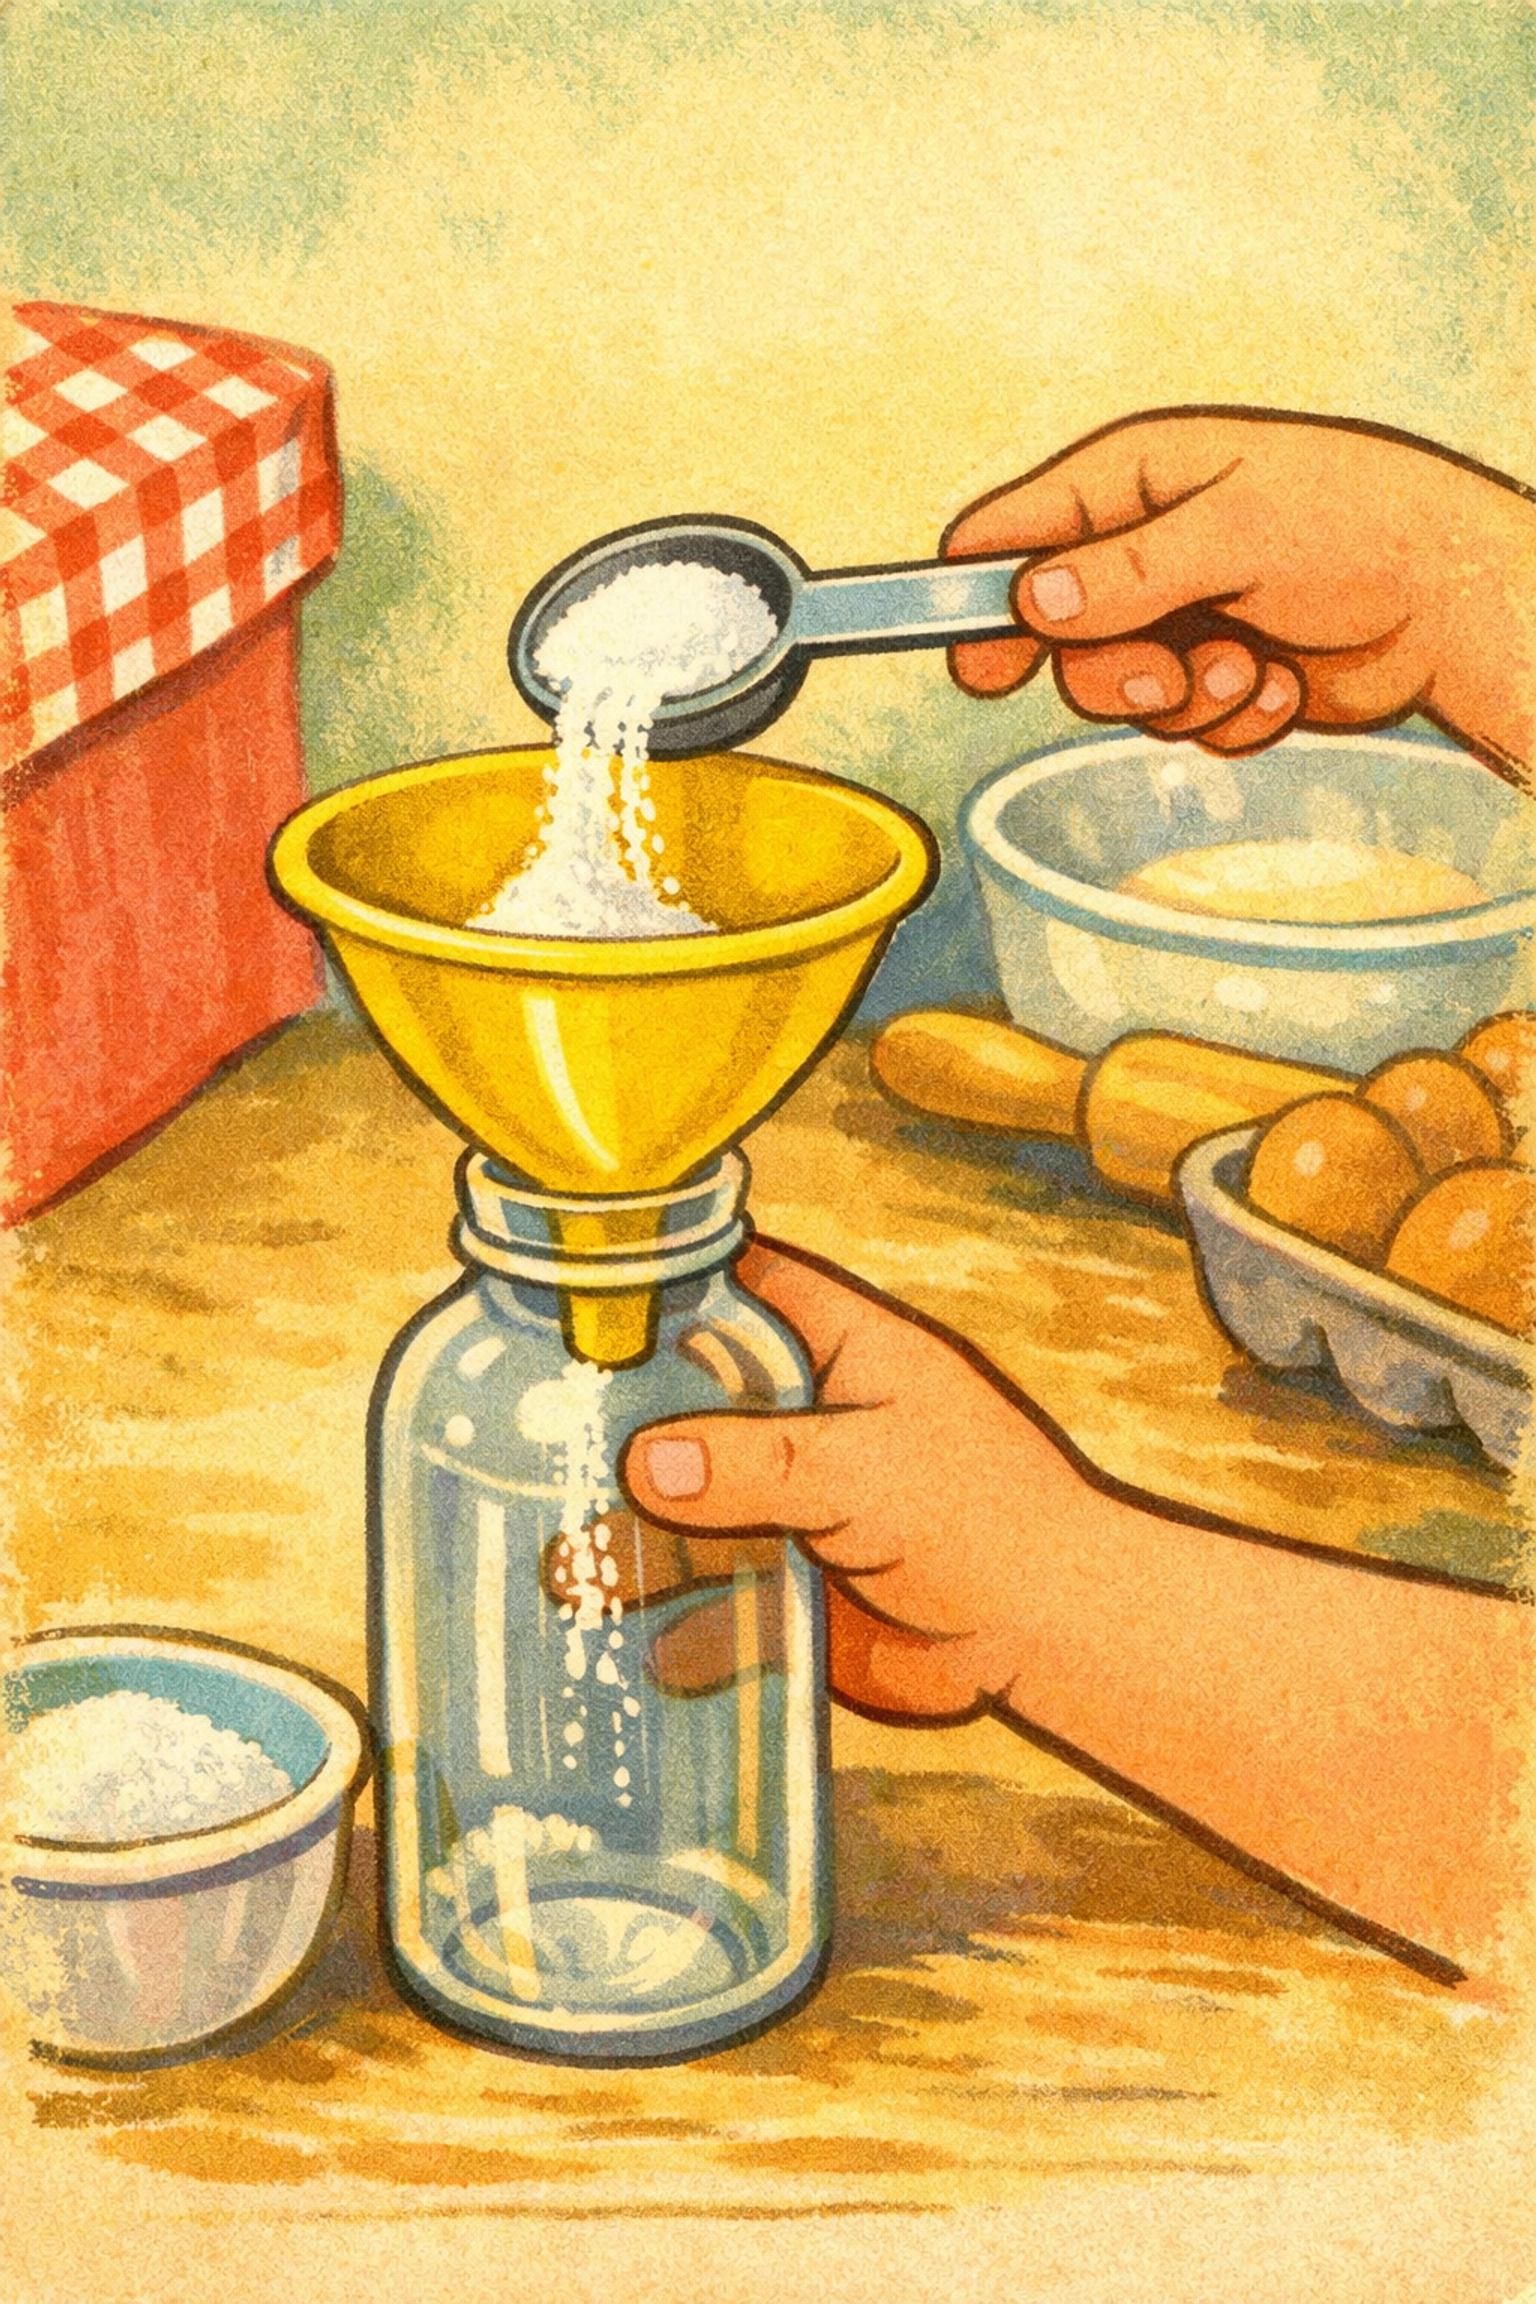
Step 4: Pour in the Warm Water
Add the warm water to the bottle with the sugar. Gently swirl the bottle to help dissolve the sugar. You don't need it completely dissolved, the yeast will handle the rest.
Step 5: Add the Yeast
Sprinkle the entire packet of yeast into the bottle. Give it a gentle swirl to mix everything together. You'll notice the mixture might start to look a bit foamy, that's a good sign that your yeast is waking up!
Step 6: Attach the Balloon (Adult Step)
This part can be tricky. Stretch the opening of the balloon a few times to make it more flexible. An adult should carefully stretch the balloon's mouth over the bottle's opening, making sure it forms a tight seal. The balloon should flop to one side at first, it's empty and waiting to fill.
Step 7: Observe and Wait
Place your bottle in a warm spot (not in direct hot sunlight, just a room-temperature area works fine). Now comes the patient part, watch over the next 20–60 minutes as the balloon slowly begins to inflate.

Step 8: Measure Progress (Optional)
Every 15 minutes, you can measure around the widest part of the balloon with a string or tape measure. Recording these measurements creates a great graph showing how gas production changes over time.
What's Happening? The Science Behind the Balloon
When you mixed yeast with warm water and sugar, you created the perfect conditions for fermentation. Here's the microscopic story unfolding inside your bottle:
The Yeast Wakes Up
Yeast cells are living organisms, and when they encounter warm water and food (sugar), they become active. Each packet of yeast contains billions of these tiny microorganisms, all ready to start working.
Fermentation Begins
The yeast breaks down sugar molecules through a process called anaerobic respiration, "anaerobic" means without oxygen. For every sugar molecule the yeast consumes, it produces two molecules of carbon dioxide (CO₂) and two molecules of ethanol (a type of alcohol).
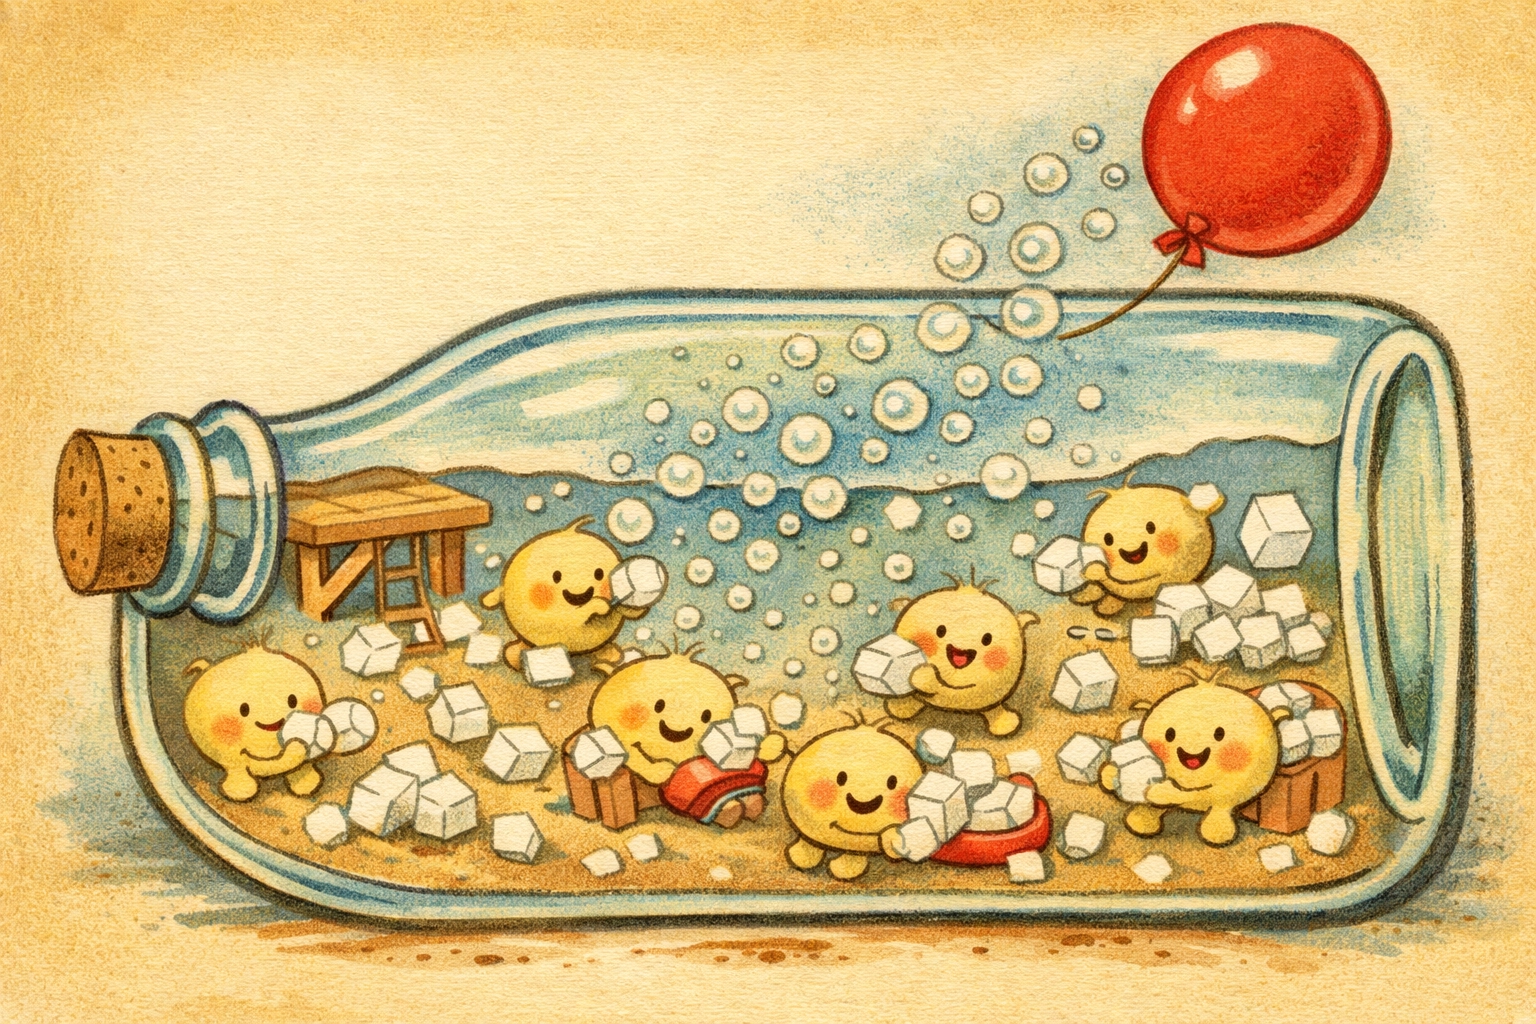
Gas Accumulates
The carbon dioxide gas can't escape through the sealed balloon, so it has only one place to go, up into the balloon. As more and more CO₂ is produced, the gas molecules push against the balloon's inside surface, stretching it outward and inflating it.
The Process Slows
Eventually, the balloon's inflation will slow down and stop. This happens for a few reasons: the yeast runs out of sugar to eat, the alcohol concentration becomes too high (yeast doesn't thrive in high-alcohol environments), or the temperature drops and the yeast becomes less active.
Tips for Success
Use Fresh Yeast: Check the expiration date on your yeast packet. Old or expired yeast may not be active enough to produce much gas.
Get the Temperature Right: Water that's too hot (above 120°F) can kill the yeast. Water that's too cool (below 90°F) won't activate it well. Aim for that "comfortably warm" sweet spot.
Create a Good Seal: Make sure the balloon is stretched tightly over the bottle opening with no gaps. Even a tiny leak will let gas escape instead of inflating your balloon.
Be Patient: Unlike some experiments with instant results, yeast balloons require time. The first signs of inflation might take 15–20 minutes. That's normal!
Keep It Warm: Yeast works best in warm environments. Don't put your bottle in the refrigerator or near a cold window.
Try These Variations
Sugar Comparison Experiment
Set up three bottles: one with 1 tablespoon of sugar, one with 2 tablespoons, and one with 3 tablespoons. Use the same amount of yeast and water in each. Which balloon inflates the most? This demonstrates how available food affects fermentation rates.
Temperature Test
Prepare identical bottles and place them in different locations, one in a warm spot, one at room temperature, and one in a cooler area (not refrigerated). Observe which balloon inflates fastest. This shows how temperature affects yeast activity.
Different Sweeteners
Try using honey, maple syrup, or fruit juice instead of granulated sugar. Do they produce the same amount of gas? Some sweeteners are easier for yeast to break down than others.
The Waiting Game
Once your balloon is fully inflated, leave it overnight. By morning, you might notice the balloon has deflated slightly or even collapsed. This happens because the yeast has consumed all available sugar, and some of the CO₂ may have escaped or been reabsorbed.
Frequently Asked Questions
Why isn't my balloon inflating?
Check three things: Is your yeast fresh and unexpired? Was the water warm enough (but not too hot)? Is the balloon sealed tightly with no leaks? These are the most common culprits.
Can I reuse the yeast mixture?
Once the sugar is consumed, the yeast won't produce more gas. You can dump the mixture (it's safe to pour down the drain with plenty of water) and start fresh with new ingredients.
What's that smell?
You might notice a slightly yeasty, bread-like smell, that's normal! The ethanol produced during fermentation has a mild alcoholic scent, though the amount is very small.
Will the balloon keep growing forever?
No, the balloon will stop inflating once the yeast runs out of sugar or when the alcohol concentration gets too high. Depending on your sugar amount, this typically happens within 1–2 hours.
Can I use instant yeast or bread machine yeast?
Active dry yeast tends to work best for this experiment, but bread machine yeast or instant yeast should also work. Avoid using expired or refrigerated yeast that's been open for months.
Is this the same process used in baking bread?
Yes! When you make bread dough, the yeast ferments sugars and produces CO₂ gas that gets trapped in the gluten network, causing the dough to rise. You're observing the exact same biological process: just captured in a balloon instead of dough.
Safety Disclaimer
Adult supervision is recommended for this experiment. While yeast fermentation is generally safe, consider these precautions:
- Balloon Popping: Though rare, balloons can occasionally pop if over-inflated. Safety glasses provide eye protection.
- Warm Water: An adult should handle warming the water to prevent scalding.
- Stretching the Balloon: This step requires some strength and coordination; adult assistance helps ensure a proper seal.
- Cleanup: Wash hands thoroughly after handling yeast and clean up any spills promptly, as the mixture can become sticky.
- Allergies: While uncommon, some individuals may have yeast sensitivities. Avoid direct skin contact if this applies.
The ethanol produced during this experiment is in very small quantities and does not pose an inhalation risk in a well-ventilated room.
This experiment offers a wonderful window into the microscopic world of fermentation: the same process that gives us bread, cheese, yogurt, and many other foods we enjoy. When you see that balloon slowly rising, you're watching billions of yeast cells working together, transforming simple sugar into gas right before your eyes. It's biology you can actually see, and that makes it pretty special!
For more hands-on science experiments perfect for curious minds, explore our collection of kitchen chemistry activities designed to bring learning to life right at home.