


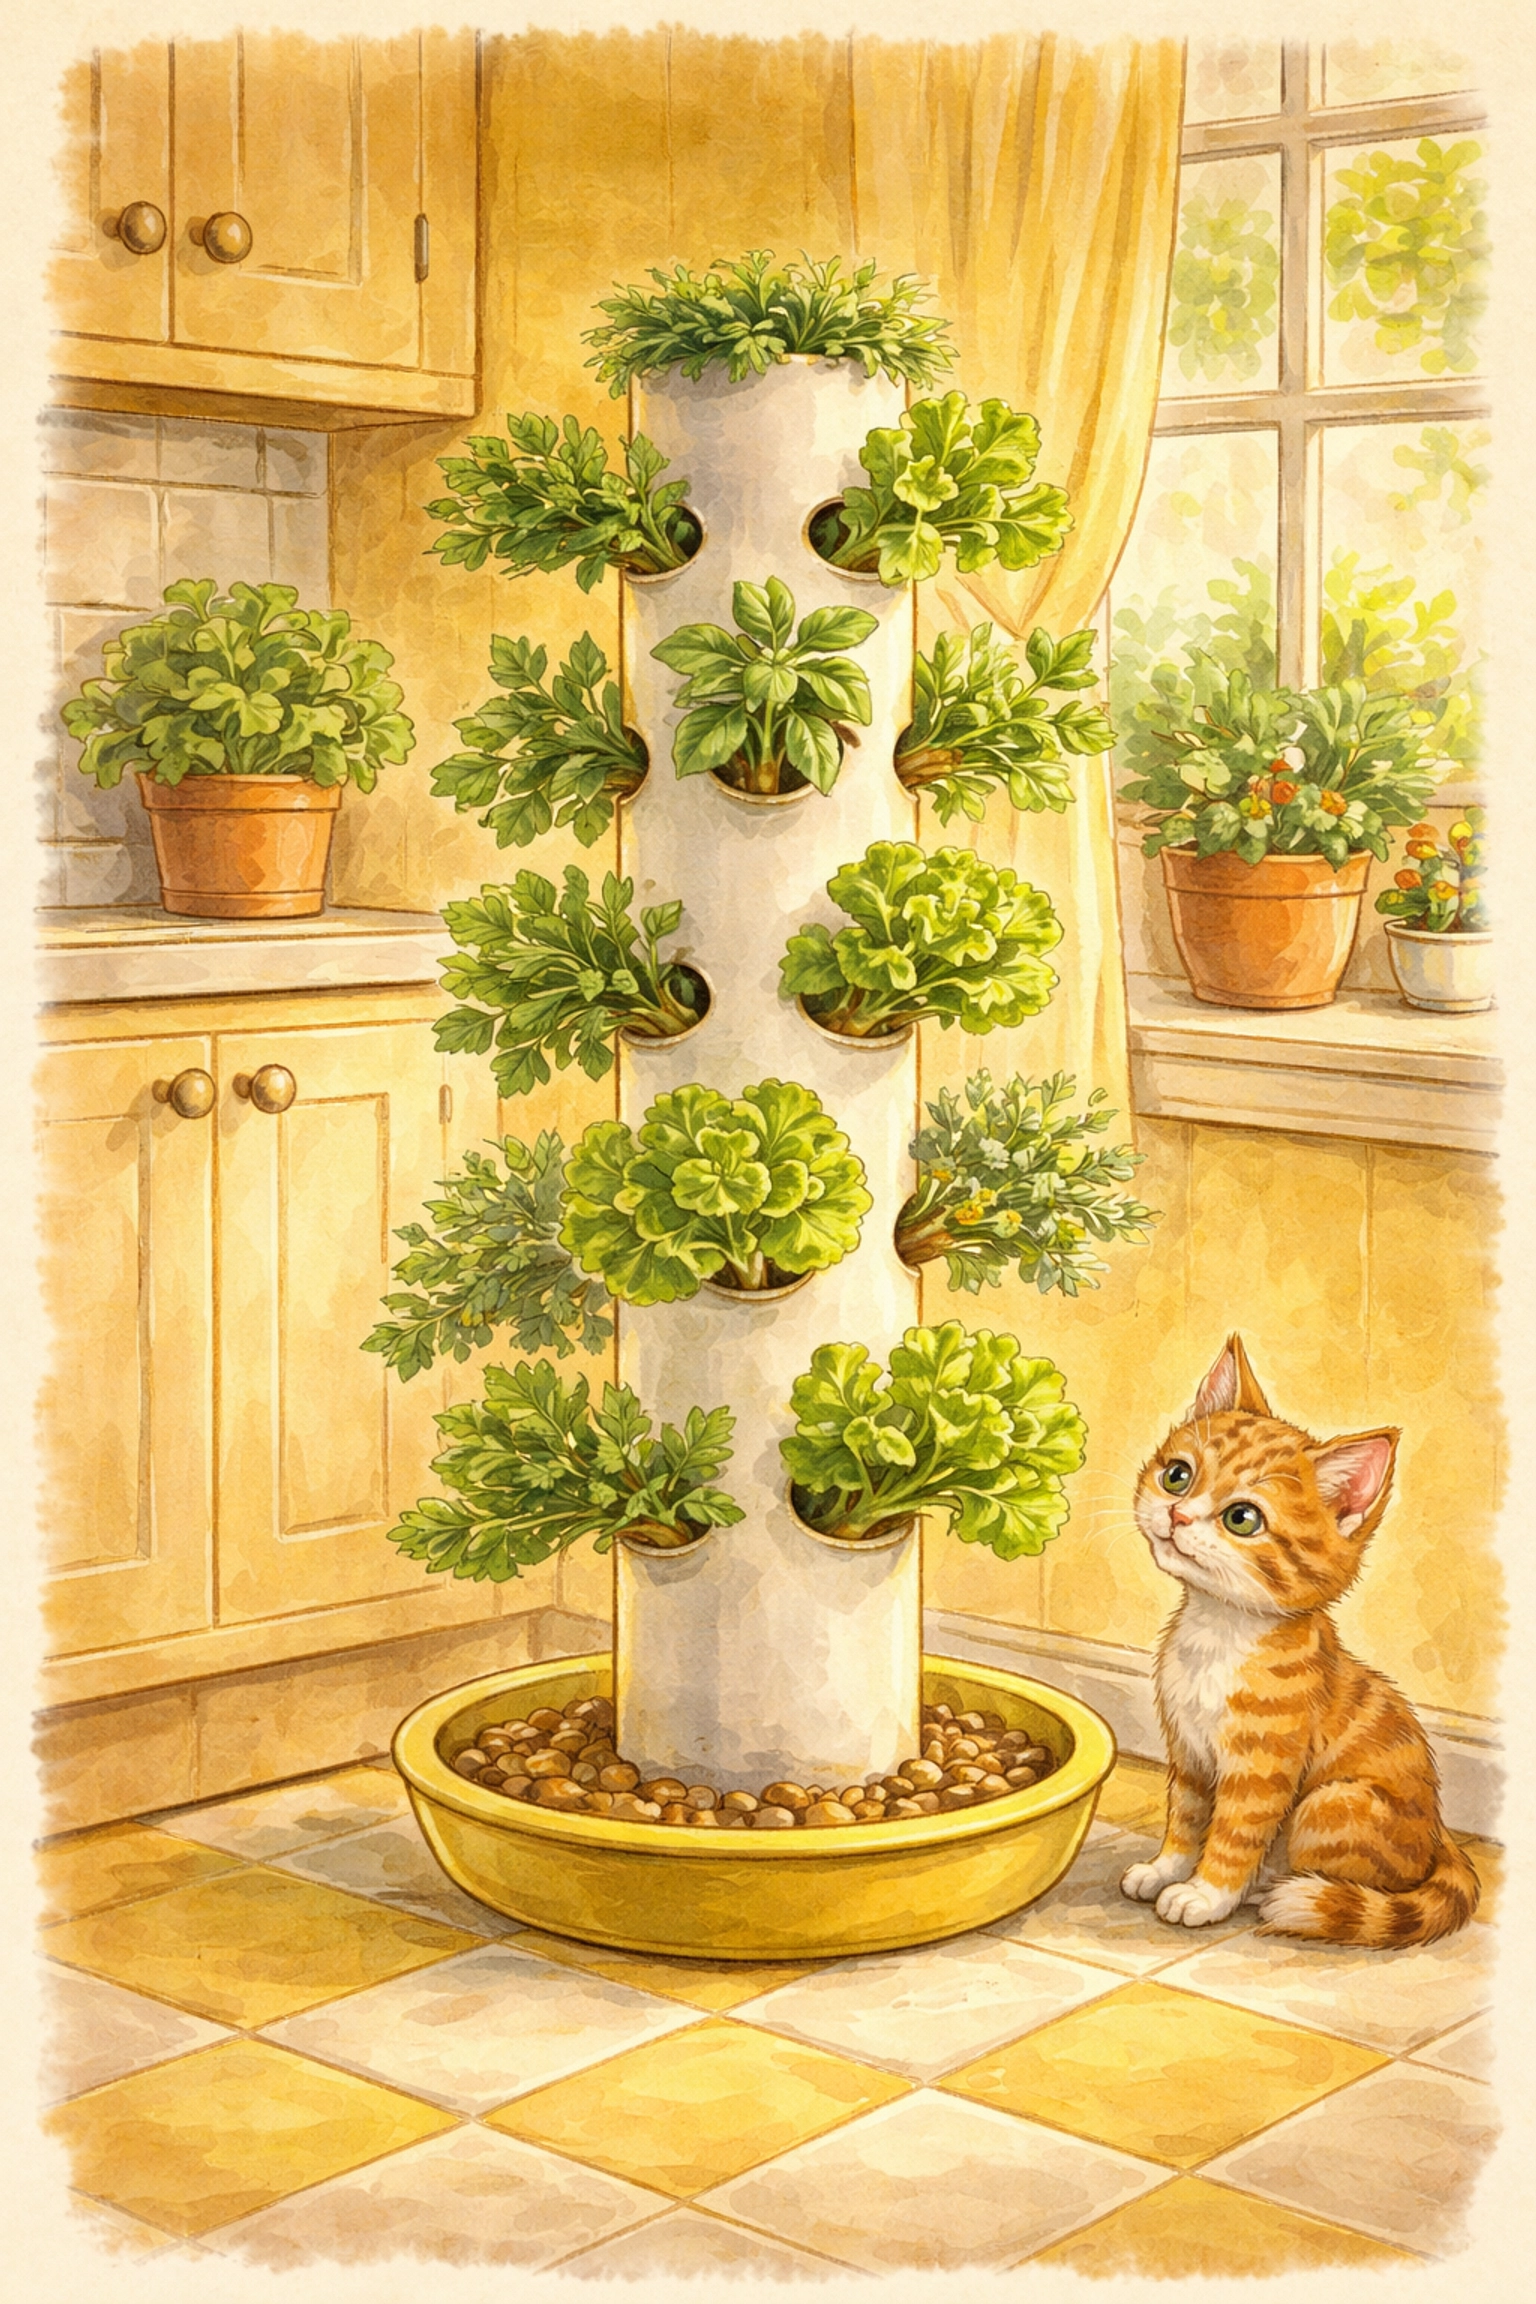
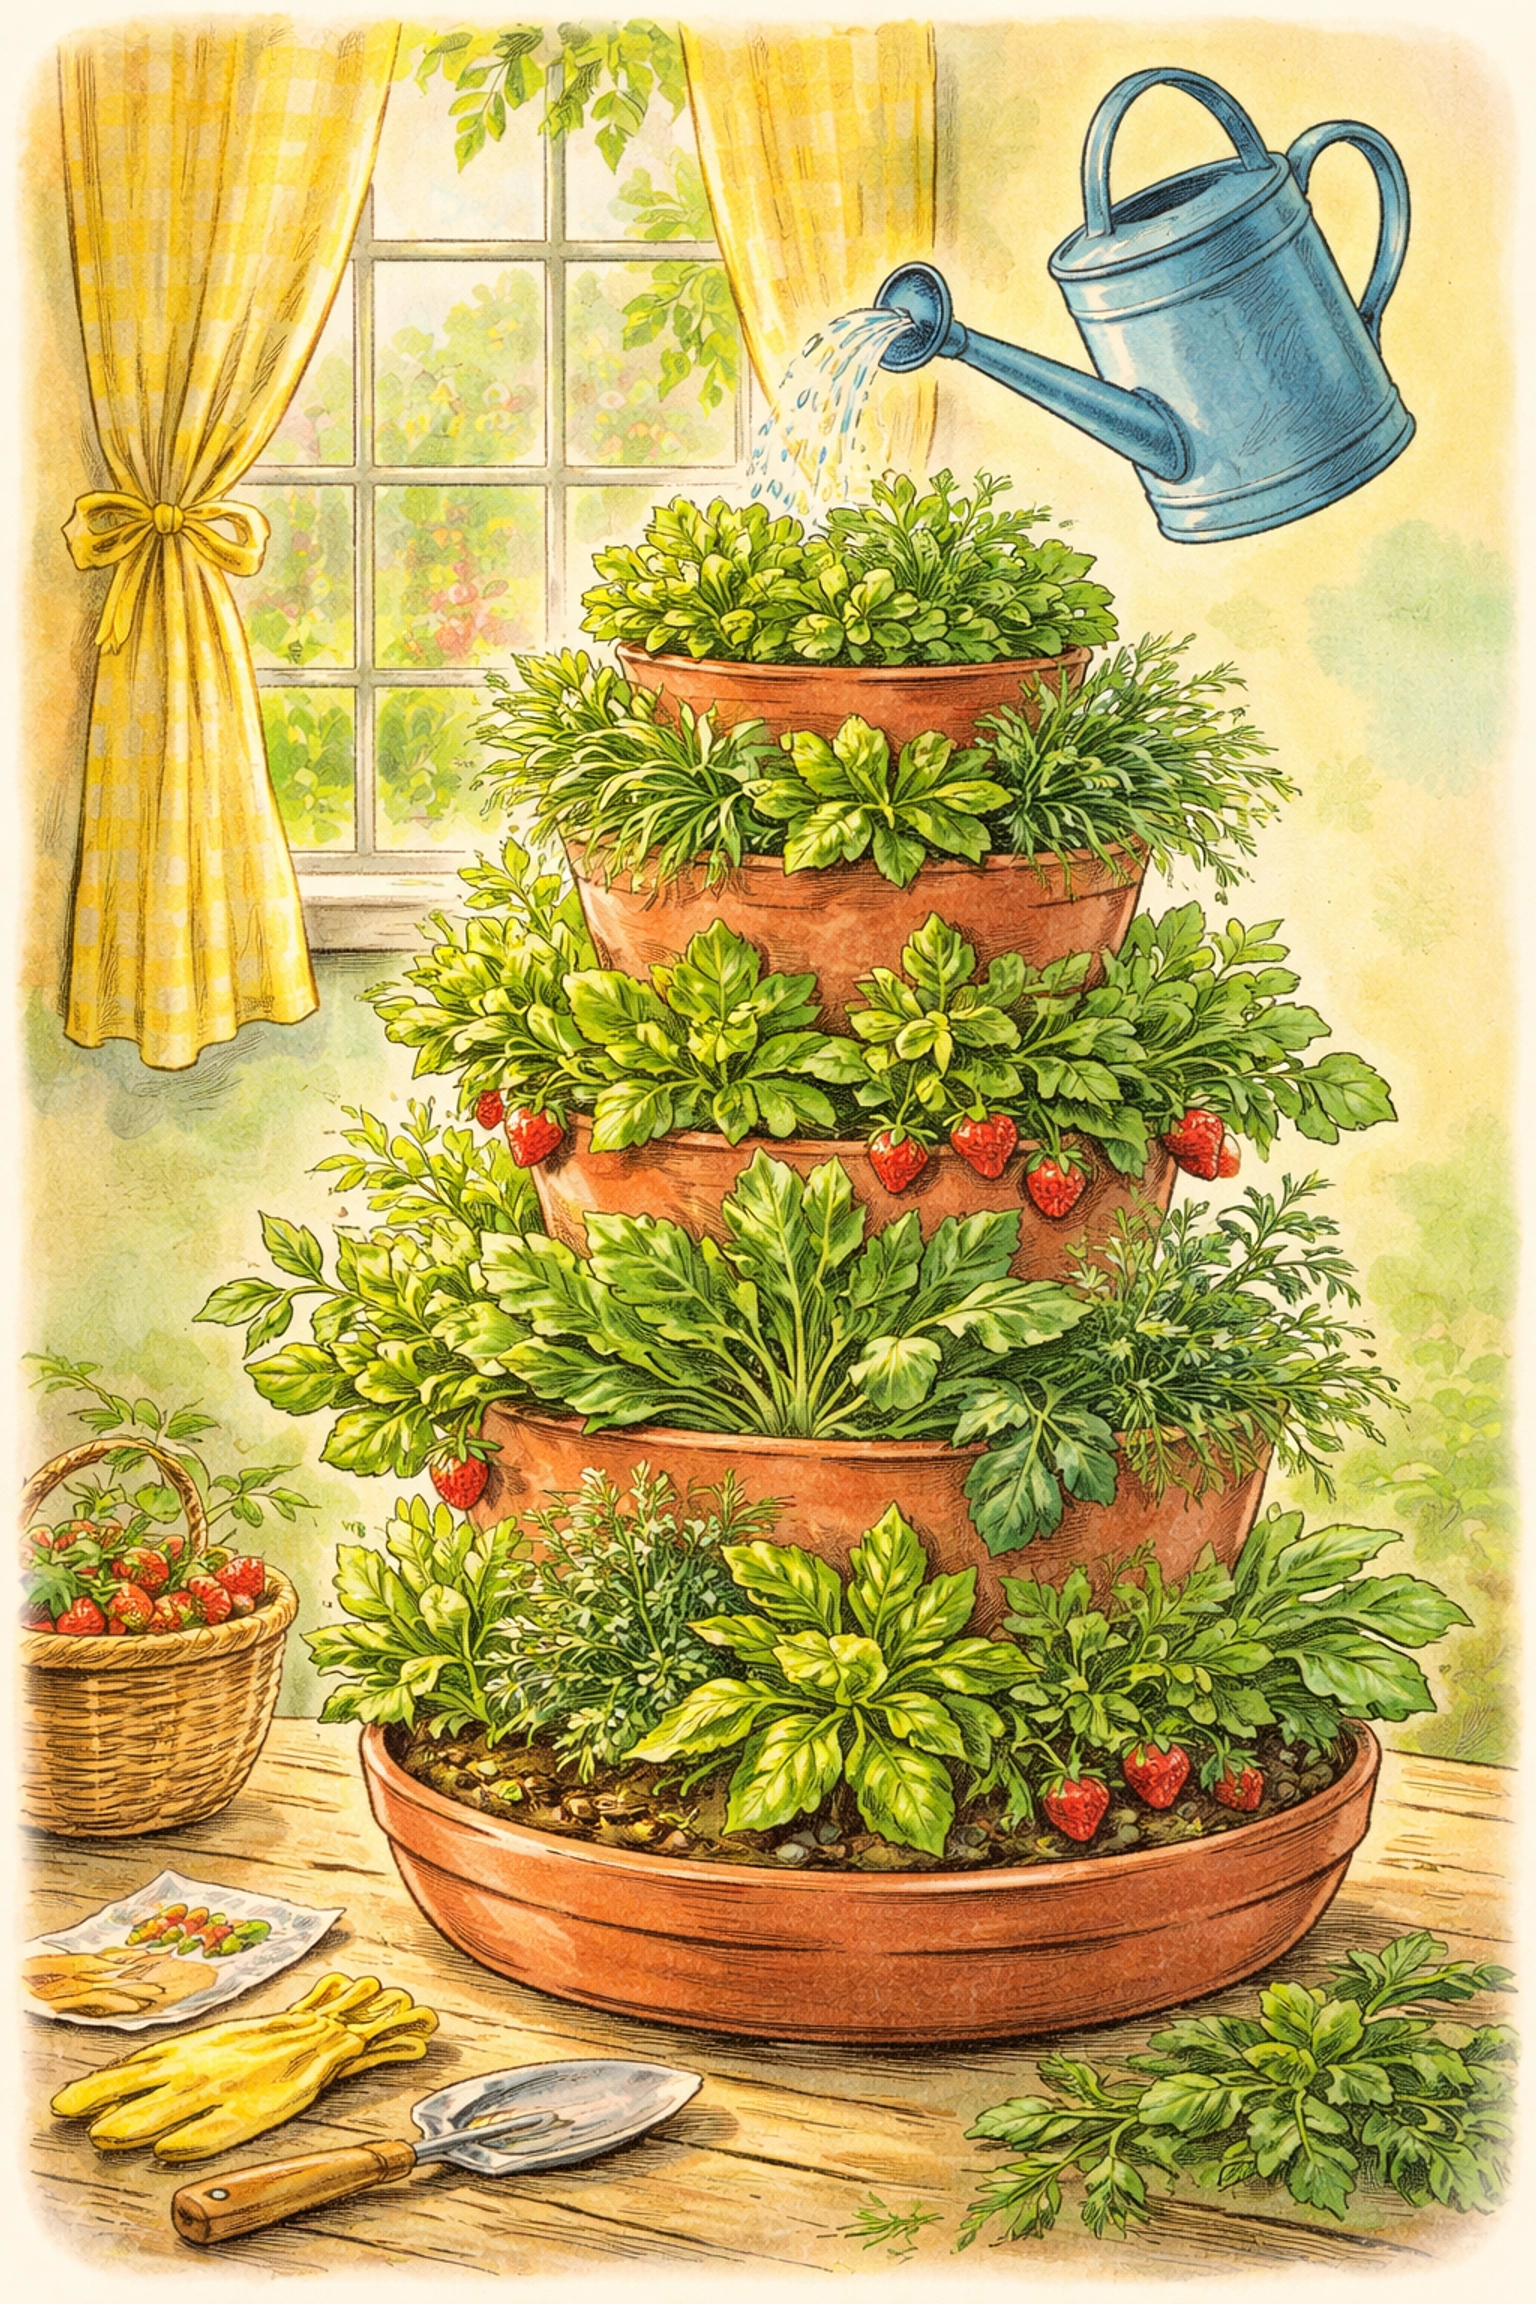
Yes, you can build a fully functional PVC pipe tower garden for under $50 in about an hour. This vertical growing system uses a single 4-6 inch diameter PVC pipe with staggered planting holes, allowing you to grow leafy greens, herbs, and small vegetables in a fraction of the floor space a traditional garden requires. It's an excellent family STEM project that combines basic construction skills with plant science.
What Exactly Is a PVC Tower Garden?
A PVC tower garden is a vertical growing system that stacks plants upward instead of spreading them across ground space. The concept is simple: take a tall PVC pipe, cut planting holes along its length, fill it with growing medium, and add an internal irrigation tube to deliver water from top to bottom.
These towers work beautifully for soil-based growing (great for beginners) or can be adapted for hydroponic systems that circulate nutrient solutions. For this project, we're focusing on the soil-based version because it's more forgiving, requires no pumps or electricity, and costs significantly less.
A single tower measuring about 3-4 feet tall can hold 12-18 plants in roughly one square foot of floor space. That's the magic of vertical farming: you're essentially stacking your garden upward.
Materials You'll Need (Budget Breakdown)
Before heading to the hardware store, here's everything required for this project. All materials are readily available at home improvement stores.
| Item | Estimated Cost |
|---|---|
| 4-inch diameter PVC pipe (5 feet long) | $8-12 |
| 4-inch PVC end cap | $3-5 |
| 1-inch PVC pipe for irrigation (4 feet) | $2-4 |
| 1-inch PVC end cap | $1-2 |
| PVC primer and cement | $8-10 |
| Potting soil (1 cubic foot bag) | $6-10 |
| Old cotton t-shirt or landscape fabric | Free or $3 |
| Total | $28-46 |
Tools Required
- Power drill with 3-inch hole saw attachment
- 1/4-inch drill bit
- Hacksaw or PVC pipe cutter
- Measuring tape
- Permanent marker
- Safety glasses
- Work gloves
Safety Note: Schedule 40 PVC is the standard white pipe used in plumbing and is widely used for garden projects. If you have concerns about growing edibles directly against plastic, you can line the planting holes with small fabric grow bags or choose food-grade containers for your seedlings.
Step-by-Step Construction Instructions
Step 1: Cut Your Main Tower Pipe
Start with a 5-foot length of 4-inch diameter PVC pipe. This height is ideal because it's tall enough to hold plenty of plants but short enough that you (and your kids) can reach the top without a ladder.
If your hardware store only sells 10-foot sections, ask them to cut it in half for you: most stores offer this service free.
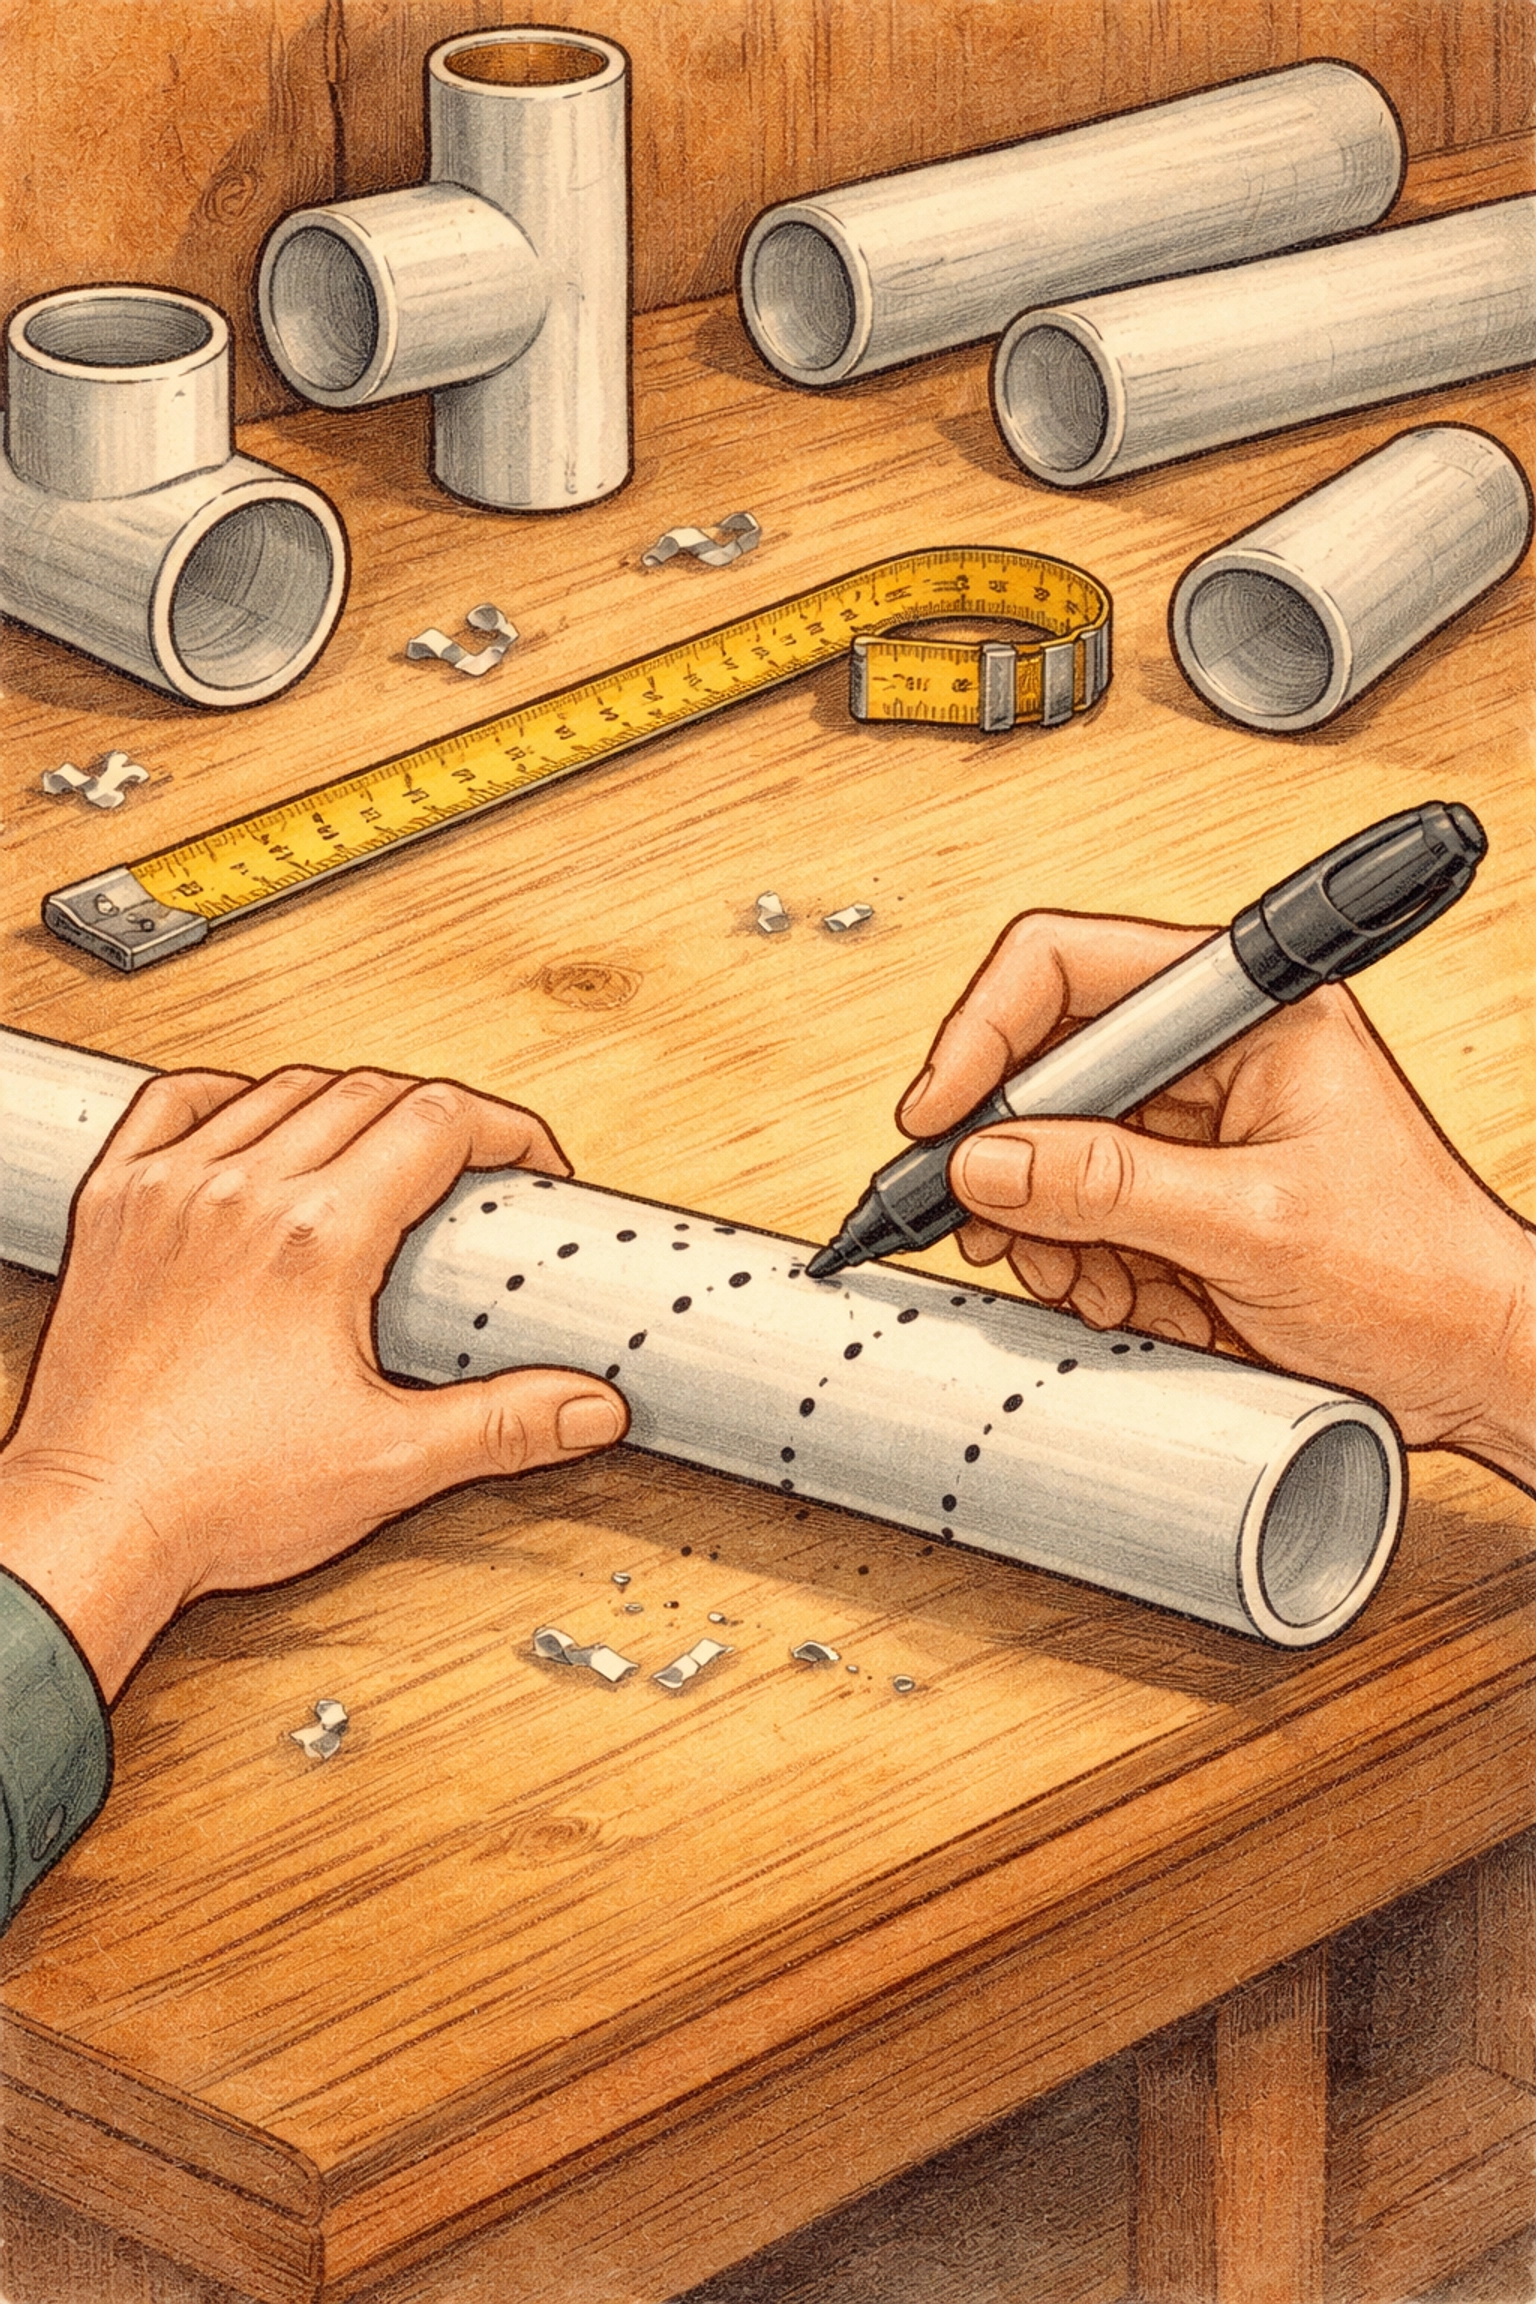
Step 2: Mark Your Planting Holes
Using a measuring tape and permanent marker, create a pattern for your planting holes:
- Start your first hole approximately 8 inches from the bottom of the pipe
- Space each subsequent hole 8 inches apart vertically (approximately 20 cm)
- Rotate the pipe 90 degrees for each row so holes spiral around the tower
- This staggered pattern prevents plants from competing for the same interior root space
A 5-foot tower will accommodate approximately 6 rows of holes, giving you 6 planting spots when using a single-hole-per-row spiral pattern, or 12-18 spots if you add 2-3 holes per level.
Step 3: Cut the Planting Holes
Put on your safety glasses. Using a power drill with a 3-inch hole saw attachment, carefully cut each marked hole. Work slowly and let the drill do the work: forcing it can crack the PVC.
After cutting, the holes will have rough edges. You can smooth these with sandpaper or, for a more professional finish, briefly heat the edges with a heat gun and smooth them with a gloved hand. The plastic becomes pliable when warm and hardens again as it cools.
Adult supervision required: This step involves power tools and should be performed by an adult, with children observing from a safe distance.
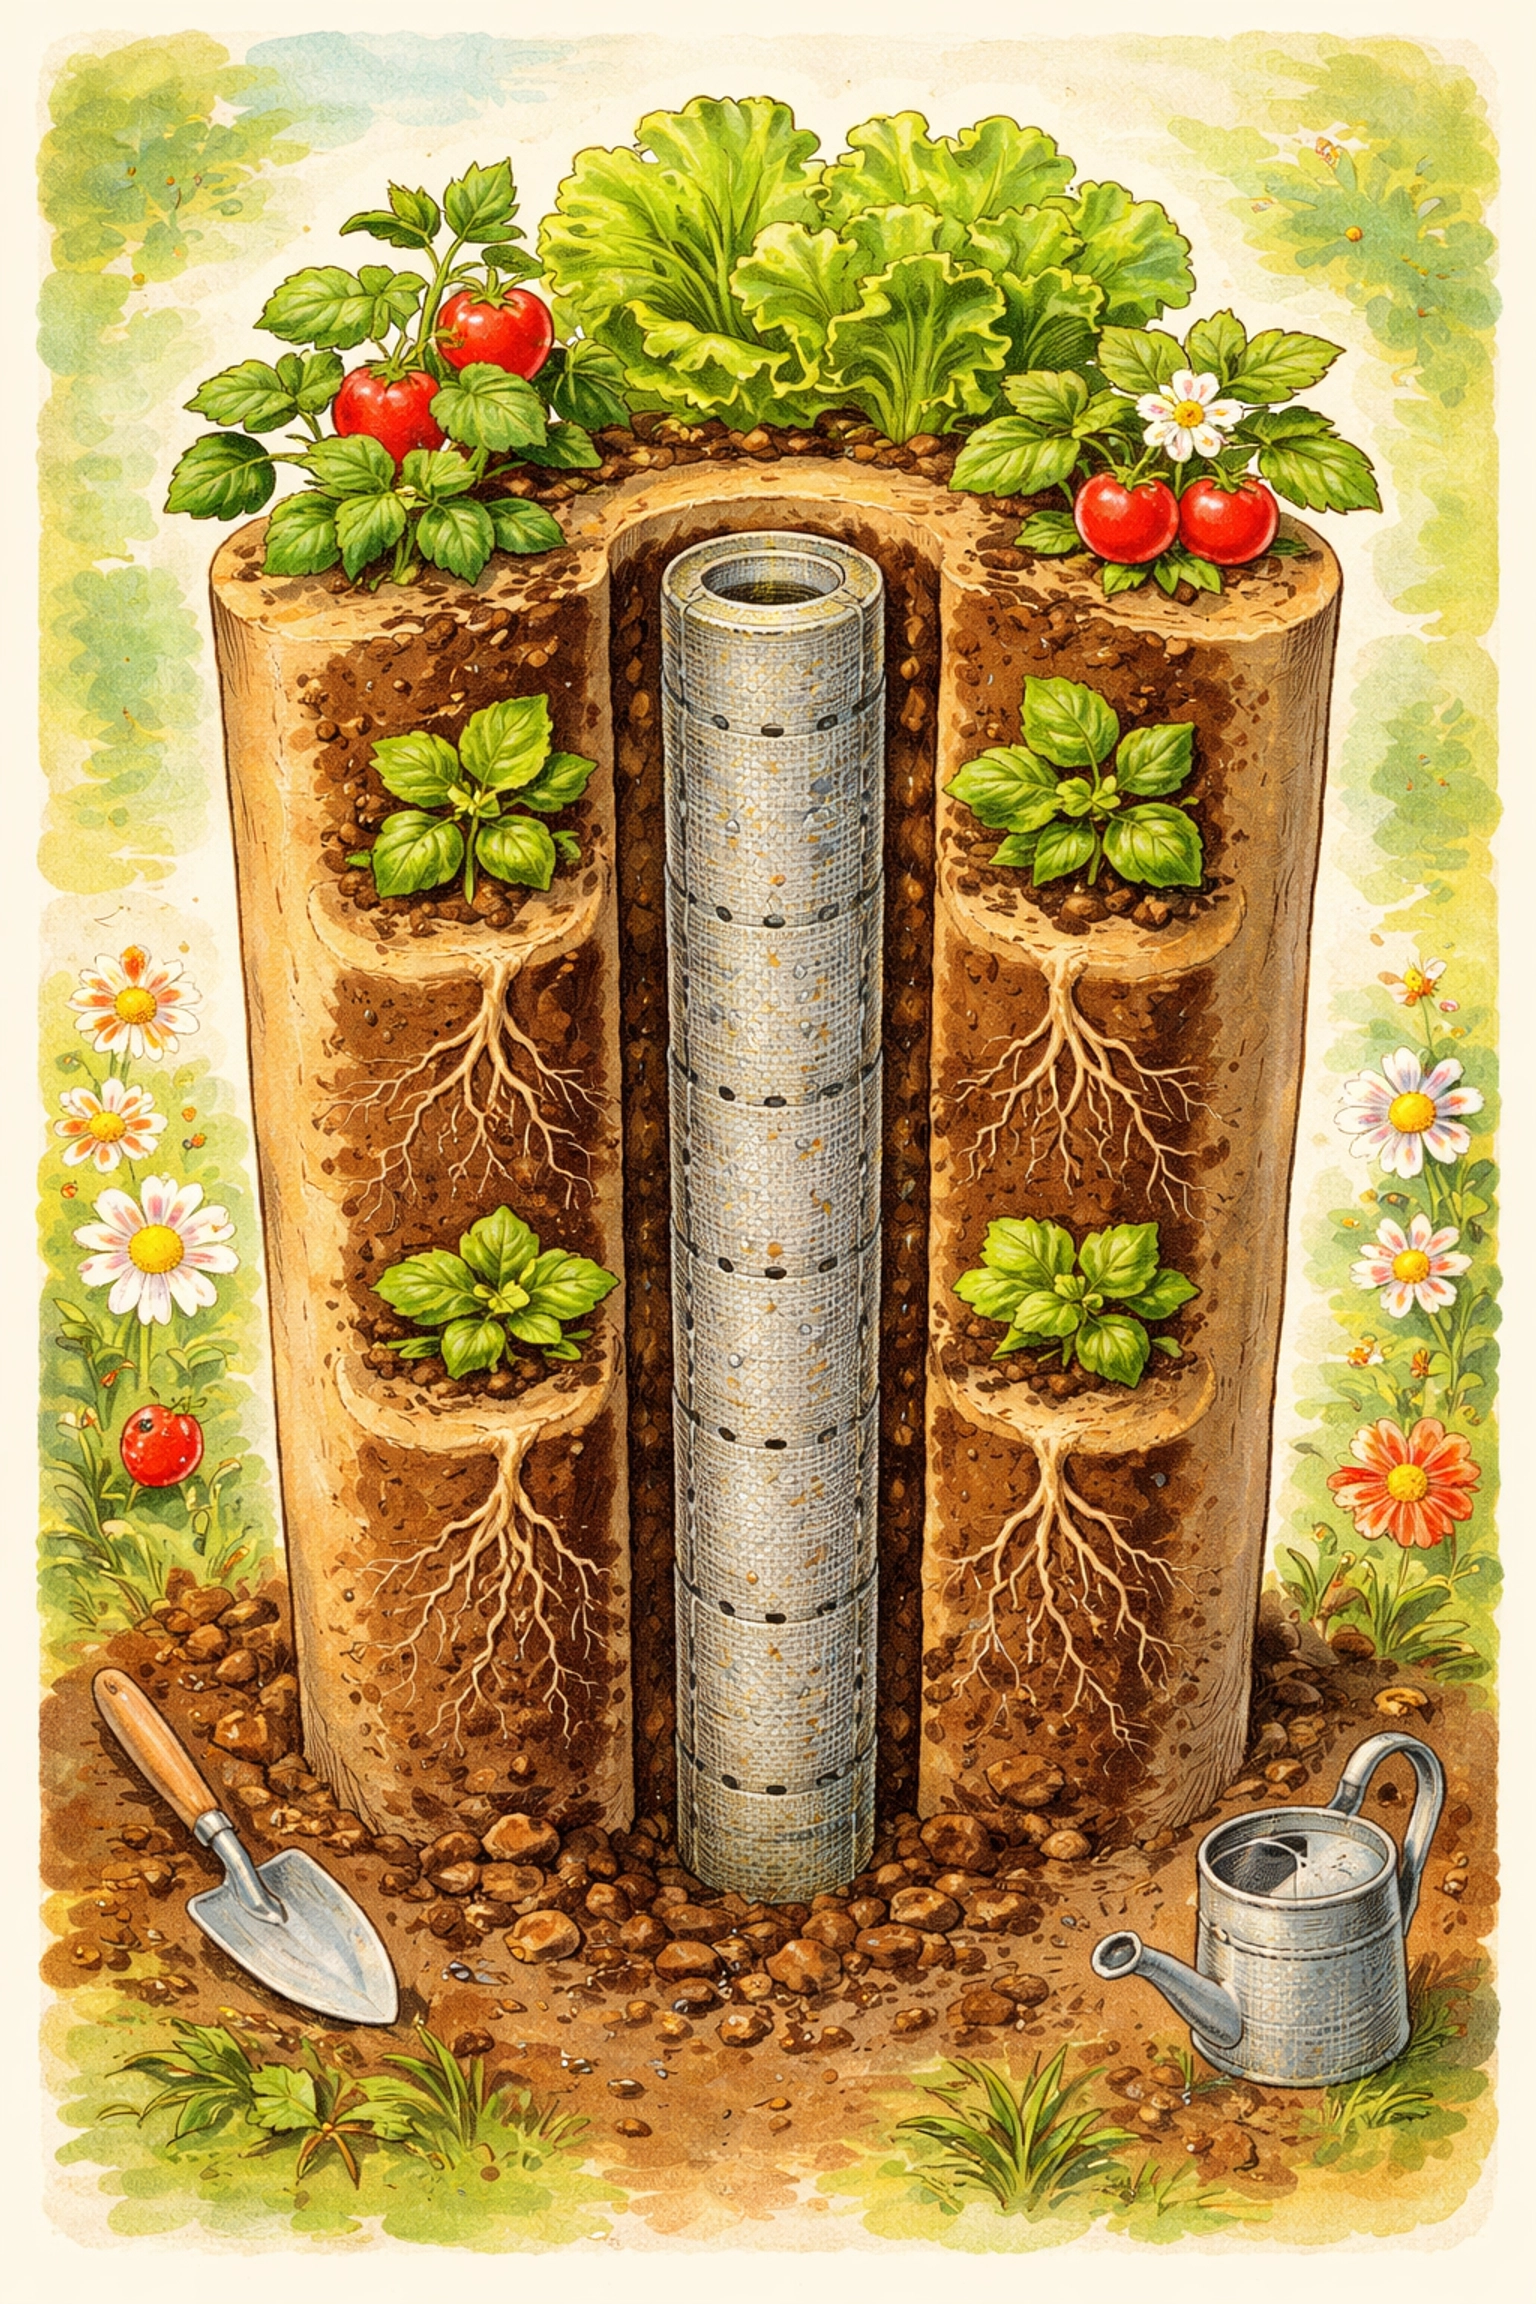
Step 4: Create the Internal Irrigation Tube
The irrigation tube ensures water reaches all plants, not just the ones at the top. Here's how to build it:
- Take your 1-inch PVC pipe (cut to about 4 inches shorter than your main tower)
- Drill 1/4-inch holes on three sides of the pipe, spacing them every 3 inches
- Start drilling about 12 inches from the top: this prevents water from immediately draining out before saturating the upper soil
- Cap the bottom end with a 1-inch PVC end cap (glue it with PVC cement)
- Wrap the entire drilled section with an old cotton t-shirt or landscape fabric, securing it with zip ties or wire
The fabric wrap is crucial: it prevents soil and roots from clogging your irrigation holes while still allowing water to seep through.
Step 5: Prepare the Base
Drill 4-6 drainage holes (1/4-inch each) into your 4-inch end cap. These prevent waterlogging and root rot.
Glue the end cap to the bottom of your main tower using PVC primer and cement. Follow the product instructions: typically you apply primer first, then cement, and hold the pieces together for 30 seconds. Allow 2 hours of curing time before adding soil.
Step 6: Assemble and Fill
- Stand your tower upright (you may need to secure it to a wall, fence, or build a simple wooden base for stability)
- Add 2-3 inches of gravel or small stones to the bottom for drainage
- Center your irrigation tube inside the tower
- Fill around the irrigation tube with potting soil, tamping gently every few inches
- As you reach each planting hole, insert your seedling from the outside, gently guiding roots inward
- Continue filling and planting until you reach the top
Leave the top of the irrigation tube accessible: this is where you'll pour water.
Best Plants for Your Tower Garden
Vertical towers excel with shallow-rooted, compact plants. Based on proven results, these crops perform exceptionally well:
Leafy Greens (Best Performers)
- Lettuce (all varieties)
- Spinach
- Kale
- Bok choy
- Mustard greens
- Swiss chard
Herbs
- Basil
- Cilantro
- Parsley
- Mint
- Chives
Compact Vegetables
- Strawberries
- Small pepper varieties
- Cherry tomatoes (in top position only, with support)
Avoid root vegetables like carrots or large sprawling plants like squash: they simply don't have room to develop properly in a tower system.
Watering Your Tower Garden
Pour water slowly into the top of your irrigation tube. The water will seep through the fabric and distribute throughout the soil column. For most climates, watering every 2-3 days is sufficient, but check soil moisture at the planting holes: if it feels dry an inch deep, it's time to water.
During hot summer months, towers may need daily watering since they have more exposed surface area than ground gardens.
Placement Tips
- Indoors: Position near a south-facing window or under grow lights (leafy greens need 10-12 hours of light daily)
- Outdoors: Choose a spot receiving at least 6 hours of sunlight
- Stability: Towers are top-heavy when fully planted: secure to a wall or build a weighted base
For more hydroponic space planning, check out our guide on how much space you need for a productive hydroponic garden.
Frequently Asked Questions
How long does a PVC tower garden last?
With proper care, PVC towers last 10+ years outdoors and indefinitely indoors. UV exposure eventually degrades outdoor PVC, so painting with exterior latex paint can extend lifespan.
Can I use any type of PVC pipe?
Use Schedule 40 PVC (the standard white plumbing pipe). Avoid colored PVC or pipes labeled for electrical conduit, as these may contain different additives.
How many plants can one tower hold?
A 5-foot tower with staggered holes typically holds 12-18 plants, depending on your hole pattern.
Is this project safe for kids?
The drilling and cutting steps require adult hands, but children can help with measuring, marking, planting, and watering. It's an excellent collaborative STEM project.
What's the total cost?
Most families complete this project for $30-45, well under the $50 budget.
References: PVC vertical gardening research compiled from established hydroponic and vertical farming methodologies, hardware specifications from Schedule 40 PVC manufacturing standards.


