


Quick Answer: DIY hydroponics for kids is surprisingly simple, you can build a basic system using a jar, net pot, clay pebbles, and nutrient-rich water. The Kratky method is the easiest approach because it requires no electricity or pumps. Kids place seeds in a net pot filled with growing medium, suspend it over water, and watch roots grow down to drink up nutrients. Most leafy greens sprout within days, making this a fast and rewarding science project for curious young growers.
What Is Hydroponics, Anyway?
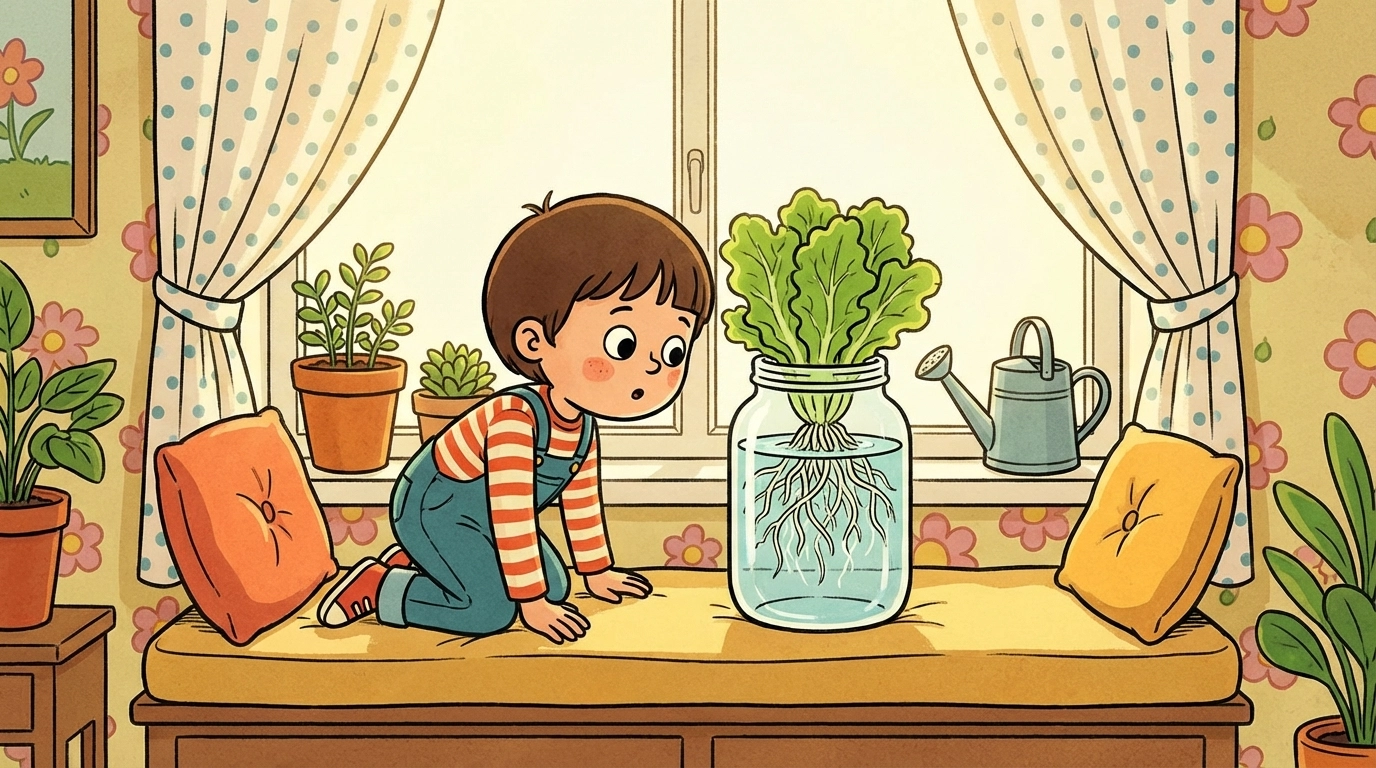
Hydroponics is a method of growing plants without any soil. Instead of digging in the dirt, plant roots hang directly in nutrient-rich water and absorb everything they need to grow big and strong.
Think of it like giving plants a smoothie instead of making them hunt for food in the ground. The nutrients are right there, easy to sip up, which means plants often grow faster than they would in a traditional garden bed.
For kids, this is pure magic. They can watch roots stretch and grow through clear containers, see leaves unfurl in record time, and harvest their own lettuce or herbs without ever getting muddy.
Why Hydroponics Is Perfect for Kids
There are plenty of reasons why hydroponic gardening clicks with young learners:
It's visual. Kids can actually see roots growing and water levels changing. There's no mystery happening underground: everything is right in front of them.
It's fast. Plants grown hydroponically often mature 25-50% faster than soil-grown plants. Impatient little gardeners get to see results quickly.
It's year-round. No waiting for spring. You can grow lettuce in January on your kitchen counter.
It teaches real science. pH levels, nutrient absorption, plant biology: hydroponics covers a lot of ground (pun intended) without feeling like a textbook.
It's low-mess. No dirt means less cleanup. Parents appreciate this one.
The Easiest Method: Kratky Hydroponics
If you're brand new to soil-free growing, the Kratky method is your best friend. It's a passive system that requires zero electricity, no air pumps, and minimal maintenance.
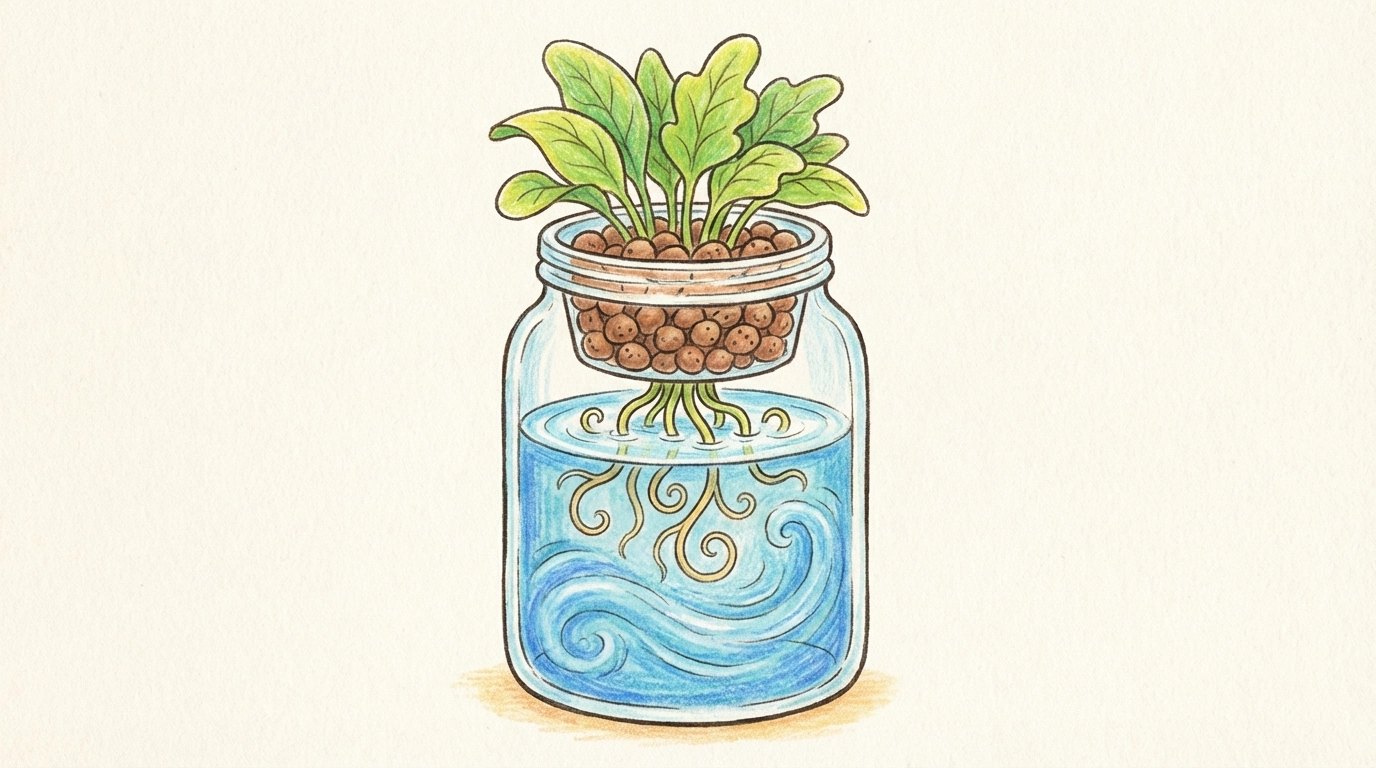
Here's the basic idea: you suspend a plant in a net pot over a container of nutrient water. The roots grow down into the water and drink up what they need. As the plant grows and consumes water, the level drops naturally, leaving an air gap that gives roots the oxygen they need.
That's it. No moving parts. No daily fiddling. Just set it up and let nature do its thing.
What You'll Need
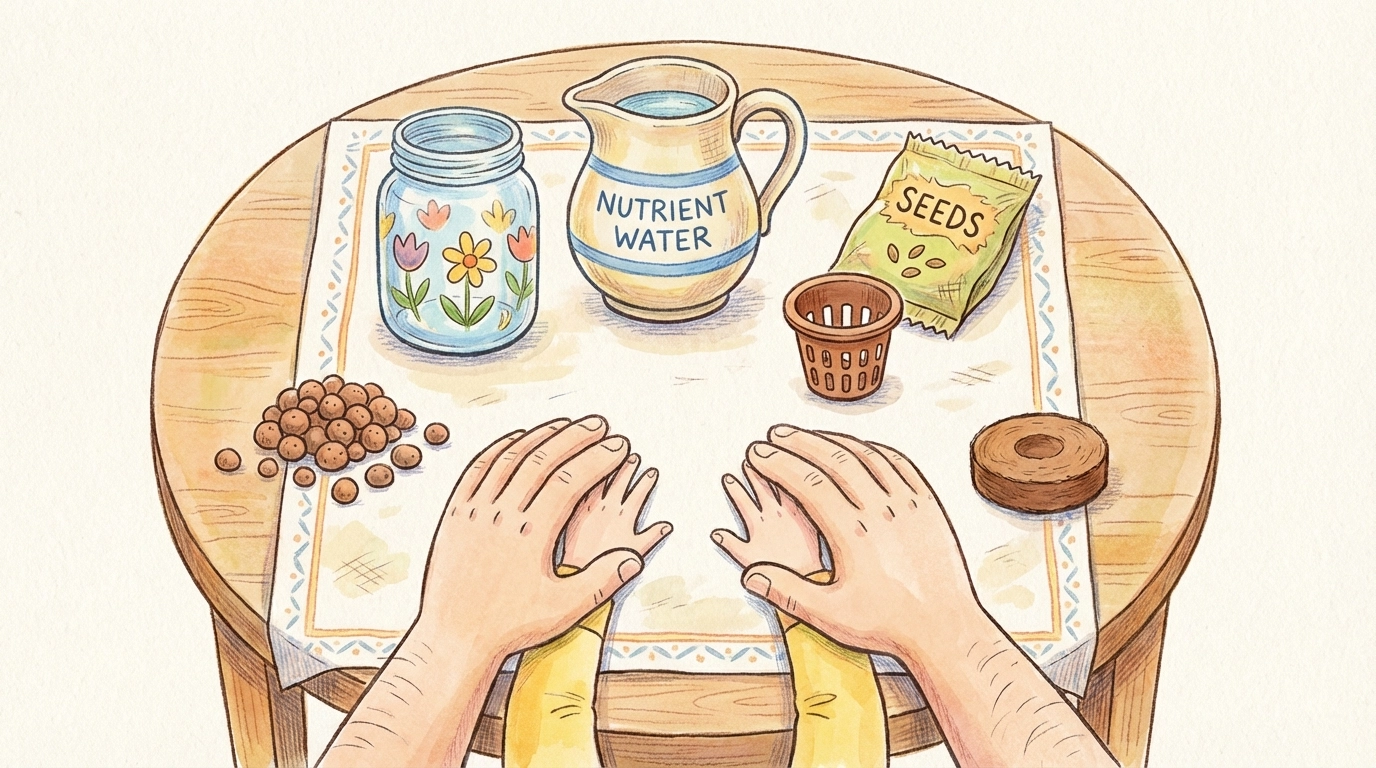
Gather these supplies before you start. Most can be found at garden centers, online, or even around your house:
- A tall glass jar, vase, or plastic container (mason jars work great for single plants)
- Opaque paint or tape to block light from the container
- Net pots (small pots with holes that let roots grow through)
- Clay pebbles or rockwool as a growing medium
- Coconut coir pellet to hold your seeds
- Hydroponic nutrient solution (follow package directions for mixing)
- Seeds (lettuce, basil, or spinach are beginner-friendly)
- Water
- Optional: pH testing strips and pH down solution
Step-by-Step: Build Your First Kratky System
Step 1: Prepare Your Container
Light encourages algae growth in water, which can compete with your plant for nutrients. To prevent this, you'll need to make your container opaque.
If you're using a clear glass jar or vase, spray paint the outside with a dark color. Here's a pro tip: before painting, place a strip of tape vertically down the side. When you remove the tape after painting, you'll have a little window to check water levels without disturbing the plant.
Let the paint dry completely before moving on.
Step 2: Fill the Net Pot
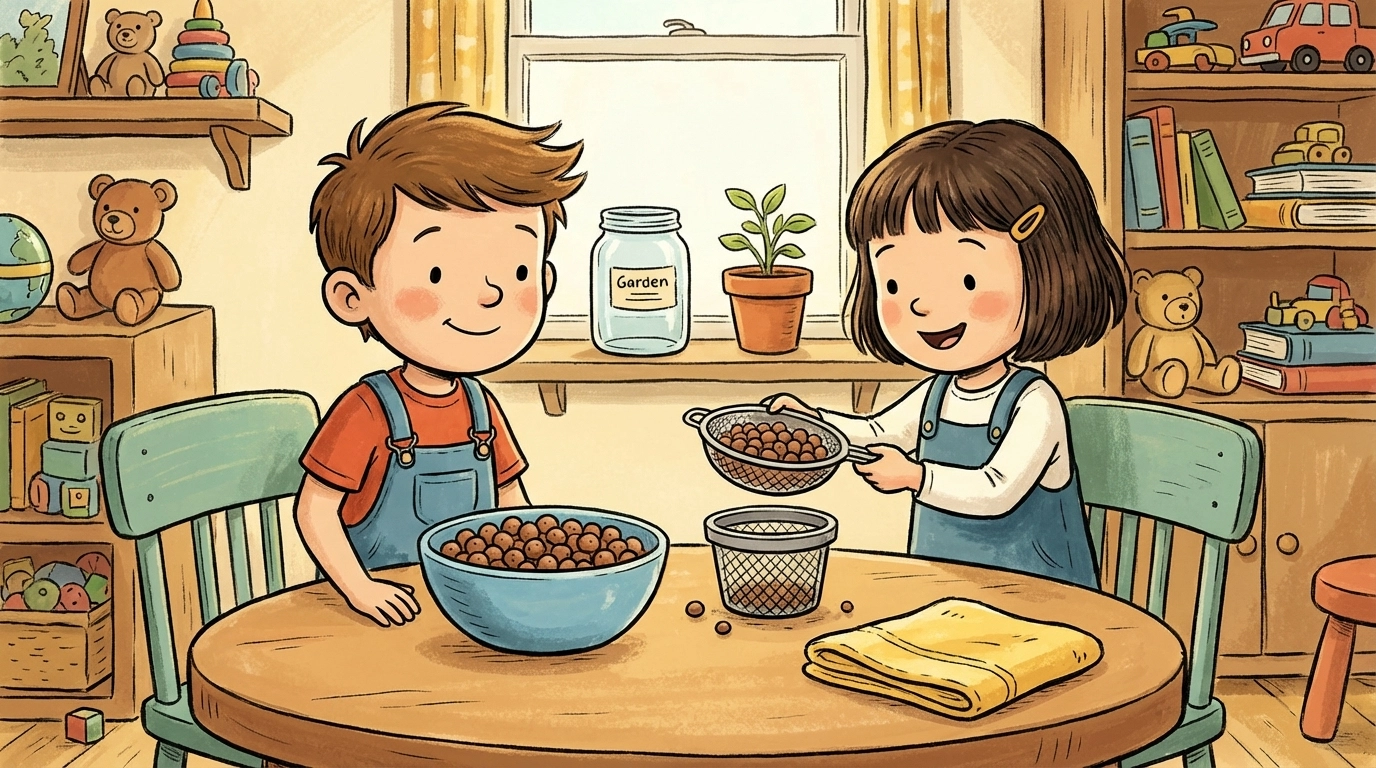
Take your net pot and fill it about three-quarters full with clay pebbles. These lightweight balls give roots something to anchor into while allowing water and air to flow freely.
Rinse the pebbles under running water for about 30 seconds to wash off any dust. Nobody wants cloudy water in their system.
Step 3: Add Your Seed Starter
Take a coconut coir pellet and run water over it until it expands and breaks apart into fluffy fibers. Spread this evenly over the top of your clay pebbles.
The coconut coir holds moisture and gives your seeds a cozy spot to germinate.
Step 4: Plant Your Seeds
Sprinkle 2-3 seeds onto the coconut coir. Don't bury them deep: just press them gently into the surface. If you're growing lettuce or basil, they need a bit of light to germinate, so keep them near the top.
Step 5: Mix Your Nutrient Solution
Fill a separate container with water and add your hydroponic nutrients according to the package instructions. This is important: too much nutrient solution can burn roots, and too little won't feed your plant properly.
If you have pH testing strips, check that your water is between 5.5 and 6.5 pH. Most tap water runs a bit high, so you may need a drop or two of pH down solution. This step is optional for beginners but helps your plants absorb nutrients more efficiently.
Step 6: Assemble Your System
Pour your nutrient solution into the painted container. Fill it high enough that when you set the net pot on top, the bottom of the pot sits about half an inch into the water.
The goal is for the coconut coir and the bottom pebbles to wick up moisture to your seeds. As roots develop, they'll grow down into the water on their own.
Step 7: Find the Right Spot
Place your hydroponic setup somewhere that gets bright, indirect light: a sunny windowsill works perfectly. If you don't have great natural light, a simple grow light can help.
Now you wait. Check the water level every few days through your viewing window. You shouldn't need to add water for a while, but keep an eye on it.
Best Plants for Kid-Friendly Hydroponics
Not all plants are created equal when it comes to hydroponics. For your first project, stick with fast-growing, forgiving options:
- Lettuce – Ready to harvest in about 30 days. Butterhead and loose-leaf varieties work great.
- Basil – Aromatic, fast-growing, and fun to use in cooking.
- Spinach – Grows quickly and kids can snack on the leaves.
- Mint – Nearly impossible to kill and smells amazing.
- Green onions – You can even regrow these from kitchen scraps.
Save tomatoes, peppers, and strawberries for when your family has more hydroponic experience. They need larger systems and more attention.
Tips for Hydroponic Success
Don't overcrowd. One plant per jar keeps things simple and gives roots room to spread.
Keep it dark. Algae is the enemy. Make sure no light reaches your water.
Check water levels weekly. As your plant grows, it drinks more. Top off with fresh nutrient solution when levels get low.
Be patient with germination. Seeds can take 5-10 days to sprout. Resist the urge to dig around and check on them.
Start small. One or two jars is plenty for your first attempt. You can scale up once you get the hang of it.
What Kids Learn from Hydroponics
Beyond the fun of growing their own food, kids pick up valuable lessons from hydroponic gardening:
- Plant biology – How roots absorb water and nutrients
- Chemistry basics – Understanding pH and nutrient balance
- Responsibility – Caring for a living thing over time
- Patience – Waiting for seeds to sprout and plants to mature
- Problem-solving – Troubleshooting when something doesn't look right
It's hands-on STEM learning disguised as a fun family project.
Ready for More DIY Projects?
Once your family catches the hydroponics bug, you might be curious about how much space you actually need to scale up. Check out our guide on how much space you need for a productive hydroponic garden for tips on expanding your soil-free setup.
FAQ: Hydroponics for Kids
- Do I need expensive equipment for hydroponics? Not at all! You can build a simple "Kratky" system using just a recycled jar, some water, and liquid nutrients. It’s the easiest way to start with kids.
- Can I use regular dirt in a hydroponic system? No, hydroponics is all about growing without soil. We use "growing media" like clay pebbles or rockwool to support the plants while their roots sit in water.
- What are the best plants for a beginner hydroponic setup? Lettuce and herbs like basil or mint are the superstars of hydroponics. They grow fast and are very forgiving for first-time growers.
References
- Kratky Method Hydroponics Guide – University of Hawaii Extension
- Deep Water Culture Basics – Hydroponics Research, Cornell University
- Beginner Hydroponic Nutrients – Maximum Yield Publications
- Best Plants for Indoor Hydroponics – National Gardening Association


