


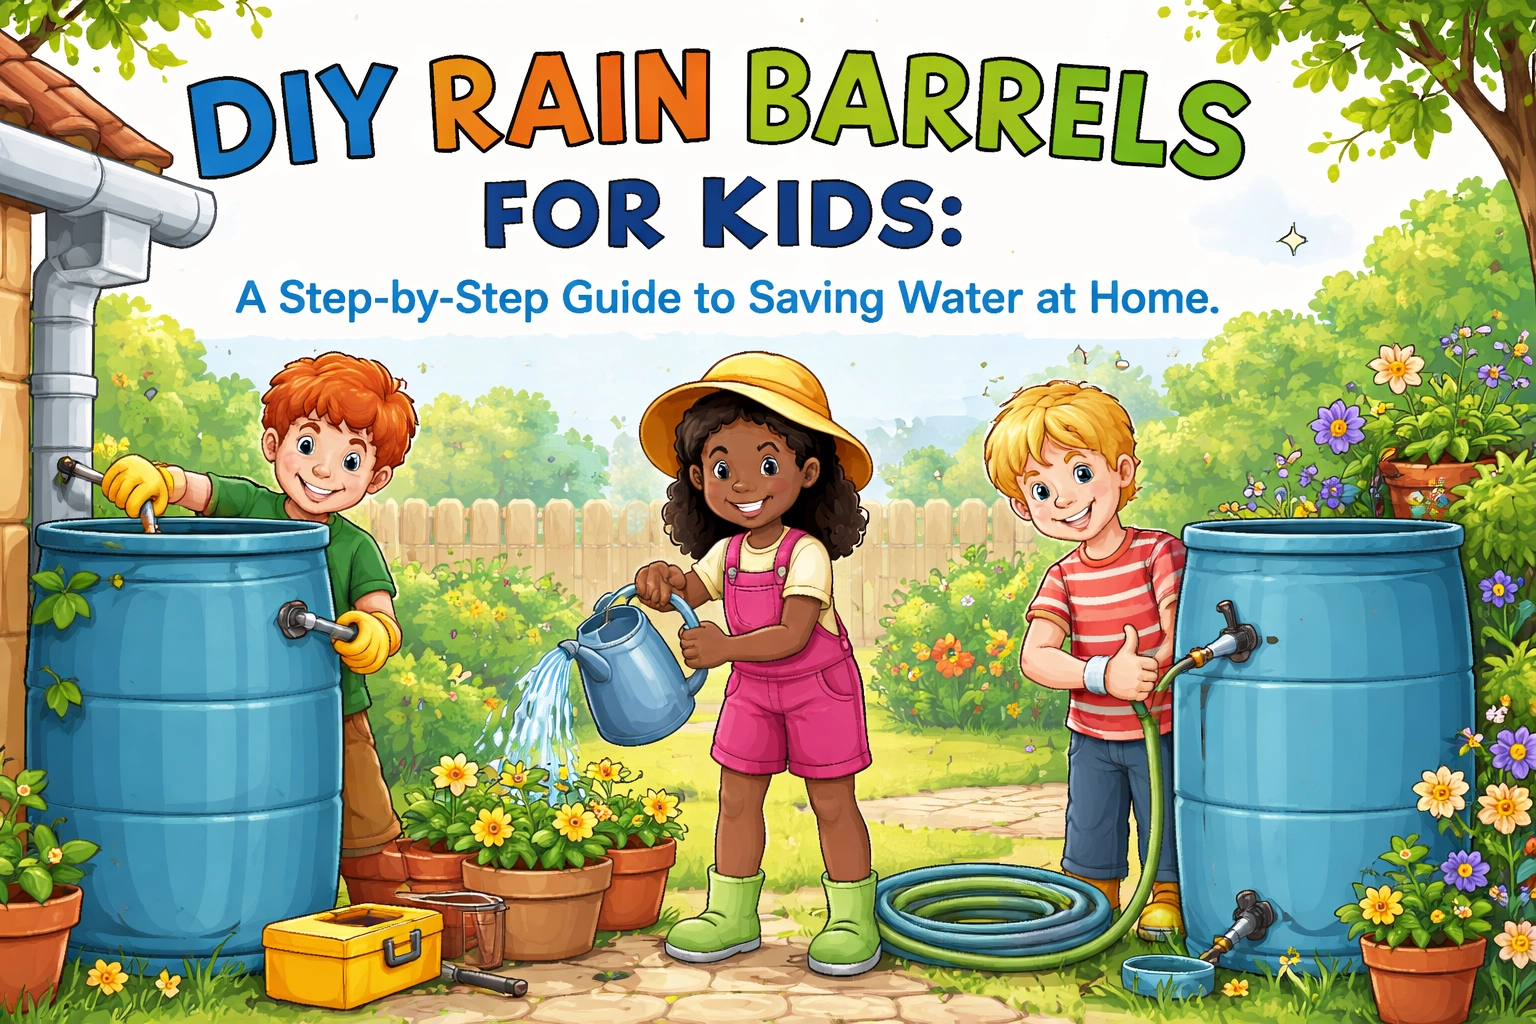
Building a rain barrel with your kids is one of the easiest and most rewarding ways to teach water conservation at home. Using simple materials like milk jugs or a plastic trash can, you can create a working rain collection system in about an hour: for under $35. Kids get hands-on experience with basic engineering, and your garden gets free water every time it rains.
Let's roll up our sleeves and get building.
Why Build a Rain Barrel with Kids?
Before we grab the drill, let's talk about why this project matters.
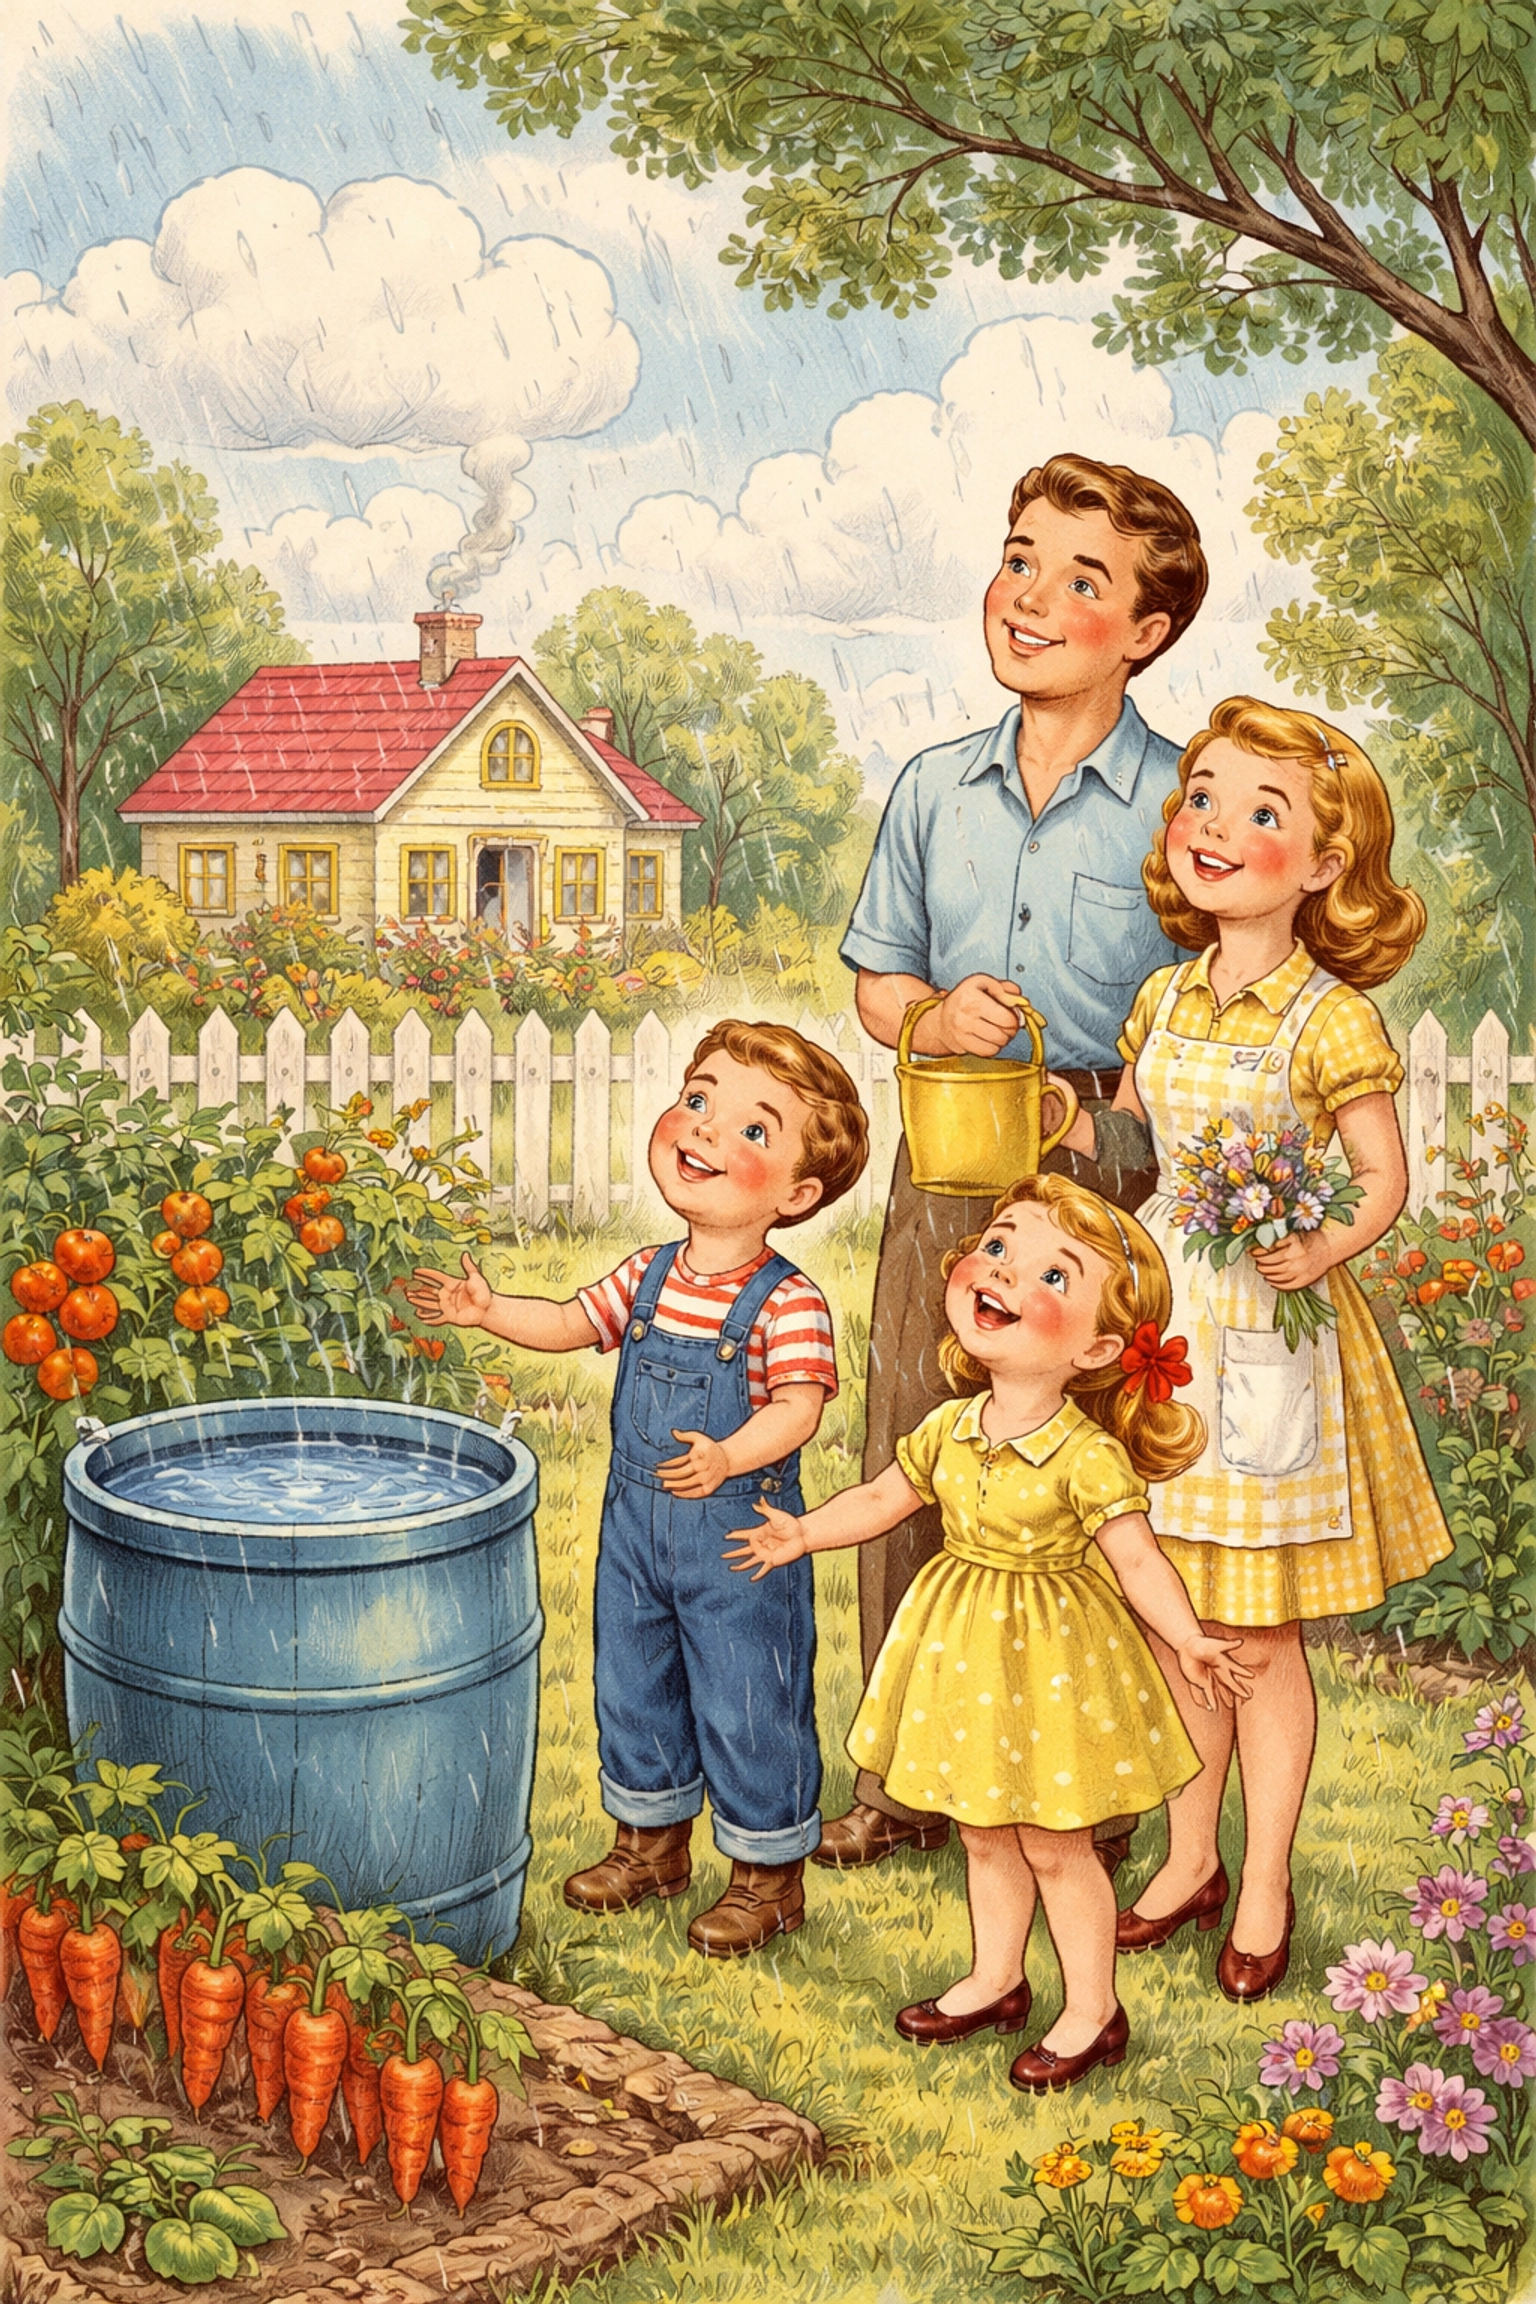
Every time it rains, thousands of gallons of water rush off your roof and disappear down the storm drain. A single rain barrel can capture 50+ gallons from one good rainstorm. That's free water for your vegetable garden, flower beds, or even washing the car.
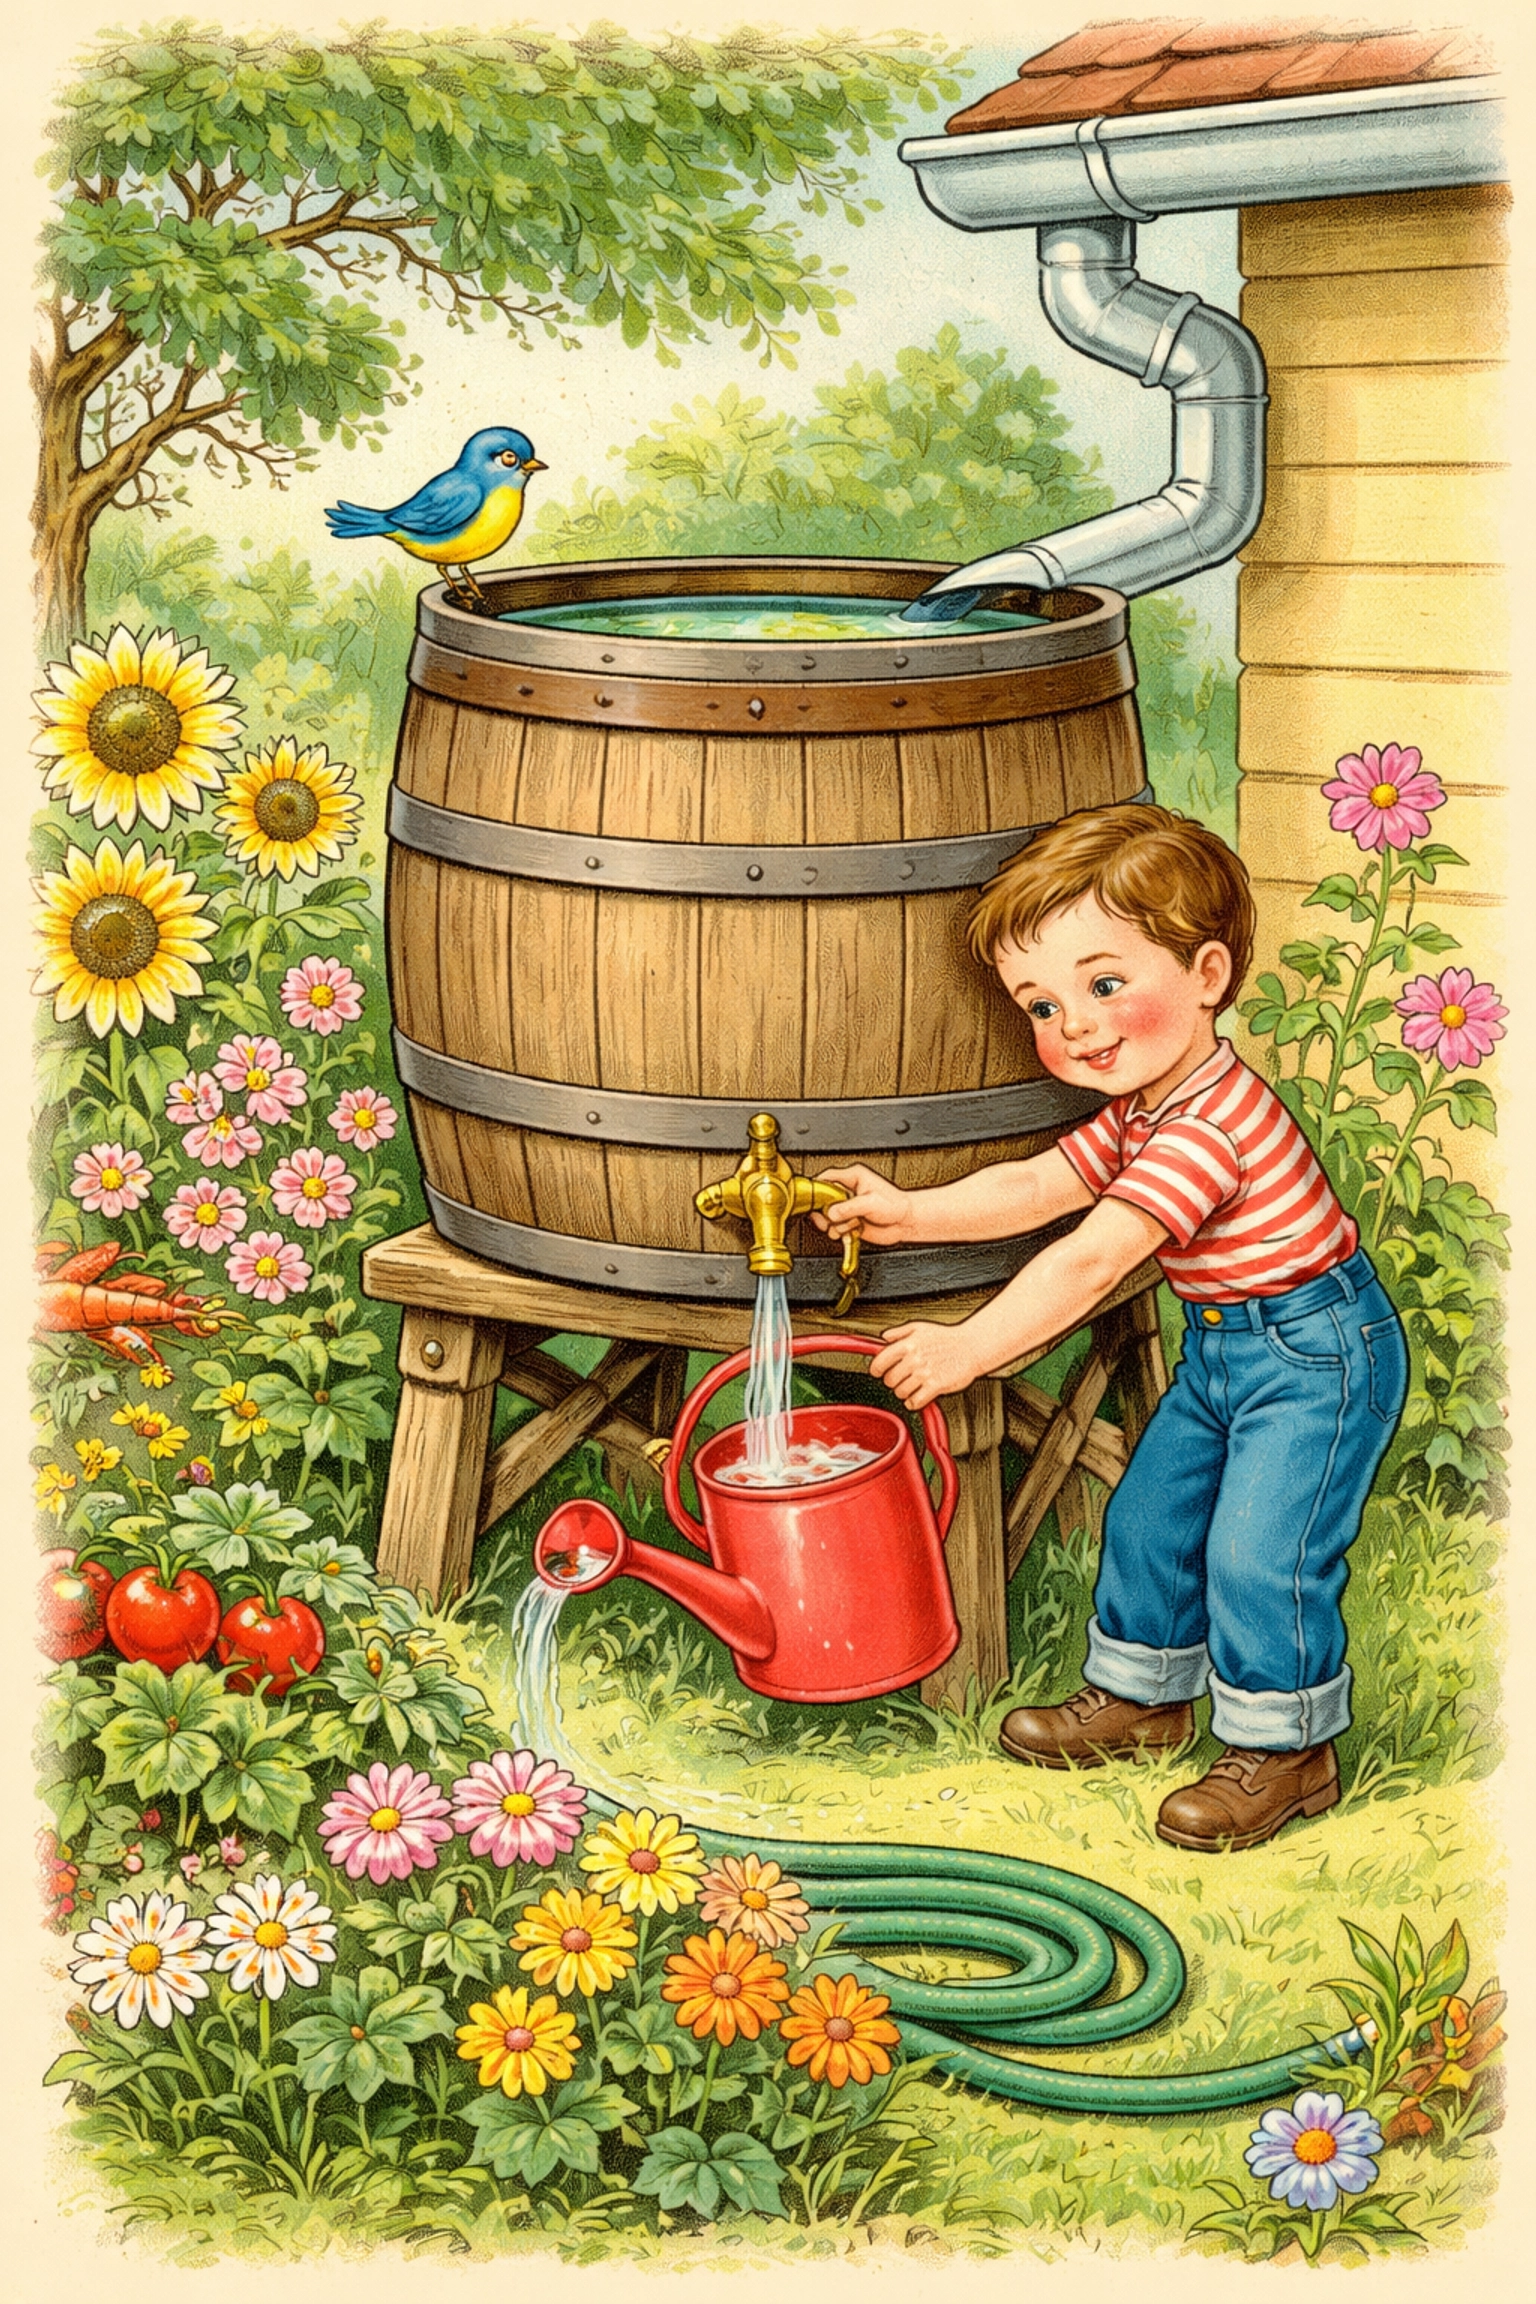
For kids, the magic is in the cause-and-effect. They watch the clouds roll in, hear the rain on the roof, and then: like a little miracle: they turn a spigot and water comes out. It's science they can touch, and conservation they can see working in real time.
Plus, building something useful together? That's the kind of afternoon that sticks with a kid.
Two Easy Rain Barrel Projects (Pick Your Adventure)
We're going to cover two different builds today. Choose the one that fits your family:
The Milk Jug Mini-Barrel – Perfect for younger kids (ages 4-8). Small scale, minimal tools, instant gratification.
The Trash Can Rain Barrel – Great for older kids (ages 8+). Bigger capacity, more steps, and a real sense of accomplishment.
Both work. Both teach. Pick your path.
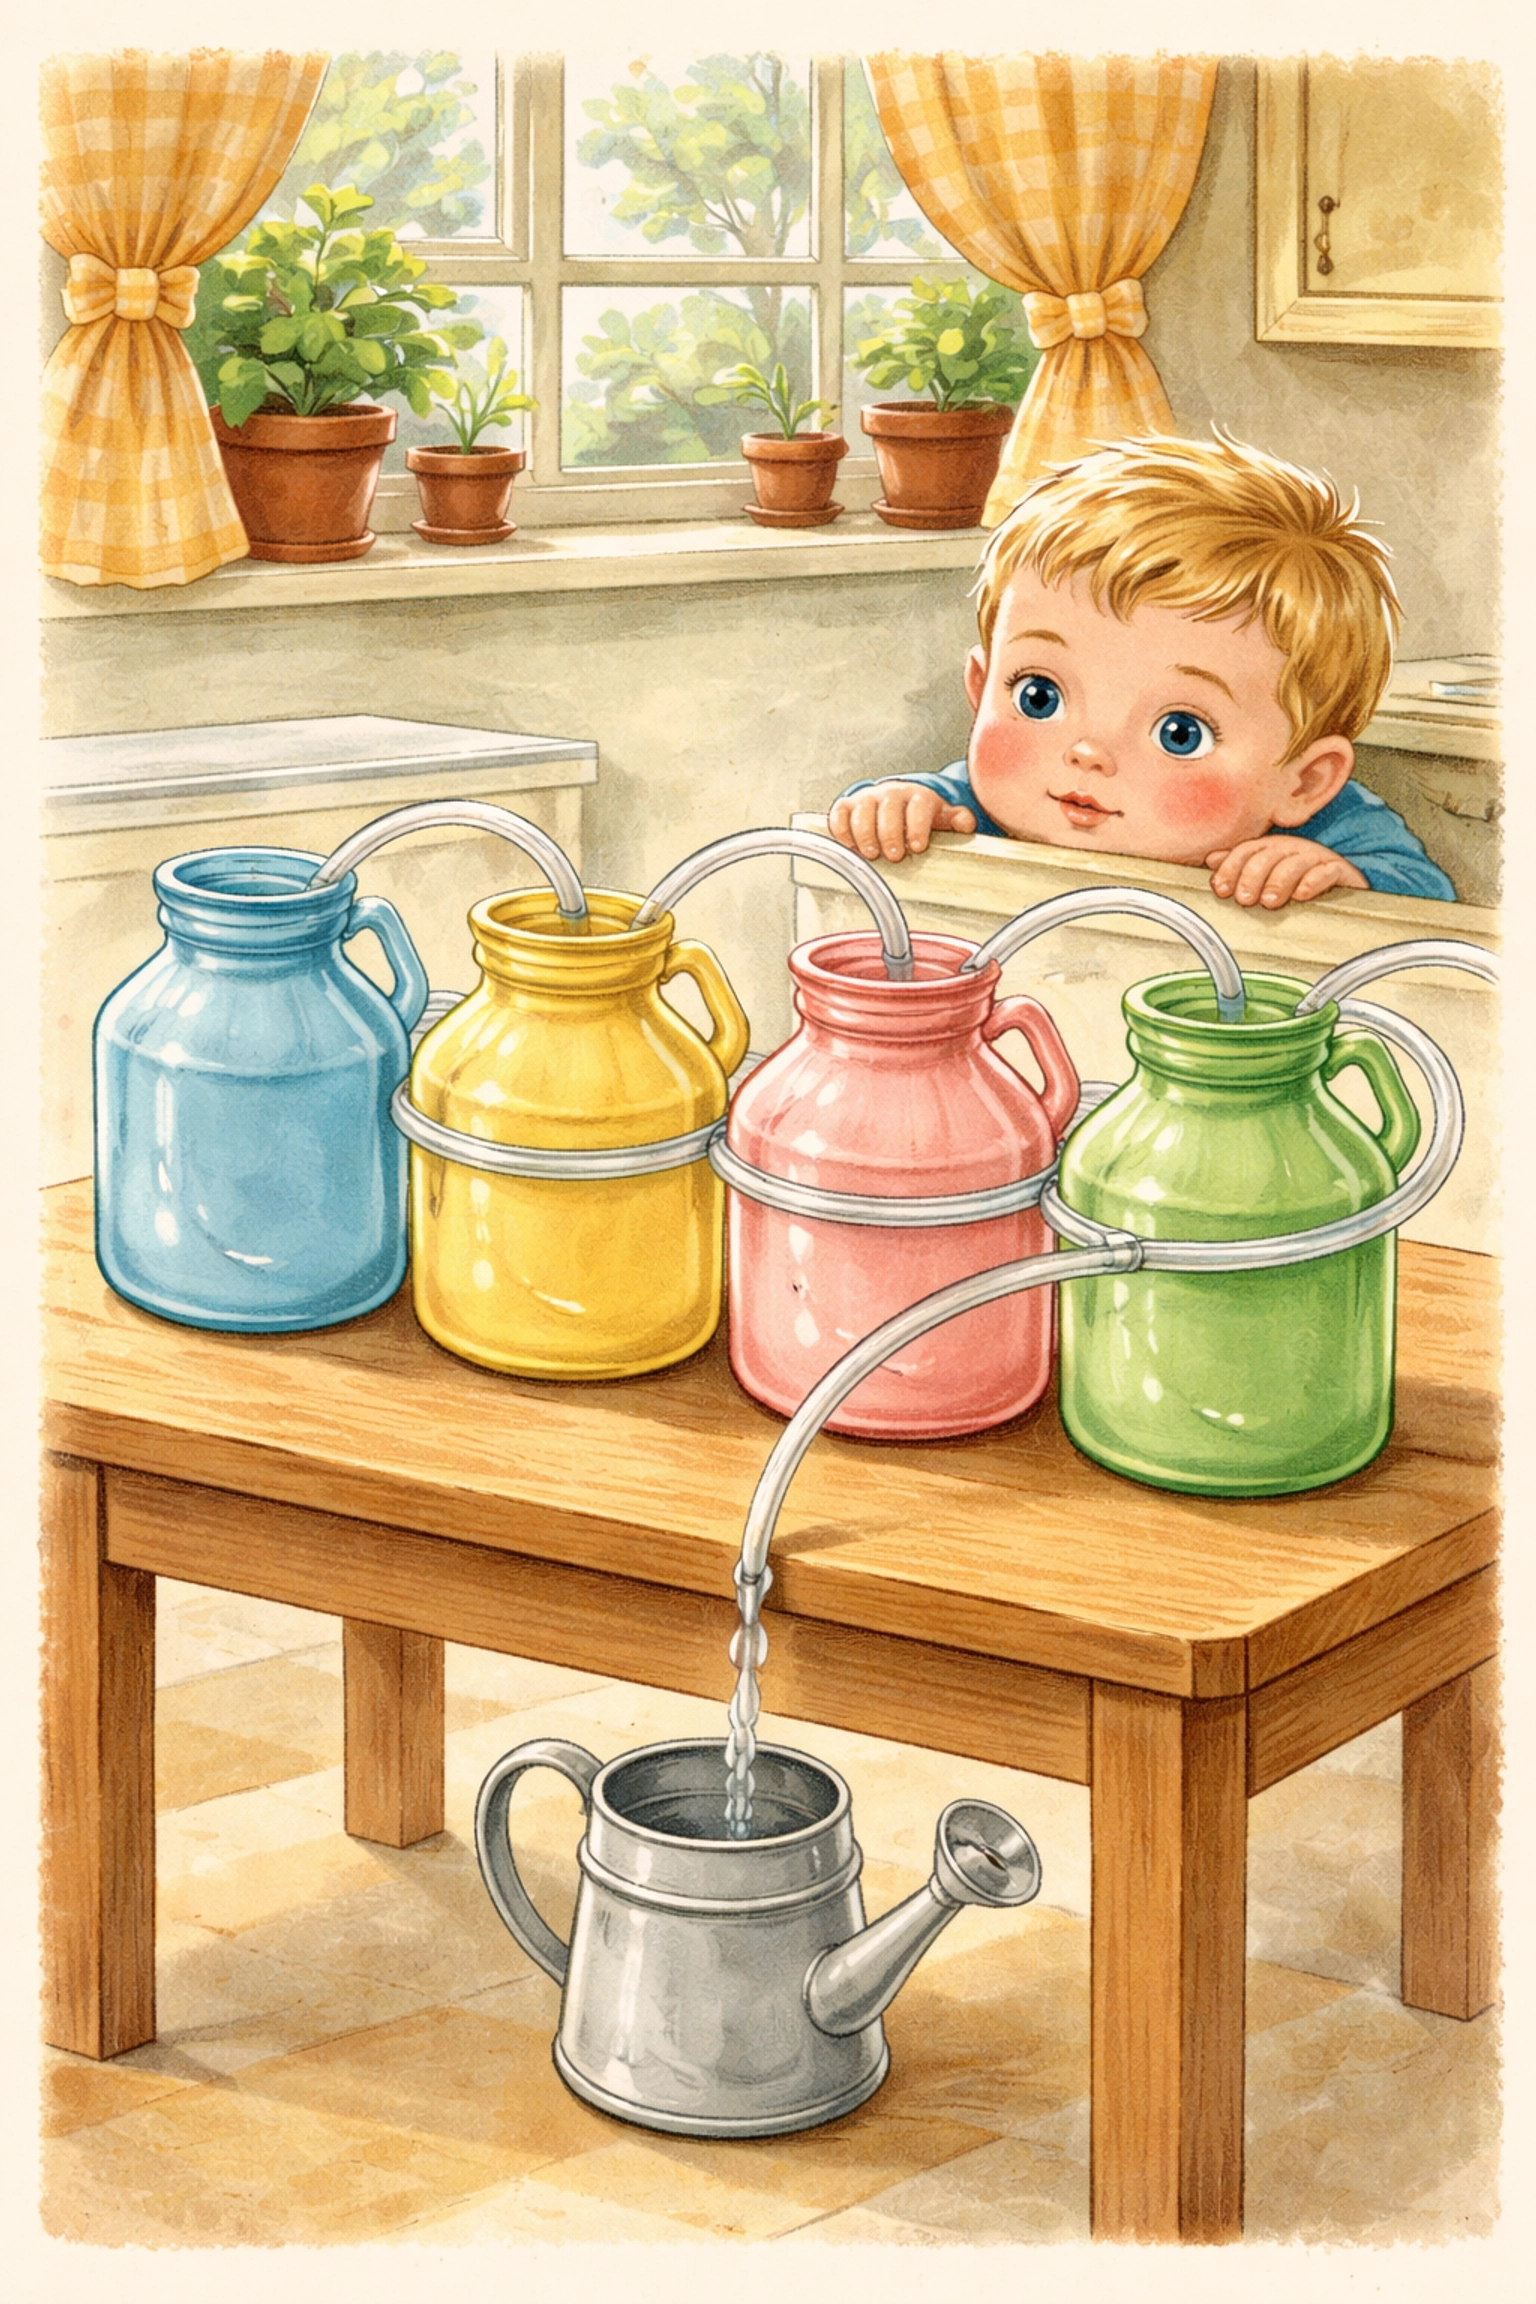
Project #1: The Milk Jug Mini-Barrel
This is the gateway project. Four milk jugs connected together give you a 4-gallon rain catcher that's perfect for watering container plants or a small herb garden.
Materials You'll Need
- 4 empty one-gallon milk or water jugs (cleaned and dried)
- 6 feet of ½-inch plastic tubing
- Craft knife and scissors
- Ruler and marker
- Gorilla Glue
- Sugru moldable glue (or waterproof silicone)
- Large alligator clip (for controlling flow)
- A cutting board
Step-by-Step Instructions
Step 1: Mark Your Connection Points
Using your ruler and marker, draw a 2" × 2" square on one side of each milk jug. Position these squares so when the jugs sit side by side, the squares line up at the same height.
Step 2: Cut the Openings
Place each jug on a cutting board. Using your craft knife, carefully cut along three sides of each square: leaving the bottom edge attached. This creates a flap that folds inward.
Parent tip: Handle the knife work yourself for younger kids. Let them do the marking and measuring.
Step 3: Connect the Jugs
Arrange your four jugs in a row. Cut your plastic tubing into sections and thread it through the openings to connect all four jugs. The tubing allows water to flow freely between all containers, so they fill and drain evenly.
Step 4: Seal It Up
Apply Gorilla Glue around each connection point where the tubing meets the plastic. Then use Sugru or waterproof silicone to create a watertight seal. Let it cure according to package directions (usually 24 hours).
Step 5: Add Your Drain
Poke a small hole near the bottom of the last jug in your chain. Insert a short piece of tubing with an alligator clip attached. The clip acts as your on/off valve.
Step 6: Position and Collect
Set your mini-barrel under a small drip point: maybe where water runs off a shed roof or garden umbrella. After the next rain, show your kids how to open the clip and water a plant. Watch their eyes light up.
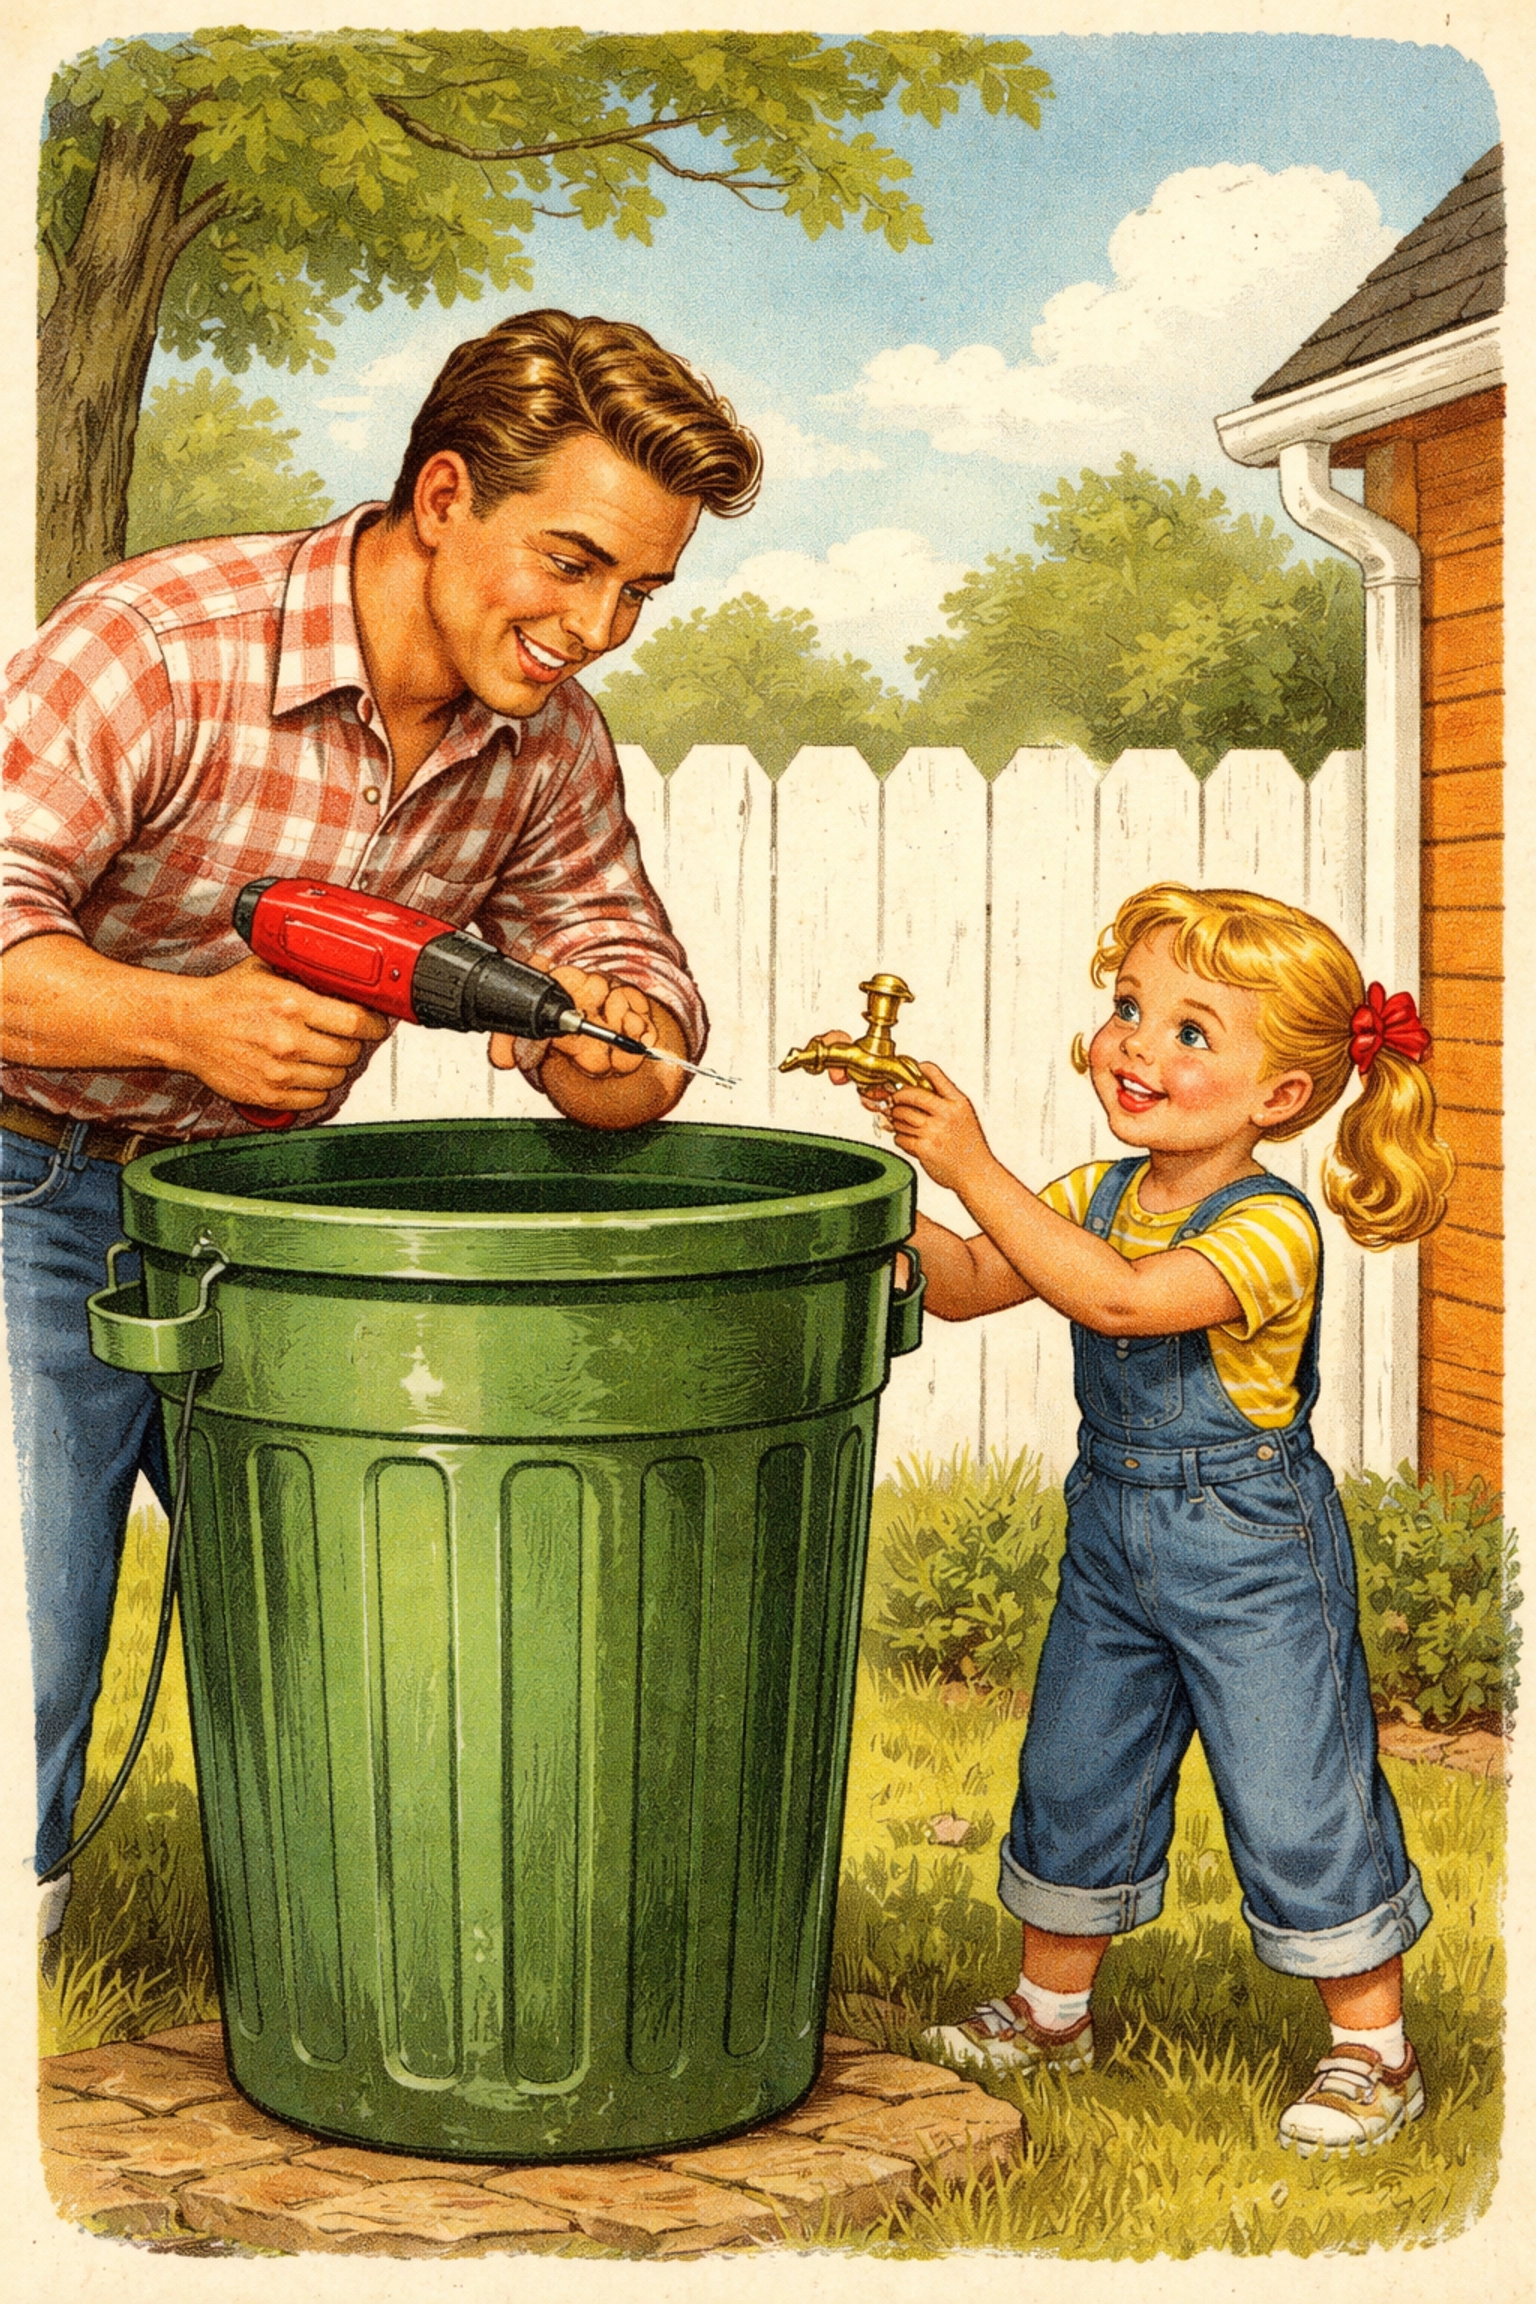
Project #2: The Trash Can Rain Barrel
Ready for something bigger? A standard plastic trash can makes an excellent rain barrel that can hold 20-60 gallons depending on size. This one takes a bit more effort, but the payoff is huge.
Materials You'll Need
- 1 sturdy plastic trash can with lid (20-60 gallon capacity)
- Boiler drain spigot (¾-inch threaded)
- Teflon tape
- Drill with 15/16" bit
- ¾-inch pipe tap (optional, for threading)
- Wrench
- Window screen or mesh
- Pressure-treated lumber for the stand (4×4 posts and 2×6 boards)
- Bungee cords
- Metal hooks or brackets
Step-by-Step Instructions
Step 1: Drill the Spigot Hole
Using your 15/16" drill bit, make one hole near the bottom of the trash can: about 2-3 inches up from the base. This slight elevation keeps sediment from clogging your spigot later.
Safety note: Secure the trash can so it doesn't spin while drilling. Have kids stand back during this step.
Step 2: Thread the Hole (Optional but Recommended)
If you have a ¾-inch pipe tap, use it to create threads inside the hole. This gives your spigot something to grip and creates a tighter seal. No tap? You can still make it work: just be generous with sealant.
Step 3: Install the Spigot
Wrap the threaded end of your spigot with Teflon tape (3-4 wraps). Screw it firmly into the hole using your wrench. Don't overtighten: plastic can crack.
Step 4: Test for Leaks
Pour a few gallons of water into the barrel before you install it. Check around the spigot for drips. Fix any leaks now with additional sealant or tape.
Step 5: Prepare the Lid
Your lid needs to let rain in while keeping bugs and debris out. Cut a large opening in the center of the lid and secure window screen over it using waterproof adhesive or a hose clamp. Alternatively, drill small drainage holes and cover the entire top with mesh.
Step 6: Build a Simple Stand
A rain barrel needs to be elevated so you can fit a watering can or bucket under the spigot. Cut two 4×4 posts to about 12 inches each. Lay two 2×6 boards across the top to create a platform. The barrel sits on the platform.
Get the kids involved here: they can help measure, hold boards, and hand you screws.
Step 7: Secure Everything
Full rain barrels are heavy and top-heavy. Attach metal hooks to your stand and use bungee cords through the barrel's handles to keep it stable. Wind and curious kids won't tip it over.
Step 8: Connect to Your Downspout
Position your barrel under a gutter downspout. For a cleaner setup, you can install a diverter kit that channels water directly into the barrel and redirects overflow back to the downspout when the barrel is full.
Tips for Success
- Use collected rainwater within a week to prevent algae growth and mosquito breeding.
- Add a few drops of vegetable oil to the water surface if mosquitoes become a problem: it prevents larvae from breathing.
- Never use rain barrel water on edible plants if your roof has been treated with chemicals or has asphalt shingles. Stick to flowers and lawns.
- Empty barrels before winter in cold climates to prevent cracking from frozen water.
Keep the Learning Going
Once your rain barrel is up and running, challenge your kids to track how much water they collect each month. Compare it to your water bill. Calculate how many plants they watered using "free sky water."
If your family enjoyed this project, you might also like our guides on building a DIY worm composting bin or creating a mini greenhouse from plastic bottles. Same spirit: hands-on learning that actually does something useful.
Now go catch some rain.
FAQ: Rain Barrels + Kid-Friendly Rainwater Questions
- Is rainwater safe to use on my vegetable garden? Generally, yes! Rainwater is free of the chlorine and other chemicals often found in tap water, making it a "healthy drink" for your plants.
- How do I keep mosquitoes out of my rain barrel? Using a fine mesh screen over the top of your barrel will let the water in but keep the bugs out. It’s a simple and effective way to keep your garden safe.
- How much water can a rain barrel actually collect? You’ll be surprised! A single light rain can easily fill a 50-gallon barrel. It’s a great way to save money on your water bill and teach kids about resource conservation.
References:
- Basic rain barrel construction techniques adapted from home DIY and conservation resources.
- Material costs based on 2025-2026 hardware store pricing.


