


Yes, you really can regrow vegetables from kitchen scraps! With just a shallow dish, some water, and a sunny windowsill, kids can turn the bottom of a celery bunch or the white ends of green onions into a living, growing garden. It's like magic: except it's science, and your little ones get to eat the results.
This project costs almost nothing, uses things you'd normally toss in the compost or trash, and teaches patience, responsibility, and where food actually comes from. Let's dig into exactly how to make it happen.
What You'll Need to Get Started
Here's the best part: you probably have everything already.
- A shallow bowl, jar, or saucer – Mason jars work great, but so do old yogurt cups or that cereal bowl nobody uses anymore.
- Fresh water – Tap water is fine for most kitchens.
- A sunny windowsill – Your scraps need light, but keep them away from heaters or radiators. Too much heat will make them wilt faster than a snowman in July.
- Kitchen scraps – The star of the show! More on which ones work best in just a moment.
That's the whole supply list. No fancy equipment, no trips to the garden center, no special soil (at least not yet).
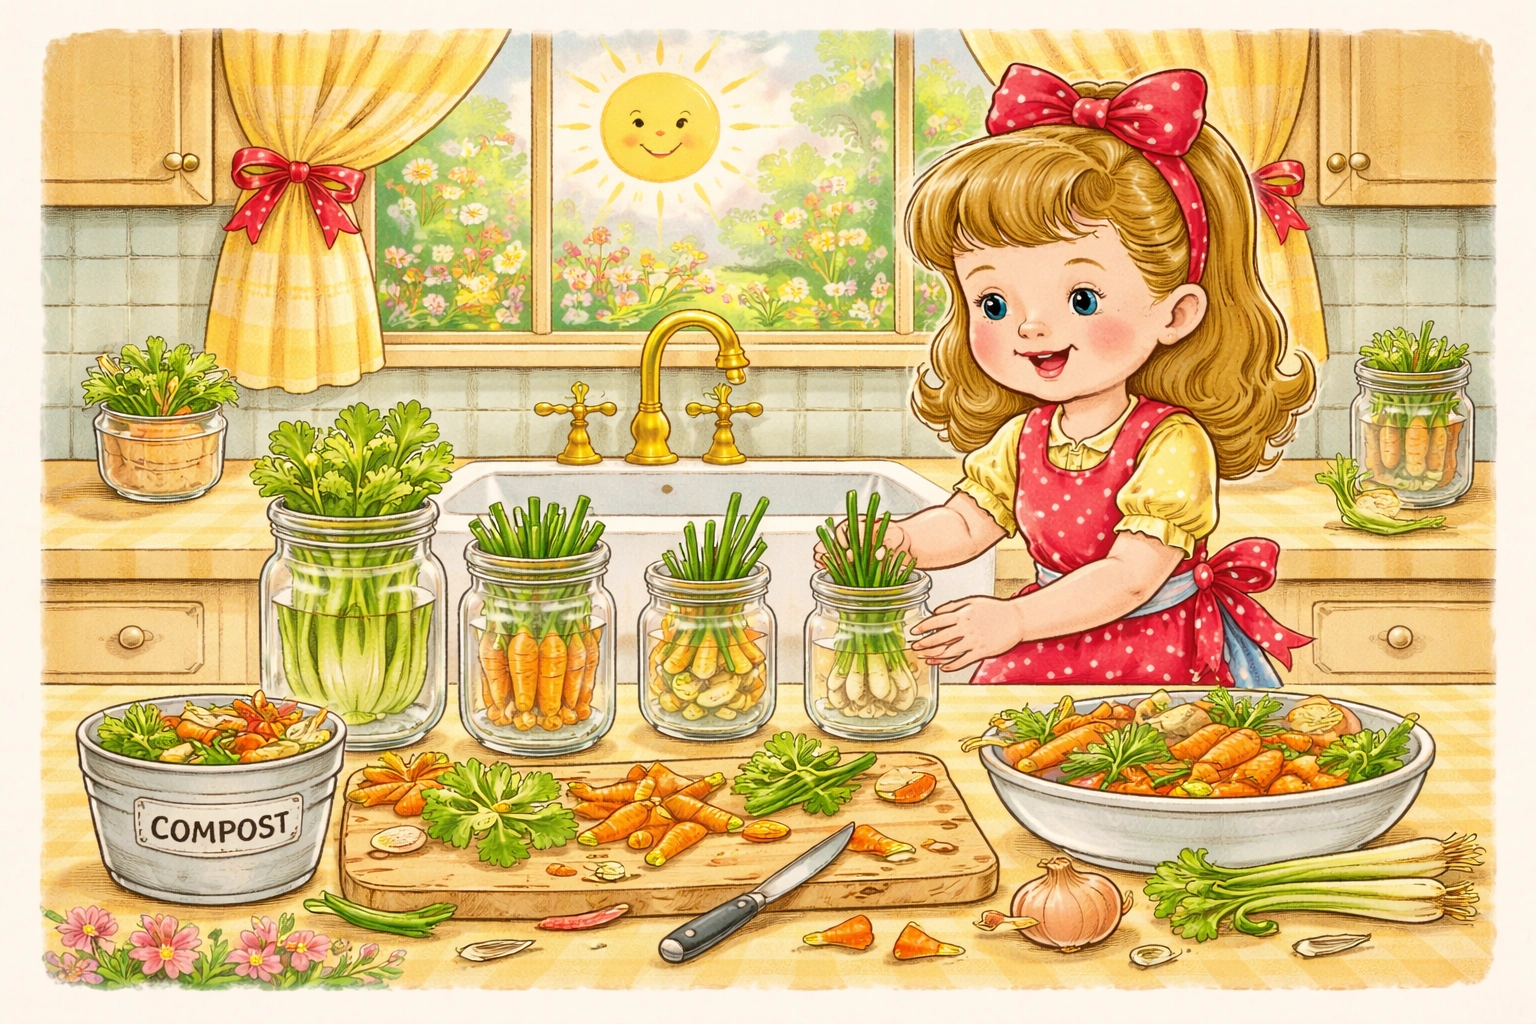
The Best Vegetables to Regrow With Kids
Not every vegetable scrap will sprout into something new, but plenty of them will: and some are practically foolproof. Here are the ones we recommend for beginners.
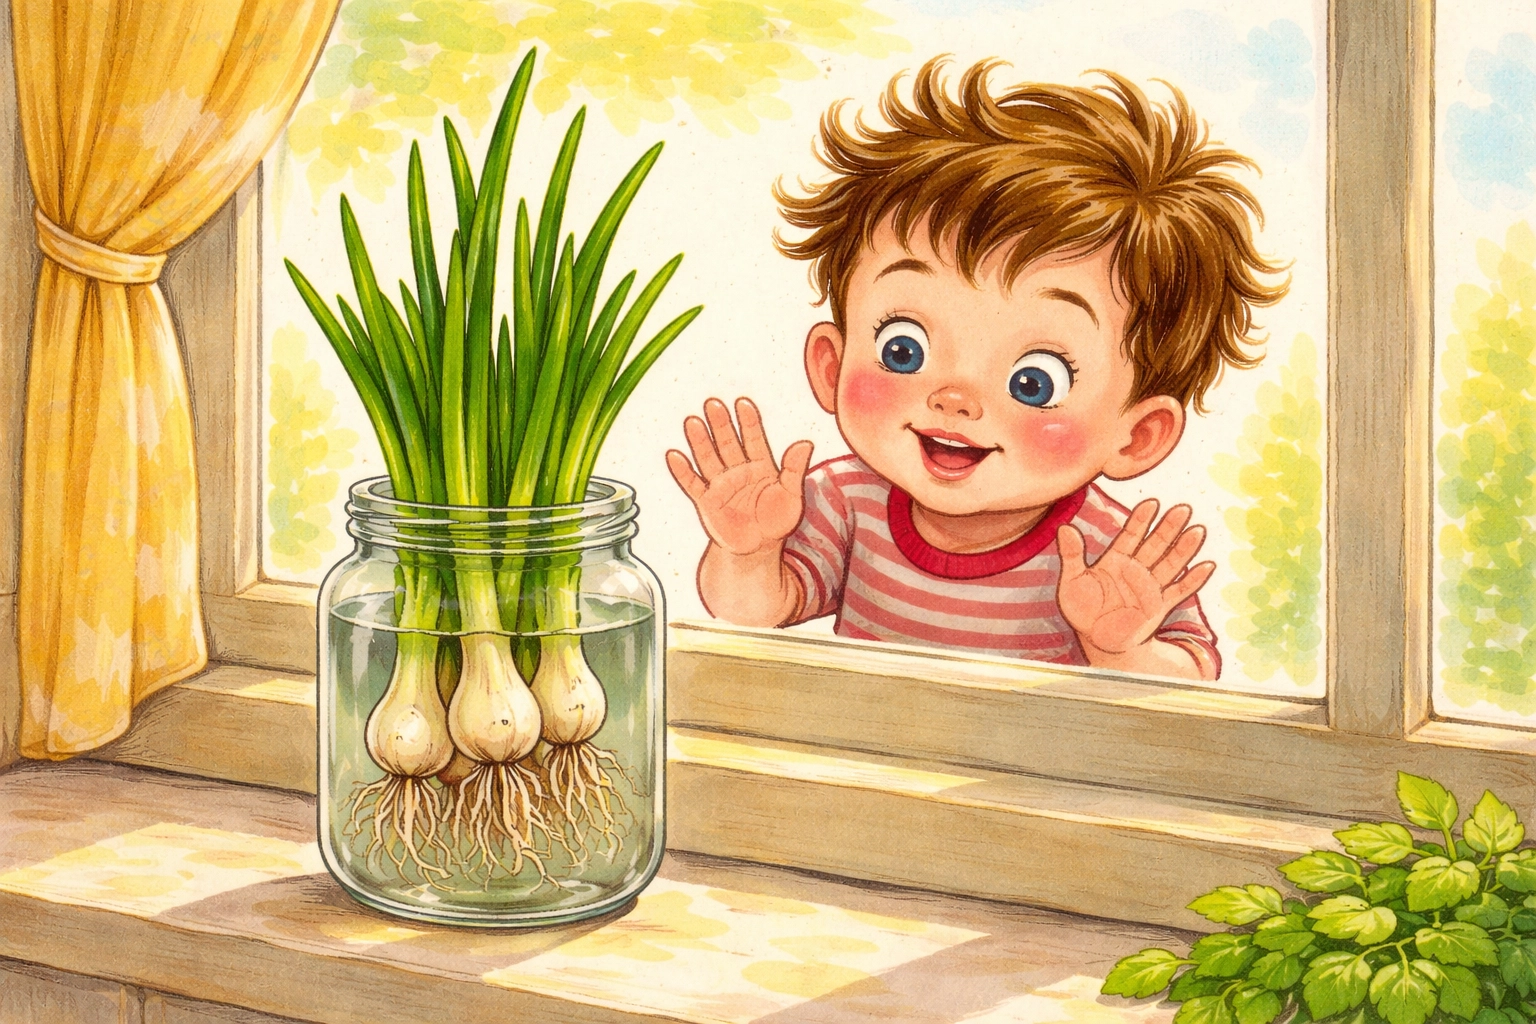
Green Onions: The Undisputed Champion
If you've never regrown a vegetable before, start here. Green onions are so eager to grow that they'll practically do the work for you.
How to do it:
- Next time you use green onions, save the white root ends: about 2 to 3 inches worth.
- Place them root-side down in a small jar or glass with about an inch of water.
- Set the jar on a sunny windowsill.
- Within 2 to 3 days, you'll see new green shoots poking up from the top.
The really fun part? You can snip off the green tops to use in scrambled eggs, soup, or tacos: and the onions will just keep growing back. Some families keep the same green onion roots going for weeks or even months.
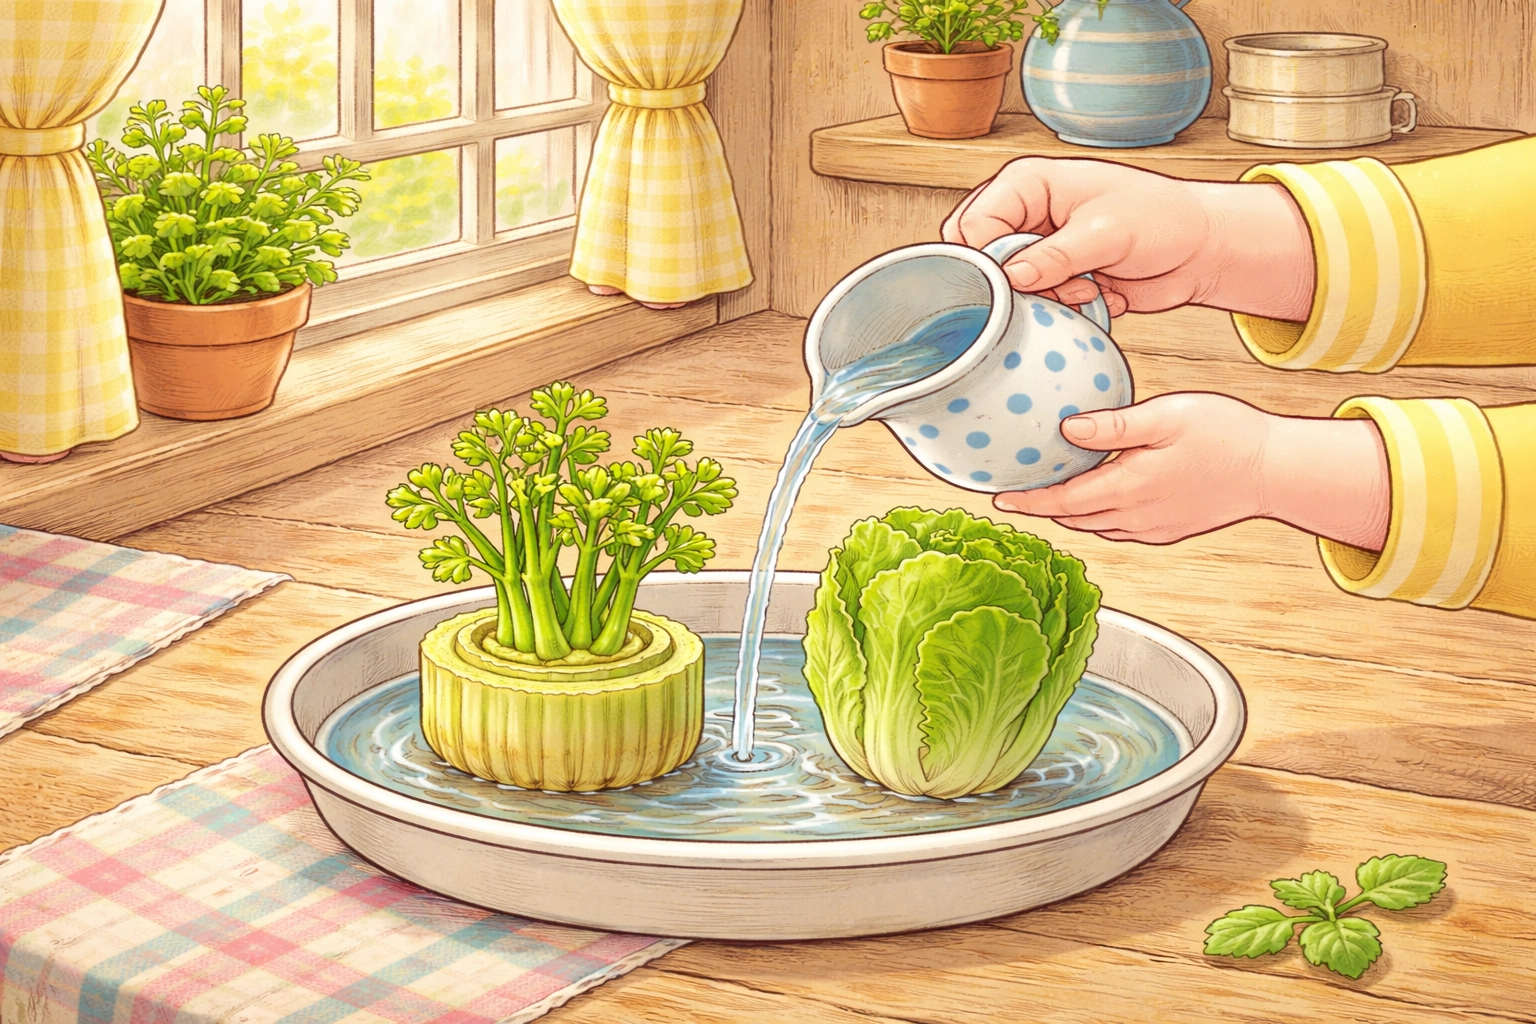
Celery: The Slow and Steady Grower
Celery takes a little more patience, but kids love watching those tiny leaves unfurl from the center of what looked like garbage five minutes ago.
How to do it:
- Cut off the bottom 2 inches of a celery bunch (the white base where all the stalks connect).
- Place it cut-side up in a shallow dish with about half an inch of water.
- Set it somewhere sunny and change the water every couple of days.
- In about a week, you'll see roots forming on the bottom and small leaves sprouting from the center.
Once those roots get going, you can transplant your celery into a pot of soil for even more growth. You won't get grocery-store-sized stalks, but you'll get tender little ribs perfect for snacking.
Romaine Lettuce: Speedy Greens
Lettuce regrows quickly: sometimes you'll see new leaves within just a few days.
How to do it:
- Save the bottom 2 inches of a romaine lettuce head.
- Place it in a shallow dish with about half an inch of water.
- Keep it in a bright spot and refresh the water every 2 to 3 days.
A word of warning: the regrown leaves tend to be a little more bitter than the original head, and you won't get a whole new lettuce. But it's still completely edible, and kids get a huge kick out of watching it happen.
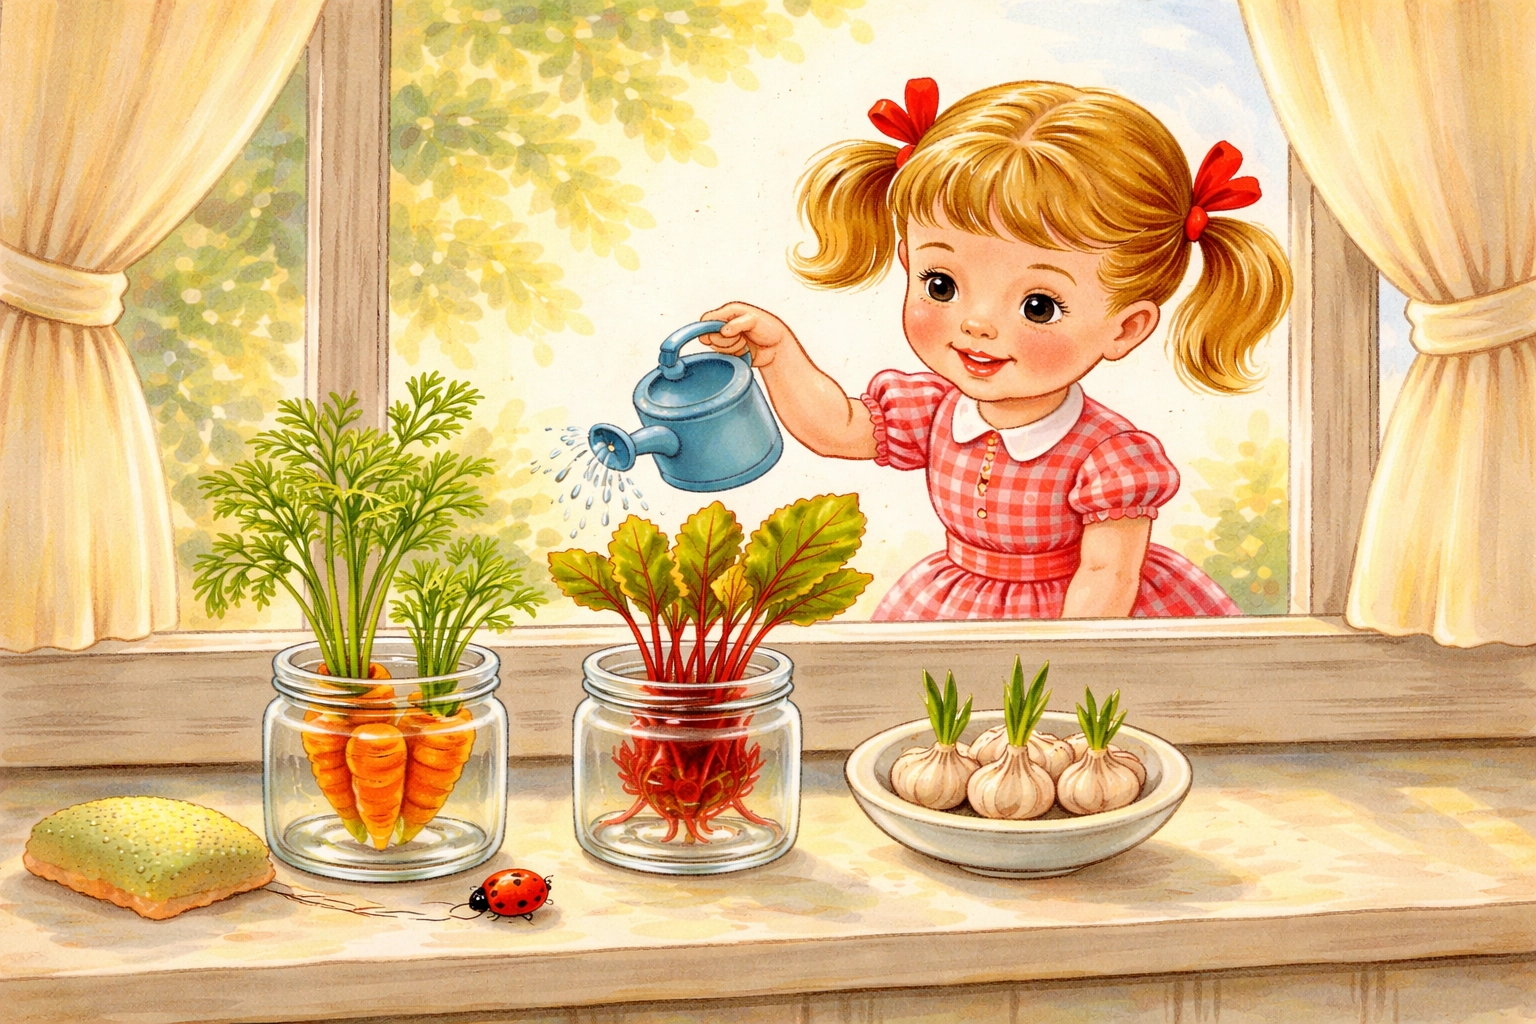
Garlic: For the Adventurous Kitchen Scientist
Got a head of garlic that's starting to sprout on its own? Don't throw it away: plant it!
How to do it:
- Separate the cloves from a sprouting garlic head.
- Place them root-end down in a small container with a bit of water, or plant them directly in soil with the pointed end facing up.
- In water, you'll get garlic greens (which taste like mild garlic and are great for cooking). In soil, you might eventually grow a whole new bulb: though that takes several months.
Root Vegetable Tops: Carrots, Beets, and Turnips
Here's where we need to set some expectations. When you regrow a carrot top, you're not going to get a new carrot. What you will get is a lovely little burst of carrot greens: and those are actually edible! Same goes for beet tops and turnip tops.
How to do it:
- Cut off the top inch of a carrot, beet, or turnip (the part where the leaves used to be).
- Place it cut-side down in a shallow dish with a little water.
- Within a week, you'll see feathery green tops sprouting up.
Those greens are perfect for tossing into soups, salads, or pesto. It's a great lesson for kids: sometimes what looks like trash is actually treasure.
Step-by-Step: Your First Scrap Garden
Ready to get started today? Here's a simple checklist to follow with your kids.
Step 1: Raid the Kitchen
After dinner prep, set aside any usable scraps: green onion roots, celery bases, lettuce ends, or sprouting garlic.
Step 2: Gather Your Containers
Small jars, shallow dishes, or even cleaned-out takeout containers work perfectly. No need to buy anything new.
Step 3: Add Water
Pour in just enough water to cover the roots or the bottom half-inch of your scrap. Don't submerge the whole thing: that leads to rot.
Step 4: Find a Sunny Spot
A kitchen windowsill is ideal. Just keep your containers away from heat sources.
Step 5: Change the Water Regularly
Every 2 to 3 days, dump out the old water and add fresh. This keeps things clean and prevents funky smells.
Step 6: Watch and Wait
Check on your scraps daily. Talk to your kids about what they notice. Are roots forming? Are leaves appearing? How much has it grown since yesterday?
Step 7: Harvest (or Transplant)
Once your vegetables have strong roots and healthy leaves, you can either snip off what's grown and eat it: or transplant them into soil for bigger growth.
What to Expect (Let's Keep It Real)
Regrowing scraps is genuinely fun and educational, but it's good to go in with realistic expectations.
- Green onions will keep producing for weeks if you treat them right.
- Celery and lettuce will give you small harvests: think garnish-sized, not salad-sized.
- Root vegetables only regrow their tops, not new roots.
- Herbs like basil and cilantro can root in water and then be transplanted to soil for continued growth.
The real value here isn't necessarily a huge harvest. It's the experience: watching something grow from nothing, learning patience, and understanding that food doesn't just appear in the fridge by magic.
Pro Tips for Success
- Fresh scraps work best. The fresher the better: limp, old vegetables don't have as much growing power left.
- Don't over-water. Only the roots should be submerged. Too much water leads to mold and mushiness.
- Rotate your containers. If your plants are leaning toward the light, give them a quarter turn every day or so.
- Transplant when ready. Once roots are about an inch long, many vegetables do better in soil. Check out our guide on how to make a DIY kitchen scrap regrow garden for under $10 for the next step.
Why This Project Matters
In a world of instant everything, regrowing vegetables teaches kids something valuable: good things take time. They learn to observe, to care for something living, and to appreciate where food comes from: all while turning kitchen waste into something useful.
Plus, there's something undeniably satisfying about eating something you grew yourself, even if it's just a handful of green onion tops on your morning eggs.
Grab those scraps, fill up a jar, and let the growing begin. Your windowsill garden awaits.
FAQ: Regrowing Vegetables From Scraps
- Which vegetables are the easiest to regrow from scraps? Green onions, celery, and Romaine lettuce are the superstars of regrowing. They often start to show new growth in just a few days in a jar of water.
- Does the regrown vegetable taste the same? Yes! It’s the same plant, just getting a "second life." It’s a wonderful way to reduce waste and get a free snack.
- How often should I change the water for my scraps? It's best to change the water every day or two to keep it fresh and clean for the new roots to grow.
References:
- Research on regrowing vegetables from kitchen scraps
- DIY gardening techniques for families


