


Yes, you can absolutely start a thriving family garden for less than $10! By using recycled materials, dollar store finds, and kitchen scraps you already have at home, you can create meaningful gardening projects that teach kids about growing food: without emptying your wallet. Below are 10 easy, budget-friendly projects your whole family can tackle this weekend.
Why Budget Gardening Matters for Families
Teaching kids to garden doesn't require fancy equipment or expensive raised beds. Some of the best learning happens when you get creative with what's already lying around the house. Budget gardening shows children that resourcefulness is a superpower: and that growing your own food is accessible to everyone, not just folks with big backyards and deep pockets.
Plus, when kids invest their own effort into building something from scratch, they're way more likely to care for it and follow through. That's the magic of hands-on learning.
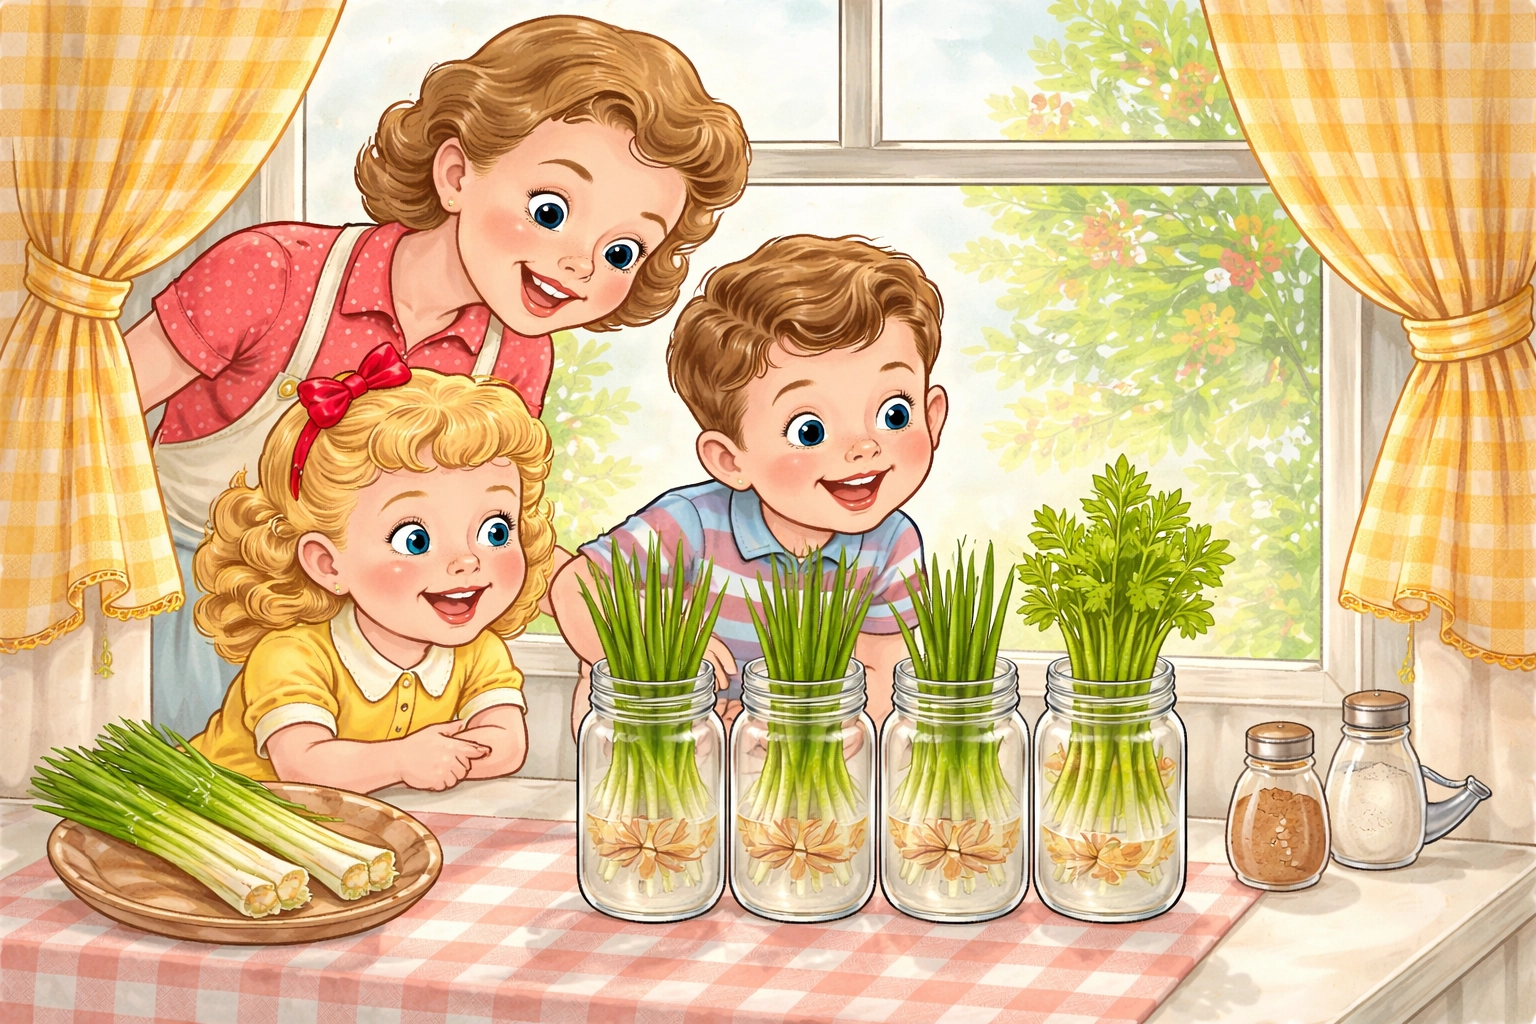
Project 1: Kitchen Scrap Regrow Garden ($0–$3)
This one's practically free because you're using food scraps you'd normally toss.
What you need:
- Green onion ends, celery bases, or romaine lettuce hearts
- Shallow dishes or jars
- Water
How to do it:
- Save the root ends of green onions or the base of celery and lettuce.
- Place them in a shallow dish with about an inch of water.
- Set on a sunny windowsill and change the water every couple of days.
- Watch them regrow in about a week!
Kids love seeing "garbage" turn into real food. For a deeper dive, check out our full guide on how to make a DIY kitchen scrap regrow garden for under $10 with your kids.
Project 2: Paint Stir Stick Garden Markers ($0–$2)
Labeling your plants is surprisingly satisfying: and free paint stir sticks make it even better.
What you need:
- Free paint stir sticks from any hardware store (just ask!)
- Acrylic paint or permanent markers
- Clear sealant spray (optional)
How to do it:
- Sand the sticks lightly if they're rough.
- Let kids paint or write the plant names in big, colorful letters.
- Seal with a quick spray coat to protect from rain.
- Push into soil next to each plant.
These markers last all season and make your garden look intentional and organized.
Project 3: Placemat Garden Border ($4–$6)
Give your garden beds a pop of color with this clever dollar store hack.
What you need:
- Plastic placemats from the dollar store (grab 4–6)
- Scissors
- A mallet or flat rock
How to do it:
- Cut each placemat into wavy, scalloped strips lengthwise.
- Push the strips into the soil along the edge of your garden bed.
- Tap gently with a mallet to secure.
Instant decorative edging that keeps mulch in place and looks surprisingly polished.
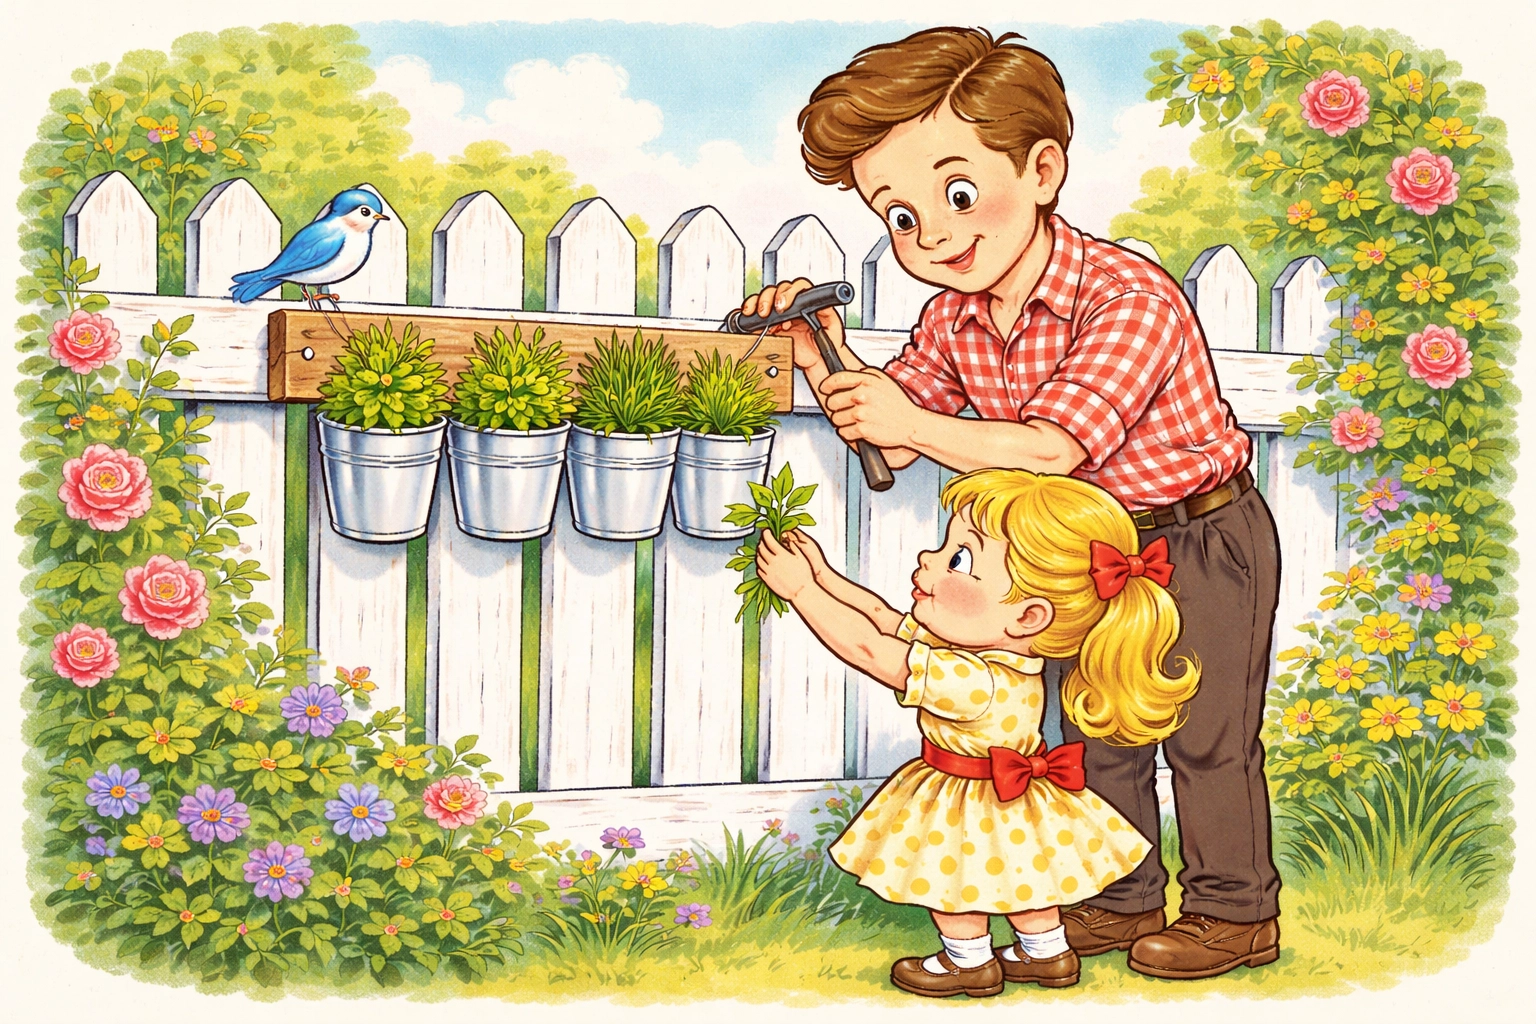
Project 4: Hanging Tin Pot Herb Garden ($6–$10)
This vertical garden is perfect for small spaces and works great on a fence or porch.
What you need:
- 2–3 small tin pots (dollar store, about $1–$2 each)
- A scrap piece of wood or an old pallet board
- Rope or twine ($1)
- Screws
- Soil and herb seeds or starter plants
How to do it:
- Drill or hammer small holes in the bottom of each tin pot for drainage.
- Attach pots to the wood board using screws through the back.
- Tie rope to both ends of the board for hanging.
- Fill with soil and plant your herbs.
Hang it where it gets at least 6 hours of sunlight. Basil, chives, and parsley are great starters.
Project 5: Mini Trellis Trailing Planter ($3–$8)
Climbing plants need support: and this project makes it adorable.
What you need:
- Small elongated pot (dollar store)
- Mini decorative trellis ($1–$2)
- Trailing or climbing plant (pothos, sweet potato vine, or beans)
- Potting soil
How to do it:
- Insert the mini trellis into the back of the pot.
- Fill with soil and plant your climber at the base.
- Gently wrap the vines around the trellis as they grow.
This project is a great way to teach kids about how plants "reach" for light and support.
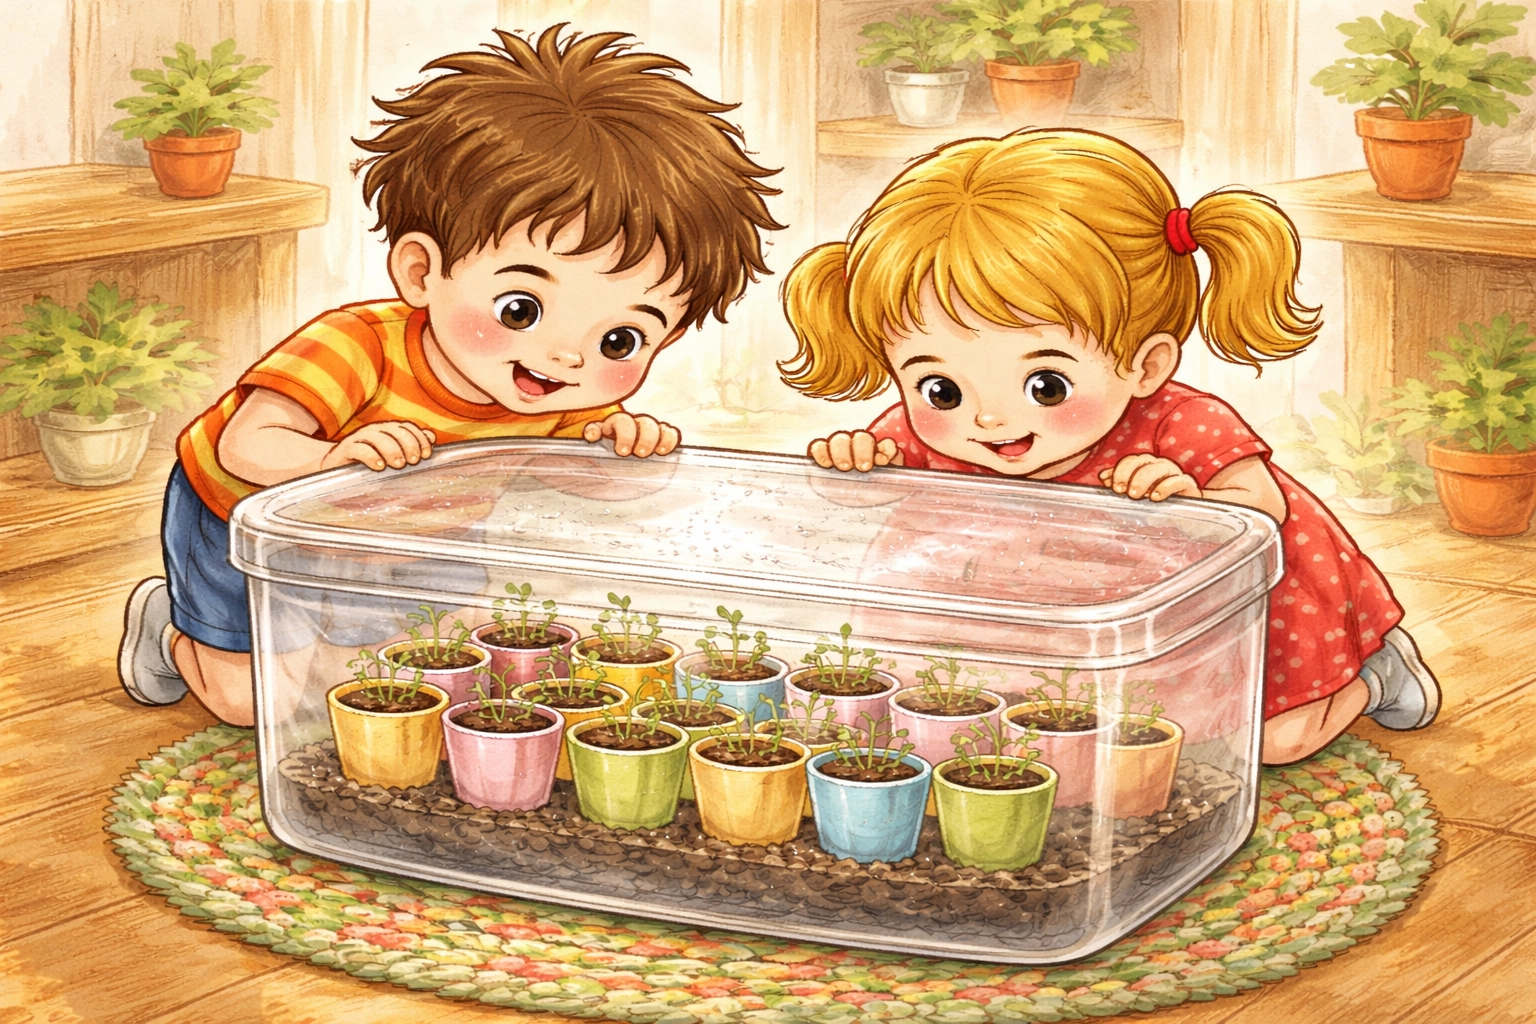
Project 6: Clear Bin Seed Starter Greenhouse ($5–$8)
Turn a storage bin into a mini greenhouse for starting seeds indoors.
What you need:
- Large clear plastic storage bin with lid
- Small pots or recycled yogurt cups
- Seed starting mix
- Seeds
How to do it:
- Poke drainage holes in your small containers.
- Fill with seed starting mix and plant seeds according to packet directions.
- Place containers inside the bin and snap on the lid.
- Set in a warm, bright spot. The lid traps humidity and warmth.
- Crack the lid once seedlings sprout to prevent mold.
This is the easiest way to get a jump on spring planting without buying a fancy grow setup.
Project 7: Bottle Cap Drip Irrigators ($0–$2)
Keep your plants watered while you're away: using stuff from your recycling bin.
What you need:
- Empty plastic bottles (any size)
- Nail or small drill bit
- Water
How to do it:
- Poke 2–4 small holes in the bottle cap.
- Fill the bottle with water and screw the cap on tightly.
- Flip the bottle upside down and push it into the soil next to your plant.
The water slowly drips out over several days. Perfect for tomatoes, peppers, or any thirsty plants.
Project 8: Newspaper Seed Pots ($0)
Skip the plastic and make biodegradable pots that go straight into the ground.
What you need:
- Old newspapers (black and white pages only)
- A small jar or can for shaping
- Seed starting mix
- Seeds
How to do it:
- Cut newspaper into strips about 4 inches wide.
- Wrap around the bottom of a jar, leaving extra paper at the bottom.
- Fold the bottom edges in and press flat to form a base.
- Slide the pot off, fill with soil, and plant your seeds.
- When seedlings are ready, plant the whole pot: newspaper and all.
The paper breaks down in the soil, so you never disturb delicate roots.
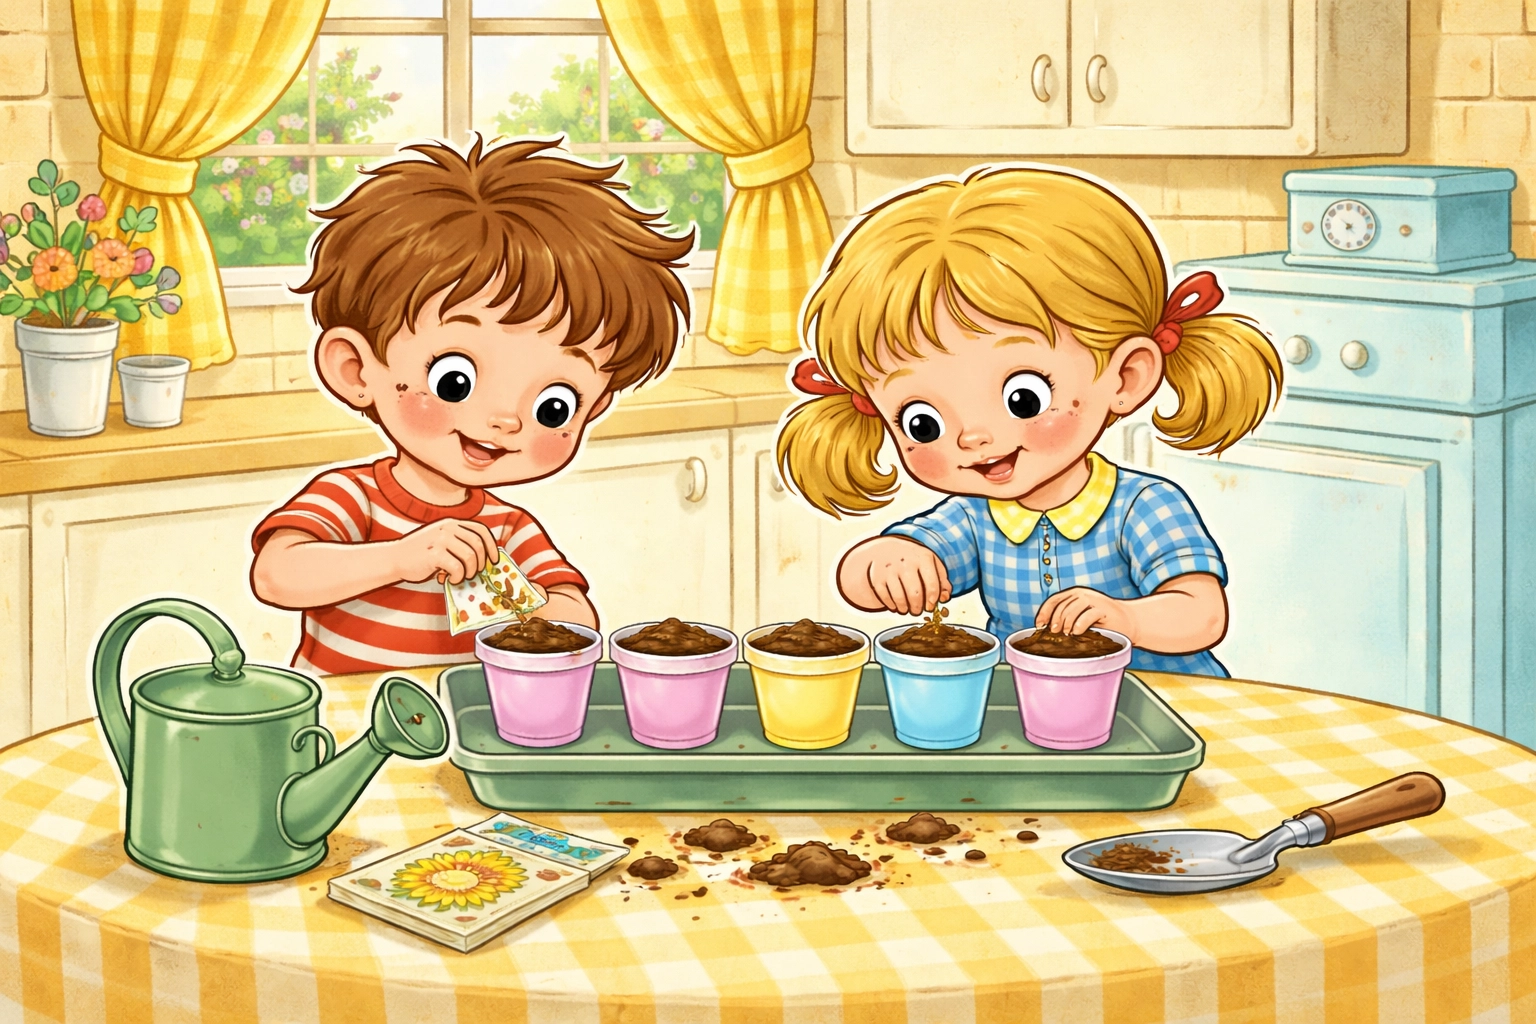
Project 9: Yogurt Cup Seedling Planters ($0–$1)
Another recycling win: yogurt cups are the perfect size for starting seedlings.
What you need:
- Clean yogurt cups or small plastic containers
- Nail or pushpin
- Seed starting mix
- Seeds
How to do it:
- Poke 3–4 drainage holes in the bottom of each cup.
- Fill with moistened seed starting mix.
- Plant 1–2 seeds per cup.
- Place on a tray near a sunny window.
Label each cup with a permanent marker so you remember what's what!
Project 10: Seed Saving Envelopes ($0–$2)
Teach kids the full circle of gardening by saving seeds for next year.
What you need:
- Small paper envelopes or folded paper
- Markers or stickers for decorating
- Dried seeds from your garden (tomatoes, peppers, beans, flowers)
How to do it:
- Let seeds dry completely on a paper towel for a week.
- Fold paper into small envelopes or use coin envelopes.
- Let kids decorate and label with the plant name and date.
- Store in a cool, dry place until next planting season.
This project teaches patience, planning, and the joy of continuing a garden year after year.
Start Small, Grow Big
You don't need a huge budget to give your kids an incredible gardening experience. These 10 projects prove that creativity, recycled materials, and a few dollar store finds can go a long way. Pick one or two to start this weekend: and before you know it, your family will have a thriving garden built on teamwork and thrift.
For more budget-friendly ideas, explore our posts on building a DIY mini greenhouse from plastic bottles or creating a worm composting bin with children.
FAQ: Budget Gardening with Kids
- What are the cheapest plants to grow for beginners? Herbs like basil and mint, or vegetables like radishes and lettuce, are very affordable because you can start them from inexpensive seeds and they grow quickly.
- Can I really garden for under $10? Absolutely! By using recycled containers like egg cartons or yogurt cups and buying a few packs of seeds, you can start a small garden for just a few dollars.
- Is it better to buy seeds or small plants (seedlings)? Seeds are much cheaper and offer more variety, but seedlings give you a head start. For a budget-friendly project, starting from seeds is usually the best way to go.
- Where can I find free seeds? Check your local library! Many libraries now have "seed libraries" where you can take seeds for free. You can also save seeds from the vegetables you eat at home.
- What is the cheapest way to make a garden pot? Use what you have! Old yogurt containers, milk cartons, and even sturdy plastic bags can be turned into great garden pots with just a few drainage holes.
- Can you really start a garden for $0? Almost! If you use recycled containers, save seeds from your food, and use compost you made at home, your only "cost" is a little time and sunshine.
Happy growing!


