


Yes, kids can absolutely grow their own salad garden! With a few containers or a small patch of soil, some seeds, water, and about 4-6 weeks of patience, your little ones can harvest fresh, crunchy greens they grew themselves. Lettuce and salad greens are perfect first crops because they're forgiving, fast-growing, and don't need much space at all.
Ready to dig in? Here's exactly how to help your tiny gardener grow their very first salad from seed to supper.
Why Salad Greens Are Perfect for Little Gardeners
Before we grab our trowels, let's talk about why lettuce and salad mixes make such fantastic starter crops for kids.
They're speedy growers. Most loose-leaf lettuces are ready to nibble in just 4-6 weeks. That's quick enough to keep short attention spans engaged and excited.
They don't need much room. A single pot on a sunny windowsill, a small raised bed, or even a hanging basket works beautifully. No sprawling backyard required.
They're super forgiving. Forget to water for a day? Planted the seeds a little too close together? Salad greens bounce back better than most veggies, making them ideal for learning hands.
Kids eat what they grow. There's real magic in watching a child who "doesn't like salad" suddenly crunch through leaves they planted themselves. Growing it changes everything.
What You'll Need to Get Started
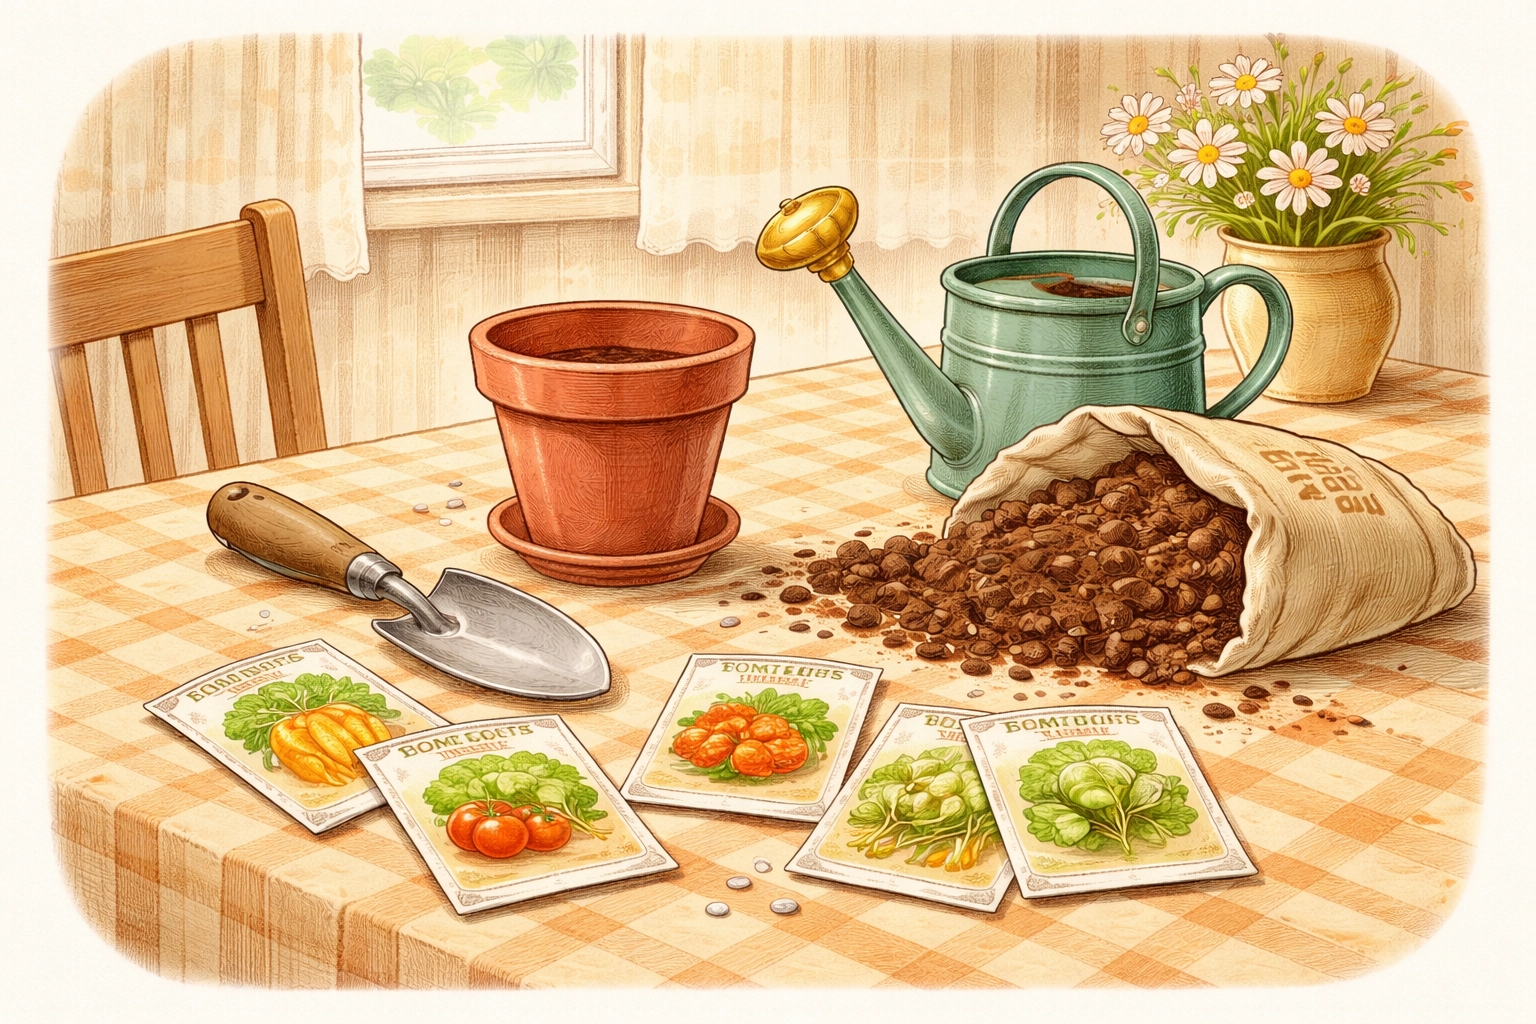
Gather these supplies before planting day. Most items cost just a few dollars, and you may already have some around the house.
Seeds
Look for these beginner-friendly options:
- Loose-leaf lettuce (varieties like "Salad Bowl" or "Black-Seeded Simpson" mature in about 50-60 days)
- Mesclun or salad mix blends (pre-mixed packets with lettuce, arugula, and mild mustard greens)
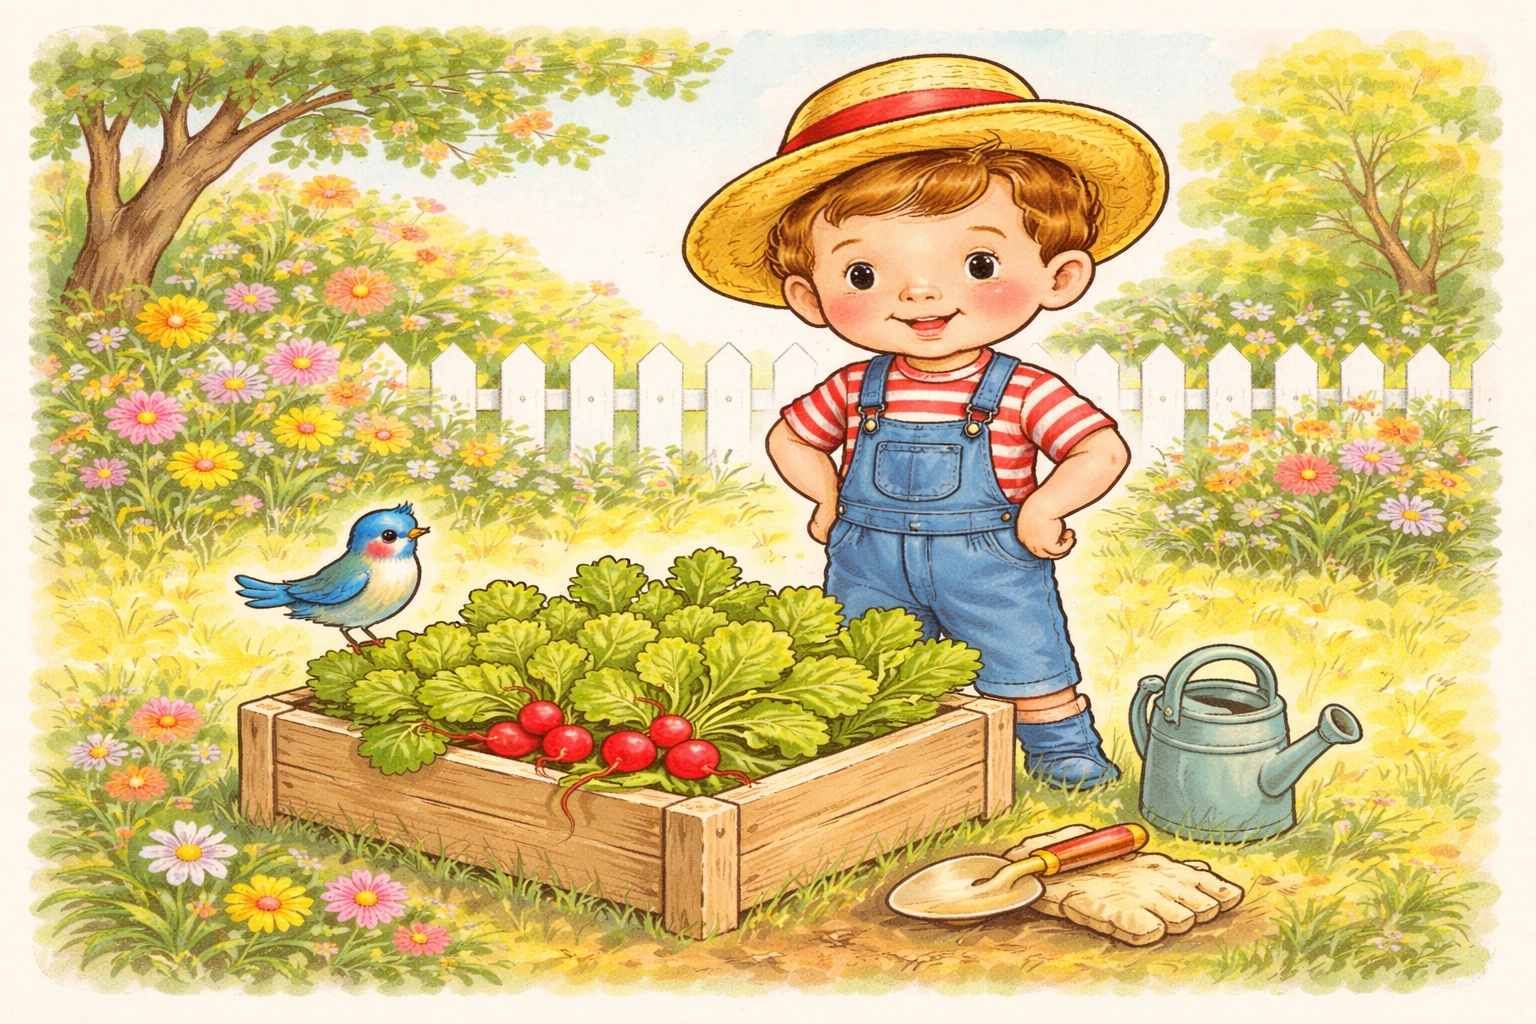
- Radishes (super fast: ready in about 25 days: and fun to pull from the soil)
- Green onions/scallions (easy to grow and add crunch to any salad)
Growing Containers or Space
Choose one of these options:
- A wide, shallow pot or container (at least 6 inches deep with drainage holes)
- A small raised bed
- A sunny corner of an existing garden bed
- Hanging baskets or window boxes
Soil and Supplies
- Quality potting mix or compost (for containers, look for light, well-draining mixes)
- A small trowel or large spoon for scooping
- A watering can with a gentle sprinkle head (or a spray bottle for tiny hands)
- Mulch like straw or shredded leaves (optional but helpful)
Step 1: Pick the Perfect Spot
Salad greens like semi-sunny conditions: about 4-6 hours of sunlight daily works great. Too much blazing afternoon sun can make lettuce taste bitter or bolt (send up flower stalks) too quickly.
Look for:
- A spot near a window that gets morning light
- A patio corner that's shaded in the hottest part of the day
- A raised bed that doesn't bake in full sun
Pro tip for parents: If you're working with containers, you can move them around to chase (or escape) the sun as needed. That flexibility is a huge win for beginners.
Step 2: Prepare Your Planting Area
Getting the soil ready is like fluffing a pillow before bedtime: it makes everything more comfortable for your seeds.
For Containers:
Fill your pot with potting mix, leaving about an inch of space below the rim. The mix should feel light and crumbly, not packed down like a brick.
For Garden Beds:
Pull any weeds and scratch in a few inches of compost. Use a small fork or your fingers to loosen the top layer of soil so it's nice and fluffy. Seeds have an easier time sprouting in loose, airy soil.
Let kids help: Little hands are perfect for breaking up soil clumps and mixing in compost. It's messy and wonderful.
Step 3: Plant Your Seeds
Here's where the real fun begins!
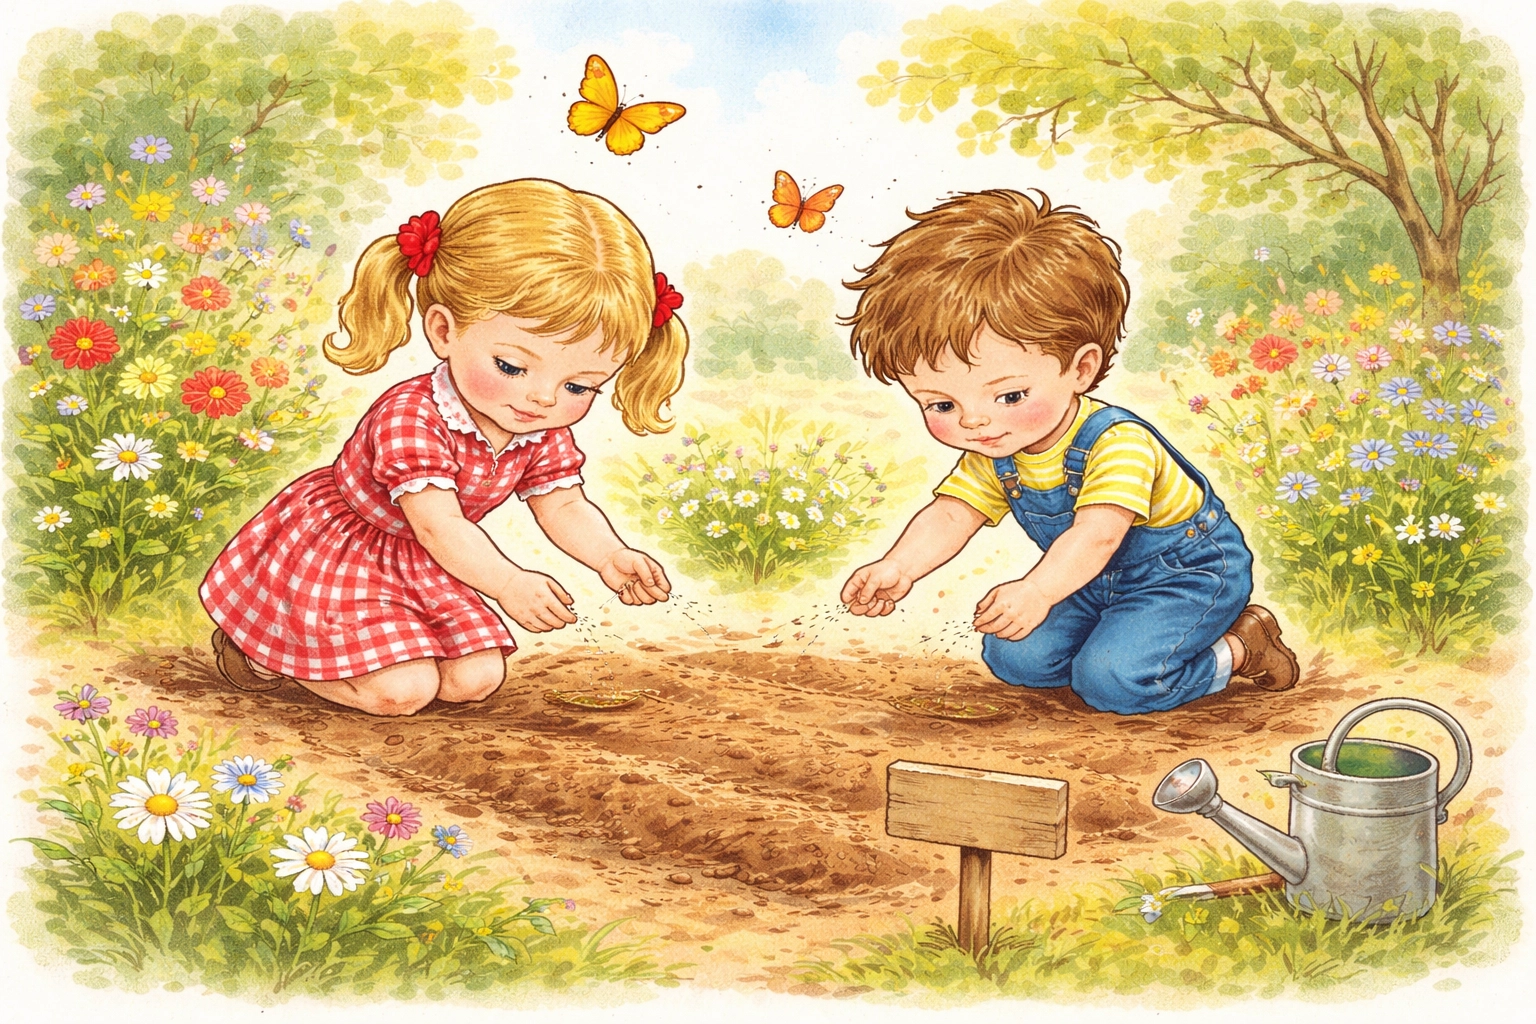
The "Broadcasting" Method (Easiest for Kids)
- Sprinkle seeds lightly across the soil surface. Imagine you're feeding birds: gentle, even scatter.
- Press down softly with your palm or the back of a spoon.
- Cover with a thin layer of soil: about 1/4 inch, or roughly the thickness of a pencil eraser.
- Water gently with a fine mist so seeds don't wash away.
That's it! No need for perfect rows or measuring tape. Messy scattering works just fine for salad greens.
If You're Planting Radishes or Green Onions
Poke small holes about 1/2 inch deep, drop in one seed per hole, and cover. Space radish holes about 2 inches apart; green onions can go about 1 inch apart.
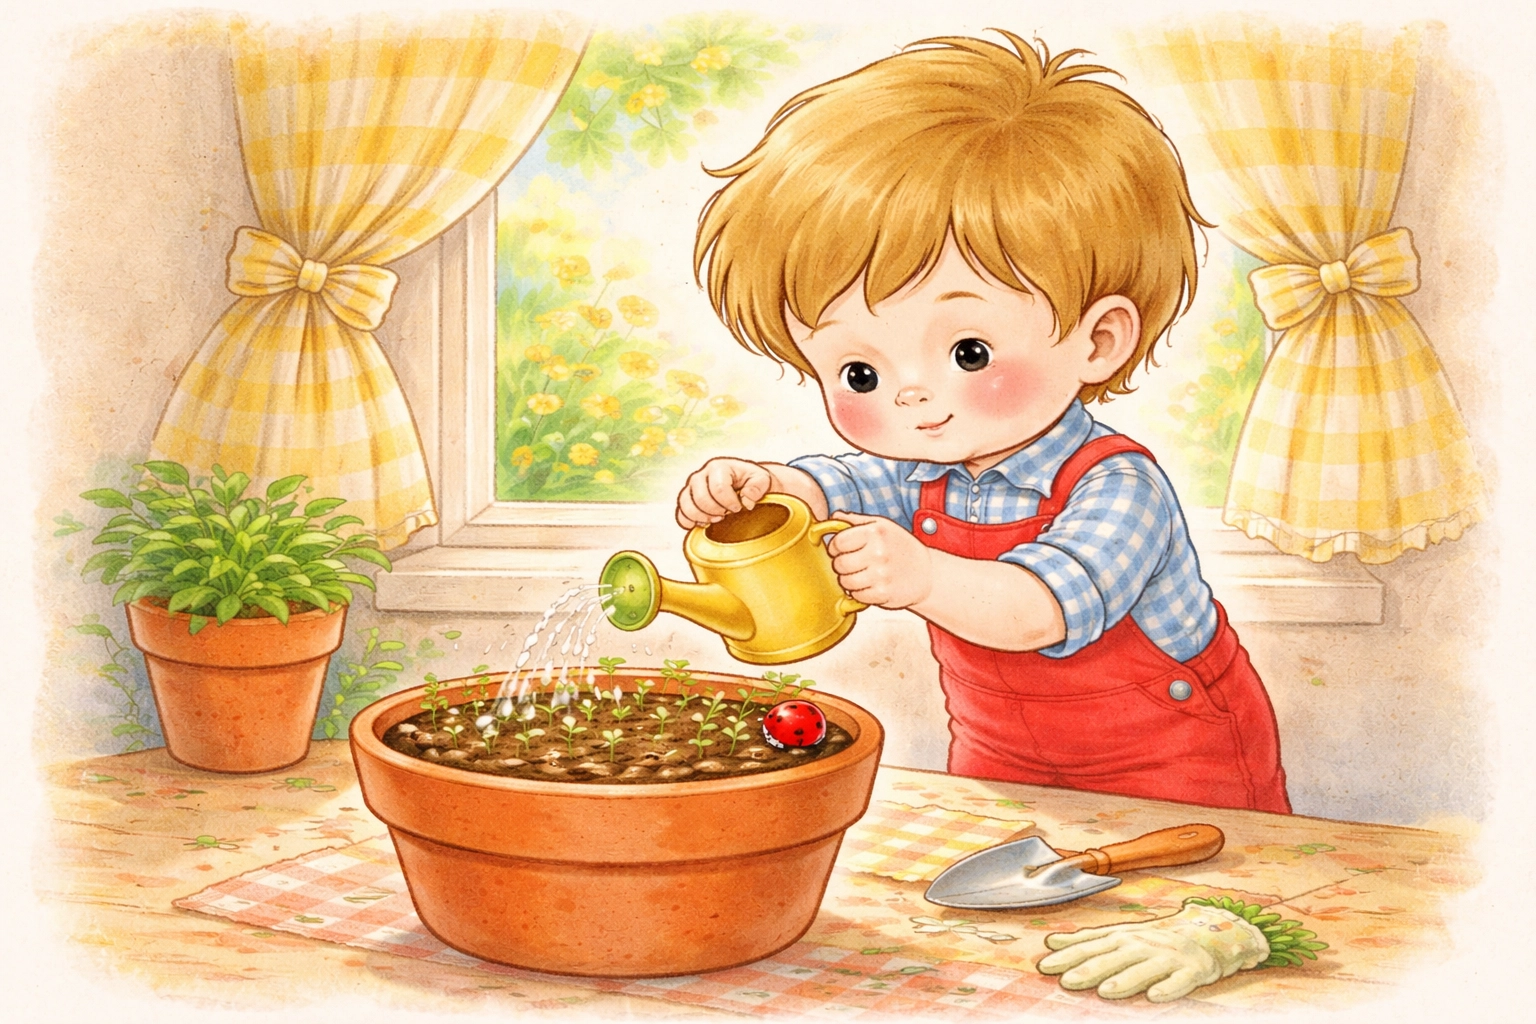
Step 4: Water and Wait (The Hardest Part!)
Seeds need consistent moisture to sprout. Check your soil daily: stick a finger about an inch deep. If it feels dry, it's watering time.
Watering tips for tiny gardeners:
- Use a gentle spray or watering can with small holes. Blasting water can wash seeds right out of the soil.
- Water in the morning when possible.
- Don't drown the seeds: damp is good, soggy puddles are not.
Within 5-10 days (sometimes sooner), you'll see the first tiny green sprouts poking up. Celebrate! This is a major milestone.
Step 5: Thin Your Seedlings
Once your seedlings have 2-3 little leaves, they'll probably be crowded together like puppies in a basket. Time to thin them out.
Here's how:
- Gently pull out the weakest or most crowded seedlings, leaving the strongest ones with room to grow.
- Aim for about 4-6 inches between lettuce plants, 2 inches between radishes, and 3-4 inches for herbs.
Good news: Those tiny thinned seedlings? Totally edible! Toss them on a sandwich or let kids munch them as a "gardener's snack."
Step 6: Keep Growing (and Keep Watering)
Your salad garden doesn't need much now: just consistent water and a little patience.
Watch for these signs of happy plants:
- Bright green leaves
- Steady growth every few days
- No wilting or yellowing
If leaves look pale or leggy: They might need a bit more sunlight.
If leaves are wilting: Check your watering schedule. They're probably thirsty.
A light layer of mulch (straw, shredded leaves, or even torn newspaper) around your plants helps keep soil moist and cuts down on watering chores.
Step 7: Harvest Time!
Here's the payoff your tiny gardener has been waiting for. Most salad greens are ready to pick about 4-6 weeks after planting.
How to Harvest Lettuce and Salad Mix:
- Pick individual outer leaves when they're about 4-6 inches long.
- Leave the center of the plant alone so it keeps producing new leaves.
- Use clean scissors or gently pinch leaves off with fingers.
How to Harvest Radishes:
- Gently pull when you see the colorful top peeking above the soil line.
- Don't wait too long: overgrown radishes get woody and spicy.
How to Harvest Herbs and Green Onions:
- Snip herb leaves once plants are about 8 inches tall.
- Cut green onions at soil level, or pull the whole plant.
The best part: Most salad greens keep producing for weeks. Your tiny gardener can harvest a little bit every few days for ongoing salads.

Salad Assembly: The Victory Lap
Once your harvest basket is full, rinse those leaves gently, tear them into bite-sized pieces, and pile them into a bowl. Add any radishes, herbs, or green onions your gardener grew.
Top with a simple dressing (olive oil, lemon juice, a pinch of salt) and watch your child devour something they grew with their own hands.
That proud crunch? Worth every bit of watering, waiting, and weeding.
Quick Reference: Salad Garden Timeline
| Crop | Days to Harvest | Spacing |
|---|---|---|
| Loose-leaf lettuce | 50-60 days | 4-6 inches |
| Salad mix | 30-45 days | 4-6 inches |
| Radishes | 25-30 days | 2 inches |
| Green onions | 60 days | 1-2 inches |
| Cilantro/Dill | 30-45 days | 4-6 inches |
Keep the Salad Garden Going
Want a continuous supply of fresh greens? Plant a new batch of seeds every 2-3 weeks. This "succession planting" trick means you'll always have something ready to harvest.
For more beginner-friendly growing projects, check out our guide on how to make a DIY kitchen scrap regrow garden for under $10 with your kids.
Now get out there, grab some seeds, and grow that first salad. Your tiny gardener is ready!
FAQ: Growing Salad Greens With Kids
- What are the easiest vegetables for a first salad garden? Lettuce, radishes, and spinach are the best because they grow very quickly and are easy to harvest. You can have a "homegrown salad" in just a few weeks!
- How do we know when the lettuce is ready to eat? You can start picking "baby" leaves as soon as they are a few inches tall. Picking just a few leaves at a time lets the plant keep growing so you can have many harvests.
- Do we need a big garden for a salad? Not at all! A simple window box or a few pots on a sunny porch can provide plenty of fresh greens for a family salad.
References:
- Research on small-space salad gardening and container growing methods
- Growing guides for loose-leaf lettuce, radishes, and herbs
- Seed broadcasting and thinning techniques for beginners


