


A homemade periscope requires two mirrors, a tube, and tape. Position both mirrors at 45-degree angles on opposite ends. Light bounces from one mirror to the other, allowing vision over walls, around corners, and above obstacles.
Total build time: 15 to 30 minutes.
Cost: Under five dollars with household materials.
No special tools required.
What Materials Are Needed for a Homemade Periscope?
The materials depend on the chosen construction method. Three options exist: paper tube, cardboard sheet, or PVC pipe.
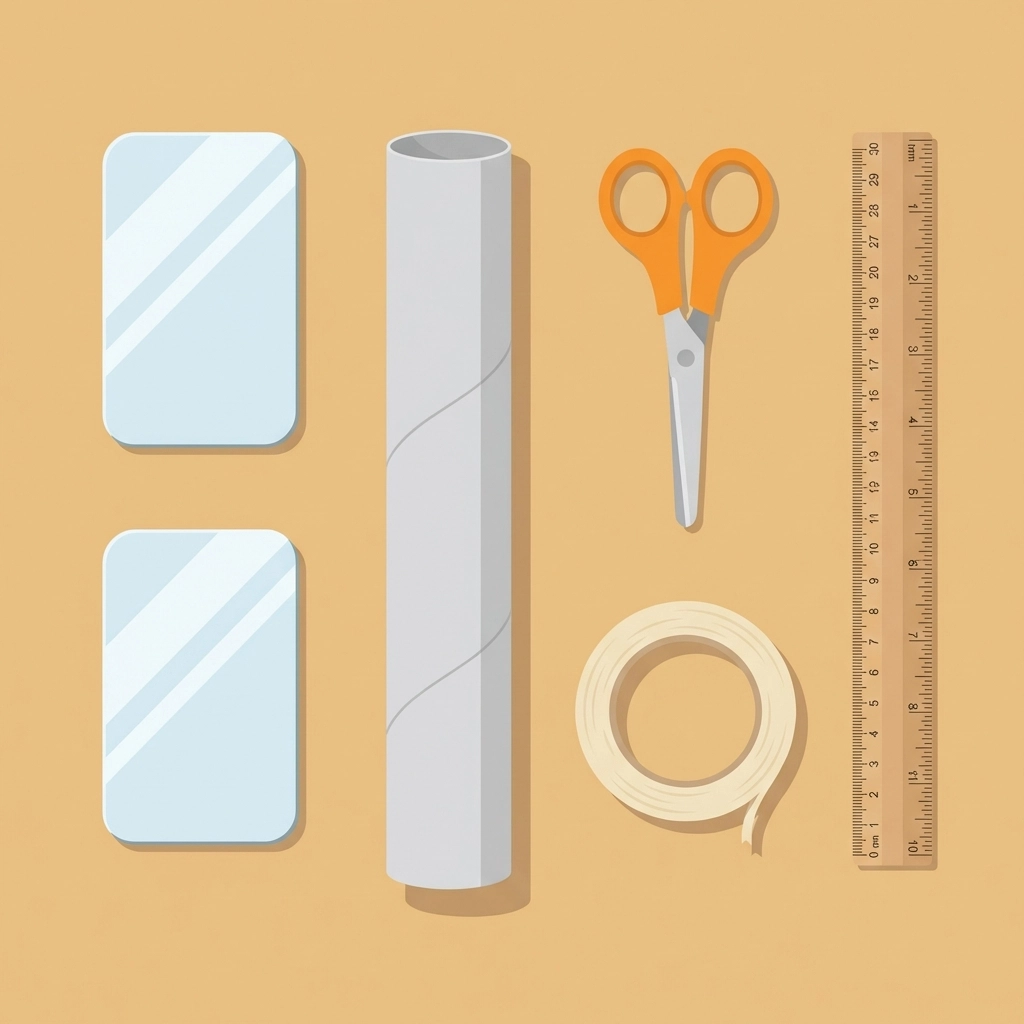
Paper Tube Method:
- Paper template or cardstock
- Two small flat mirrors (2 to 3 inches wide)
- Scissors
- Sticky tape
Cardboard Sheet Method:
- One cardboard sheet (10 x 12 inches)
- One cardboard sheet (11 x 6 inches)
- Two small mirrors (approximately 2.3 x 3.5 inches)
- Ruler
- Pencil
- Strong tape or hot glue
PVC Pipe Method:
- One PVC pipe (12 to 18 inches long)
- Two 45-degree elbow joints
- Two small mirrors sized to fit inside the elbows
- Duct tape or adhesive putty
The cardboard sheet method offers the best balance. Sturdy enough for repeated backyard use. Simple enough for young builders.
Mirrors are the critical component. Craft mirrors from dollar stores work well. Old compact mirrors work too. The surface must be flat and reflective.
How Does a Periscope Actually Work?
Light travels in straight lines.
Mirrors redirect light at predictable angles.
A periscope uses this principle twice.
Light enters through the top opening. The first mirror sits at a 45-degree angle. This mirror reflects light downward through the tube. The second mirror sits at the bottom, also at 45 degrees. It reflects light outward toward the viewer's eye.
The result: seeing around corners or over obstacles without exposing position.
Submarines use this same principle. So do tanks. So do children hiding behind fences.
The 45-degree angle is essential. Any other angle distorts the image or fails to redirect light properly.
How to Build a Periscope Using the Cardboard Sheet Method
This method creates the most durable result for outdoor play.
Step 1: Prepare the Main Tube
Take the larger cardboard sheet (10 x 12 inches).
Mark fold lines at 2.5-inch intervals along the 12-inch side.
Four panels of equal width.
Score the fold lines with a ruler and dull blade. This creates clean folds without cutting through.
Fold the cardboard into a rectangular tube. The 10-inch dimension becomes the tube length.
Tape the seam securely.
Step 2: Create Mirror Slots
At the top of the tube, cut a diagonal slot on one side. The slot angle: 45 degrees from horizontal.
At the bottom, cut another diagonal slot on the opposite side. Same 45-degree angle.
Both slots must face opposite directions. One mirror will face up and out. One will face down and out.

Step 3: Cut Viewing and Light Openings
Above the bottom mirror slot, cut a rectangular viewing hole. This is where the eye looks through.
Below the top mirror slot, cut another rectangular opening. This is where light enters.
Both openings should be slightly smaller than the mirror size.
Step 4: Insert the Mirrors
Slide the first mirror into the top slot at 45 degrees. The reflective surface faces downward into the tube.
Slide the second mirror into the bottom slot. The reflective surface faces upward into the tube.
Secure both mirrors with tape. Hot glue provides a stronger hold for active use.
Step 5: Test and Adjust
Hold the periscope vertically.
Look through the bottom opening.
The top opening should reveal what sits above eye level.
If the image appears distorted or absent, adjust the mirror angles. Small tweaks make large differences.
A working periscope shows a clear, upright image.
How to Build a Periscope Using PVC Pipe
This method creates the most weather-resistant version.
Step 1: Gather Components
One straight PVC pipe section. Length determines viewing height. Twelve to eighteen inches works well for children.
Two 45-degree elbow joints. These attach to each end of the straight pipe.
Step 2: Prepare Mirror Placement
Measure the interior width of the elbow joints.
Cut or select mirrors that fit snugly inside.
Step 3: Install Mirrors
Insert one mirror into each elbow joint. The reflective surface faces into the pipe at a 45-degree angle.
The elbow joint naturally provides the correct angle. This simplifies construction significantly.
Secure mirrors with adhesive putty or tape. Putty allows repositioning if needed.
Step 4: Assemble
Attach both elbow joints to the straight pipe.
Orient them so the openings face opposite directions. One up, one down.
The periscope is complete.
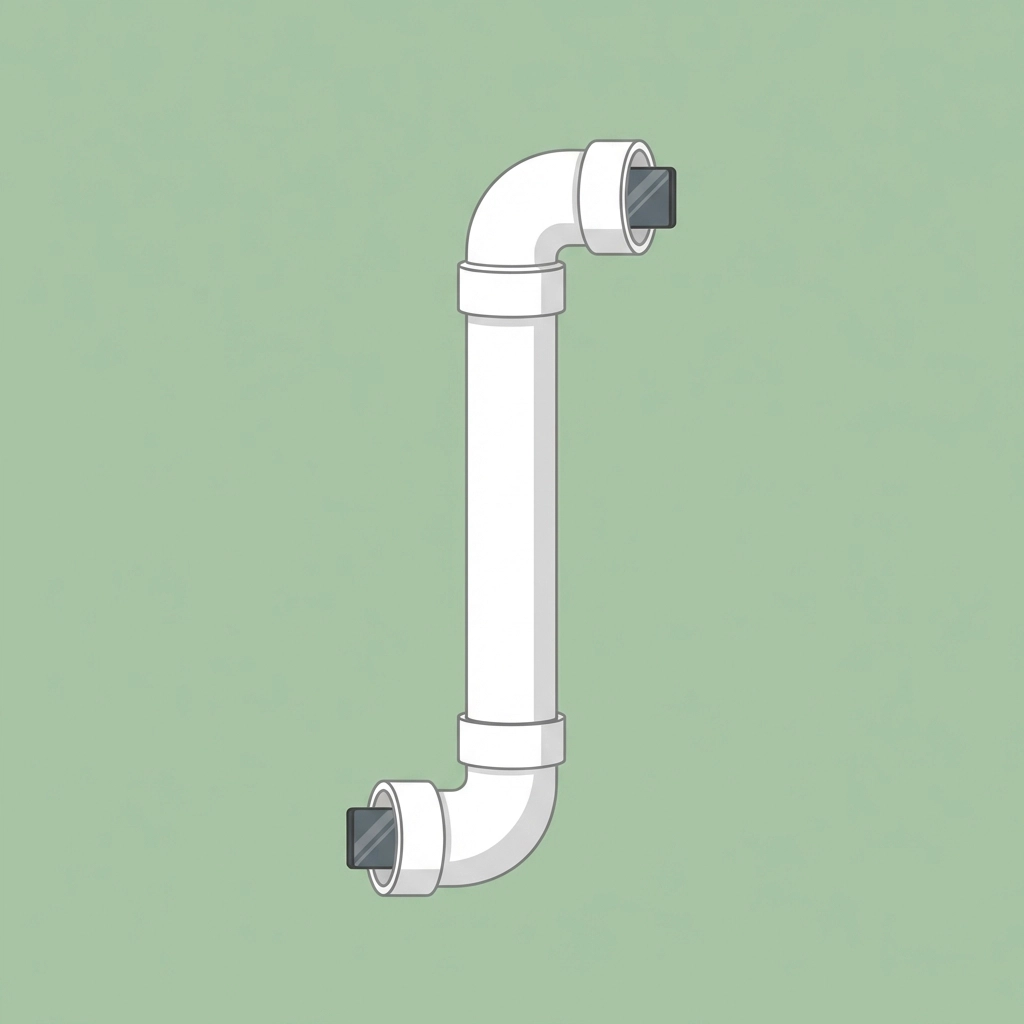
PVC construction handles moisture and rough play. Suitable for rainy-day adventures and extended outdoor campaigns.
What Age Can Build a Homemade Periscope?
Children ages six and up can complete the paper tube method with supervision.
Children ages eight and up can handle the cardboard sheet method independently.
The PVC method suits ages ten and up due to fitting requirements.
Adults benefit from building alongside younger children. The process teaches geometry, physics, and patience.
Teachers find periscopes effective for demonstrating light reflection principles. Hands-on learning reinforces abstract concepts.
What Are Common Mistakes When Building a Periscope?
Mirror angle errors.
Angles greater or less than 45 degrees produce distorted or invisible images. Use a protractor or printed template for accuracy.
Mirrors facing the same direction.
Both mirrors must face opposite directions. Top mirror reflects downward. Bottom mirror reflects toward the eye. Same-direction mirrors create no functional reflection path.
Loose mirror mounts.
Mirrors that shift during use lose their angles. Secure attachment prevents frustration.
Tube too narrow.
The tube must accommodate mirror width plus viewing space. Cramped construction limits functionality.
Using curved mirrors.
Flat mirrors only. Curved surfaces distort the reflected image.
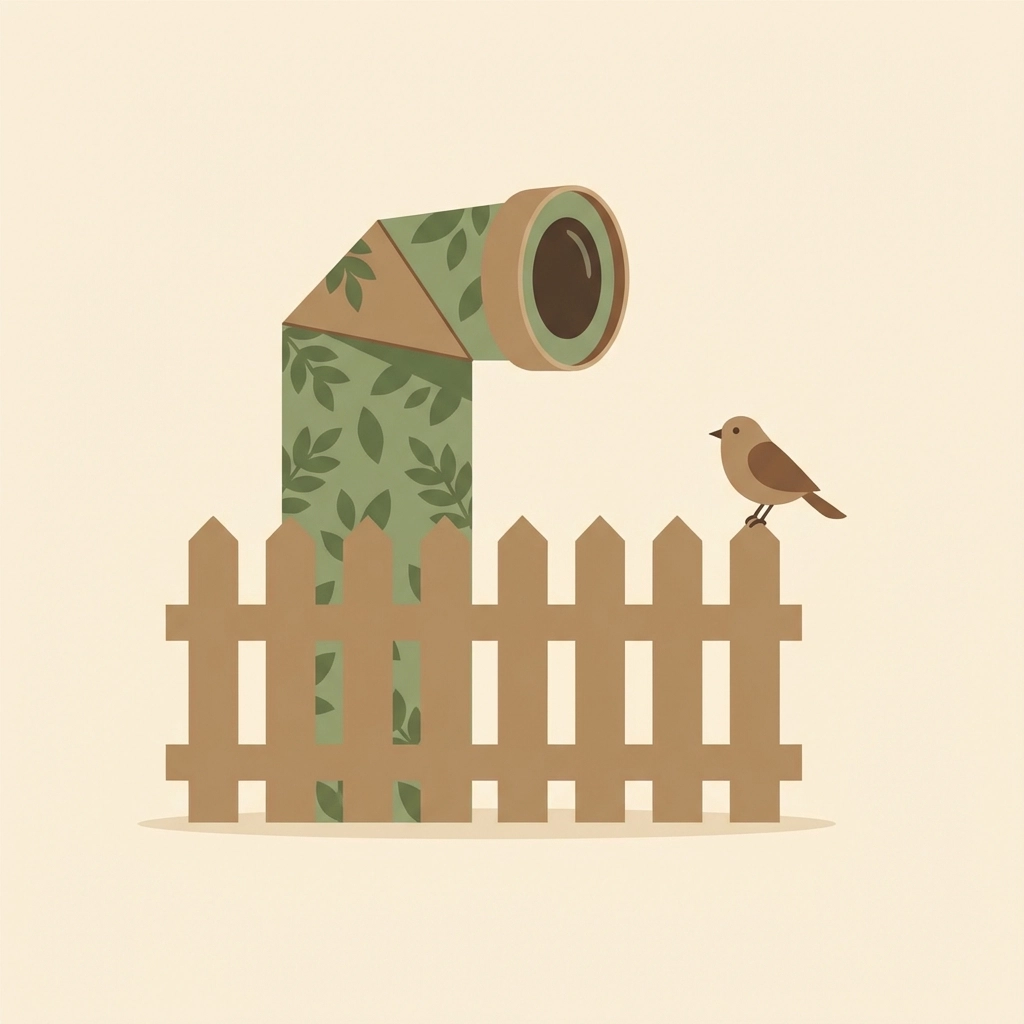
How Can a Periscope Be Customized?
Camouflage coating.
Paint or wrap the exterior in natural colors. Greens, browns, tans. Effective for backyard surveillance operations.
Extended length.
Longer tubes allow viewing over taller obstacles. Multiple cardboard tubes can connect end-to-end.
Decorative elements.
Stickers, paint, markers. Personalization increases attachment to the project. Children use decorated periscopes more frequently.
Rotating top section.
A loose connection between upper and lower tube sections allows 360-degree viewing. Requires careful construction but adds significant functionality.
What Can Children Learn from Building a Periscope?
Physics concepts:
- Light travels in straight lines
- Reflection angles equal incidence angles
- Mirrors redirect light predictably
Math concepts:
- 45-degree angles
- Measurement and precision
- Symmetry
Engineering concepts:
- Problem-solving through iteration
- Material selection
- Structural stability
Life skills:
- Following instructions
- Patience during construction
- Testing and adjusting
A periscope is a tool. Building one is an education.
Where to Use a Homemade Periscope
Backyard forts. Tree houses. Behind couches during indoor play.
Bird watching without disturbing wildlife.
Observing garden activity from a distance.
Parade viewing over crowds.
Classroom demonstrations of light and reflection.
The periscope extends vision without extending position. Practical applications exist beyond play.
Final Considerations
A homemade periscope costs almost nothing. Takes less than an hour. Teaches fundamental physics.
The cardboard method suits most families. Durable enough for weeks of play. Simple enough for young builders.
The PVC method suits outdoor enthusiasts. Weather-resistant. Built for extended adventures.
Either version transforms ordinary afternoons into investigative expeditions.
Two mirrors at 45 degrees. That's the entire principle. Everything else is structure to hold them in place.


