


A string-phone requires two cups, a length of string, and something to anchor each end. Total build time runs about five minutes. The result is a working communication device that transmits sound across 30 feet or more.
This project demonstrates sound wave physics in a hands-on format. Kids grasp the concept immediately. Adults find the simplicity satisfying.
No batteries. No screens. Just vibration traveling through a taut line.
What Materials Are Needed for a String-Phone?
The supply list is short. Most households already have everything required.
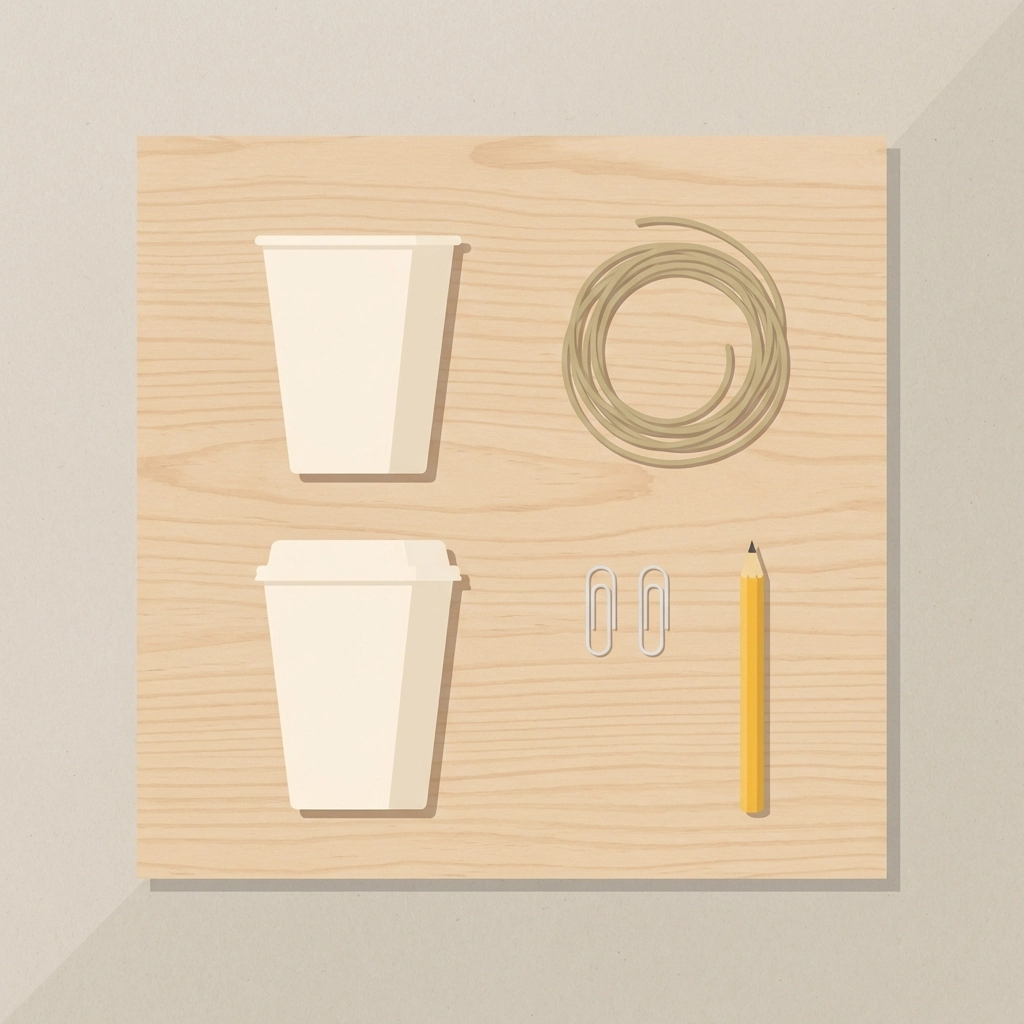
Essential materials:
- 2 paper cups (plastic cups work too)
- 1 length of string, yarn, or twine (6 to 30 feet)
- 2 paper clips or toothpicks
- 1 sharp pencil or scissors
Optional upgrades:
- Fishing line (for better sound clarity)
- Tin cans (for a different acoustic quality)
- Cotton twine (for a classic feel)
Paper cups produce clear sound transmission. Plastic cups function similarly. Tin cans create a slightly different tone: worth testing as a comparison experiment.
String length affects range. Start with 6 to 8 feet for indoor use. Outdoor yards accommodate 20 to 30 feet easily.
How Does Assembly Work Step by Step?
The process involves six actions. Each step takes under a minute.
Step 1: Cut the string.
Measure the desired length. Six feet works for beginners. Thirty feet stretches across most backyards. Cut clean.
Step 2: Punch a hole in each cup.
Use a sharp pencil or scissors. Aim for the center of the cup bottom. The hole should be just large enough for the string to pass through. Too large creates slack. Too small makes threading difficult.
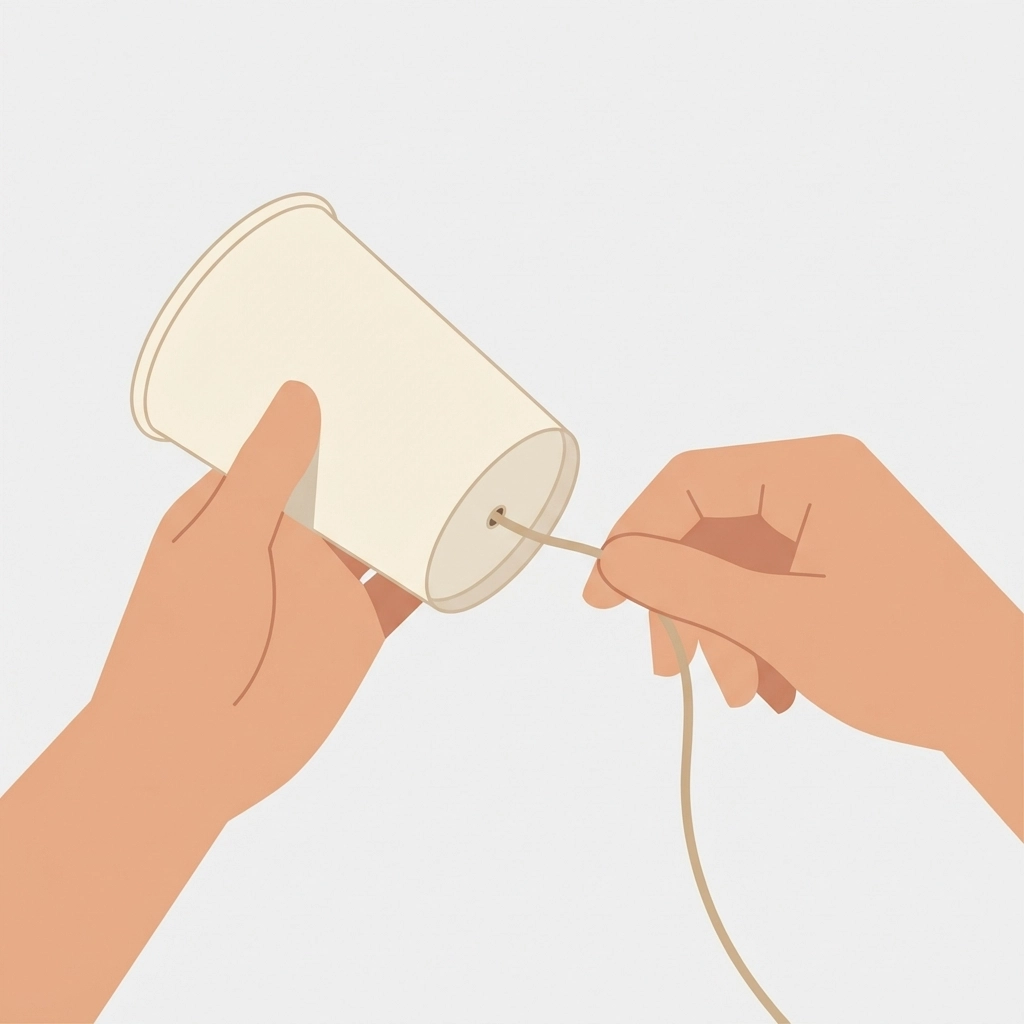
Step 3: Thread the string through the first cup.
Insert the string from the outside of the cup. Push it through so 3 to 4 inches emerge inside.
Step 4: Anchor the string inside the cup.
Two options exist:
- Tie a knot large enough that it cannot pull back through the hole
- Thread a paper clip or toothpick through the string end inside the cup
The anchor prevents the string from slipping out during use.
Step 5: Repeat with the second cup.
Thread the other end of the string through the second cup. Anchor it the same way.
Step 6: Test the tension.
Hold one cup. Have another person hold the second cup. Walk apart until the string pulls tight. No sagging. No touching the ground or other objects.
The string-phone is now operational.
Why Does a String-Phone Actually Work?
Sound travels through vibration.
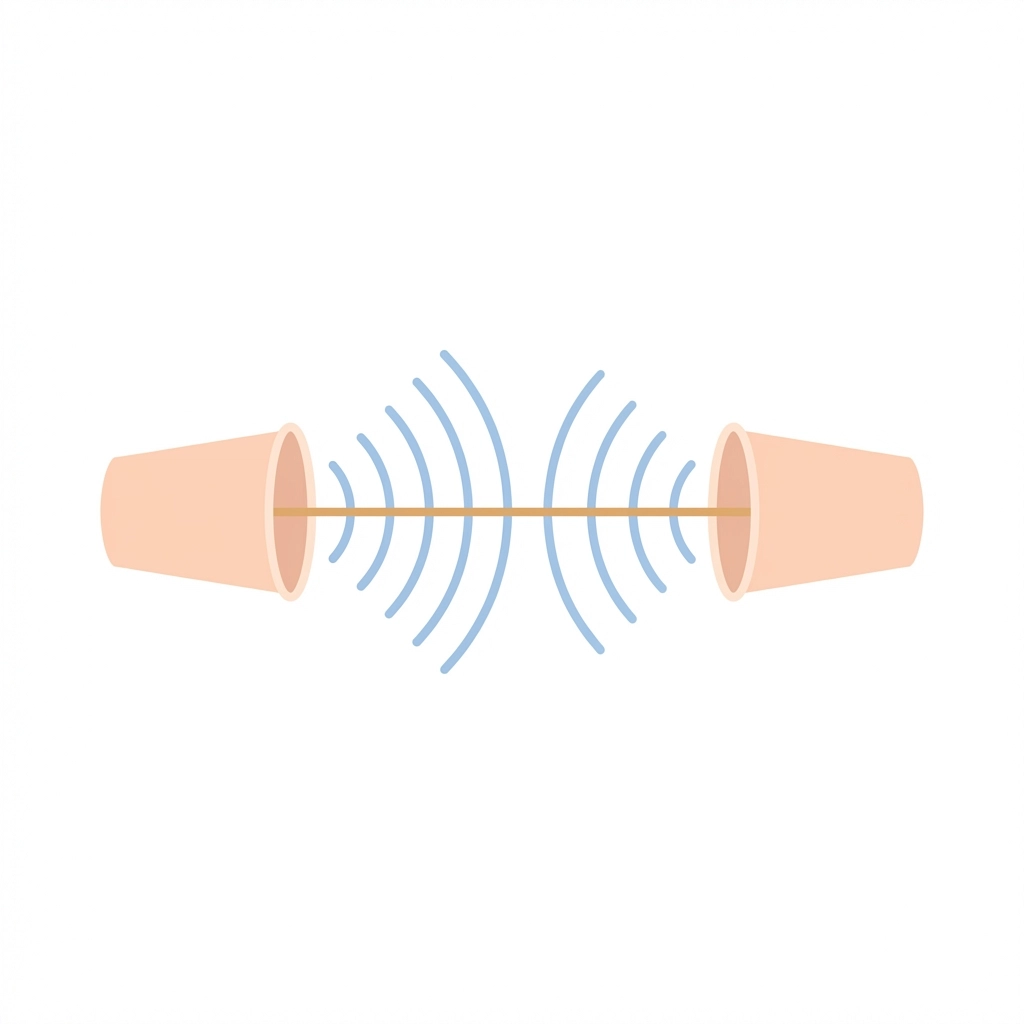
Speaking into the cup creates sound waves. Those waves hit the cup bottom. The cup bottom vibrates. The vibration transfers to the string.
A taut string carries vibration efficiently. The vibration travels the full length of the string. It reaches the second cup. The second cup bottom vibrates. That vibration creates sound waves inside the receiving cup.
The listener hears the speaker’s voice.
Key physics principles at play:
- Sound waves are vibrations moving through a medium
- Tension in the string allows vibration to travel without dissipating
- The cup acts as both a microphone (sender) and speaker (receiver)
Slack string fails. Vibration disperses before reaching the other end. The string must remain tight throughout use.
Contact with objects also disrupts transmission. If the string touches a wall, fence, or the ground, vibrations transfer to that surface instead of continuing to the receiving cup.
Taut and unobstructed. Those are the two requirements.
What Variables Can Be Tested?
This project opens multiple experiment pathways. Each variable change produces observable results.
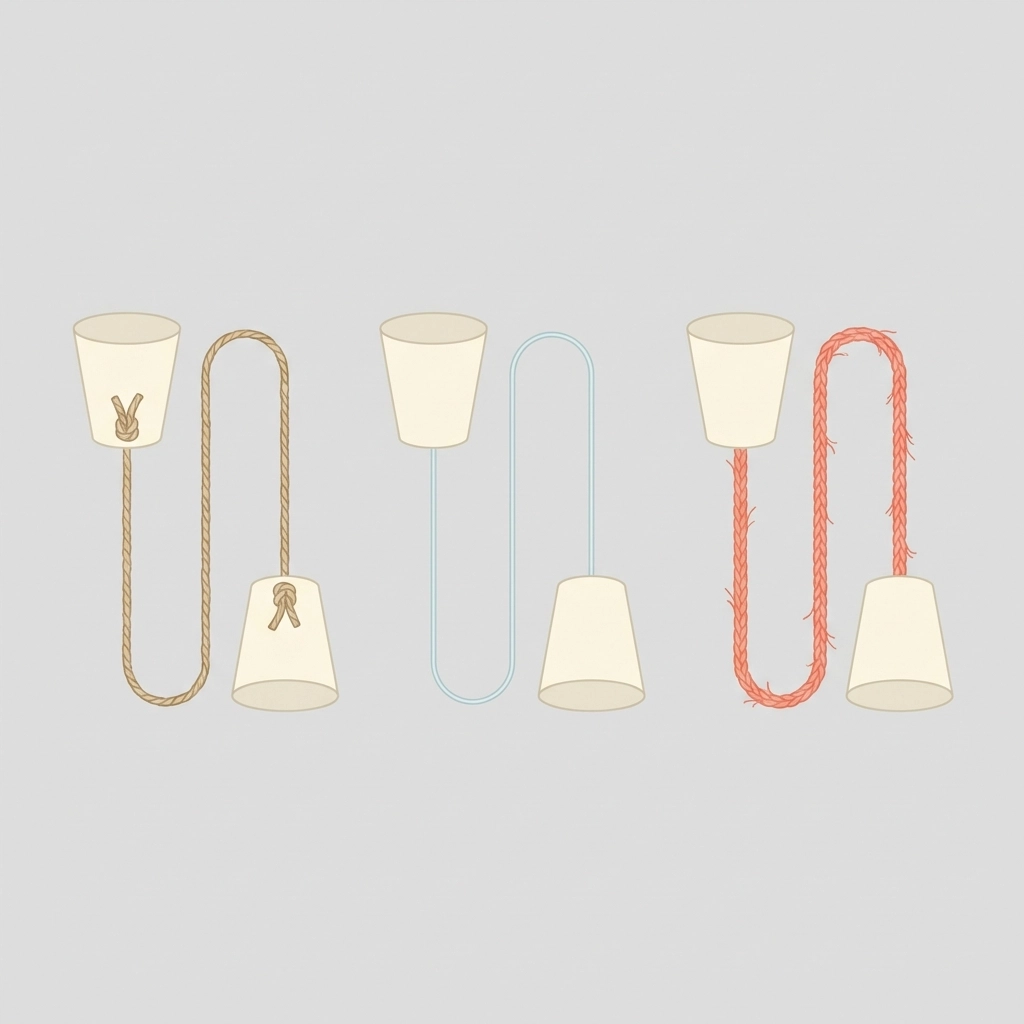
String material:
- Cotton twine produces a warm, slightly muffled sound
- Fishing line transmits sharper, clearer audio
- Yarn works but absorbs more vibration
- Kite string offers a middle-ground option
String length:
- Shorter strings (under 10 feet) transmit louder sound
- Longer strings (20+ feet) require tighter tension
- Maximum functional distance varies by material
Cup material:
- Paper cups are lightweight and responsive
- Plastic cups are durable but slightly less resonant
- Tin cans produce a metallic, distinctive tone
- Styrofoam cups dampen vibration significantly
Number of connections:
- A three-way call requires a Y-junction in the string
- Four cups can connect in a cross pattern
- Each additional connection reduces signal strength
Testing variables turns a five-minute project into an hour-long science exploration.
What Are Common Mistakes to Avoid?
Certain errors prevent the string-phone from working. Each has a simple fix.
Mistake: The string sags.
Fix: Walk farther apart. Maintain constant tension.
Mistake: The hole is too large.
Fix: Wrap tape around the string where it passes through the cup. This creates a tighter seal.
Mistake: The string touches the ground or another surface.
Fix: Elevate the string. Stand on opposite sides of a clear path. Avoid obstacles.
Mistake: Speaking too loudly.
Fix: Use a normal or soft speaking voice. Shouting overwhelms the vibration. The cup distorts.
Mistake: Holding the string instead of the cup.
Fix: Grip only the cup. Touching the string absorbs vibration from hands.
Mistake: Using a cup with a wax coating.
Fix: Plain paper cups work best. Heavy coatings reduce cup flexibility.
Small adjustments produce significant improvements.
How Can This Project Fit into a Lesson Plan?
Teachers and homeschool families find multiple curriculum connections here.
Science (Physics):
- Sound wave transmission
- Vibration and frequency
- Properties of materials
Scientific Method:
- Form a hypothesis about which string works best
- Test each variable
- Record observations
- Draw conclusions
Math:
- Measure string lengths
- Calculate distances
- Compare results numerically
Language Arts:
- Write a procedure
- Document observations in a journal
- Explain findings to a peer
History:
- Research early communication methods
- Compare to telegraph technology
- Discuss pre-telephone era communication
The string-phone serves as a gateway to multiple subjects. One activity. Many learning angles.
What Age Range Works Best?
Children as young as four can participate with assistance.
Ages 4–6 benefit from adult help with hole-punching and string-threading. The speaking and listening portion requires no assistance.
Ages 7–10 handle the full build independently. This age range also engages deeply with variable testing.
Ages 11+ often push the project further. Longer distances. Multiple connections. Documentation of results.
Adults enjoy the project too. Nostalgia plays a role. So does the satisfaction of demonstrating physics through simple materials.
No upper age limit exists.
What Makes This Project Worth the Time?
Screen-free engagement. Immediate results. Tangible physics.
Children experience cause and effect directly. Speaking creates vibration. Vibration travels. Listening confirms transmission.
The feedback loop is instant. Success is audible.
Failure is also instructive. Slack string teaches tension. Touching the string teaches interference. Each mistake clarifies the underlying science.
Five minutes of setup. Hours of potential exploration.
Materials cost nearly nothing. Cleanup takes seconds.
The string-phone remains one of the most efficient science projects available. Simple construction. Clear demonstration. Expandable complexity.
Build one this weekend.


