


Grab some containers from the recycling bin, pick up a bag of potting soil, and gather the kids. That’s it. A full DIY herb garden for less than $10: and everyone gets their hands dirty together.
Here’s exactly how to make it happen.
What supplies do you need for a DIY recycled container herb garden?
Almost everything comes from the kitchen.
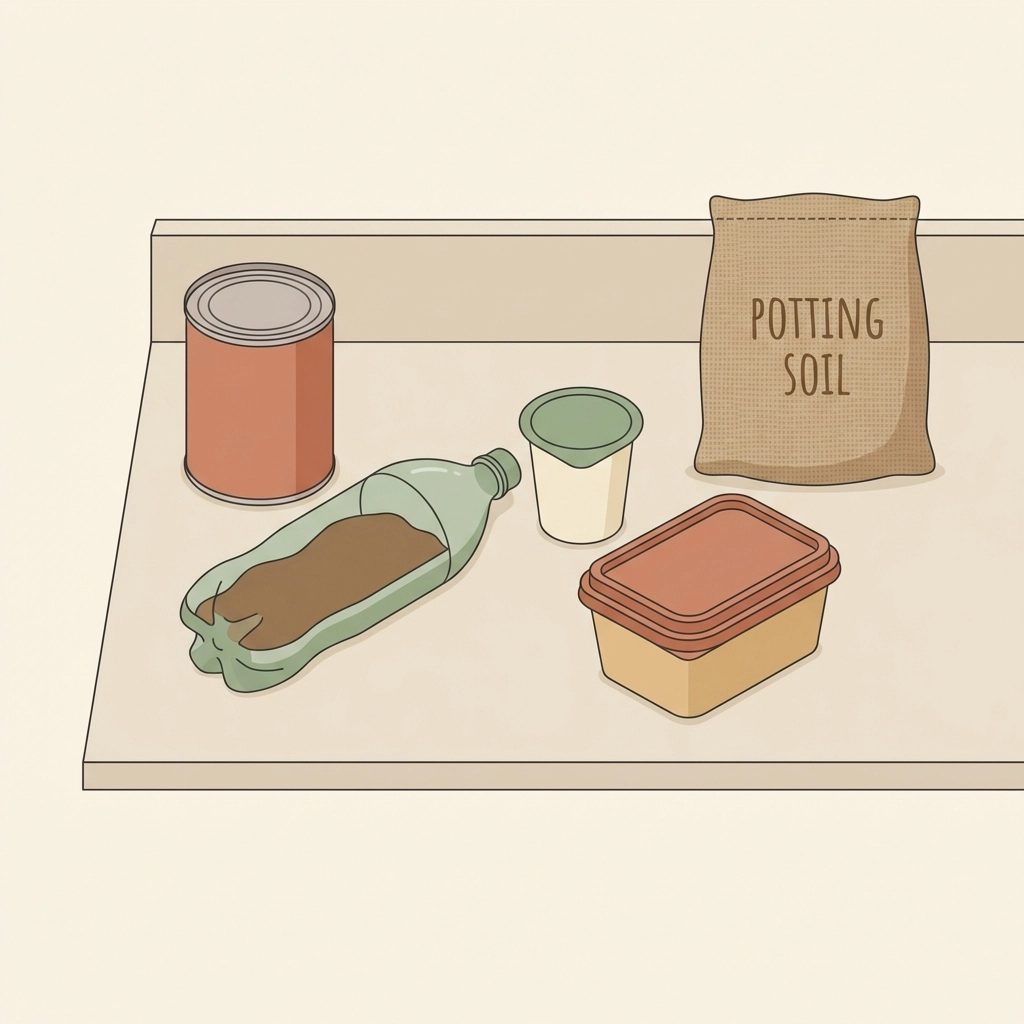
Free from home:
- Empty coffee cans, yogurt containers, butter tubs, or plastic soda bottles
- Old plates or saucers for drainage trays
- A hammer and nail (or heated skewer for plastic)
- Hot soapy water for cleaning
The only purchase:
- One bag of potting soil ($5–$8 at most stores)
Optional but still under budget:
- Seed packets ($1–$2 each) or herb cuttings from a neighbor’s garden (free)
Total cost sits comfortably under $10. Most families spend around $6–$7.
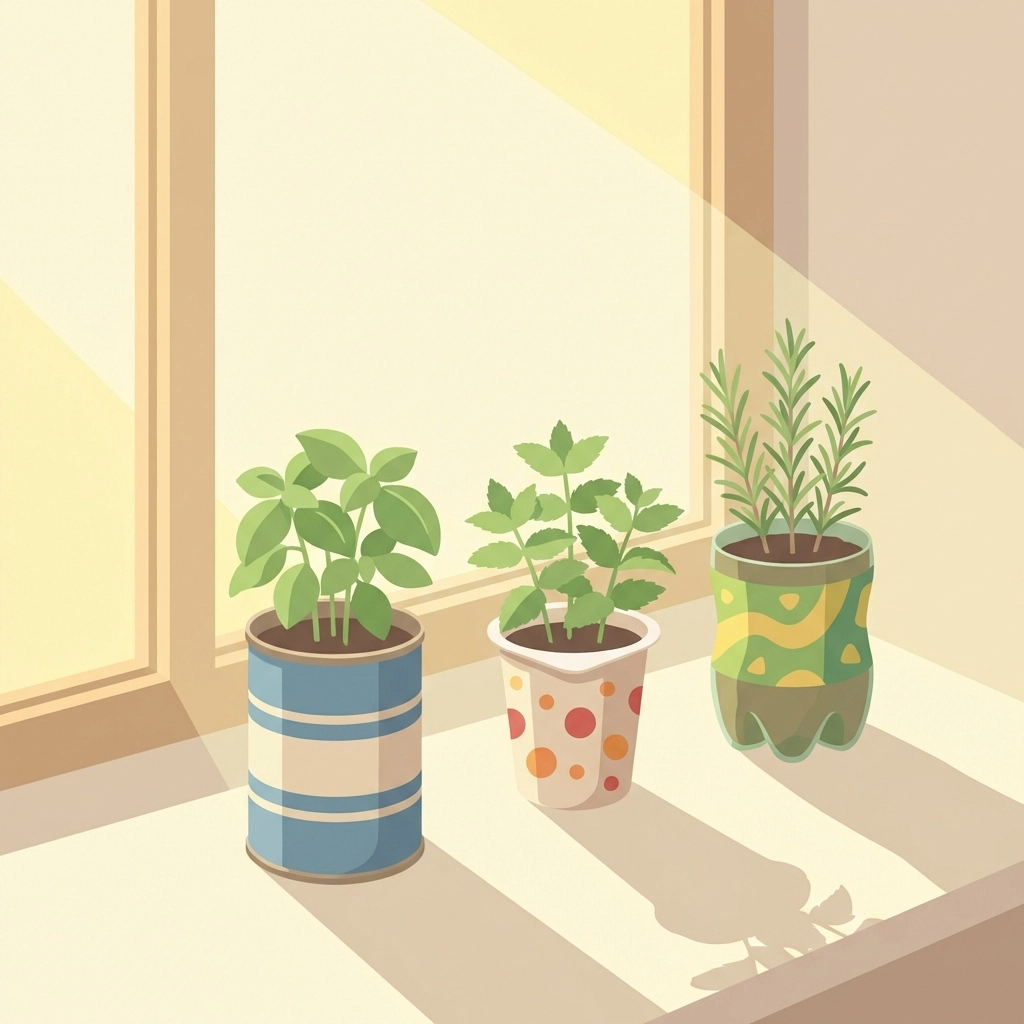
The containers are the star here. Coffee cans give a farmhouse vibe. Halved soda bottles look modern and work great on windowsills. Yogurt cups are perfect for smaller herbs like chives.
No rules. Just grab what’s available.
How do you prepare recycled containers for planting herbs?
Clean containers first. Hot soapy water removes food residue and prevents mold or pests later.
Rinse thoroughly. Let them dry completely.
Next comes drainage. Herbs hate soggy roots. Standing water leads to root rot within days.
For metal cans:
Flip the can upside down. Use a hammer and large nail to punch 4–5 holes in the bottom. Space them evenly.
For plastic containers:
A drill works fastest. No drill? Heat a metal skewer on the stove and carefully melt holes through the base. Adult supervision required here: this is a grown-up task.
For thicker plastic (like takeout containers):
A sharp knife or scissors can poke through. Start small. Widen as needed.
Each container needs a saucer underneath. Old plates, lids from larger containers, or even jar lids work perfectly. This catches excess water and protects surfaces.
The kids can help with cleaning and decorating. Save the sharp tools for adult hands.
What herbs grow best in recycled containers?
Not all herbs need the same space.
Deeper containers (coffee cans, large yogurt tubs):
- Basil
- Rosemary
- Cilantro
- Parsley
These herbs develop longer root systems. Give them at least 4–6 inches of soil depth.
Shallow containers (butter tubs, small takeout boxes):
- Chives
- Thyme
- Oregano
- Mint (but mint spreads aggressively: keep it contained)
Match the container to the herb. Shallow roots go in shallow pots. Deep roots need room to stretch.
Starting with basil and chives covers most family kitchens. Both grow fast. Both forgive mistakes. Both taste great on pizza.

How do you plant herbs in recycled containers step by step?
This part brings everyone together.
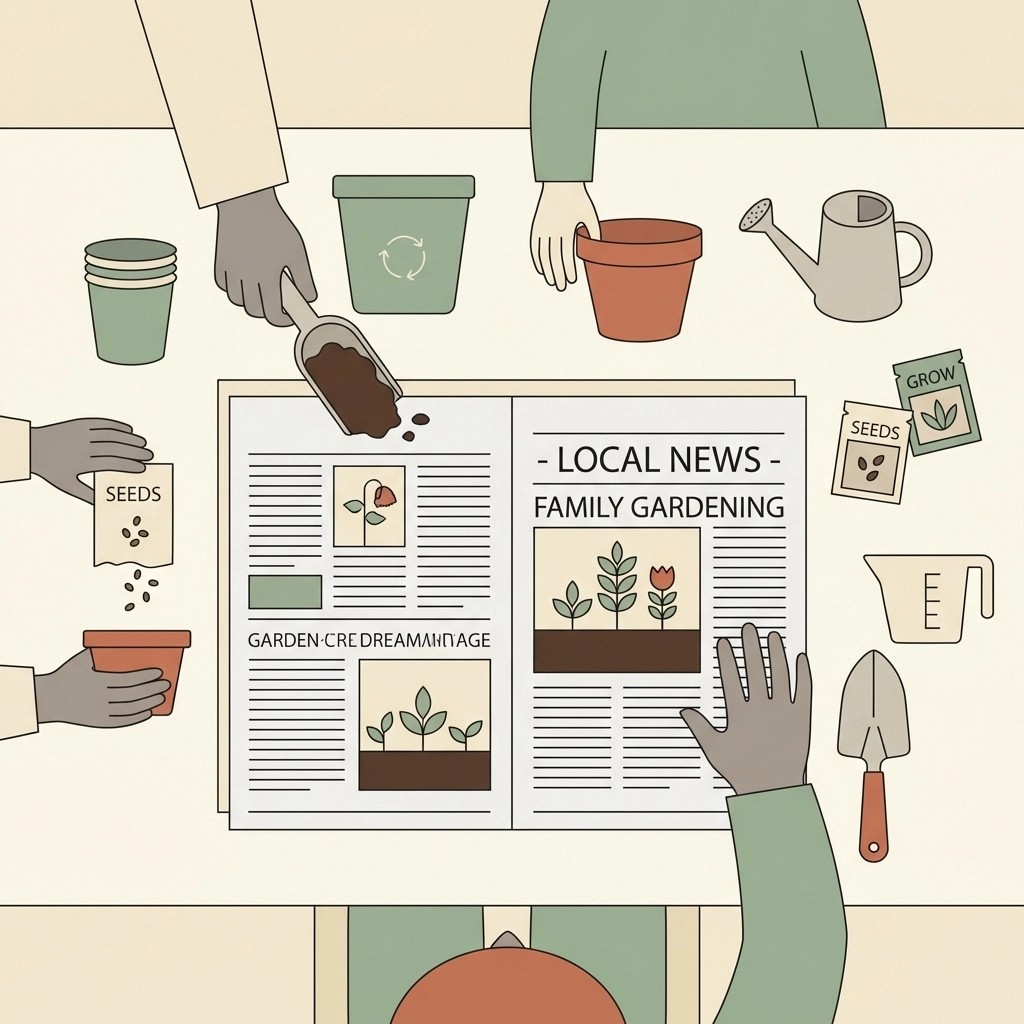
Step 1: Set up the workspace
Lay down newspaper or an old towel. Potting soil gets everywhere. Embrace the mess.
Gather all containers, the soil bag, seeds or cuttings, and a cup of water.
Step 2: Fill containers with soil
Pour potting soil into each container. Leave about an inch of space at the top: this prevents overflow during watering.
Regular garden dirt doesn’t work here. It compacts too tightly and suffocates roots. Potting mix stays loose and drains properly.
Let the kids scoop the soil. Measuring cups or small shovels work great for little hands.
Step 3: Plant the seeds or cuttings
For seeds:
Make a small indent in the soil with a finger. Drop 2–3 seeds in. Cover lightly with soil. Press gently.
For cuttings (the budget-friendly option):
Take a 4-inch cutting from an existing herb plant. Remove leaves from the bottom third of the stem. Place the cutting in a cup of water for 7–10 days, changing the water daily. Once roots reach ¼ to ½ inch, transplant into prepared containers.
Cuttings cost nothing. Ask neighbors, friends, or family members with herb gardens. Most gardeners happily share.
Step 4: Water gently
Moisten the soil without flooding it. A gentle pour works better than dumping.
The soil should feel like a wrung-out sponge: damp, not dripping.
Step 5: Find a sunny spot
Herbs need 6 hours of sunlight minimum. A south-facing window works best. East or west windows work too with slightly slower growth.
No sunny window? A grow light ($8–$15) extends the budget slightly but solves the problem permanently.
How do you involve kids in making a DIY herb garden?
Every step has a kid-friendly version.
Container hunting: Turn it into a scavenger hunt. Who can find the most interesting container in the recycling bin?
Decorating: Before planting, let kids paint or decorate the outside of containers with markers, stickers, or washi tape. Personalized pots mean invested gardeners.
Soil scooping: Little hands love digging. Give each child their own container to fill.
Seed planting: Counting seeds teaches math. Covering them teaches patience.
Watering duty: Assign each child a plant to water and monitor. Ownership builds responsibility.
Harvesting: The best part. Picking leaves for dinner makes the whole project click.
Expect mess. Expect spilled soil. Expect more enthusiasm than precision.
That’s the point.
How do you care for a DIY herb garden after planting?
Herbs need consistent attention, but not much of it.
Watering:
Push a finger one inch into the soil. Dry? Water. Still moist? Wait another day.
Overwatering kills more herbs than underwatering. When in doubt, hold off.
Light:
Rotate containers every few days. This keeps growth even and prevents plants from leaning toward the window.
Harvesting:
Pinch off the top leaves regularly. This encourages bushier, fuller growth instead of tall, leggy stems.
Never harvest more than one-third of the plant at once. Leave enough leaves for continued photosynthesis.
Feeding:
Most potting soils contain enough nutrients for the first 4–6 weeks. After that, a diluted liquid fertilizer once a month keeps things thriving.
What does the total cost breakdown look like?
| Item | Cost |
|---|---|
| Recycled containers | $0 (from home) |
| Potting soil (1 bag) | $5–$8 |
| Seeds (2–3 packets) | $2–$3 |
| Drainage saucers | $0 (repurposed lids/plates) |
| Total | $7–$11 |
Using herb cuttings instead of seeds drops the total to $5–$8.
Sticking to one bag of soil and free containers keeps everything under $10 comfortably.
Why does making a DIY herb garden matter for families?
Fresh herbs within arm’s reach change how a kitchen operates.
Kids who grow food eat food. Studies consistently show children try more vegetables and herbs when they participate in growing them.
The project teaches patience. Seeds don’t sprout overnight. Neither do meaningful conversations: but they happen naturally while hands stay busy with soil and water.
Recycled containers turn trash into something useful. That lesson sticks.
And the herbs themselves? Basil on homemade pizza. Chives on baked potatoes. Mint in lemonade.
Every harvest tastes like accomplishment.
Gather the containers. Grab the kids. Spend less than $10.
A family herb garden grows more than just plants.


