


A DIY sensory herb box costs under $10 when built from recycled containers and budget-friendly herb plants.
The entire project takes 30 minutes.
Children engage multiple senses.
Parents spend almost nothing.
This is hands-on learning at its simplest.
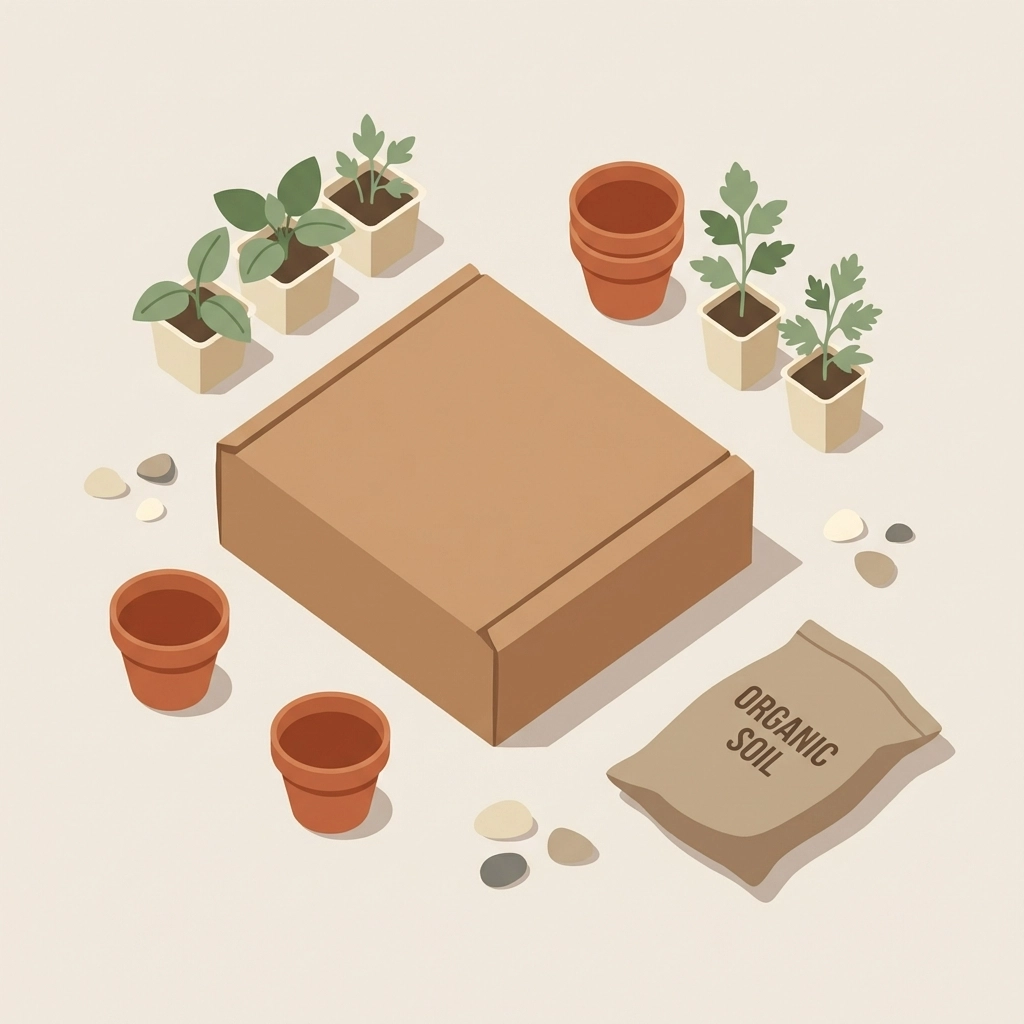
What materials are needed for a sensory herb box?
Most supplies already exist in the average household.
The rest come from dollar stores or garden centers.
Container options (free to $3):
- Cardboard shoe boxes
- Plastic takeout containers
- Wooden fruit crates
- Old drawer organizers
- Repurposed egg cartons for seedlings
Growing supplies ($3-5):
- Potting soil or compost
- Small drainage rocks or pebbles
- Plastic liner with holes punched through
Plants ($2-4):
- Herb seedlings from discount stores
- Seeds from dollar packs
- Cuttings from existing plants
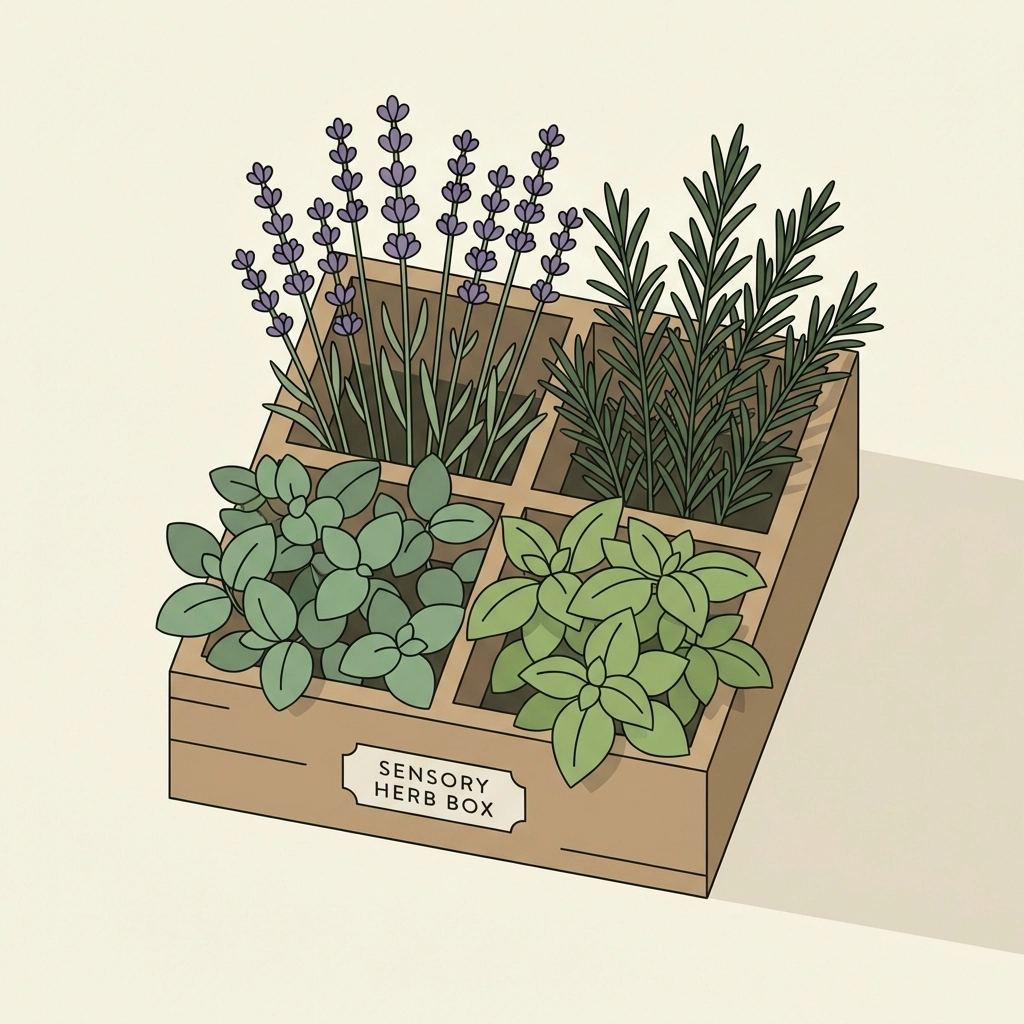
Which herbs work best for sensory exploration?
Herbs with strong scents and distinct textures create the richest experience.
Lavender has a calming fragrance.
Soft, silvery leaves.
Purple flower spikes add visual interest.
Rosemary smells piney and sharp.
Needle-like leaves feel firm.
The texture contrasts with softer herbs.
Mint offers an unmistakable cooling scent.
Fuzzy stems.
Leaves feel slightly rough.
Basil smells sweet and peppery.
Smooth, glossy leaves.
Grows quickly from seed.
Thyme has tiny leaves.
Woody stems provide texture variety.
Strong earthy aroma.
Three to four different herbs in one box create enough contrast.
More than five becomes overwhelming.
How do recycled containers become sensory herb boxes?
Any waterproof container works.
Cardboard boxes need a plastic liner.
Here is the process:
Step 1: Prepare the container
Line the bottom with a plastic bag.
Poke 5-10 small holes for drainage.
A fork works well for this.
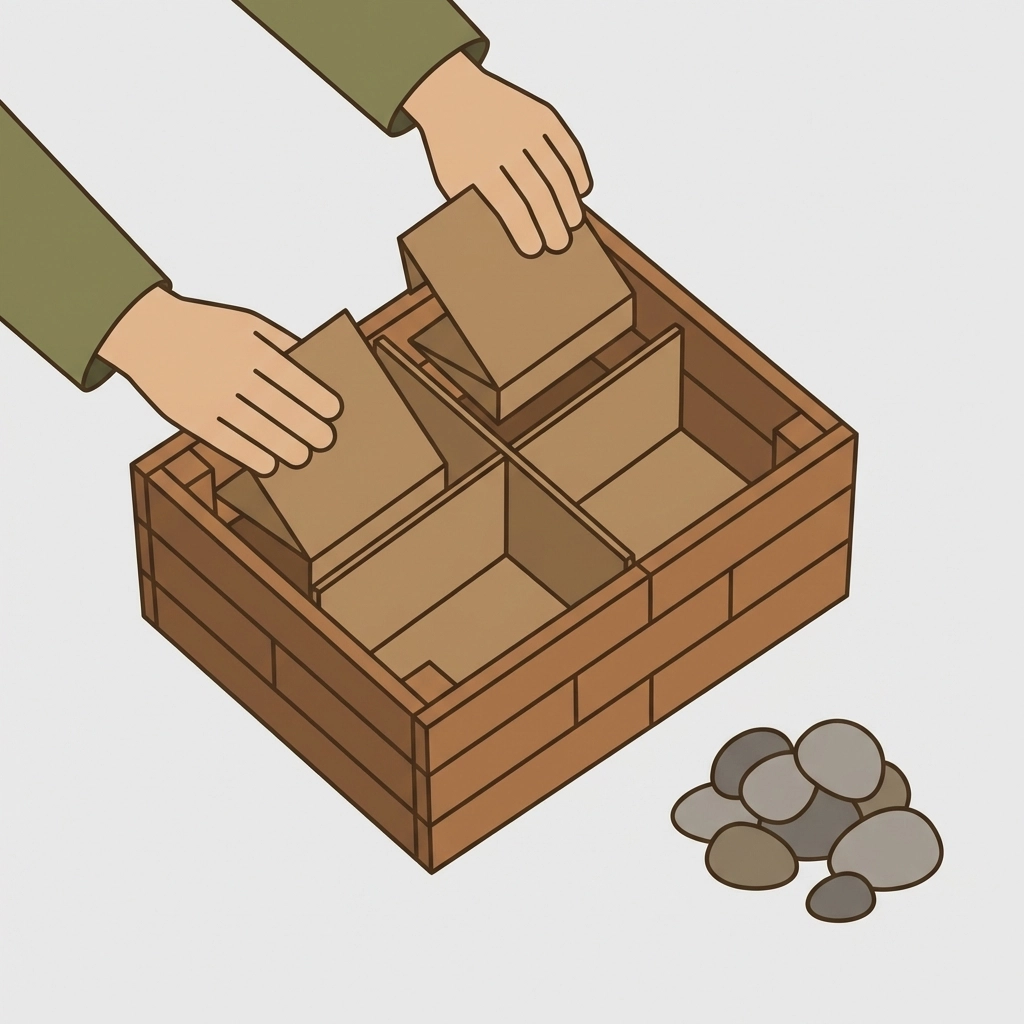
Step 2: Create compartments
Divide the space using cardboard strips.
Hot glue or tape holds dividers in place.
Each section houses one herb variety.
Partitions help children mentally organize different plants.
Touching one section at a time focuses attention.
Step 3: Add drainage layer
Place small rocks or gravel at the bottom.
One inch is sufficient.
This prevents root rot.
Step 4: Fill with soil
Add potting mix to each compartment.
Leave one inch of space at the top.
Pack soil gently but not tightly.
Step 5: Plant the herbs
Make a small hole in each section.
Place seedlings or seeds inside.
Cover roots completely.
Water thoroughly.
What makes a sensory herb box educational?
Multiple senses activate during exploration.
Touch: Different leaf textures create tactile variety.
- Fuzzy mint stems
- Smooth basil leaves
- Needle-like rosemary
- Soft lavender foliage
Smell: Each herb has a distinct aroma.
Children learn to identify plants by scent alone.
This builds sensory memory.
Sight: Colors and shapes vary between species.
Purple, green, silver tones.
Tall spikes versus low mounds.
Optional taste: Many culinary herbs are safe to sample.
A small leaf of basil or mint introduces flavor exploration.
Adult supervision is necessary.
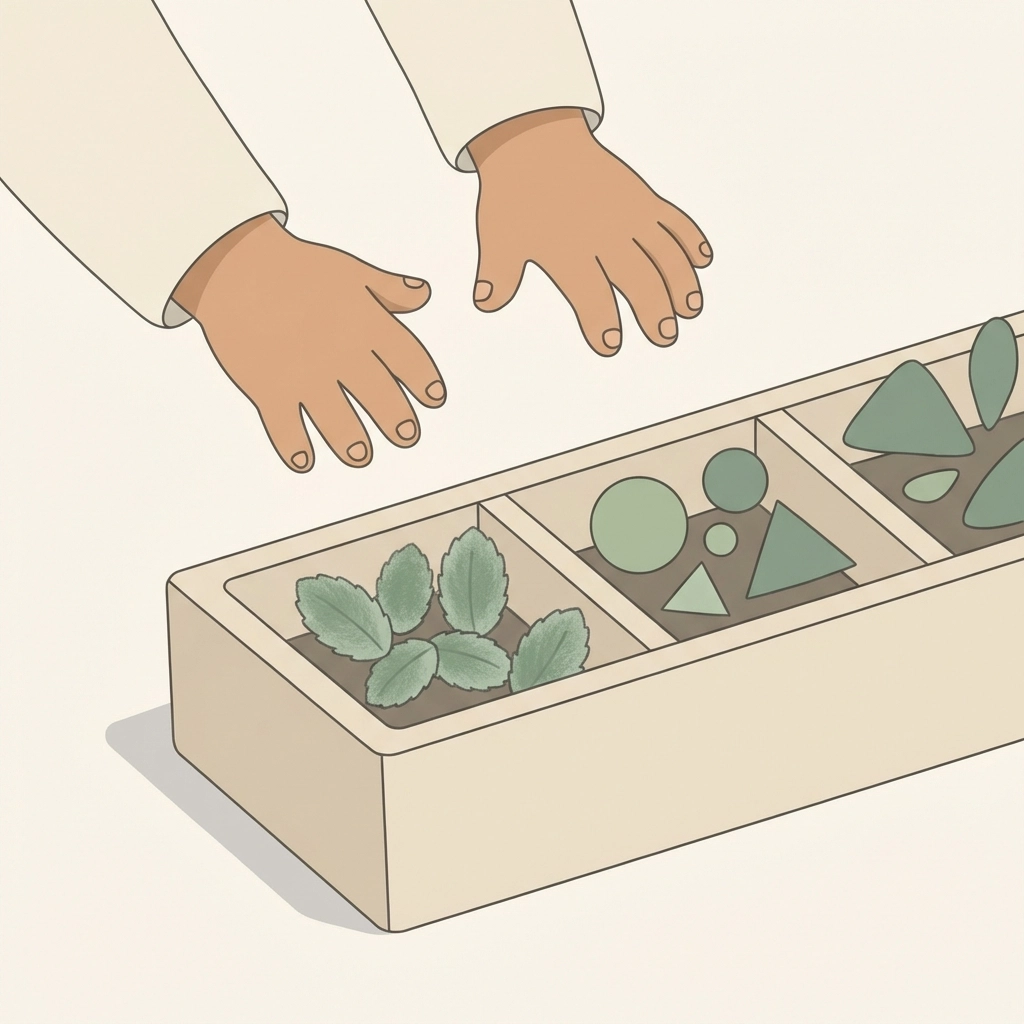
The compartmentalized design adds structure.
Children can close their eyes.
Feel one section.
Guess the herb.
This becomes a game.
How should children interact with the sensory herb box?
Guided exploration works best for younger children.
Older kids can investigate independently.
Suggested activities:
- Rub leaves between fingers to release oils
- Compare textures with eyes closed
- Smell each section and describe the scent
- Water the plants and observe soil absorption
- Draw or photograph the herbs as they grow
- Harvest small amounts for cooking projects
Daily watering builds responsibility.
Watching growth teaches patience.
The box becomes a living science experiment.
What additional sensory elements enhance the experience?
Extra materials expand the exploration.
Most cost nothing.
Natural additions:
- Smooth river rocks
- Rough bark pieces
- Soft moss patches
- Dried seed pods
- Pinecones
Texture tools:
- Small brushes for touching leaves
- Magnifying glasses for close inspection
- Spray bottles for watering
These items fit in extra compartments.
The box becomes a complete sensory station.
Where should the sensory herb box live?
Most herbs need 4-6 hours of sunlight.
A sunny windowsill works indoors.
A covered porch works outdoors.
Indoor placement tips:
- South-facing windows provide the most light
- Rotate the box weekly for even growth
- Place a tray underneath to catch water drainage
Outdoor placement tips:
- Partial shade protects delicate leaves
- Bring inside during frost
- Check soil moisture daily in hot weather
Herbs grow best between 60-70°F.
Extreme temperatures stress plants.
How long does a sensory herb box last?
With basic care, herbs survive multiple seasons.
Annual herbs like basil last one growing season.
Perennial herbs like rosemary and lavender return yearly.
Maintenance schedule:
Weekly:
- Water when soil feels dry
- Remove dead leaves
- Check for pests
Monthly:
- Trim overgrown sections
- Refresh soil if compacted
- Rotate for even light exposure
Seasonally:
- Replace annual herbs as needed
- Divide perennials that outgrow compartments
- Add fresh compost for nutrients
Children who participate in maintenance develop ownership.
The project extends beyond initial creation.
What is the total cost breakdown?
A complete sensory herb box costs $7-10.
| Item | Cost |
|---|---|
| Recycled container | $0 |
| Plastic liner | $0-1 |
| Potting soil (small bag) | $2-3 |
| Herb seedlings (3 plants) | $3-4 |
| Drainage rocks | $0-2 |
| Total | $5-10 |
Using seeds instead of seedlings reduces cost further.
Dollar store herb seed packs cost $1 for multiple varieties.
Growing from seed adds 2-3 weeks before sensory exploration begins.
What common mistakes should families avoid?
Overwatering kills more herbs than neglect.
Soil should feel moist, not soggy.
Overcrowding limits growth.
Each herb needs space to spread.
Wrong light levels cause leggy, weak plants.
Insufficient sun produces fewer aromatic oils.
Ignoring drainage leads to root rot.
Every container needs holes at the bottom.
Choosing unfamiliar herbs reduces engagement.
Start with plants children already recognize from cooking.
Why does this project matter?
Sensory herb boxes cost almost nothing.
The materials are accessible.
The process is simple.
Children learn through direct experience.
Touch, smell, sight, and taste combine.
Growth happens over time.
Patience develops naturally.
Science becomes tangible.
A $10 project creates weeks of engagement.
The learning extends far beyond the initial investment.


