


Grab an empty milk jug, poke holes in the lid, and fill it with water. That's it. A fully functional DIY watering can for less than $10: realistically, for free: made in about ten minutes with the kids.
No fancy supplies. No trip to the store. Just stuff already sitting in the recycling bin.
This project hits all the right notes. It's quick. It's cheap. The kids feel like they actually made something useful. And every time they water the plants, they remember they built that tool themselves.
Here's the full walkthrough.
What supplies are needed for a DIY watering can?
The supply list is short.
The basics:
- Empty plastic jug (milk, juice, or water jug)
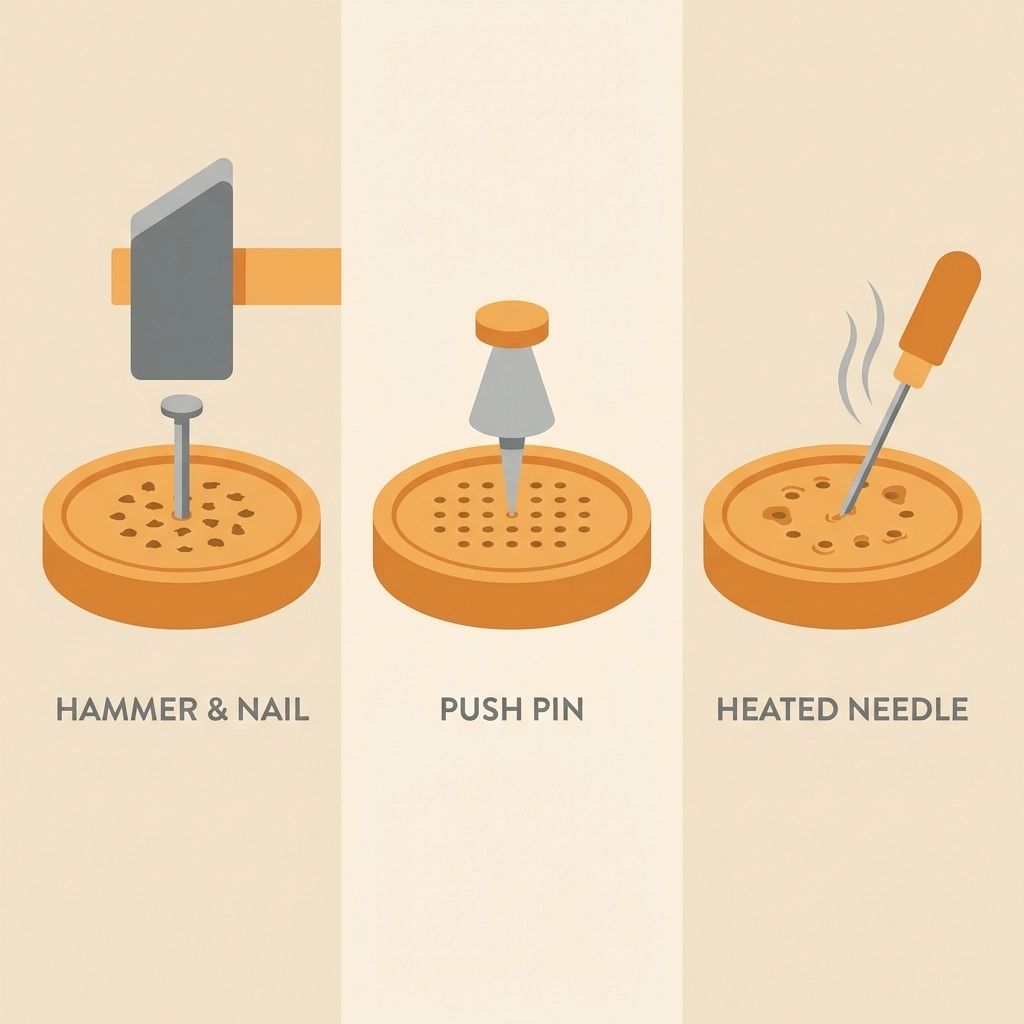
- Hammer and nail, OR a push pin, OR a heated needle
- Something to protect the surface (a scrap piece of wood works great)
Optional for decorating:
- Acrylic paints
- Sponges or brushes
- Stickers
- Permanent markers
Most families already have everything on this list.
If acrylic paints need purchasing, expect to spend $3 to $5. Push pins or a basic drill bit run $2 to $3. But honestly? The no-cost version works just as well.
The jug is the star. Everything else is just support.
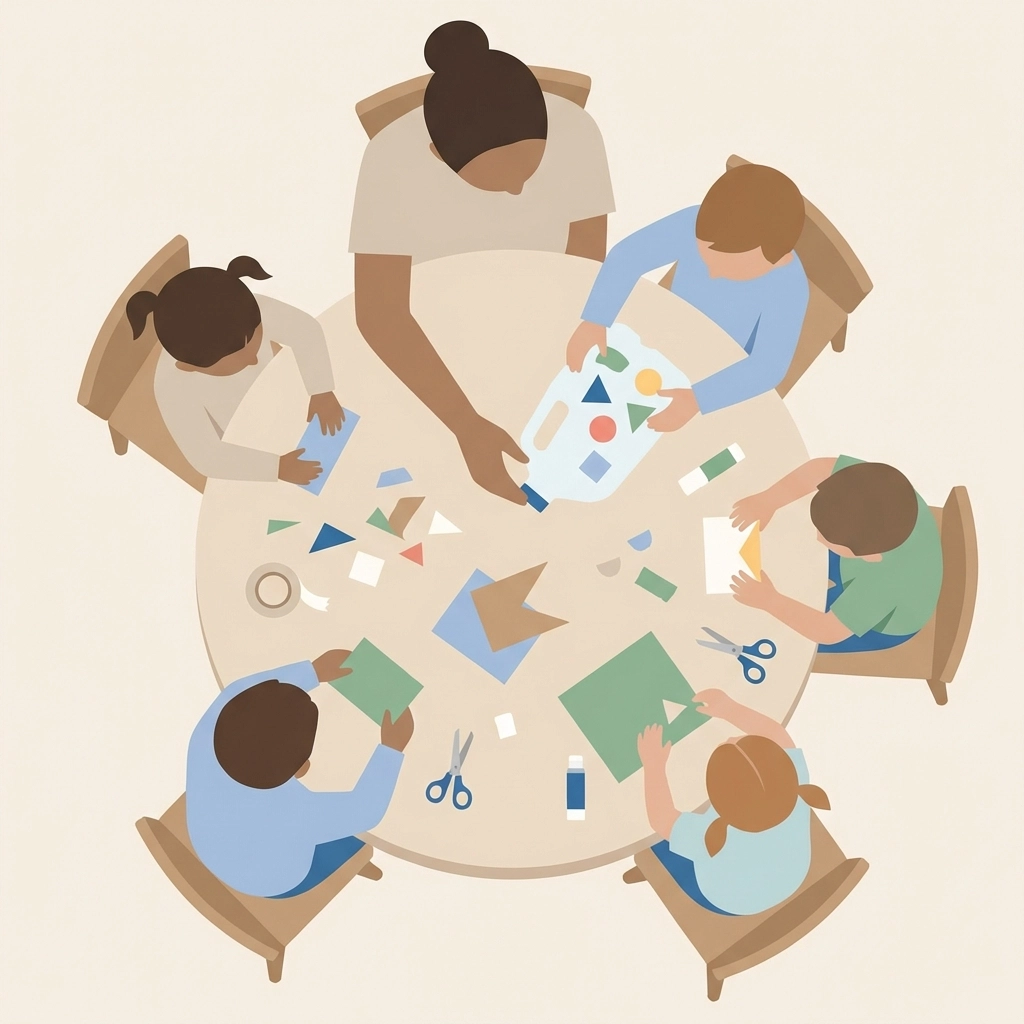
How do kids help make a DIY watering can?
Kids can participate in almost every step.
Younger children handle cleaning the jug, peeling off labels, and decorating. Older kids can safely help with poking holes under supervision.
Here's where each age group fits in:
Toddlers and preschoolers (ages 2-5):
- Rinse out the jug
- Peel stickers off
- Add stickers or stamp paint designs
- Help fill the finished can with water
Elementary age (ages 6-10):
- Use push pins to poke smaller holes
- Paint designs with sponges
- Test the water flow and adjust holes if needed
Tweens and teens:
- Handle the hammer and nail method
- Use a heated needle with supervision
- Lead the project for younger siblings
Everyone contributes. Nobody sits on the sidelines.
What is the easiest method for making a DIY watering can?
The milk jug with holes method wins for simplicity.
Step-by-step:
- Collect an empty plastic milk jug or juice container
- Rinse it thoroughly: no leftover milk smell allowed
- Remove any labels (soaking in warm water helps)
- Place the lid on a scrap piece of wood
- Use a hammer and nail to punch 5 to 10 holes in the lid
- Screw the lid back on the jug
- Fill with water and test
Done.
The whole process takes under ten minutes. Cleanup is minimal. The result is a fully functional watering can that pours a gentle shower of water: perfect for seedlings and container plants.
What if there's no hammer and nail available?
Two alternatives work just as well.
Push pin method:
Push pins create smaller holes. This produces a finer mist of water, which is actually better for delicate plants.
Hold the lid firmly against a piece of cardboard or wood. Push the pin through from the outside. Repeat 10 to 15 times in a cluster pattern.
Smaller hands can manage this with supervision. The risk of injury is low.
Heated needle method:
This technique requires adult involvement.
Heat the tip of a large sewing needle with a lighter. The hot metal slides through plastic easily. Poke from the inside of the lid outward. Reheat the needle between each hole.
This method creates clean, even holes without cracking the plastic.
Both alternatives cost nothing and take the same amount of time.
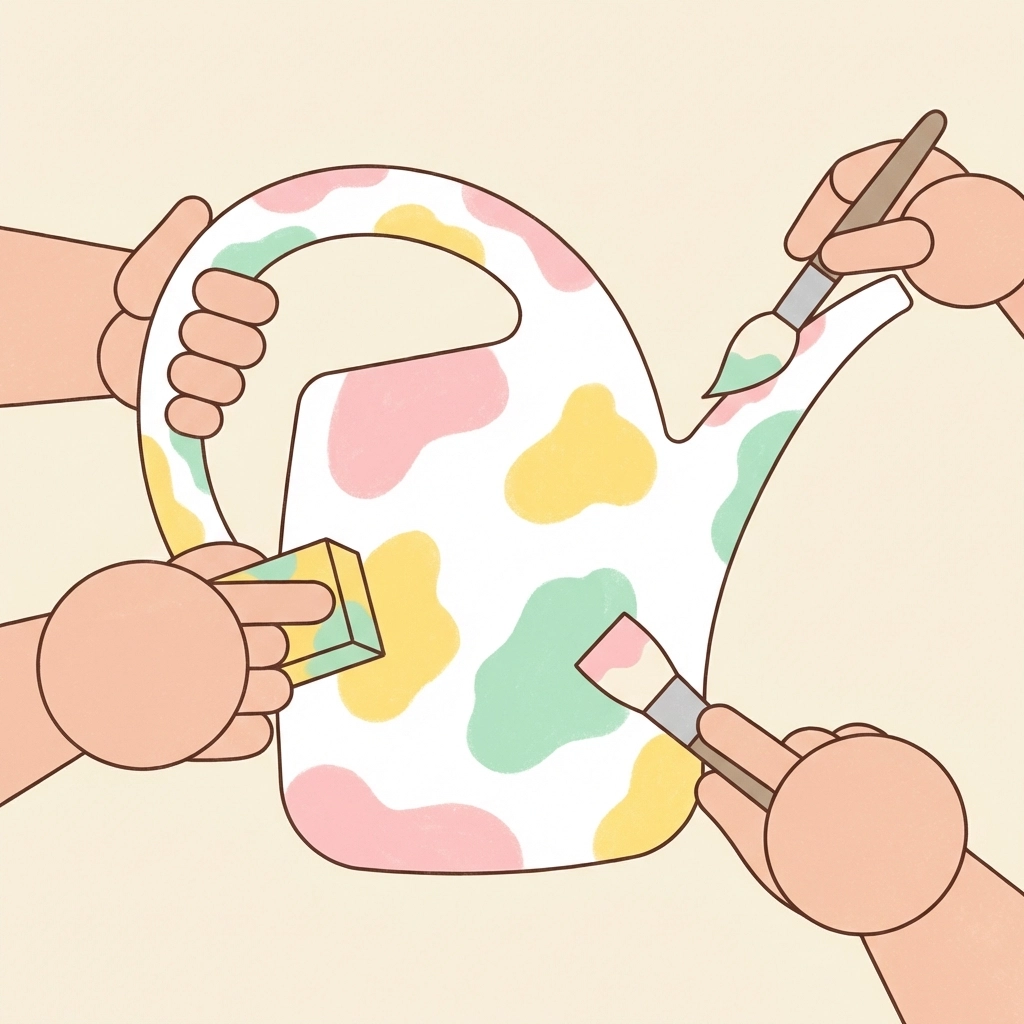
How do kids decorate a DIY watering can?
Decorating transforms a plain jug into a personalized garden tool.
Paint dipping technique:
Pour small amounts of acrylic paint onto paper plates. Dip a sponge into the paint and press it onto the jug. Repeat with different colors. Let dry completely before use.
This creates a textured, colorful pattern that hides the original jug design.
Sticker method:
Waterproof stickers hold up best. Garden-themed stickers: flowers, bugs, vegetables: reinforce the purpose of the project.
Permanent markers:
Draw directly on the jug. Names, faces, patterns, or plant labels all work. Permanent markers resist water and fading.
Washi tape:
Wrap colorful tape around the handle or in stripes down the sides. Easy to apply. Easy to remove if tastes change.
Let the kids lead the decorating. Their choices matter more than perfection.
What size holes work best for watering plants?
Hole size affects water flow.
Small holes (push pin size):
- Produce a fine mist
- Best for seedlings and delicate plants
- Water lasts longer in the can
- Requires more holes for adequate flow
Medium holes (nail size):
- Produce a gentle shower
- Good for established container plants
- Balanced flow rate
- Standard choice for most gardens
Large holes (drill bit size):
- Produce heavier streams
- Best for outdoor beds and larger plants
- Empties quickly
- May be too forceful for small plants
Start with fewer holes. Add more if the flow is too slow.
Testing in the yard immediately after construction reveals what adjustments are needed.
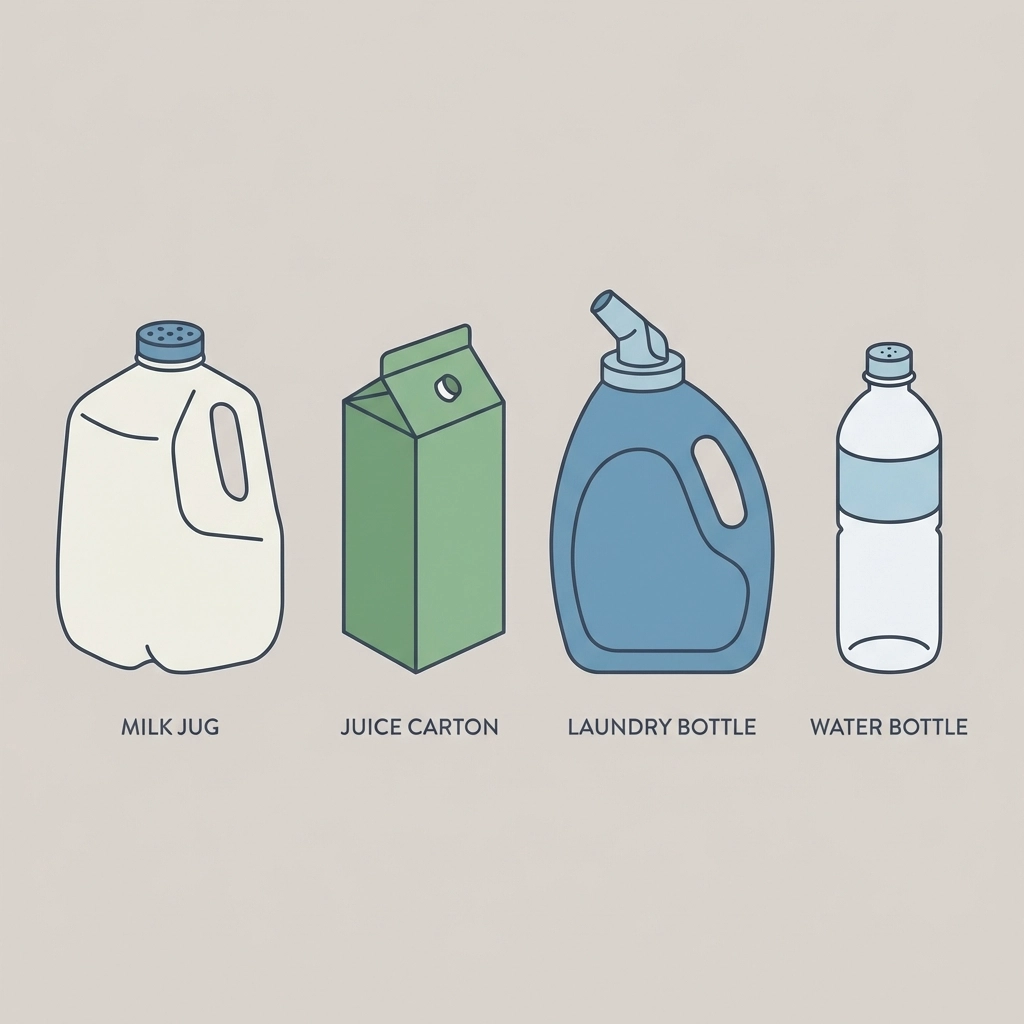
What containers work besides milk jugs?
Plenty of options exist.
Juice jugs:
- Same size as milk jugs
- Often have wider openings
- Clear plastic shows water level
Laundry detergent bottles:
- Larger capacity
- Built-in handles
- Thicker plastic lasts longer
- Must be rinsed extremely well
Large water bottles:
- Smaller capacity
- Lightweight for small children
- Sport cap can replace drilled lid
Bleach bottles (thoroughly cleaned):
- Sturdy construction
- Good handle design
- Requires extensive rinsing: triple wash minimum
Any plastic container with a screw-on lid works. The lid is the key component.
How long does a DIY watering can last?
Expect several months to a full growing season.
Plastic jugs are durable. The holes don't clog easily. The handle holds up to regular use.
Replacement costs nothing. When one jug wears out, make another.
Some families keep multiple watering cans: one for each child, one for each section of the garden.
The low cost removes any hesitation about making extras.
What lessons does this project teach kids?
More than watering plants.
Resourcefulness:
Useful tools come from everyday items. Not everything requires a store purchase.
Environmental awareness:
Recycling takes a practical form. Trash becomes treasure.
Responsibility:
Owning a garden tool creates ownership of plant care. Kids water more consistently when using something they made.
Problem-solving:
Adjusting hole sizes, testing water flow, and troubleshooting leaks all build critical thinking.
Patience:
Letting paint dry before using the can. Waiting for water to flow through small holes. Small lessons in delayed gratification.
The watering can is the excuse. The learning happens along the way.
What's the total time commitment?
About 15 to 30 minutes.
Breakdown:
- Gathering supplies: 2 minutes
- Cleaning the jug: 3 minutes
- Poking holes: 5 minutes
- Decorating: 10 to 20 minutes (optional)
- Testing: 2 minutes
Short enough for attention spans. Long enough to feel like an accomplishment.
This project fits into a Saturday morning, an after-school hour, or a rainy day at home.
No planning required. No advance notice needed. Just grab a jug and go.
Why does this project matter?
Gardening with kids doesn't require expensive equipment.
A recycled milk jug waters plants just as well as a $15 store-bought can. The difference is ownership. Pride. Memory.
Years from now, the kids won't remember what watering can was used. They'll remember making it together.
That's the real harvest.


