


Leaf rubbing involves placing paper over a leaf and rubbing a crayon across the surface to transfer the leaf's shape, veins, and texture onto the paper. The project requires minimal supplies. Works well for ages 3 through 15. Takes less than two minutes per rubbing. No artistic skill necessary.
What materials are needed for leaf rubbing?
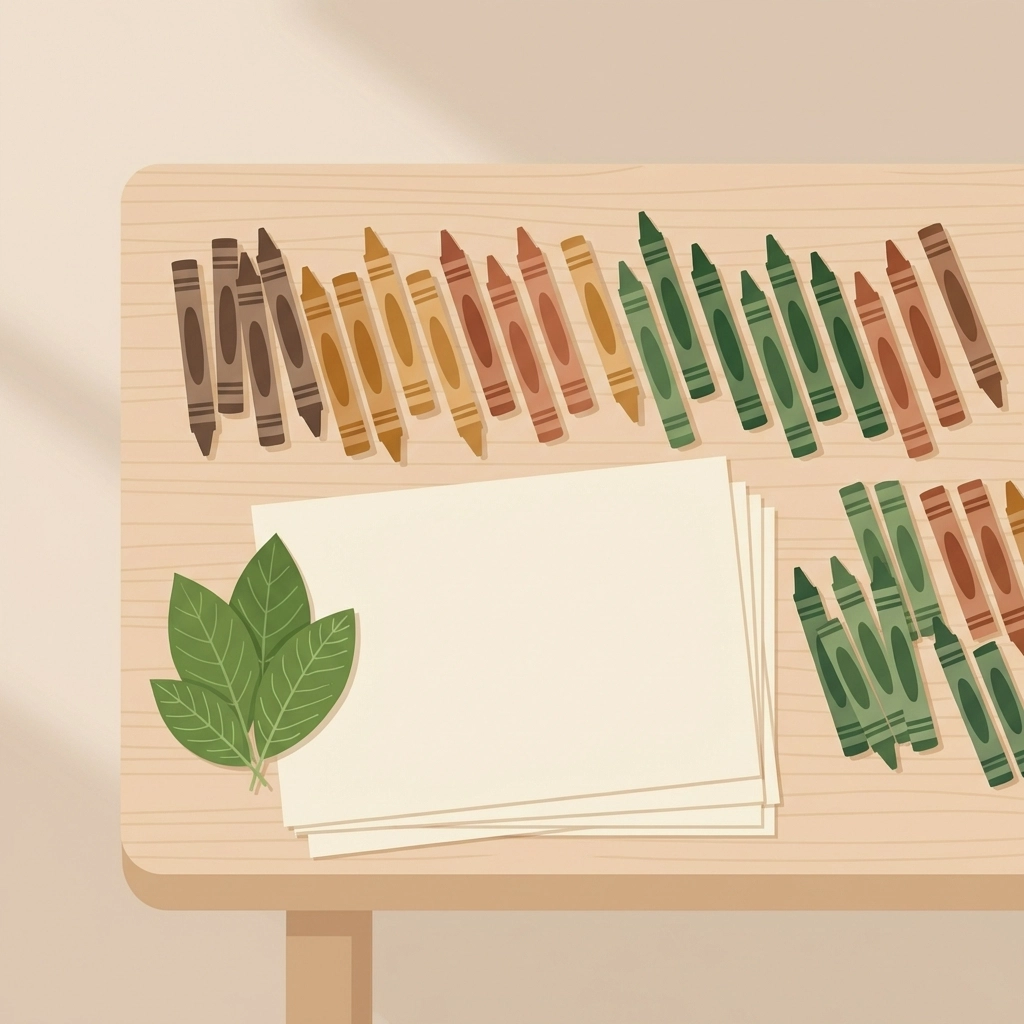
Gather supplies before heading outside.
Basic materials:
- Paper (standard copy paper or construction paper)
- Crayons with paper wrapping removed
- Fresh leaves with visible veins
- Flat surface for rubbing
- Optional: tape to secure paper
Crayons work better than markers or paint. The wax picks up texture. Colored pencils function as an alternative but require more pressure.
Thinner paper produces clearer results. Thick cardstock blocks the texture transfer.
How do you collect the right leaves?
Leaf selection determines the quality of the rubbing.
Look for leaves with:
- Prominent veins on the underside
- Flat surfaces without curling edges
- Varied shapes and sizes
- Fresh texture (not dried or brittle)
Oak leaves offer deep vein patterns. Maple leaves provide distinctive shapes. Fern fronds create delicate, detailed prints.
Avoid leaves with holes, tears, or heavy moisture. Wet leaves smear. Damaged leaves produce incomplete images.
Collect 10 to 15 leaves per session. Variety creates more interesting compositions.
What are the step-by-step instructions?
Step 1: Prepare the workspace
Clear a flat, hard surface. Tables work best. Carpeted floors absorb pressure and reduce clarity.
Place a single leaf on the surface. Vein side faces up. The textured underside transfers better than the smooth top.
Step 2: Position the paper
Lay paper directly over the leaf. Center the leaf beneath the paper or arrange it off-center for artistic effect.
Tape corners down if working with younger children. Movement during rubbing blurs the image.
Step 3: Hold the crayon correctly
Remove paper wrapping from the crayon. Grip the crayon on its side, not upright like a pencil.
The flat edge of the crayon covers more surface area. Creates smoother, more even rubbings.
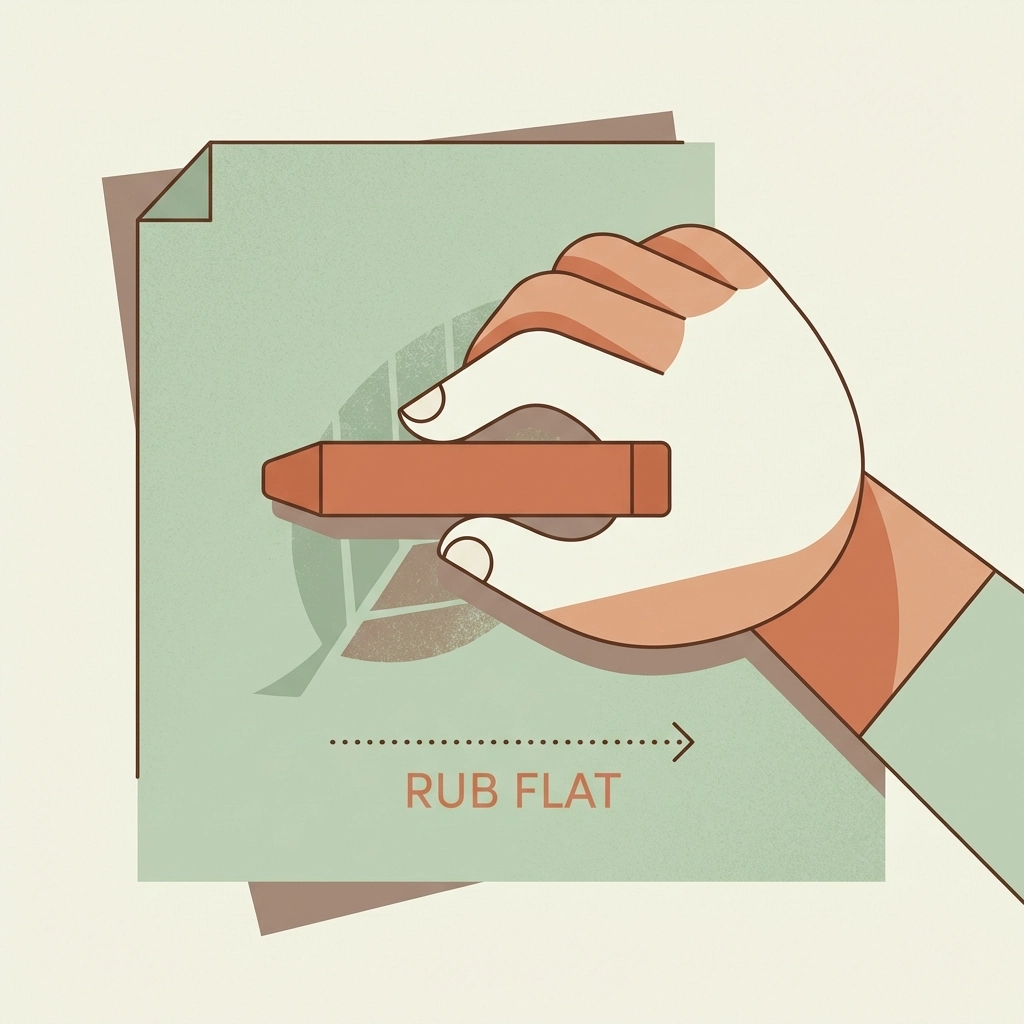
Step 4: Apply the rubbing technique
Press the crayon flat against the paper. Move in one direction: side to side or up and down.
Apply consistent, medium pressure. Too light produces faint images. Too hard tears the paper or shifts the leaf.
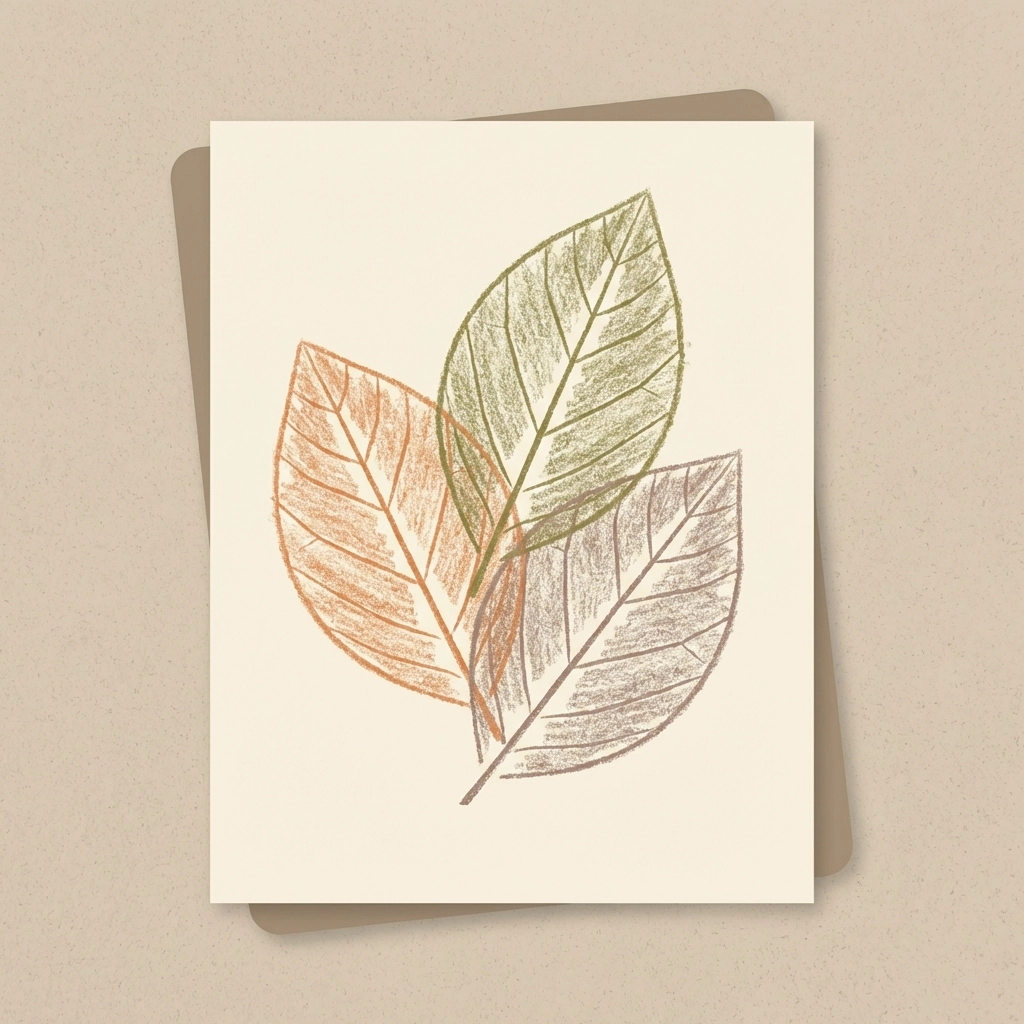
The leaf outline appears first. Veins emerge with continued rubbing. Fine details develop last.
Step 5: Build the composition
Add multiple leaves to one page. Overlap rubbings for layered effects. Switch crayon colors between leaves.
Darker colors against light paper produce the strongest contrast. Earth tones create naturalistic compositions. Bright colors appeal to younger children.
What tips improve leaf rubbing results?
For clearer images:
- Ensure the leaf stays completely flat
- Maintain steady pressure throughout
- Rub in consistent strokes, not random scribbles
- Check vein orientation before starting
For better compositions:
- Plan leaf placement before rubbing
- Mix leaf sizes for visual interest
- Use complementary crayon colors
- Leave white space between rubbings
Common mistakes to avoid:
- Placing leaf vein-side down
- Using dried, crumbly leaves
- Rubbing on soft surfaces
- Moving the paper mid-project
How does this project adapt for different ages?
Ages 3–5
Focus on the sensory experience. Motor skill development takes priority over artistic outcome.
Use large leaves with bold veins. Tape everything securely. Limit color choices to reduce decision fatigue.
Adult assistance needed for paper positioning. Children handle the rubbing independently.
Ages 6–10
Introduce compositional thinking. Discuss symmetry versus asymmetry. Encourage intentional color selection.
Add leaf identification as a secondary activity. Field guides or smartphone apps help name each species.
Children manage the full process with minimal supervision.
Ages 11–15
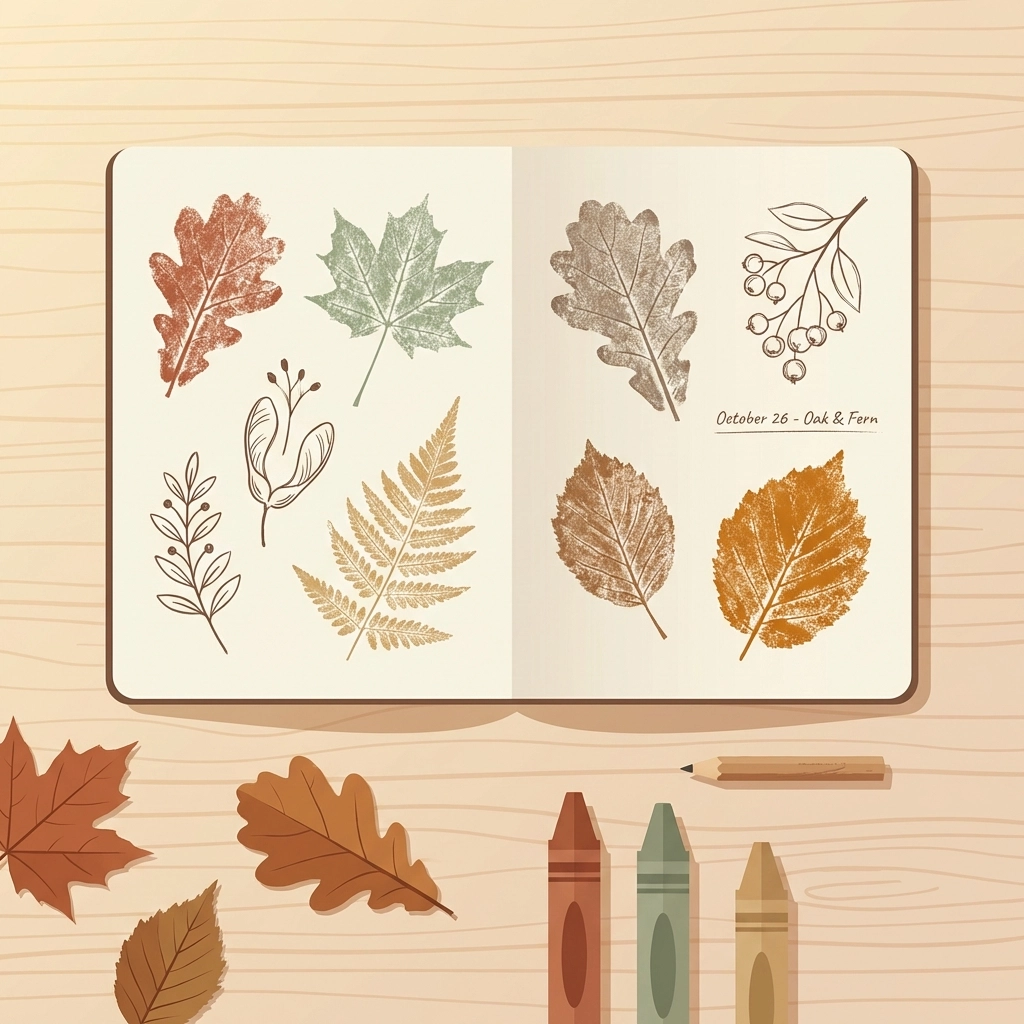
Expand into scientific observation. Document leaf structures. Compare vein patterns across species.
Introduce journaling alongside art. Record collection location, date, and tree identification.
The project becomes a nature study tool rather than simple craft.
What extensions enhance the activity?
Leaf identification game
Create rubbings first. Collect the original leaves separately. Match rubbings to actual leaves based on shape and vein patterns.
Builds observation skills. Reinforces botanical vocabulary.
Seasonal comparison
Repeat the project across seasons. Spring leaves differ from autumn specimens. Document color changes in deciduous species.
Creates a year-long nature journal. Tracks environmental cycles.
Mixed media projects
Combine rubbings with other techniques. Add watercolor washes over crayon rubbings. The wax resists water, creating textured effects.
Cut finished rubbings into shapes. Use them for collage, cards, or bookmarks.
Why does leaf rubbing work as nature education?
The activity connects children to their immediate environment. Requires outdoor exploration. Rewards careful observation.
Botanical concepts become tangible. Vein structures, leaf margins, and symmetry transform from abstract terms to visible features.
No screens involved. No batteries required. The natural world provides all materials.
Children remember information learned through hands-on experience. Leaf rubbing embeds botanical knowledge through direct contact.
What learning outcomes does this project support?
Fine motor development:
- Grip strength from crayon pressure
- Hand-eye coordination during rubbing
- Controlled movement across paper surface
Scientific observation:
- Pattern recognition in natural structures
- Species identification through visual cues
- Environmental awareness through collection
Artistic expression:
- Color theory through crayon selection
- Composition through leaf arrangement
- Texture exploration through tactile process
The project integrates multiple learning domains. Functions as art, science, and outdoor education simultaneously.
How long does the project take?
Individual rubbings take one to two minutes each.
A full session: including leaf collection, multiple rubbings, and cleanup: runs 30 to 45 minutes.
The activity scales easily. Quick versions work for short attention spans. Extended versions fill entire afternoons.
Cleanup requires minimal effort. Crayons return to storage. Leaves compost or display. Paper dries instantly.
Tierney Family Farms Disclaimer
- Educational and entertainment content.
- No medical, legal, or professional advice.
- Adult supervision required for all ages.
- Use non-toxic, correctly identified plant material only.
- Check for allergies. Avoid known irritants.
- Wash hands after handling outdoor materials.
- Follow local rules for plant collection. Respect private property and protected areas.
- Keep small items away from children under 3.
- Test materials on scrap paper to check for staining or color transfer.
- Activity at participant risk.
- Tierney Family Farms assumes no liability for injury, allergic reaction, staining, or property damage.
- Portions of this content are AI-generated. Human review in place.
References
General Public Knowledge


