


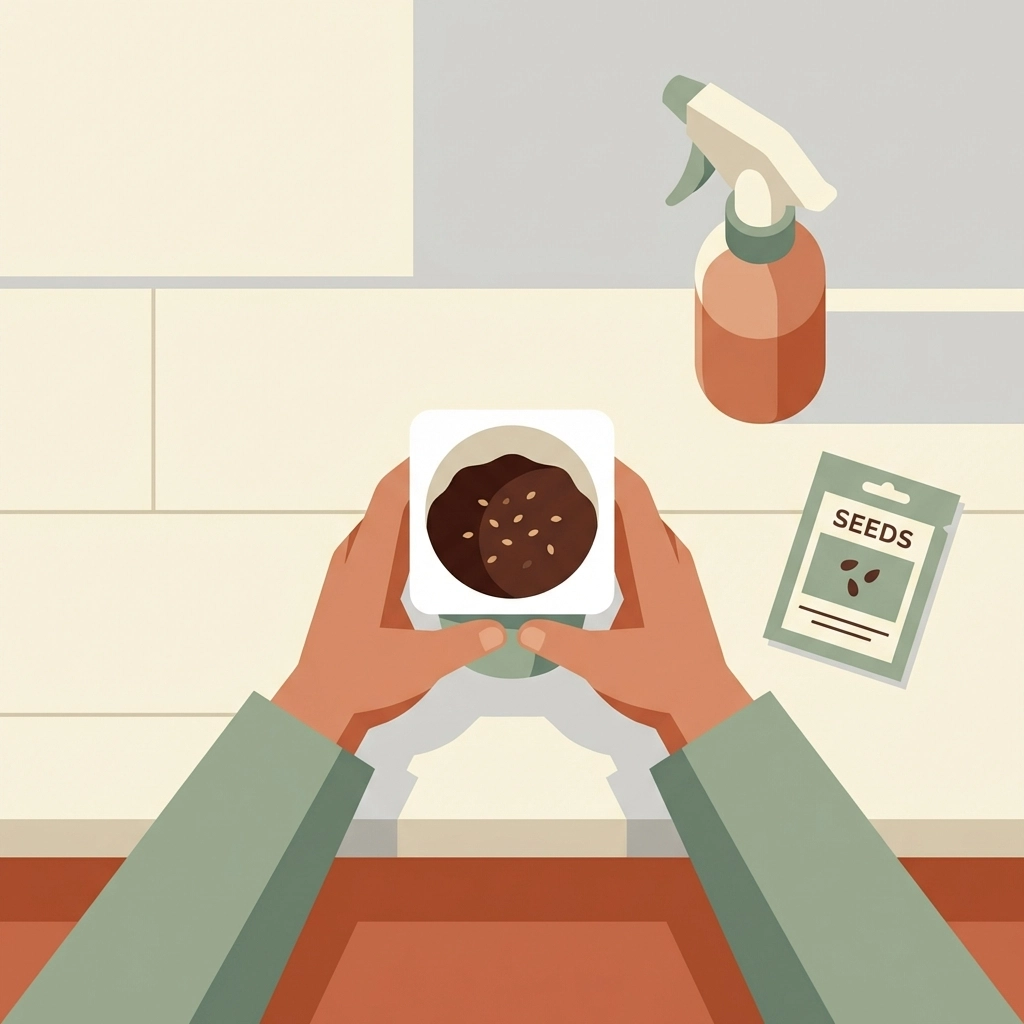
A mini herb garden starts with three things: upcycled yogurt cups, potting soil, and fast-growing seeds like basil or chives.
Total time: 20–30 minutes.
Total cost: under $15.
Recommended age: 5 and up.
This project requires no special skills. No expensive equipment. Just a sunny windowsill and a few basic supplies found at any grocery store or dollar shop.
Children learn responsibility through watering. They learn patience through waiting. They learn science through watching seeds sprout.
The payoff is edible.
What Supplies Are Needed for a Kids' Herb Garden?
Gather everything before starting. Preparation prevents mid-project scrambles.
Essential supplies:
- 3–5 clean yogurt cups or small plastic containers
- Small nail or thumbtack (for drainage holes)
- Potting soil (a small bag costs $3–5)
- Herb seeds: basil, chives, cilantro, or parsley
- Spray bottle filled with water
- Permanent marker or stickers for labeling
- Small tray or plate to catch water
Optional additions:
- Craft paint or stickers for decorating cups
- Popsicle sticks for plant markers
- Small stones for drainage layer
Total supply cost ranges from $8 to $14 depending on what exists at home already.
Yogurt cups work well because they are free, lightweight, and the perfect size for small hands. Greek yogurt containers with wider openings are ideal.
How Do You Prepare the Containers?
Drainage holes prevent root rot. This step is non-negotiable.
Steps:
- Wash yogurt cups thoroughly with soap and water.
- Let dry completely.
- Use a nail or thumbtack to poke 3–4 small holes in the bottom of each cup.
- Adult supervision required for this step with younger children.
The holes allow excess water to escape. Without drainage, soil becomes waterlogged. Seeds rot instead of sprout.
Place cups on a tray or plate. This catches runoff and protects windowsills from water damage.
Optional: Let children decorate cups with permanent markers, stickers, or acrylic paint before planting. This adds 5–10 minutes but increases ownership of the project.
What Are the Best Herbs for Kids to Grow?
Fast-germinating herbs maintain interest. Slow growers lose attention.
Top picks for beginners:
| Herb | Days to Sprout | Why Kids Love It |
|---|---|---|
| Basil | 5–10 days | Strong smell, pizza topping |
| Chives | 7–14 days | Snip with scissors, mild onion taste |
| Cilantro | 7–10 days | Grows quickly, taco night essential |
| Parsley | 14–21 days | Curly leaves look interesting |
| Mint | 7–14 days | Sweet smell, grows aggressively |
Basil is the most reliable choice.
Seeds are inexpensive. A single packet costs $1–3 and contains dozens of seeds. Enough for multiple planting attempts.
Mint spreads rapidly. Keep it in its own container to prevent takeover.
What Are the Step-by-Step Planting Instructions?
The planting process takes 10–15 minutes once supplies are ready.
Step 1: Add soil
Fill each yogurt cup with potting soil. Leave about half an inch of space at the top. Soil should be loose, not packed tight.
Children can scoop soil with a small spoon or their hands. Messy is fine. Newspaper or a plastic sheet under the workspace simplifies cleanup.
Step 2: Create seed wells
Use a finger or pencil to make 2–3 small indentations in the soil. Each indent should be about ¼ inch deep.
Herb seeds are tiny. Shallow planting is correct. Burying seeds too deep prevents germination.
Step 3: Drop seeds
Place 2–3 seeds in each indent. More seeds increase success odds. Thinning happens later if needed.
Small fingers struggle with tiny seeds. A folded piece of paper creates a makeshift funnel for easier placement.
Step 4: Cover gently
Brush a thin layer of soil over the seeds. Press down lightly with fingertips.
Do not compact the soil. Seeds need air pockets to breathe.
Step 5: Water with spray bottle
Mist the soil surface until visibly damp. Not soaking wet.
Spray bottles prevent seed displacement. Pouring water directly can wash seeds to one side of the container.
Step 6: Label each cup
Write the herb name and planting date on each container. Use permanent marker directly on the cup or attach a popsicle stick label.
Labels matter. All seedlings look similar in the first week.
Step 7: Find a sunny spot
Place containers on a south-facing windowsill. Herbs need 6+ hours of sunlight daily.
No sunny window available? A simple grow light works. Small LED options cost under $15.
How Often Should Kids Water Their Herb Garden?
Overwatering kills more seedlings than underwatering.
Watering guidelines:
- Check soil daily by touching the surface
- Water only when the top layer feels dry
- Use spray bottle for gentle moisture
- Morning watering is better than evening
A consistent routine builds responsibility. Same time each day. Same number of sprays.
Young children benefit from a simple chart. Check mark for each day watered. Visual tracking reinforces the habit.
Soil should feel like a wrung-out sponge. Damp but not dripping.
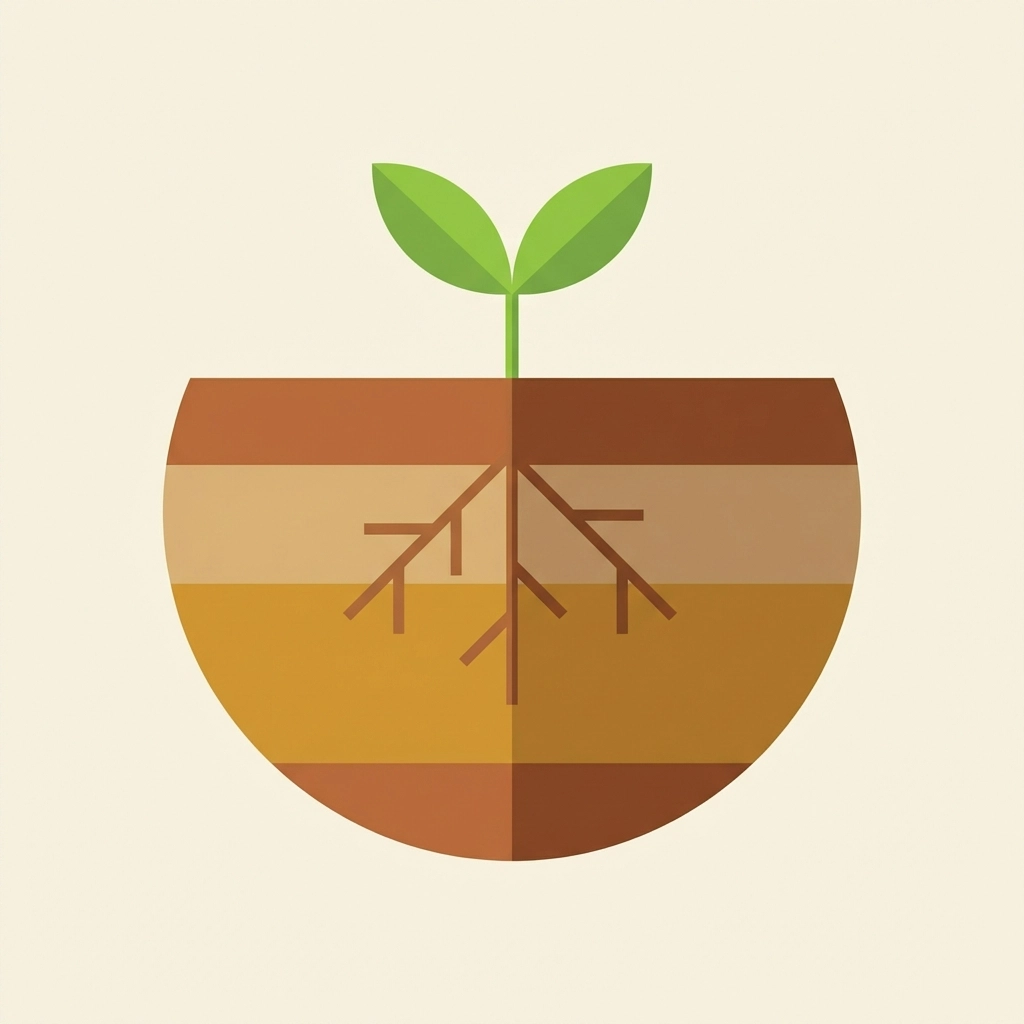
What Happens After Seeds Sprout?
Sprouts appear within 5–14 days depending on herb variety.
First signs: tiny green loops breaking through soil surface. These are cotyledons, the initial seed leaves.
True leaves appear next. These resemble the adult plant's foliage.
Post-sprout care:
- Continue regular watering
- Rotate containers every few days for even light exposure
- Thin seedlings if multiple sprouts crowd one cup
- Begin harvesting once plants reach 4–6 inches tall
Thinning means removing weaker seedlings. Snip at soil level with scissors. Do not pull: this disturbs roots of remaining plants.

How Does This Project Spark Long-Term Interest in Gardening?
Edible results create connection.
When children add homegrown basil to pasta, the experience becomes tangible. Abstract concepts like photosynthesis gain meaning.
Ways to extend the learning:
- Keep a growth journal with daily observations
- Measure plant height weekly with a ruler
- Research each herb's origin and culinary uses
- Start a second round with different varieties
- Graduate to outdoor container gardens in spring
The mini herb garden serves as an entry point. Success here builds confidence for larger projects.
Failure also teaches. Seeds that do not sprout prompt questions. Problem-solving follows.
What Common Mistakes Should Be Avoided?
Preventable errors derail most first attempts.
Avoid these:
- Too much water : soggy soil causes mold and root rot
- Too little light : leggy, pale seedlings indicate insufficient sun
- Planting too deep : herb seeds need shallow placement
- Forgetting drainage holes : standing water kills roots
- Inconsistent care : sporadic attention stresses plants
One mistake does not mean failure. Extra seeds remain in the packet. Starting over costs nothing but time.
Why Does This DIY Work for Busy Families?
Time investment is minimal. Cost is negligible. Results are visible within days.
The 30-minute setup requires no expertise. Supervision needs are low for children ages 5 and up. Daily maintenance takes under 2 minutes.
Fresh herbs improve meals. Children eat foods they helped grow.
The project occupies minimal space. A single windowsill holds 3–5 containers comfortably.
Educational value extends across subjects: biology, responsibility, nutrition, patience.
A yogurt cup, some soil, and a few seeds. That is all it takes to start.
Quick Reference: Mini Herb Garden Checklist
- Gather yogurt cups, soil, seeds, spray bottle
- Poke drainage holes in containers
- Fill with loose potting soil
- Plant seeds ¼ inch deep
- Mist with water until damp
- Label each container
- Place in sunny windowsill
- Water when soil surface feels dry
- Watch for sprouts in 5–14 days
Total project time: 20–30 minutes.
Budget: under $15.
Age range: 5 years and up.
The windowsill herb garden is a starting point. What grows from it depends on continued curiosity.


