


A bee waterer is simply a shallow dish filled with pebbles and water, the stones give bees a safe place to land and sip without drowning. You can build one in about five minutes using items you probably already have around the house, and the whole project costs less than $5 (often free!). It's a perfect weekend activity for kids who want to help pollinators, and your garden will thank you for the extra buzzing visitors.
Why Do Bees Even Need a Waterer?
Here's something most folks don't realize: bees get thirsty too! They use water for all sorts of important jobs, cooling down their hives on hot summer days, diluting honey to feed baby bees, and even mixing it with pollen to make "bee bread" (yes, that's a real thing).
The problem? Bees aren't great swimmers. Their fuzzy little bodies get waterlogged fast, and a deep birdbath or puddle can turn into a dangerous situation. That's where your pebble waterer comes in, it's like building a tiny beach resort where bees can safely grab a drink without taking an unexpected swim.
Plus, if you've got a veggie garden or flower beds, well-hydrated bees are happy bees. And happy bees pollinate like champions.
What You'll Need (Budget: Under $5!)
Here's the beautiful thing about this project, you're probably looking at most of these supplies right now.
| Item | Where to Find It | Cost |
|---|---|---|
| Shallow dish or saucer | Kitchen cabinet, dollar store, or thrift shop | $0–$2 |
| Pebbles or small stones | Backyard, creek bed, or craft store | $0–$3 |
| Water | Your tap! | Free |
| Optional: shells, pinecones, or glass beads | Beach trips, yard, or craft bin | Free |
Total cost: $0–$5
That's it. No fancy equipment, no trips to specialty stores, and definitely no expensive "bee hydration systems" from the internet. Just simple stuff that works.
Step-by-Step: Building Your Bee Waterer
Step 1: Choose Your Dish
Grab a shallow container, think plant saucer, old pie tin, ceramic dish, or even a frisbee you don't use anymore. The key word here is shallow. You want something about 1–2 inches deep, max. Bees aren't diving into the deep end; they just need a little puddle.
Terracotta plant saucers work wonderfully because they're porous and help keep water a bit cooler. But honestly? Anything waterproof and shallow does the trick.
Step 2: Add Your Pebbles
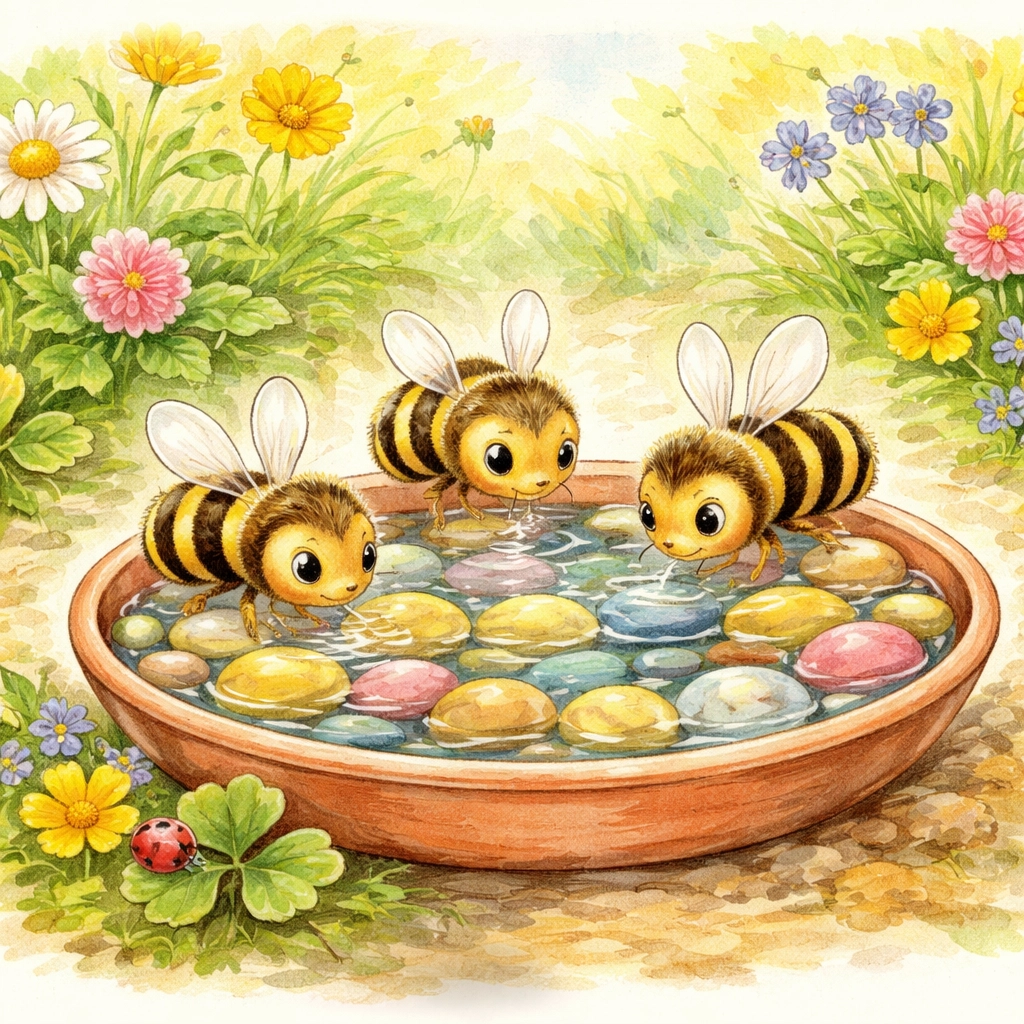
Now for the fun part! Fill your dish with pebbles, river rocks, or smooth stones. The goal is to create little "islands" that poke above the waterline. Bees will land on these dry spots and lean down to drink, kind of like you bending over a drinking fountain.
Pro tip for kids: Let them pick out interesting rocks from the yard or a nature walk. Flat stones work best because they give bees more landing room, but any smooth pebbles will do.
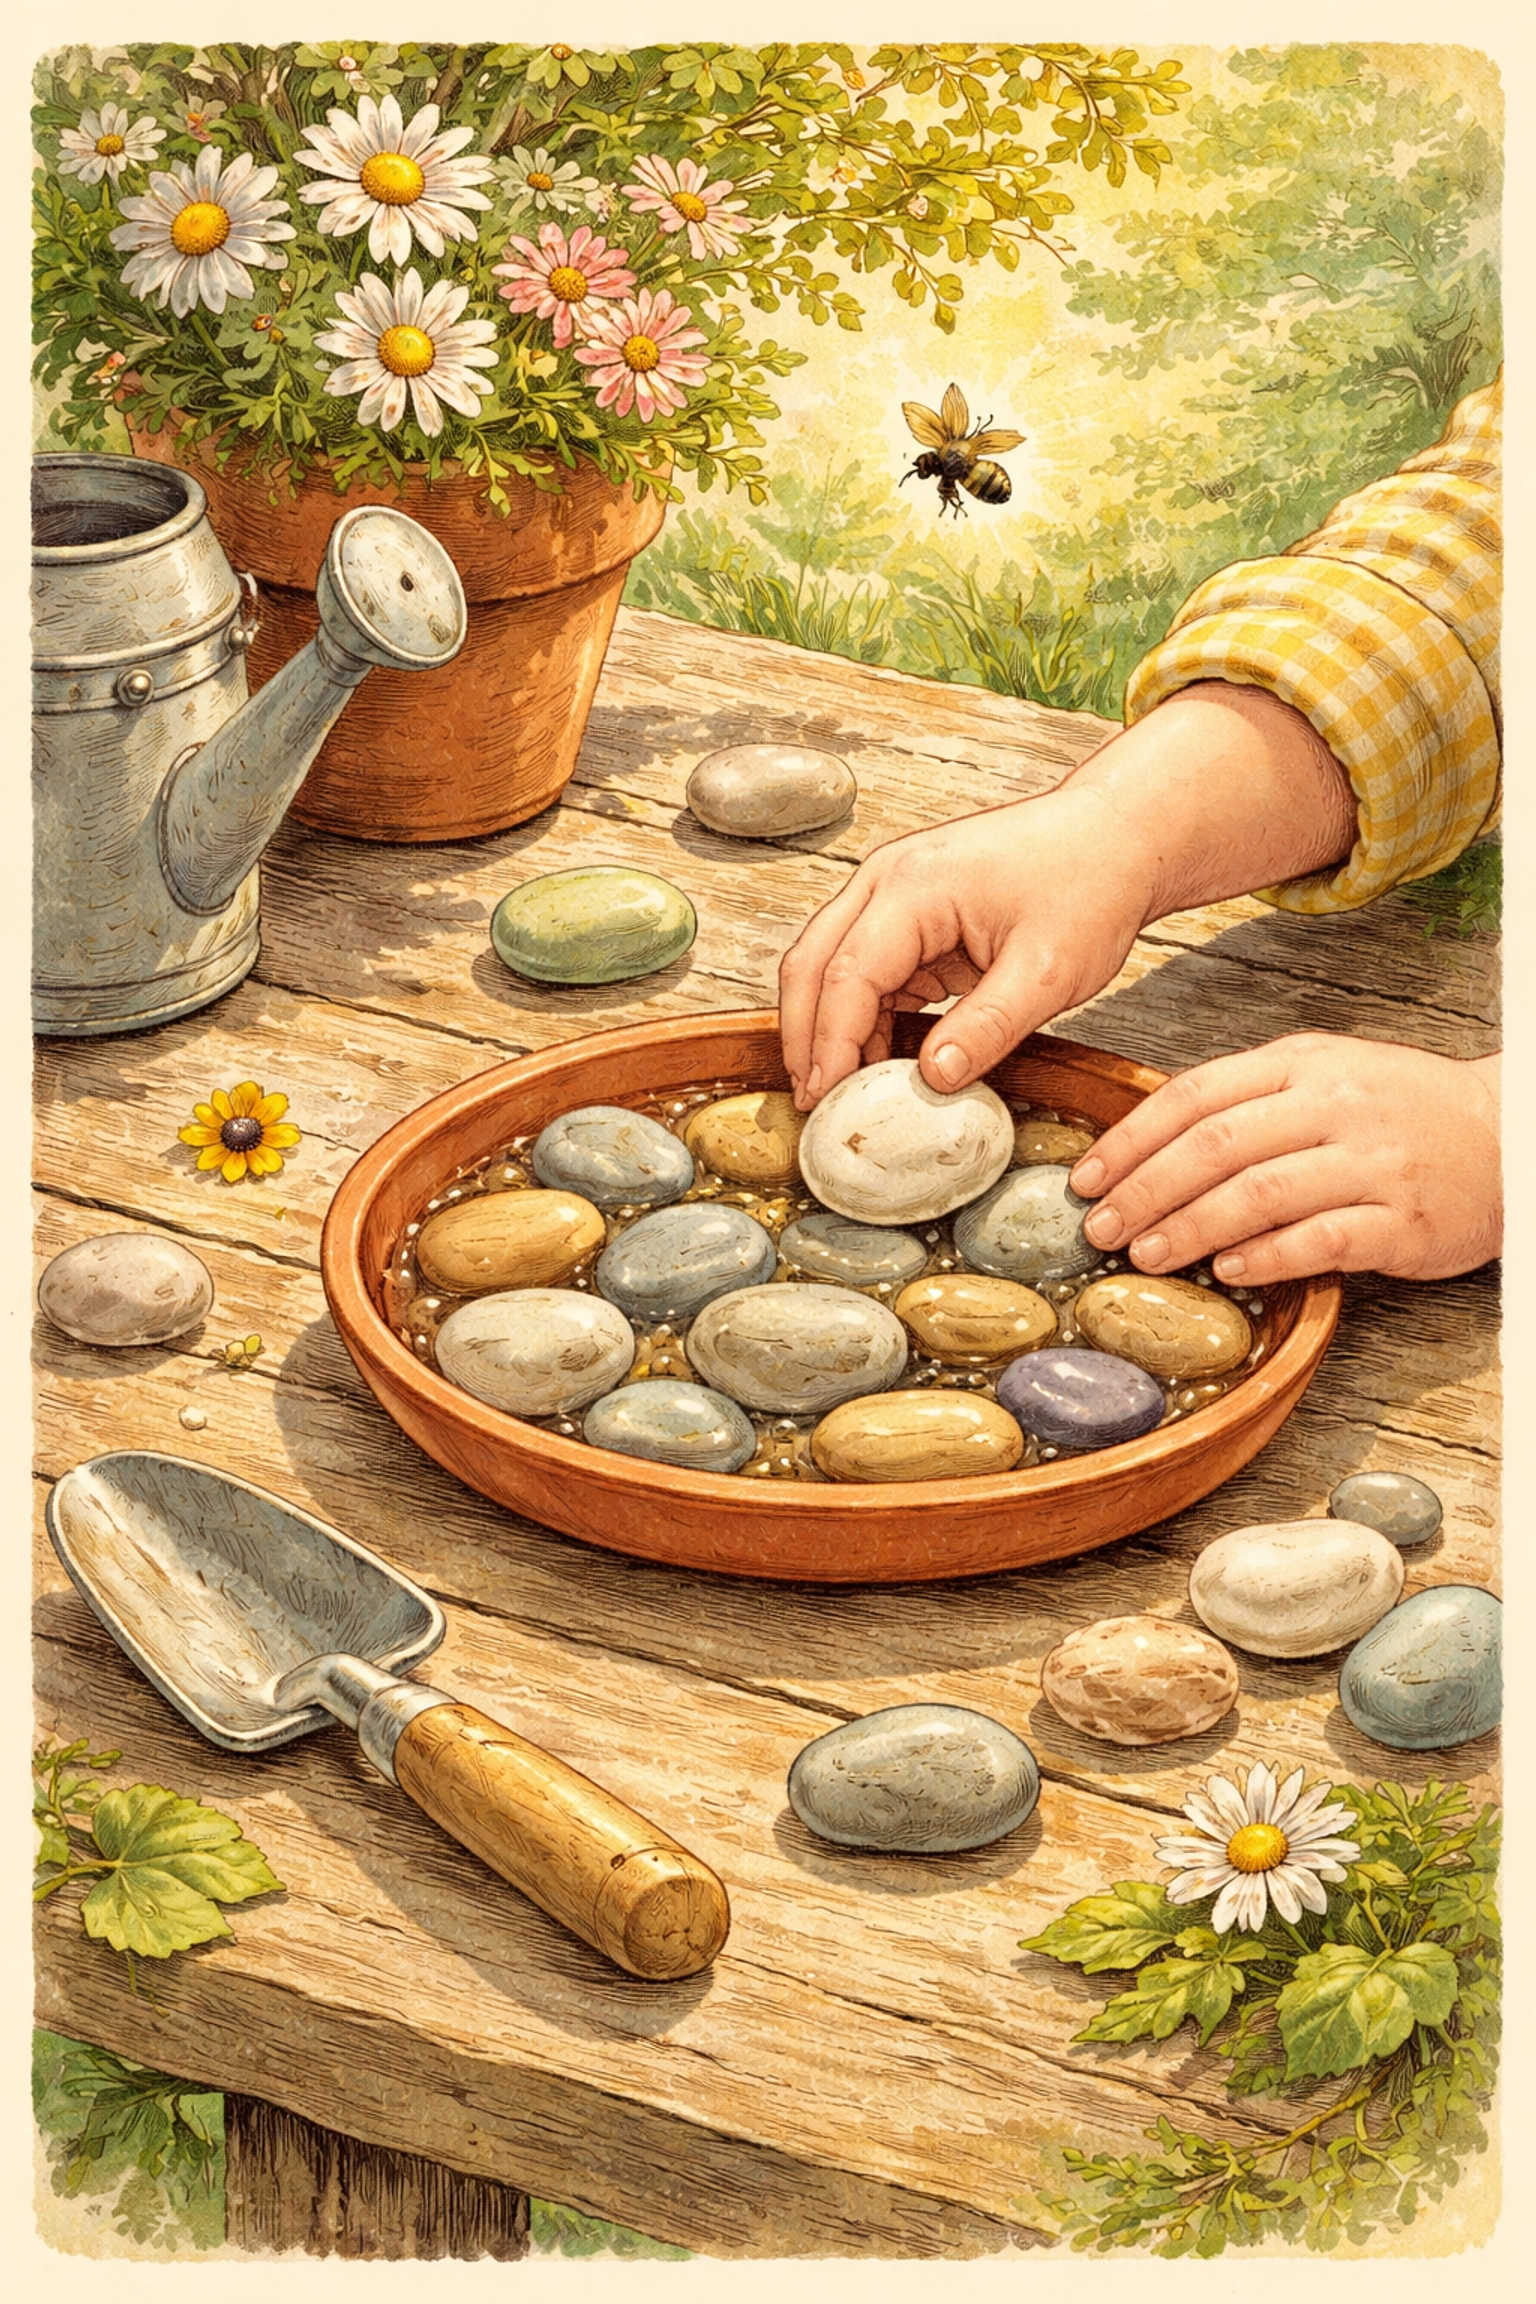
Step 3: Pour in the Water
Fill the dish with water, but not too much! You want the tops of your pebbles sticking out above the surface. Think of it like a rocky shoreline, plenty of dry spots surrounded by shallow water.
If you accidentally add too much, just pour a little out. No stress.
Step 4: Add Some Extras (Optional but Fun!)
Want to make your waterer extra inviting? Toss in a few additions:
- Small sticks: These float if the water level rises from rain, giving bees backup landing spots
- Shells or pinecones: Add texture and more perching options
- Glass beads: Pretty AND functional (bees don't care about aesthetics, but your kids might!)
Some gardeners swear by adding a tiny pinch of salt to the water, apparently bees are attracted to minerals. Just a pinch though, not enough to turn it into the ocean.
Step 5: Find the Perfect Spot
Location matters! Here's where to place your bee waterer:
- Near flowers or your garden – Bees are already hanging out here, so they'll find it fast
- In partial shade – Keeps the water from evaporating too quickly and getting too hot
- Away from high-traffic areas – You don't want it right next to the patio table where you're eating lunch
- On a flat, stable surface – A wobbly waterer is a spilled waterer
Ground level works great, or you can set it on a low stump or flat rock. Bees aren't picky about elevation.
Keeping Your Bee Waterer Happy
Good news: maintenance is super easy. Here's your simple routine:
Every few days:
- Top off the water (especially in hot weather, it evaporates fast!)
- Make sure pebbles are still poking above the surface
Once a week:
- Dump out the old water and refill with fresh
- Give the pebbles a quick rinse if they look gunky
Why bother? Stagnant water can breed mosquitoes and spread disease among pollinators. Fresh water keeps everyone healthy, bees, butterflies, and your family.
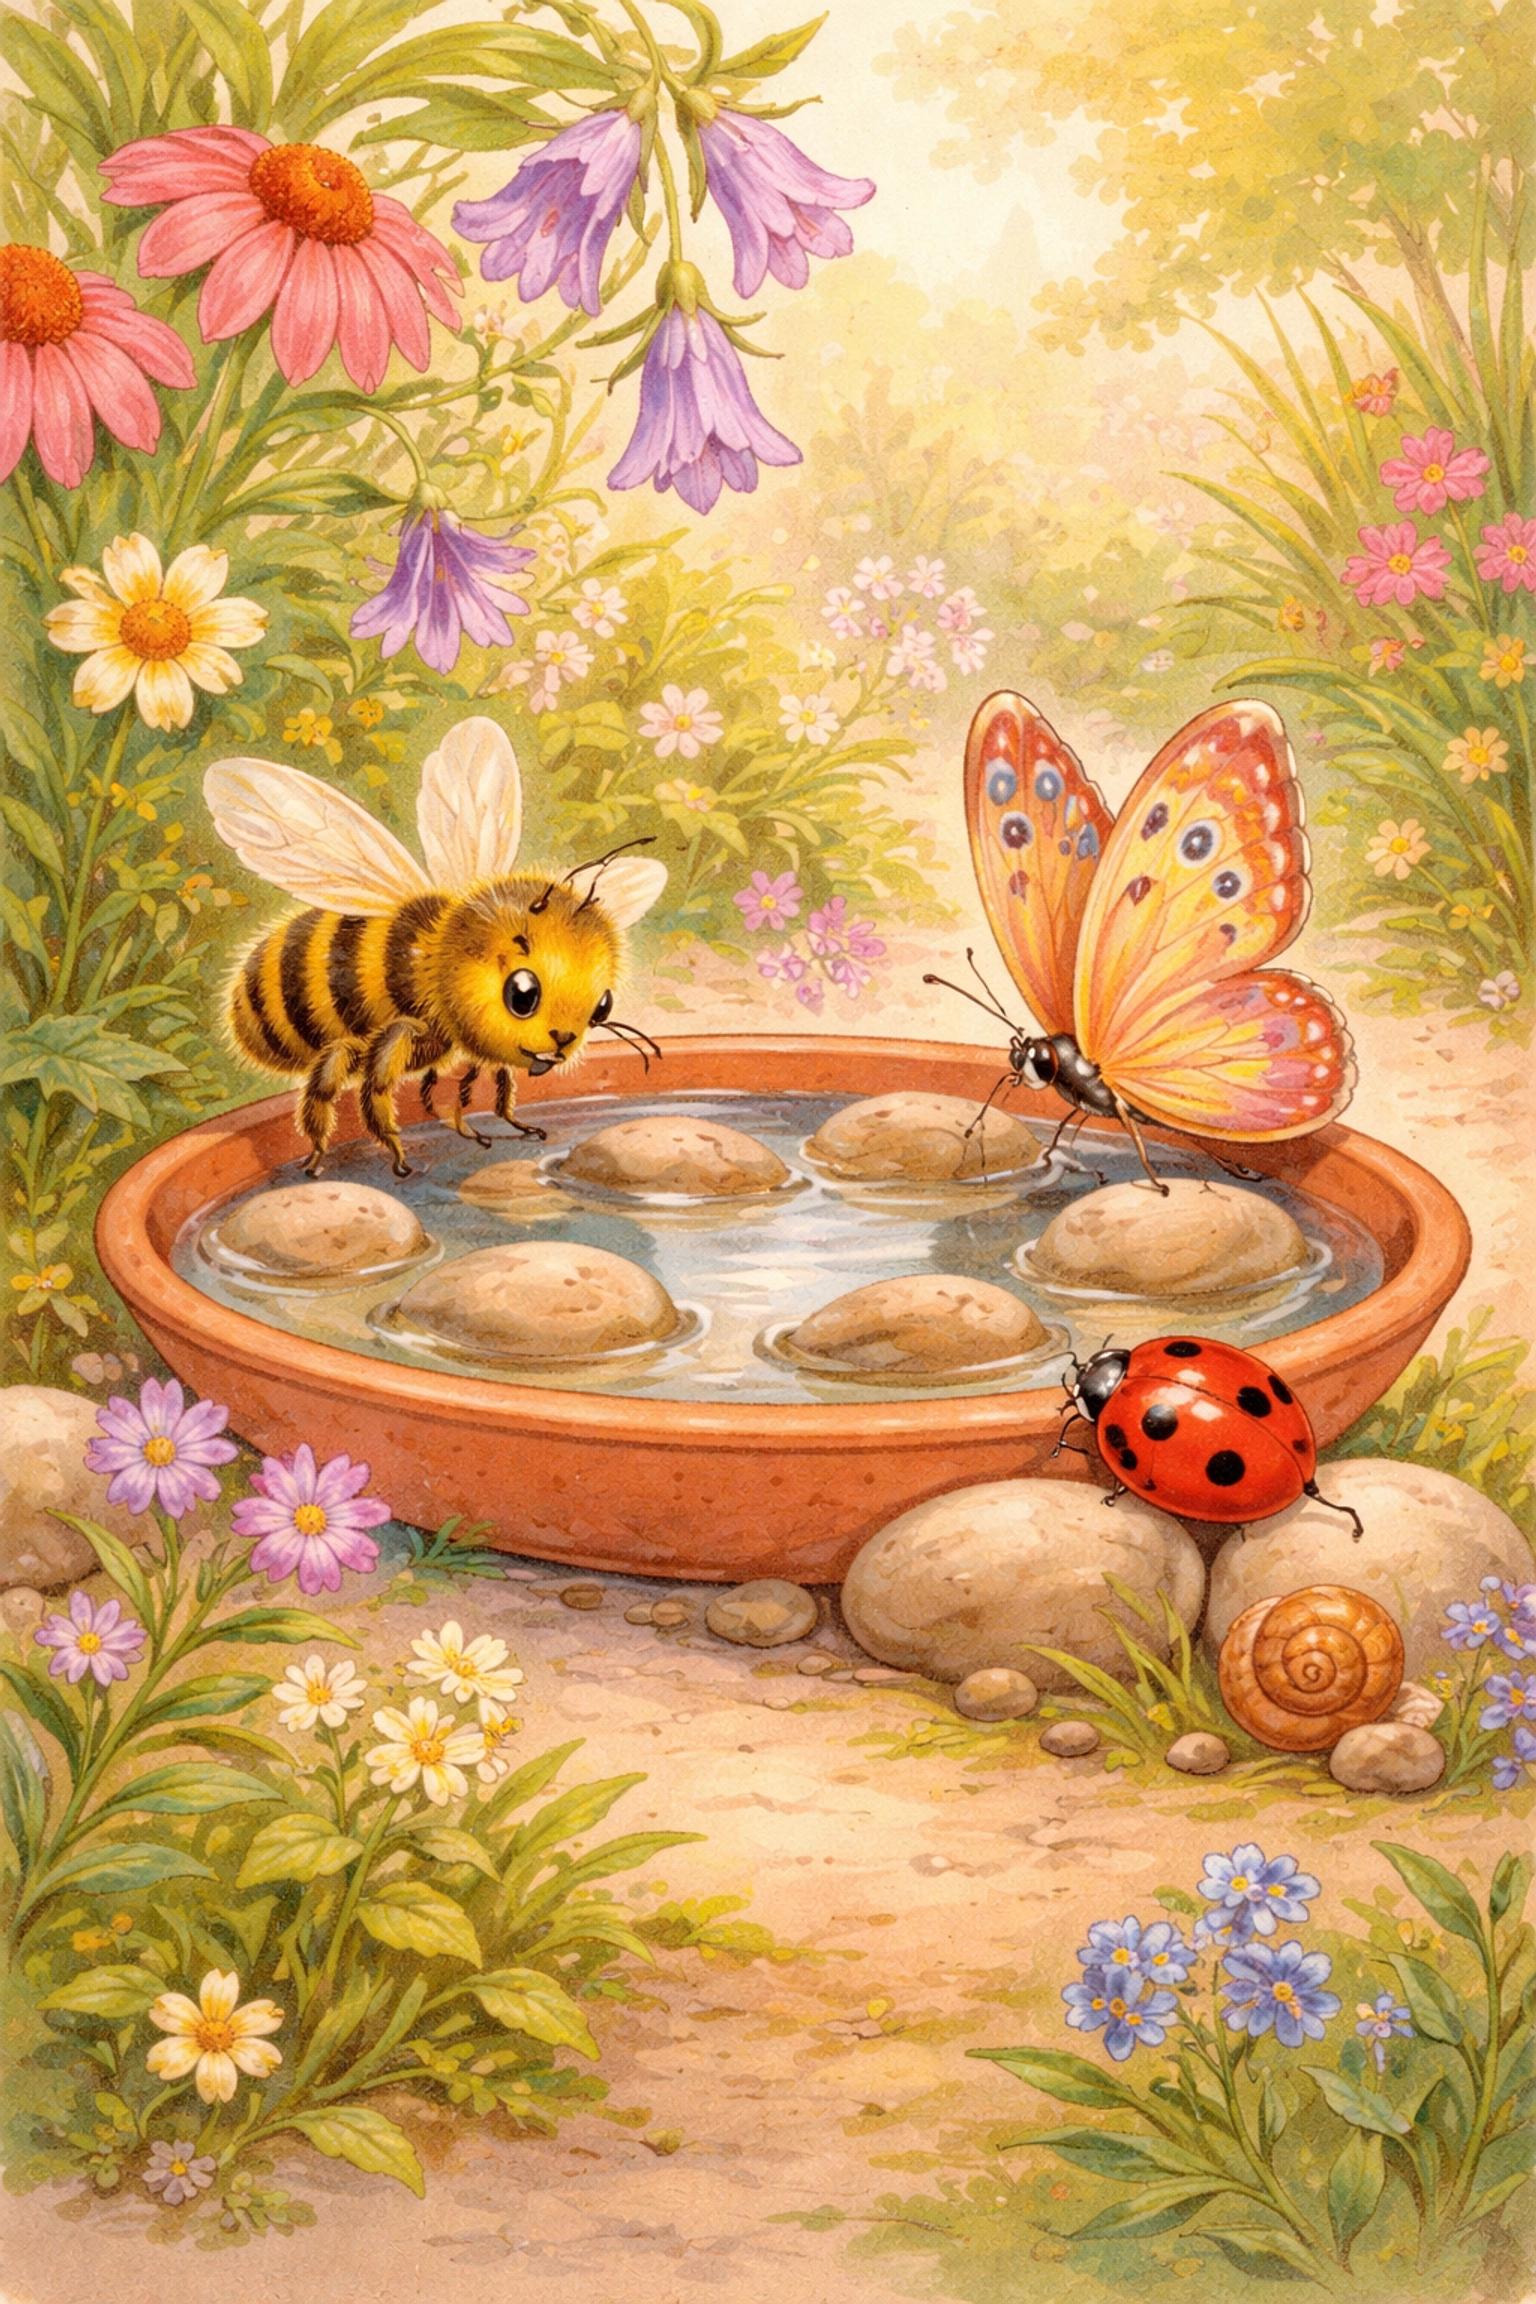
What Else Might Visit Your Waterer?
Here's a bonus: you're not just helping bees! Your pebble waterer might attract:
- Butterflies – They love sipping from shallow water too
- Beneficial wasps – The good guys that eat garden pests
- Ladybugs – Another garden helper
- Small birds – They might stop by for a quick drink
It's like building a tiny wildlife oasis in your backyard. Kids love checking it each morning to see who's visiting.
Troubleshooting Common Questions
"I set it up but no bees are coming!"
Give it time! Bees need to discover your waterer, and that can take a few days to a couple weeks. Once one bee finds it and reports back to the hive (yes, they do this), you'll start seeing regulars.
"The water gets gross really fast."
You might have too much organic debris falling in. Try moving it away from overhanging trees, or just commit to refreshing the water every few days.
"Won't this attract mosquitoes?"
Only if you let the water sit stagnant for a week or more. Mosquito larvae need still water for several days to develop. Regular refreshing solves this completely.
Frequently Asked Questions
How deep should the water be in a bee waterer?
Keep it shallow: about half an inch to one inch deep. The pebbles should stick out above the waterline so bees have dry landing spots.
Can I use marbles instead of pebbles?
Absolutely! Glass marbles, decorative stones, or even broken pottery pieces work fine. Anything that creates a safe landing surface.
Where is the best place to put a bee waterer?
Near your garden or flower beds, in partial shade, and away from areas where people gather. Ground level or on a low surface works best.
How often should I change the water?
Refresh the water every few days and do a complete change with a rinse once a week to keep things clean and mosquito-free.
Do I need to add anything to the water?
Plain tap water works great! Some folks add a tiny pinch of salt for minerals, but it's completely optional.
Will a bee waterer attract wasps?
It might attract some beneficial wasps, which are actually helpful for pest control. Aggressive wasps are more attracted to sugary foods than plain water.
Can I make a bee waterer with my kids?
This is a perfect kid project! Let them collect pebbles, arrange the stones, and pick the location. It takes about five minutes and teaches them about helping pollinators.
What if my bee waterer freezes in winter?
In cold climates, bees are dormant during freezing weather anyway. You can bring your waterer inside for winter and set it back out in spring.
How long until bees find my waterer?
It can take anywhere from a few days to a few weeks. Be patient: once bees discover a reliable water source, they'll keep coming back!
Ready for more simple garden projects the whole family can tackle? Check out our guide on making a DIY mini greenhouse from plastic bottles or learn how to regrow kitchen scraps with your kids. Small projects, big impact: that's what we're all about here at Tierney Family Farms. 🐝


