


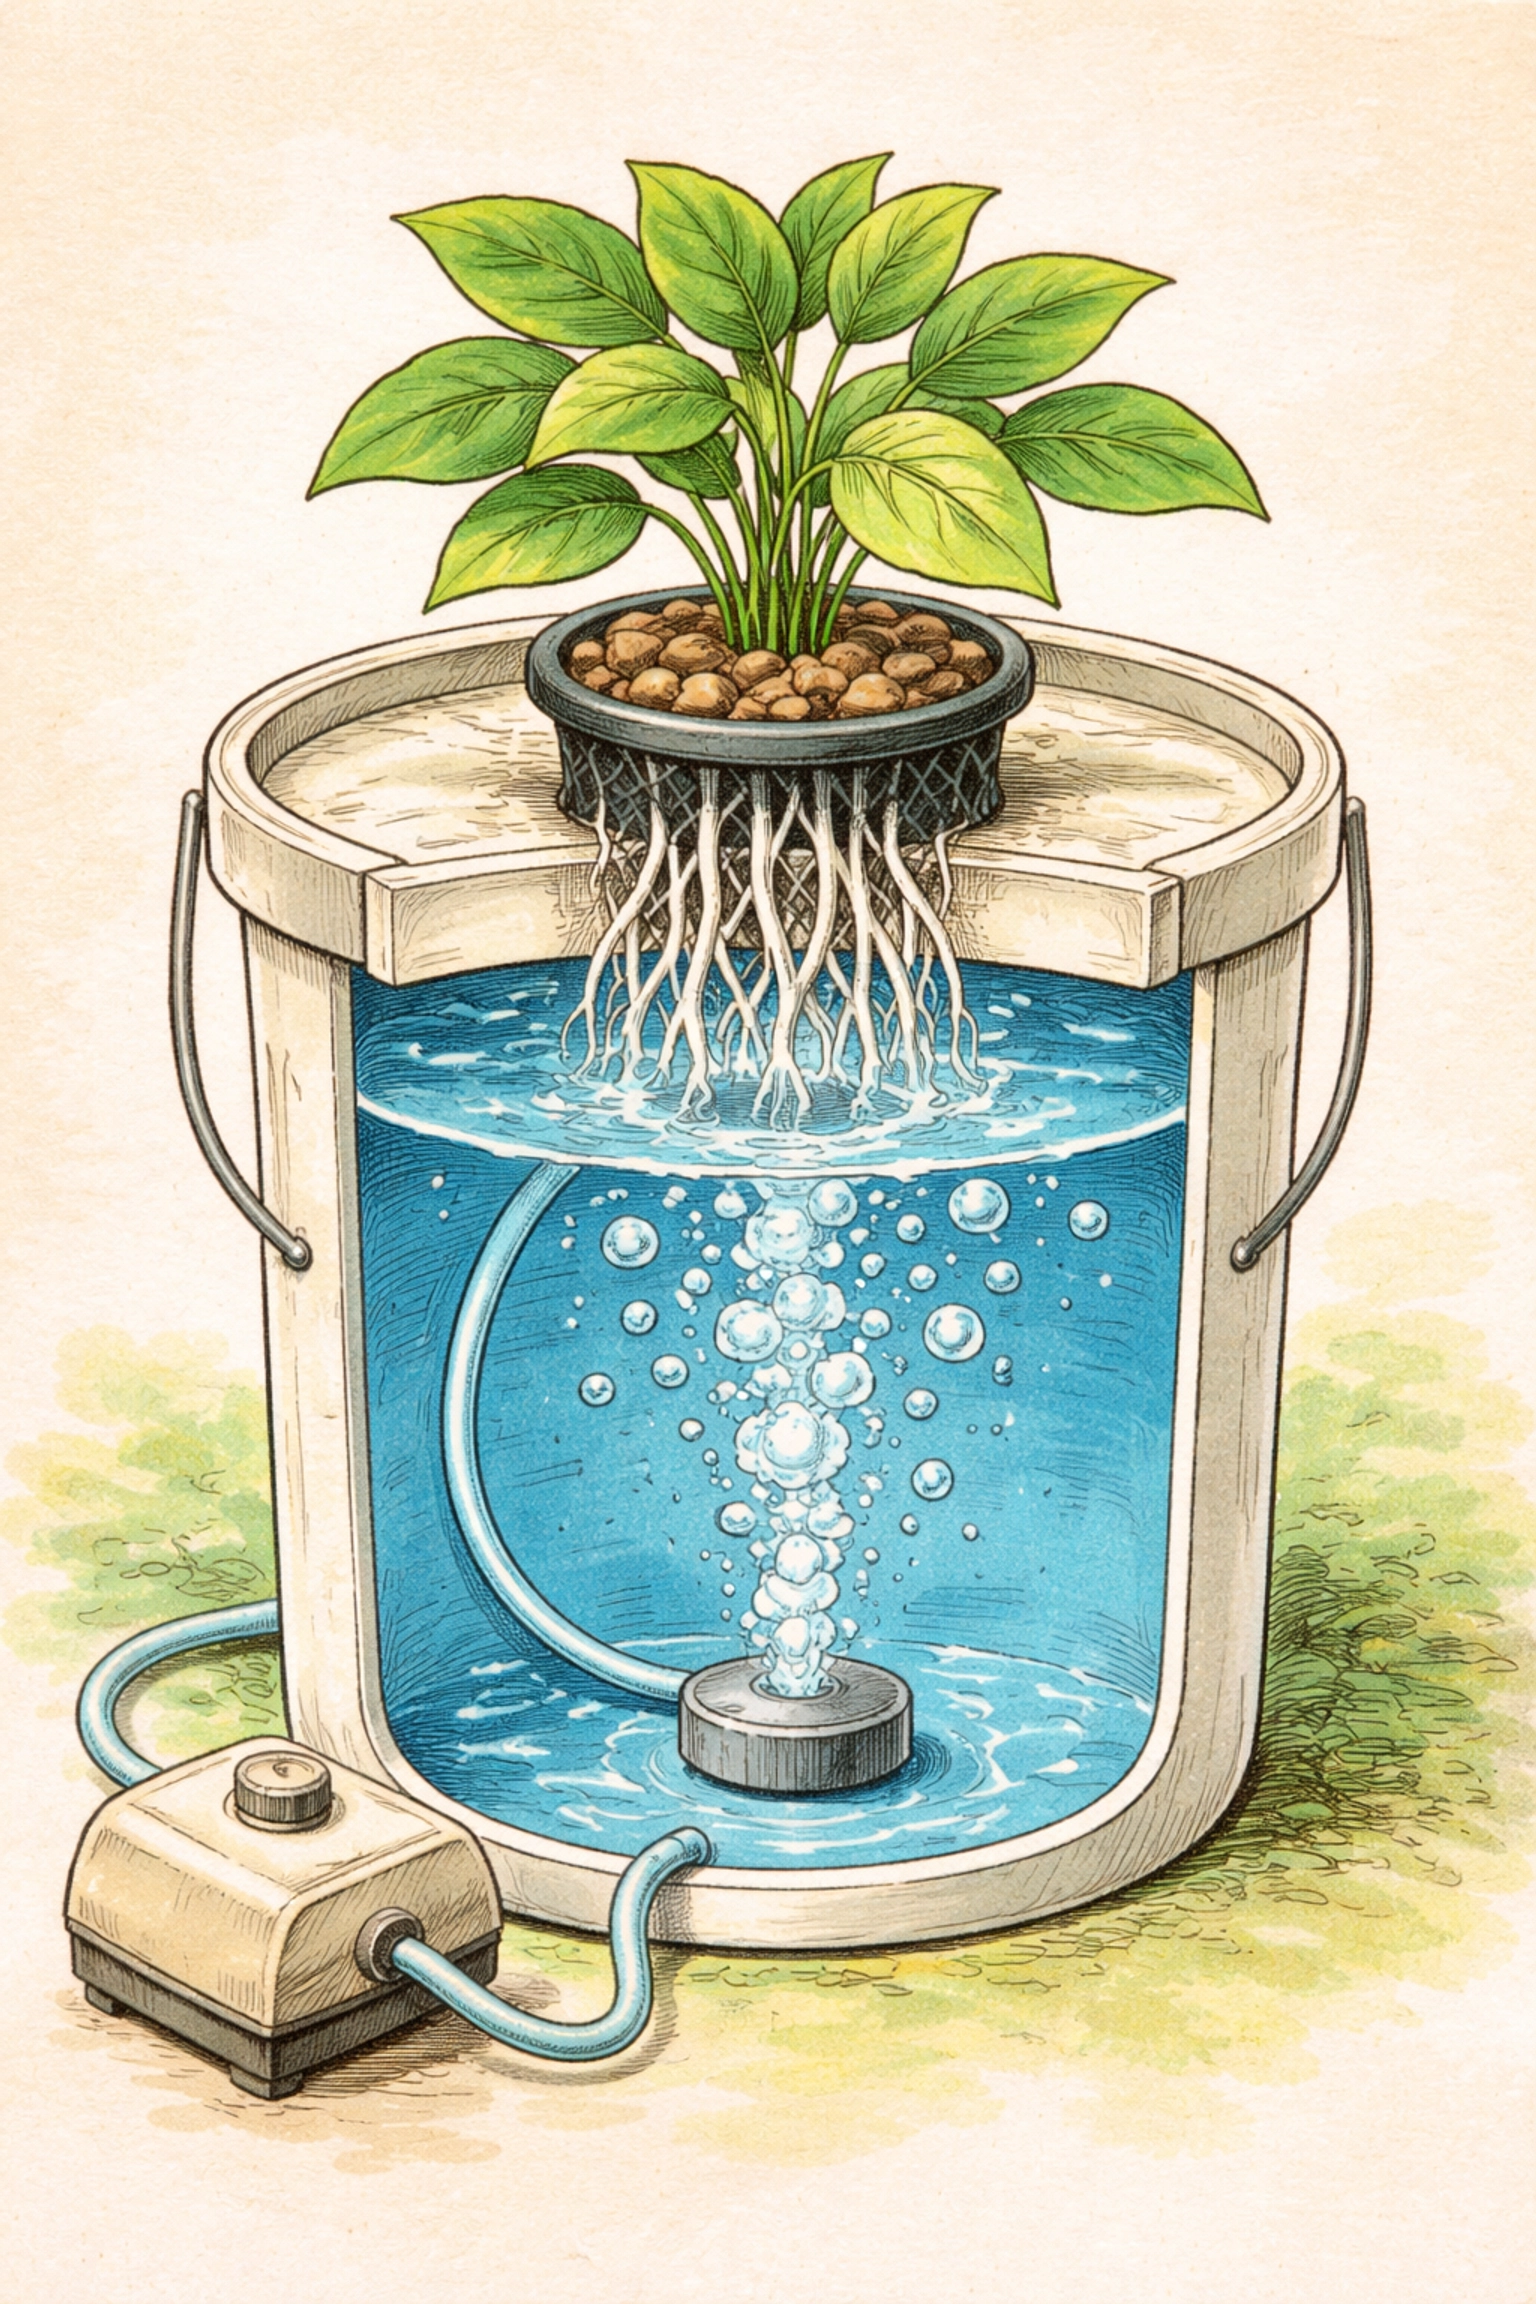
A DIY air-stone bubbler for a Deep Water Culture (DWC) system is built by connecting an aquarium air pump to an air stone using flexible airline tubing, then submerging the air stone in a bucket filled with nutrient-rich water. The pump pushes air through the tubing, the air stone breaks it into thousands of tiny bubbles, and those bubbles deliver life-giving oxygen directly to your plant's roots. The entire setup can be assembled in about 15 minutes, costs under $10 if you shop smart, and introduces kids to the fascinating science of soil-free gardening.
What Is Deep Water Culture, Anyway?
Deep Water Culture, often called DWC, is one of the simplest forms of hydroponics. Instead of growing plants in dirt, you suspend their roots in a reservoir of water mixed with liquid nutrients. The roots dangle right into the solution, drinking up everything they need 24/7.
Here's the catch: roots still need to breathe. In soil, tiny air pockets do the job. In a bucket of water? Not so much. That's where your air-stone bubbler comes in. It acts like a tiny scuba tank for your plants, constantly pumping fresh oxygen into the water so roots stay happy and healthy.
If you've ever watched bubbles rise in a fish tank, you've already seen the exact same technology at work!
Why Do Bubbles Matter So Much?
When roots sit in stagnant, oxygen-poor water, they can suffocate and rot surprisingly fast. An air stone solves this problem by creating a steady stream of fine bubbles that:
- Oxygenate the water – Dissolved oxygen keeps roots strong and disease-resistant.
- Circulate nutrients – The rising bubbles gently stir the solution, preventing nutrient "dead zones."
- Regulate temperature – Moving water is less likely to develop hot spots that stress plants.
Fine bubbles are better than big bubbles because they have more total surface area, which means more oxygen transfers into the water before they pop at the surface. Science in action!
Budget Breakdown
One of our favorite things about DWC is how wallet-friendly it can be. Here's a sample budget using common online or pet-store prices:
| Item | Estimated Cost |
|---|---|
| 5-gallon bucket with lid | $3.00 – $5.00 (or free if upcycled) |
| Aquarium air pump (single outlet) | $5.00 – $8.00 |
| Airline tubing (3 ft) | $1.50 – $2.50 |
| Air stone (cylinder or disc) | $1.00 – $2.00 |
| Check valve (recommended) | $1.00 – $2.00 |
| 6-inch net cup | $0.50 – $1.00 |
| Total | ~$12 – $20 (or under $10 with upcycled bucket) |
Pro tip: Aquarium starter kits often include a pump, tubing, and air stone bundled together for less than buying separately. Thrift stores are goldmines for used buckets and pumps, too!
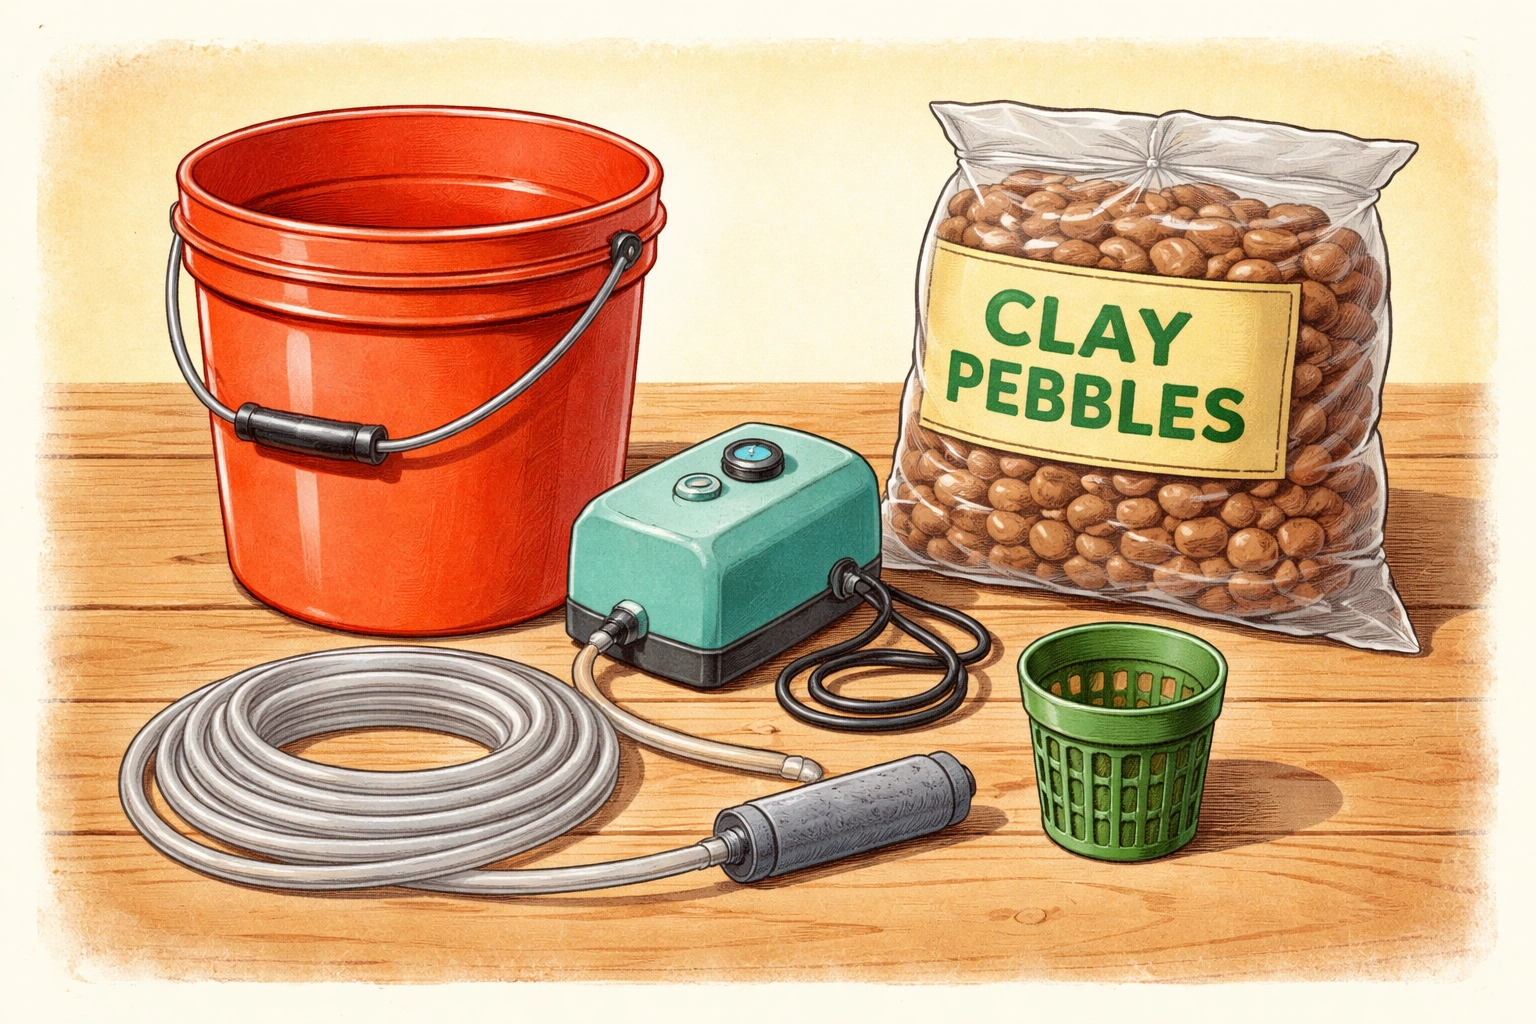
Materials & Tools You'll Need
Gather everything before you start, it makes the build go much smoother.
Materials:
- 5-gallon bucket with a snap-on lid (food-grade plastic is ideal)
- Aquarium air pump (single or dual outlet)
- 2–3 feet of flexible airline tubing
- One air stone (cylinder style works great)
- One check valve (prevents water from back-flowing into the pump)
- One 6-inch net cup
- Growing media (hydroton clay pebbles, rockwool cubes, or perlite)
Tools:
- Drill with a 6-inch hole saw bit (or a sharp utility knife)
- 1/4-inch drill bit
- Marker or pencil
- Ruler or measuring tape
Step-by-Step Build Instructions
Step 1: Mark and Cut the Net Cup Hole
Place your net cup upside-down in the center of the bucket lid and trace around it with a marker. Using a 6-inch hole saw (or carefully with a utility knife), cut out the circle. The net cup should drop snugly into the hole without falling through.
Safety note: Adult supervision is a must for any cutting or drilling. Let kids handle the tracing and measuring while grown-ups manage the sharp stuff.
Step 2: Drill the Airline Tubing Hole
Near the edge of the lid, about 1 inch from the rim, drill a 1/4-inch hole. This is where your airline tubing will pass through to reach the air stone inside the bucket.

Step 3: Attach the Air Stone
Cut a length of airline tubing long enough to reach from your air pump, through the lid hole, and all the way to the bottom of the bucket (usually about 2–3 feet total). Push one end of the tubing through the 1/4-inch hole you just drilled. Attach the air stone to that end inside the bucket.
Position the air stone so it rests flat on the bottom, away from the bucket walls. This helps bubbles rise evenly through the water instead of hugging one side.
Step 4: Install the Check Valve
On the outside portion of the tubing (between the lid and the air pump), cut the line and insert a check valve. The valve has an arrow printed on it, make sure the arrow points toward the bucket. This little gadget prevents water from siphoning backward into your pump if the power goes out. Trust us, it's worth the extra dollar!
Step 5: Connect the Air Pump
Attach the open end of your airline tubing to the outlet nozzle on your air pump. Place the pump on a shelf or table above the water level for extra back-flow protection.
Step 6: Add Water and Nutrients
Fill the bucket with water until the level sits about 1–2 inches below the bottom of the net cup. Mix in hydroponic nutrients according to the package directions. Check the pH, most leafy greens and herbs prefer a range between 5.5 and 6.5. Inexpensive pH test strips or drops work fine for beginners.
Step 7: Prep the Net Cup
Fill your net cup with growing media (hydroton pebbles are popular because they're reusable and pH-neutral). Nestle a seedling or rooted cutting into the media so the roots poke out the bottom of the cup.
Step 8: Assemble and Power On
Snap the lid onto the bucket, drop the net cup into its hole, and plug in the air pump. You should see a cheerful stream of bubbles rising from the air stone almost immediately. Congratulations, you've just built a working Deep Water Culture system!
Tips for Success
- Check water levels weekly. Plants drink fast, especially in warm weather. Top off with plain, pH-adjusted water as needed.
- Change the nutrient solution every 1–2 weeks to keep things fresh and prevent salt buildup.
- Keep light out of the reservoir. Algae loves light. A dark or opaque bucket helps keep the green gunk away.
- Start with easy plants. Lettuce, basil, and mint are forgiving and grow quickly, perfect for first-time hydroponic gardeners.
For more budget-friendly hydroponic and gardening projects, check out our full library of Kids Crafts or learn how much space you actually need for a productive hydroponic garden.
Frequently Asked Questions
How long does an air stone last?
Most air stones work well for 6–12 months before mineral buildup clogs the tiny pores. Soaking in white vinegar overnight can extend their life, but they're inexpensive enough to replace yearly.
Can I use a fish tank air pump for hydroponics?
Absolutely! Aquarium pumps are designed for continuous use and work perfectly for DWC systems.
What happens if the air pump stops working?
Roots can begin to suffocate within a few hours in warm conditions. Keep a spare pump on hand or check your system daily so you catch problems early.
Do I need multiple air stones for one bucket?
One air stone is usually enough for a single 5-gallon bucket. Larger reservoirs or multi-bucket setups may benefit from additional stones or a more powerful pump.
Can kids help build this project?
Yes! Kids can trace, measure, drop in the air stone, mix nutrients, and monitor pH. Just keep adults in charge of cutting and drilling.
Is Deep Water Culture better than other hydroponic methods?
"Better" depends on your goals. DWC is simple, affordable, and great for beginners. Other methods like NFT or aeroponics offer different advantages for experienced growers.
Why are my bubbles really big instead of fine?
Your air stone may be clogged or low quality. Try soaking it in vinegar or replacing it with a new one rated for "fine bubbles."
How often should I check the pH?
Once or twice a week is a good habit. pH can drift as plants absorb nutrients, so regular monitoring helps you catch swings before they stress your plants.
References
- University of Arizona Controlled Environment Agriculture Center – Introduction to Hydroponic Systems
- Oklahoma State University Extension – Home Hydroponics
- Cornell University Cooperative Extension – Hydroponic Crop Production


