


To build a DIY parachute for toys, cut a square from a plastic bag or lightweight fabric, attach four equal-length strings to the corners, and tie those strings together around a small toy. When dropped from height, the canopy catches air and slows the toy's fall: giving kids a hands-on demonstration of air resistance that typically costs under five dollars and takes about fifteen minutes to complete.
This simple project combines crafting with real physics concepts, making it one of the more satisfying STEM activities you can pull together on a rainy afternoon. Plus, watching a tiny action figure float gently to the ground never seems to get old: for kids or adults.
Why Building Toy Parachutes Works So Well for Families
There's something almost magical about the moment a homemade parachute actually works. Kids get that immediate feedback loop: they built something, they tested it, and they can see the science happening right in front of them.
Parachutes demonstrate air resistance (sometimes called drag) in a way that's easy to understand. The canopy catches air molecules as it falls, creating an upward force that slows everything down. It's the same principle that keeps real skydivers safe: just scaled down to action-figure size.
Beyond the science, this project hits a sweet spot for family crafting. The materials are cheap and likely already in your kitchen. The steps are simple enough for young kids but interesting enough that older siblings won't roll their eyes. And the testing phase? That's pure joy.
Materials You'll Need
| Item | Estimated Cost | Notes |
|---|---|---|
| Plastic bag (grocery or sandwich size) | Free – $2 | Lightweight plastic works best |
| String or yarn | $1 – $3 | Cut four pieces about 12-14 inches each |
| Scissors | Already own | Kid-safe scissors work fine |
| Small lightweight toy | Free – $3 | Action figures, small animals, or LEGO minifigures |
| Tape (optional) | $1 – $2 | Helps reinforce attachment points |
| Hole punch or toothpick | Already own | For making string holes |
Total estimated cost: Under $5 (often free if you raid the kitchen drawer)
Age Range and Time Estimate
| Age Group | Skill Level | Enjoyment Level | Adult Help Needed |
|---|---|---|---|
| 3-4 years | Beginner | High | Significant |
| 5-7 years | Intermediate | Very High | Moderate |
| 8-10 years | Confident | Very High | Minimal |
| 11+ years | Independent | High | Optional |
Time to complete: 10-20 minutes for basic assembly, plus unlimited testing time
Younger kids can handle decorating and choosing the toy passenger, while older children can measure, cut, and troubleshoot independently.
Step-by-Step Instructions
Step 1: Cut Your Canopy
Lay your plastic bag flat and cut out a square or circle approximately 12-14 inches across. A grocery bag works well: just cut off the handles and bottom seam first, then flatten what remains.
For younger kids, a large Ziploc bag can work straight out of the box with minimal cutting. Some families prefer using a lightweight napkin or even a coffee filter for an even simpler version.
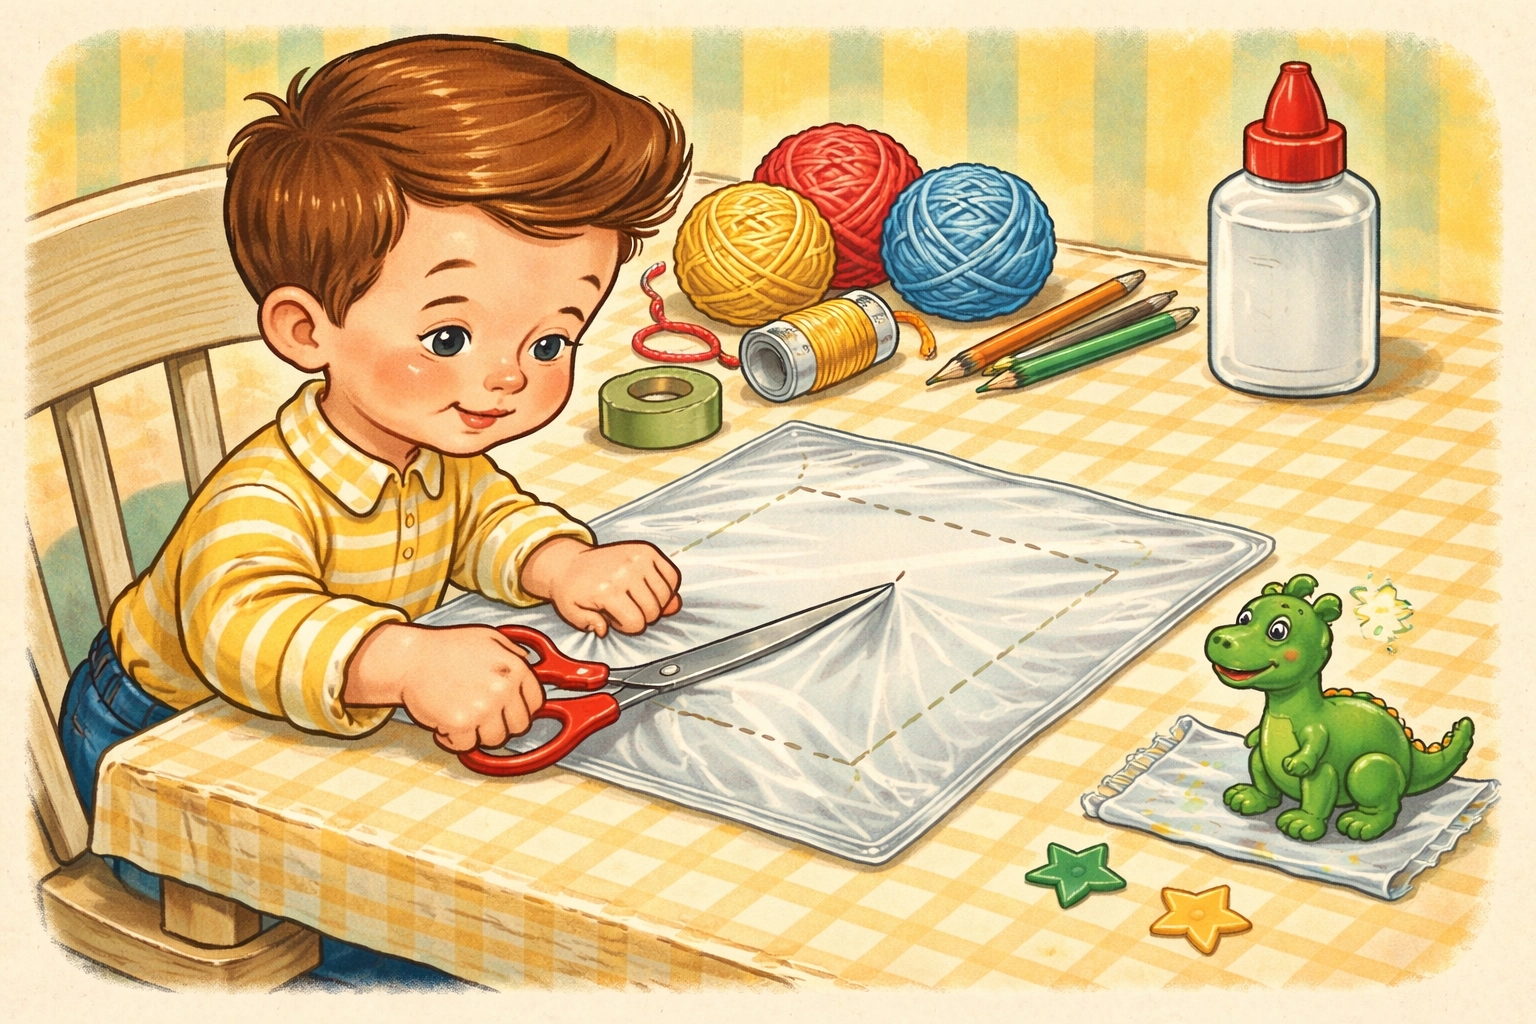
Step 2: Create Attachment Points
Using a hole punch or toothpick, poke a small hole near each corner of your canopy (four holes total for a square, or four evenly-spaced holes around the edge of a circle).
Keep the holes about half an inch from the edge so they don't tear when weight is added. If you're worried about durability, reinforce each hole with a small piece of tape before punching through.
Step 3: Cut and Attach Your Strings
Cut four pieces of string, each about 12-14 inches long. The key here is making them equal length: if one string is noticeably shorter, your parachute will tilt and spin instead of floating straight down.
Thread one string through each hole and tie a secure knot. Double knots work well, especially with slippery yarn.
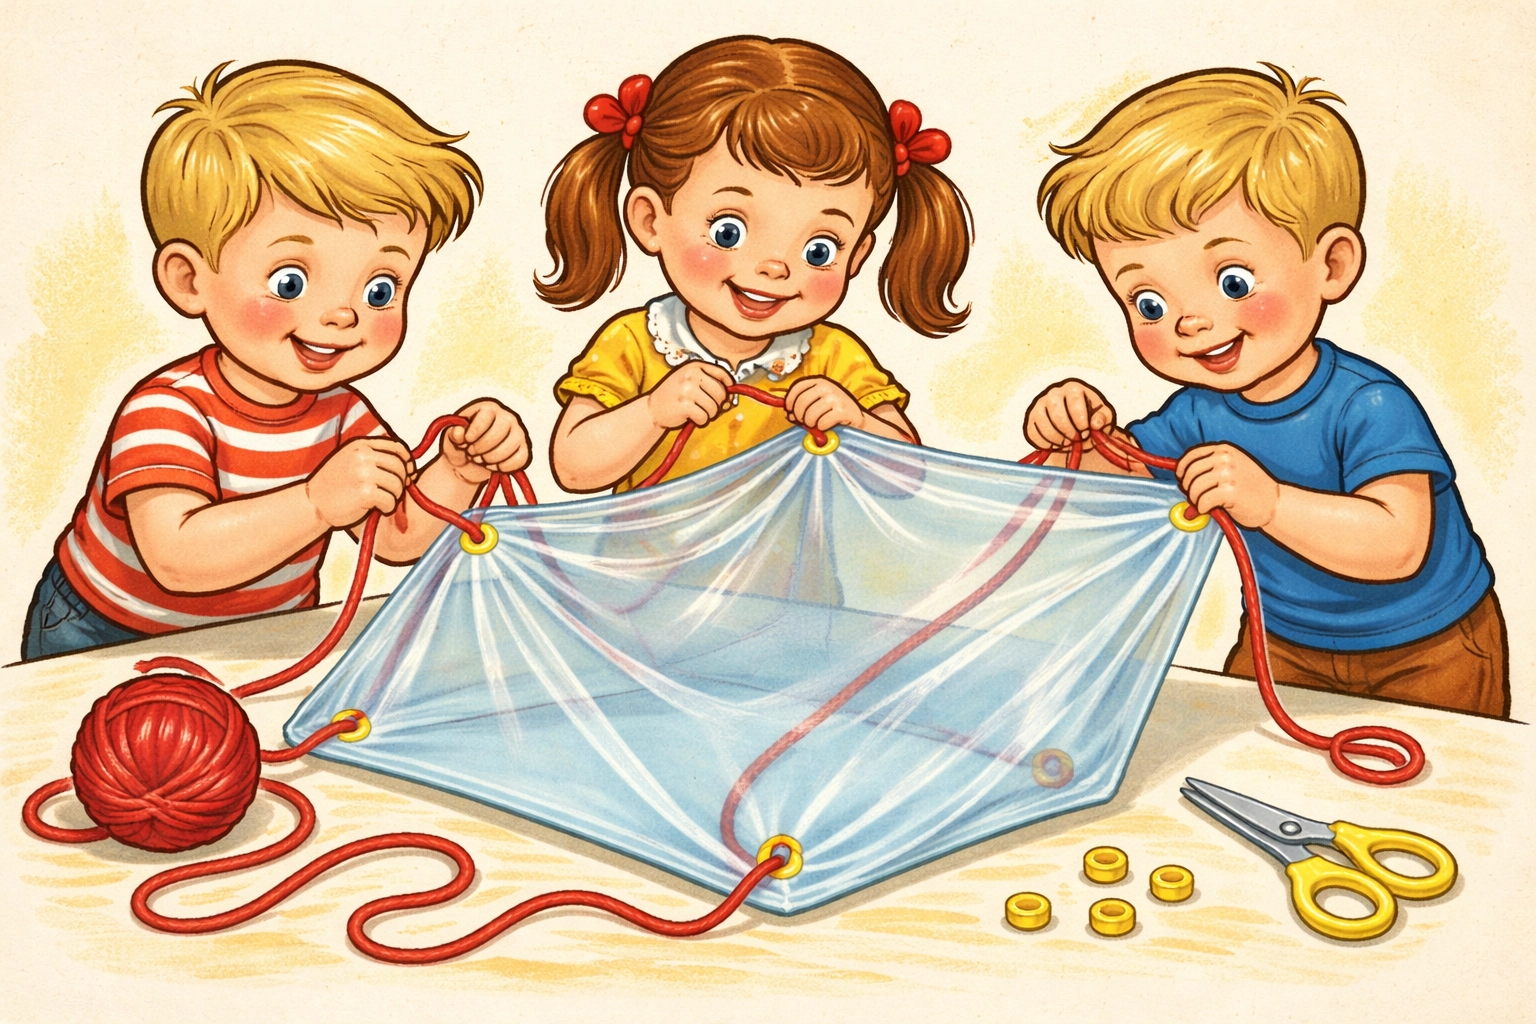
Step 4: Connect Your Passenger
Gather all four string ends together and tie them in one big knot, leaving a small loop. Attach your lightweight toy to this loop using another knot or a small piece of tape.
Good passenger options include:
- Small action figures
- LEGO or DUPLO minifigures
- Plastic toy animals
- Homemade paper passengers
Avoid anything too heavy: if the toy weighs more than the canopy can support, you'll get a fast drop instead of a gentle float.
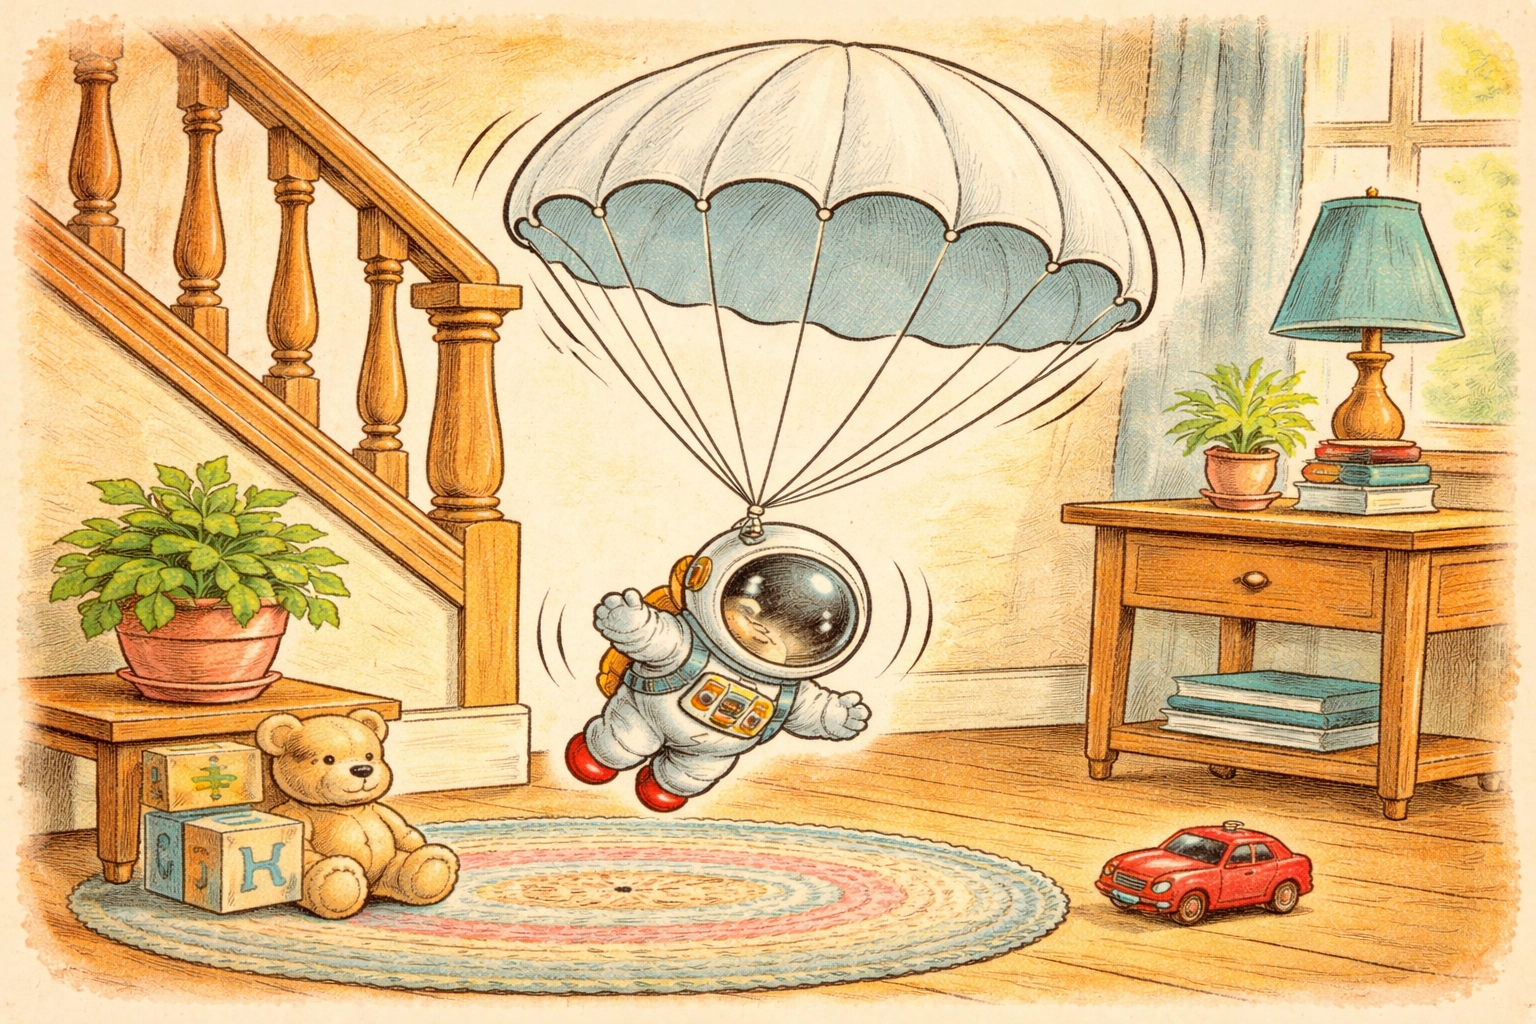
Step 5: Test and Adjust
Find a safe dropping point. The top of a staircase, a chair, or a playground structure all work well. Hold the parachute by the canopy (not the strings) and release it.
Watch what happens. Does it float gently? Spin wildly? Plummet straight down?
Troubleshooting tips:
- If it spins, check that all strings are equal length
- If it falls too fast, try a larger canopy or lighter passenger
- If it tangles, fold the canopy loosely before dropping
The Science Behind the Float
When you drop a toy without a parachute, gravity pulls it straight down with little resistance. The toy is small and compact, so air molecules slide right past it.
Add a parachute, and everything changes. That wide canopy catches air molecules, creating drag: an upward force that works against gravity. The toy still falls, but much more slowly.
This is why real parachutes are so large compared to the person using them. More surface area means more air resistance, which means a gentler landing.
Try this experiment: Drop two identical toys at the same time: one with a parachute and one without. The difference is dramatic and helps kids visualize exactly what air resistance does.
Variations to Try
Coffee Filter Parachute: For the youngest crafters, a coffee filter already has the perfect dome shape. Just poke four holes around the edge and attach strings. No cutting required.
Napkin Parachute: A cloth dinner napkin creates a sturdier canopy that holds up to repeated drops. Tie strings directly to the corners.
Stability Hole: Cut a small hole (about the size of a quarter) in the center of your canopy. This actually improves stability by letting some air escape, reducing spinning and wobbling.
Size Experiments: Make several parachutes with different canopy sizes and test which one floats longest. This turns a craft project into a genuine science experiment.
Frequently Asked Questions
What's the best material for a toy parachute canopy?
Thin plastic bags tend to work well because they're lightweight and catch air effectively. Coffee filters and thin fabric napkins are also good alternatives, especially for younger children who need something easier to handle.
How long should the strings be on a toy parachute?
Strings between 12-14 inches generally work well for small toy passengers. The key is making all strings the same length so the parachute hangs level during descent.
Why does my parachute spin instead of floating straight down?
Spinning usually happens when strings are uneven lengths or the weight isn't centered. Check that all four strings match and that your toy hangs directly below the middle of the canopy.
What's the best height to drop a toy parachute from?
Higher drops give the parachute more time to open and float. Staircases, playground equipment, or standing on a sturdy chair typically provide enough height for a satisfying demonstration.
Can a parachute be too big for the toy?
Generally, bigger canopies create more air resistance and slower falls: which is usually what you want. However, a very large canopy with a very light passenger might drift unpredictably instead of falling straight.
Why do some real parachutes have holes in them?
Small holes allow some air to escape in a controlled way, which improves stability and reduces swinging. You can experiment with this by cutting a small center hole in your toy parachute.
What toys work best as parachute passengers?
Lightweight plastic figures between 1-2 inches tall typically work well. LEGO minifigures, small action figures, and plastic toy animals are popular choices. Avoid anything heavy or with protruding parts that might tangle the strings.
Is this activity safe for toddlers?
Toddlers can participate with close supervision, particularly during the testing phase. Keep small parts like cut plastic pieces away from very young children, and let them help with age-appropriate tasks like choosing the toy or decorating the canopy.
References
- Research on basic plastic bag parachute construction methods
- Coffee filter parachute alternatives for younger children
- Napkin parachute variation techniques
- Air resistance and drag physics principles for educational activities
Looking for more hands-on STEM projects? Check out our Kids Crafts collection for activities that combine creativity with real-world science.


