


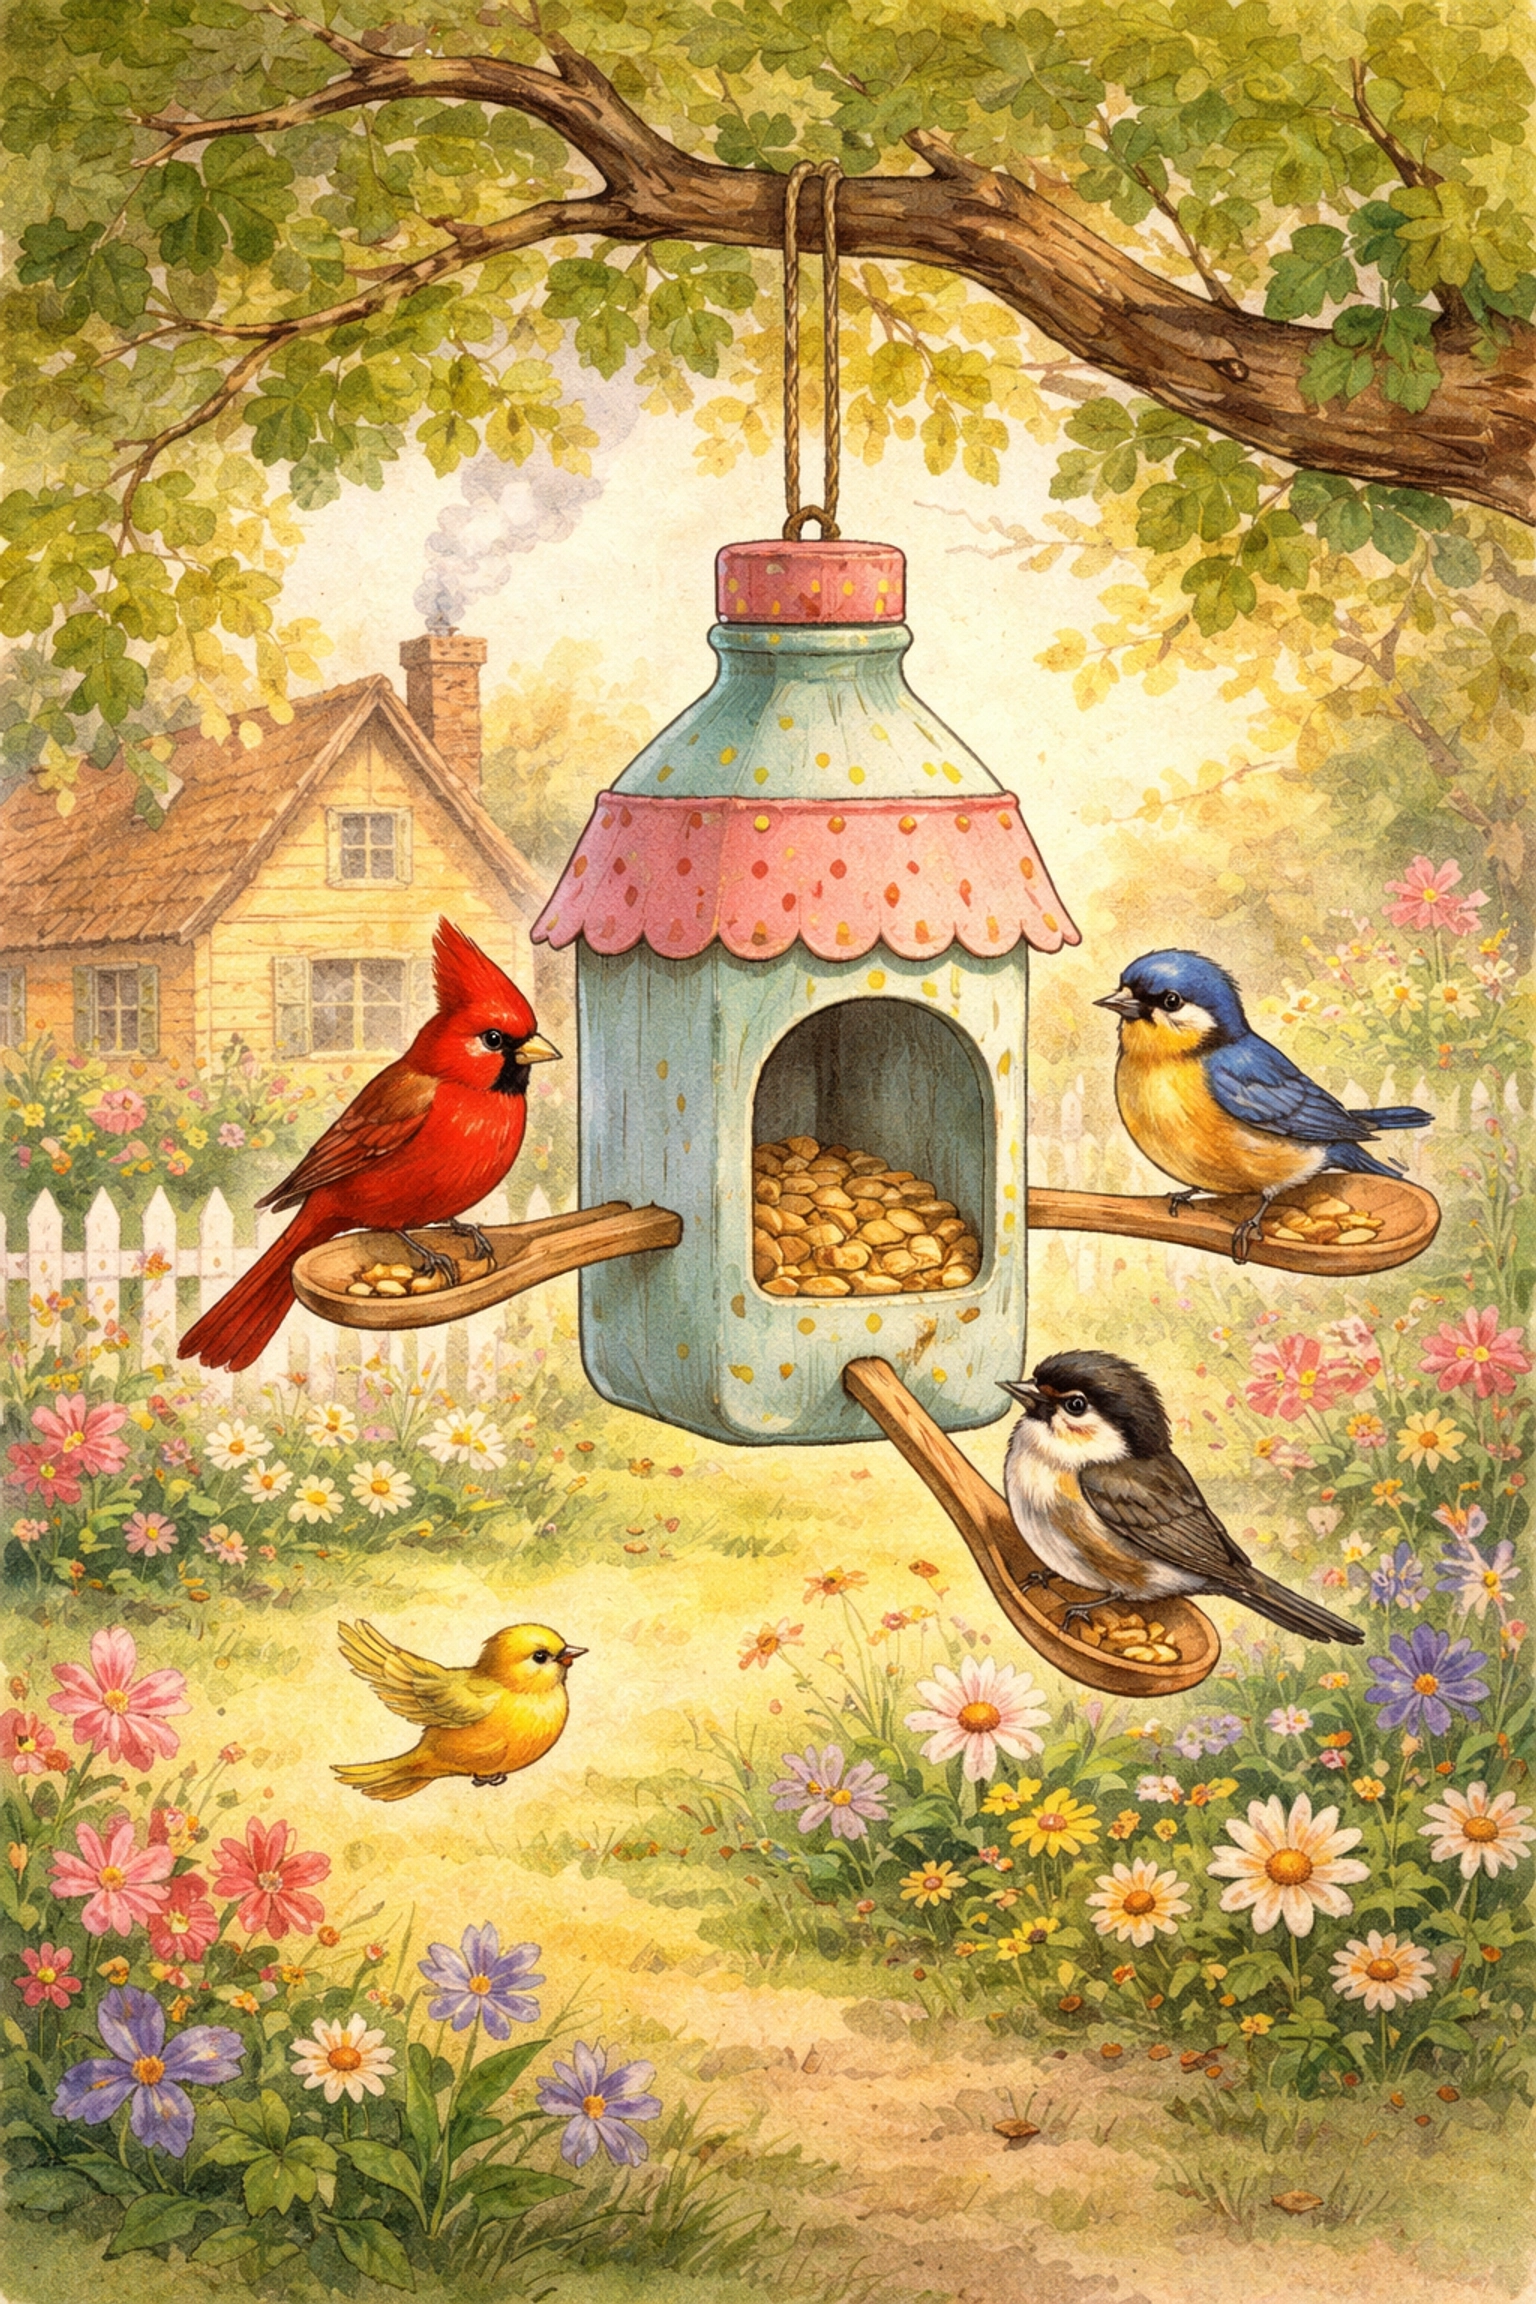
Yes, you can build a fully functional bird feeder using items from your recycling bin in under 30 minutes! A clean milk jug or plastic bottle, some birdseed, string, and a wooden spoon are all you need to create a backyard bird station that doubles as a hands-on lesson in teaching kids sustainability. It's one of those family gardening projects that costs next to nothing but delivers big rewards: happy birds, proud kids, and a little less plastic heading to the landfill.
Let's get into exactly how to make this happen with your crew.
Why Recycled Bird Feeders Are Perfect for Families
Before we grab the scissors, here's why this project hits all the right notes for family gardening projects:
- It's practically free. You're using stuff that would otherwise get tossed.
- Kids see the "why" immediately. When a cardinal lands on something they built from trash, it clicks: recycling matters.
- It invites nature into your space. Bird watching becomes a daily activity instead of a one-time craft.
- It's age-flexible. Toddlers can pour seed while older kids handle assembly.
Teaching kids sustainability doesn't require a lecture. It just requires showing them that old things can become useful things: and that their actions have real impact on the world around them.
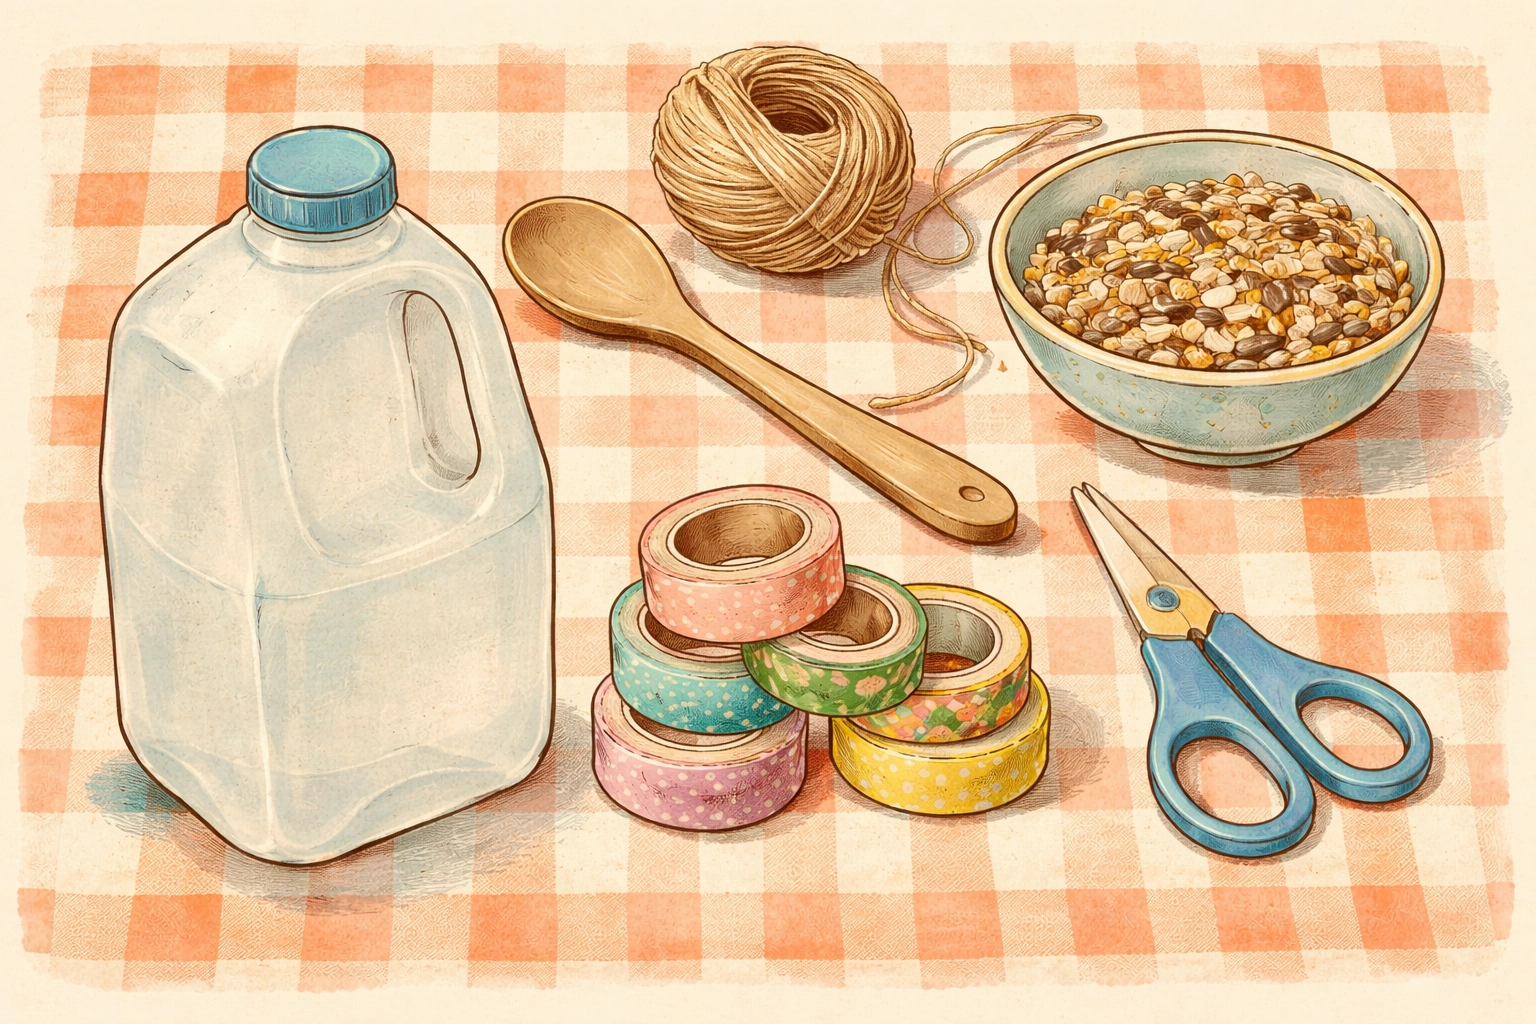
Materials You'll Need
Here's everything required for the classic milk bottle bird feeder. Chances are, most of this is already in your kitchen or junk drawer.
| Material | Purpose | Notes |
|---|---|---|
| Empty plastic milk jug or juice bottle | Main feeder body | Rinse and dry completely |
| Wooden skewer or wooden spoon | Perch for birds | Spoons work great and look charming |
| Birdseed | Food | Any basic wild bird mix works |
| String or twine (12-18 inches) | Hanging system | Cotton or jute are bird-safe |
| Scissors | Cutting | Kid-safe pair for little helpers |
| Utility knife or Stanley knife | Cutting access holes | Adult use only |
| Tape (masking or washi) | Covering sharp edges | Protects birds and tiny fingers |
| Hole punch | Creating perch and hanging holes | A regular office punch works |
| Marker or Sharpie | Outlining cut areas | Helps guide your cuts |
Optional fun additions:
- Non-toxic paint or stickers for decorating
- Extra bottles to make a whole bird feeder village
Step-by-Step Instructions
Step 1: Clean and Prep Your Bottle
Give that milk jug a good rinse with warm water. You don't want sour milk smell competing with fresh birdseed. Let it dry completely: moisture plus seed equals mold, and nobody wants that.
While it dries, gather your other materials and set up a workspace. A kitchen table covered with newspaper works perfectly.
Step 2: Mark Your Feeding Holes
Using your marker, draw two rectangular openings on opposite sides of the bottle. These should be:
- About 2-3 inches wide
- About 2 inches tall
- Positioned roughly 1.5 inches up from the bottom
These openings are where birds will access the seed. Making them on opposite sides lets multiple birds feed at once and helps with airflow.
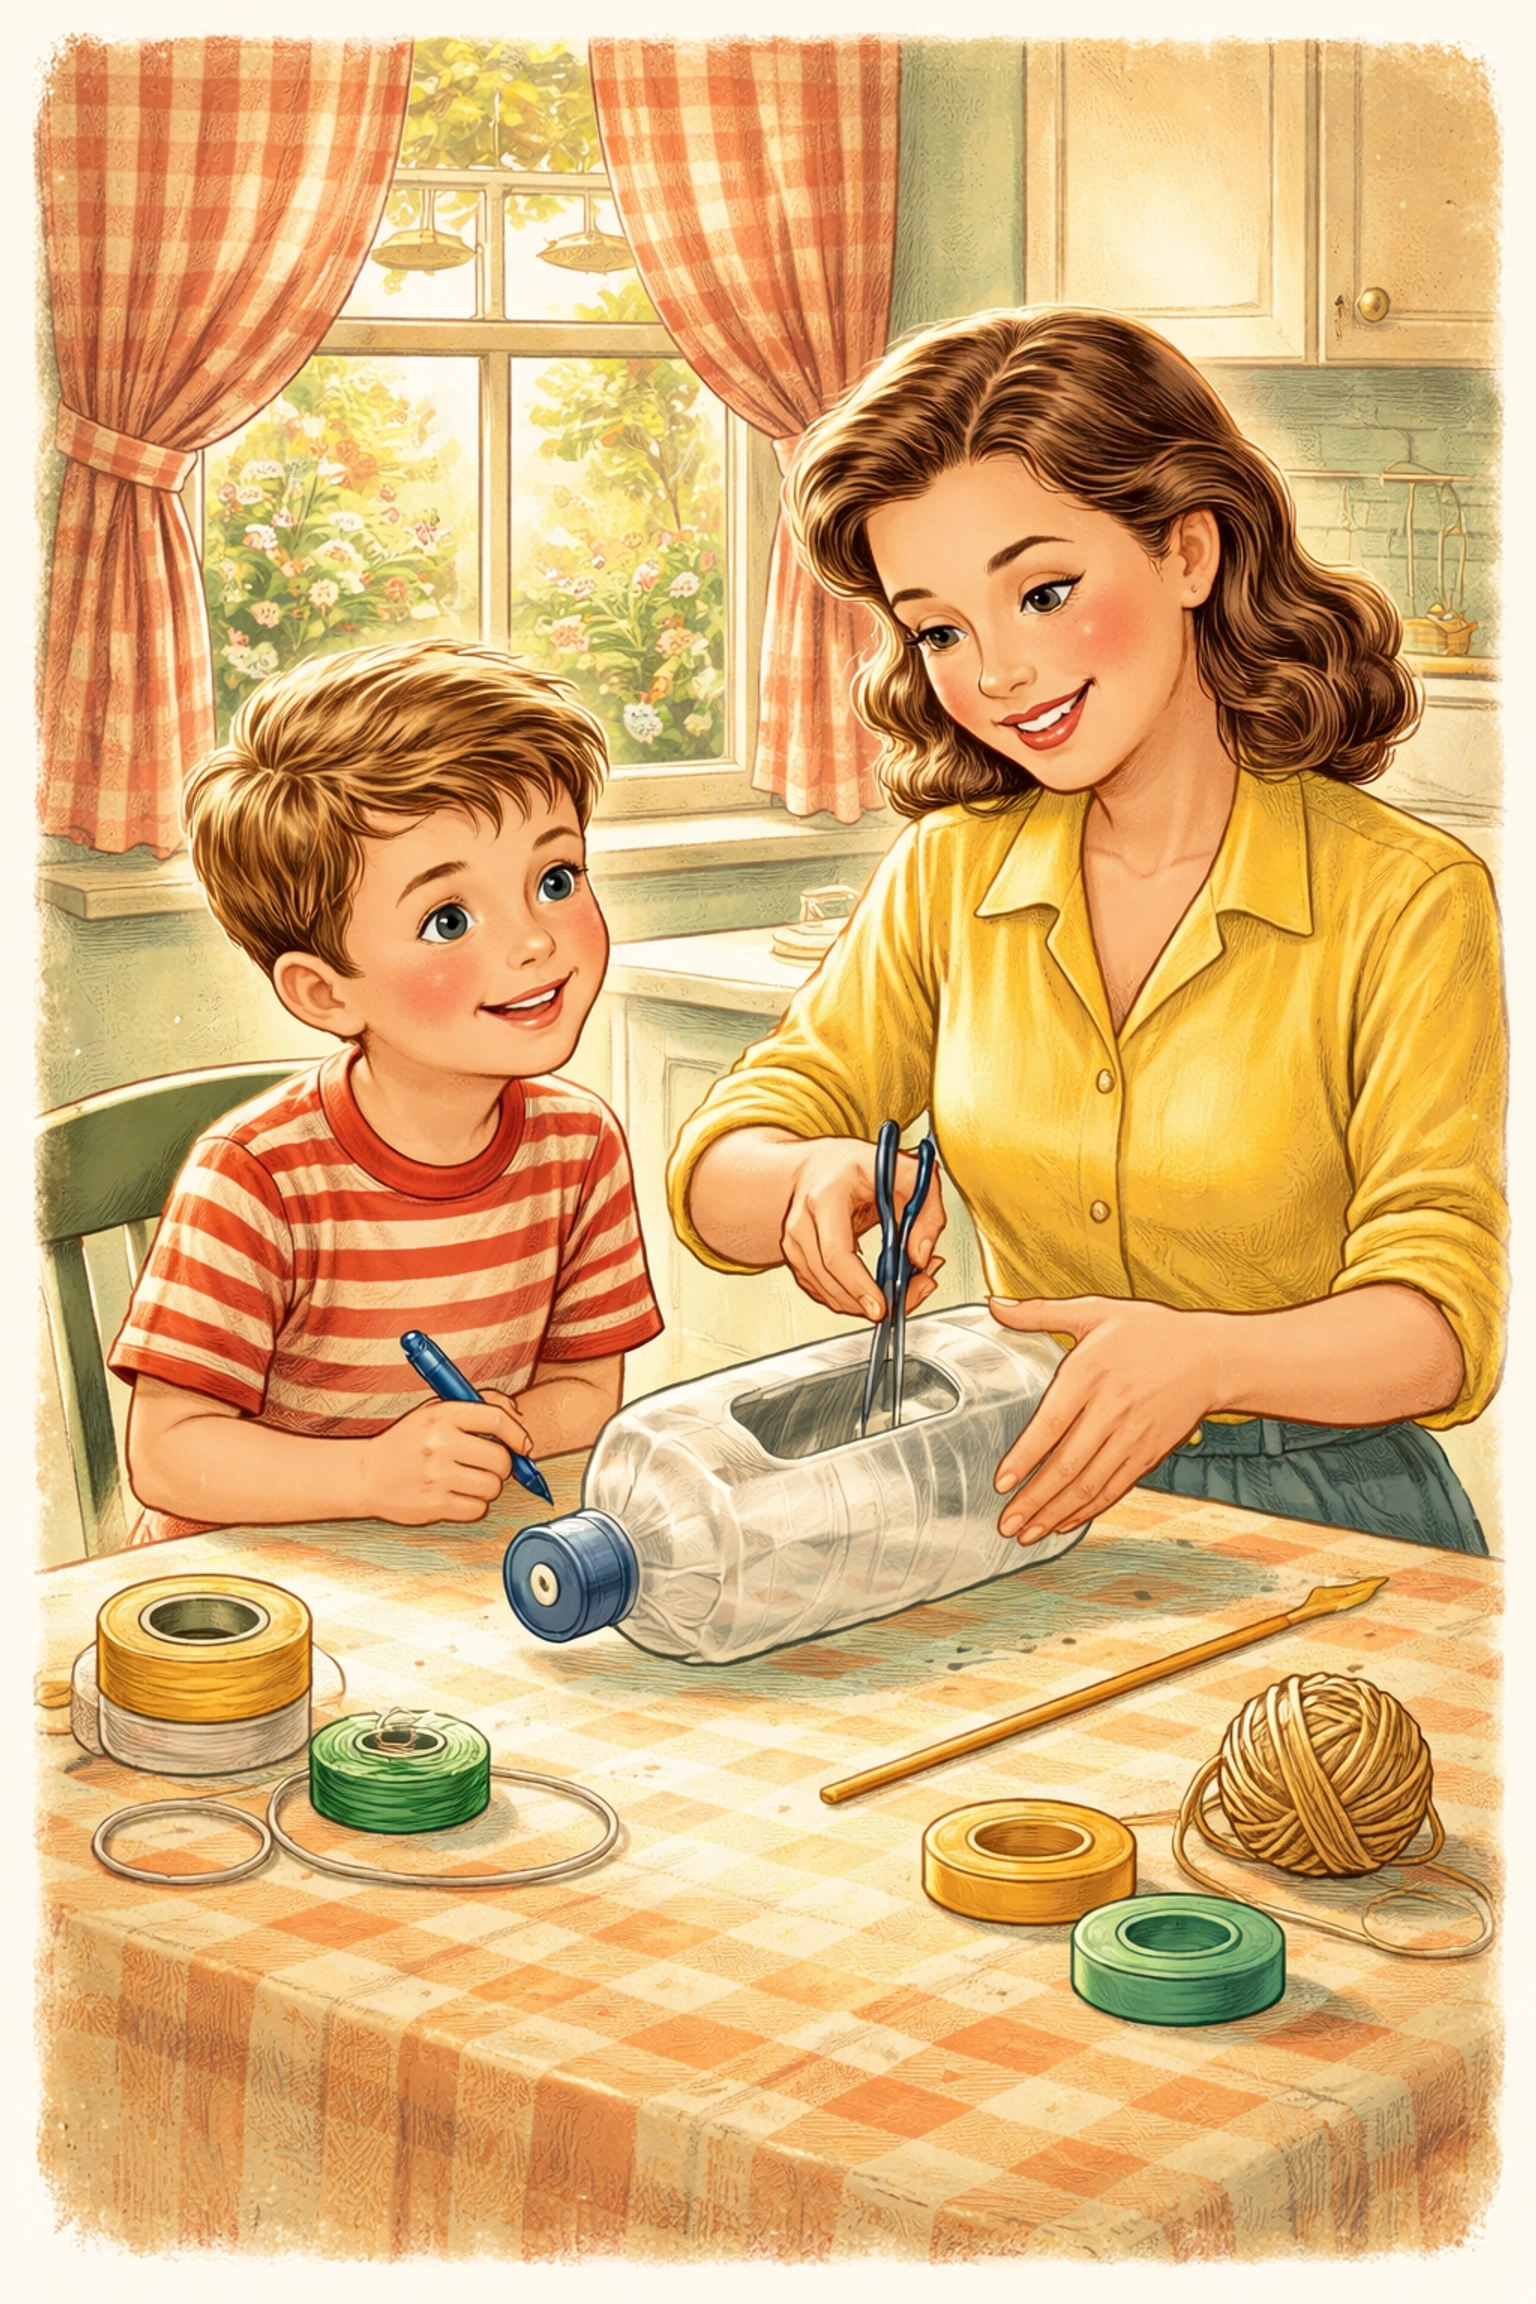
Step 3: Cut the Openings (Adult Job)
Parents, this one's yours. Use a utility knife to carefully cut along your marked lines. Start with a small puncture, then use scissors to finish the cuts more safely.
Take your time here. Rushing leads to jagged edges: and we're about to fix those anyway.
Step 4: Tape All Sharp Edges
Run masking tape or washi tape along every cut edge. This protects birds from getting scratched and keeps little fingers safe during the decorating phase.
This is a great step for kids to help with. Let them choose fun tape colors or patterns if you have them.
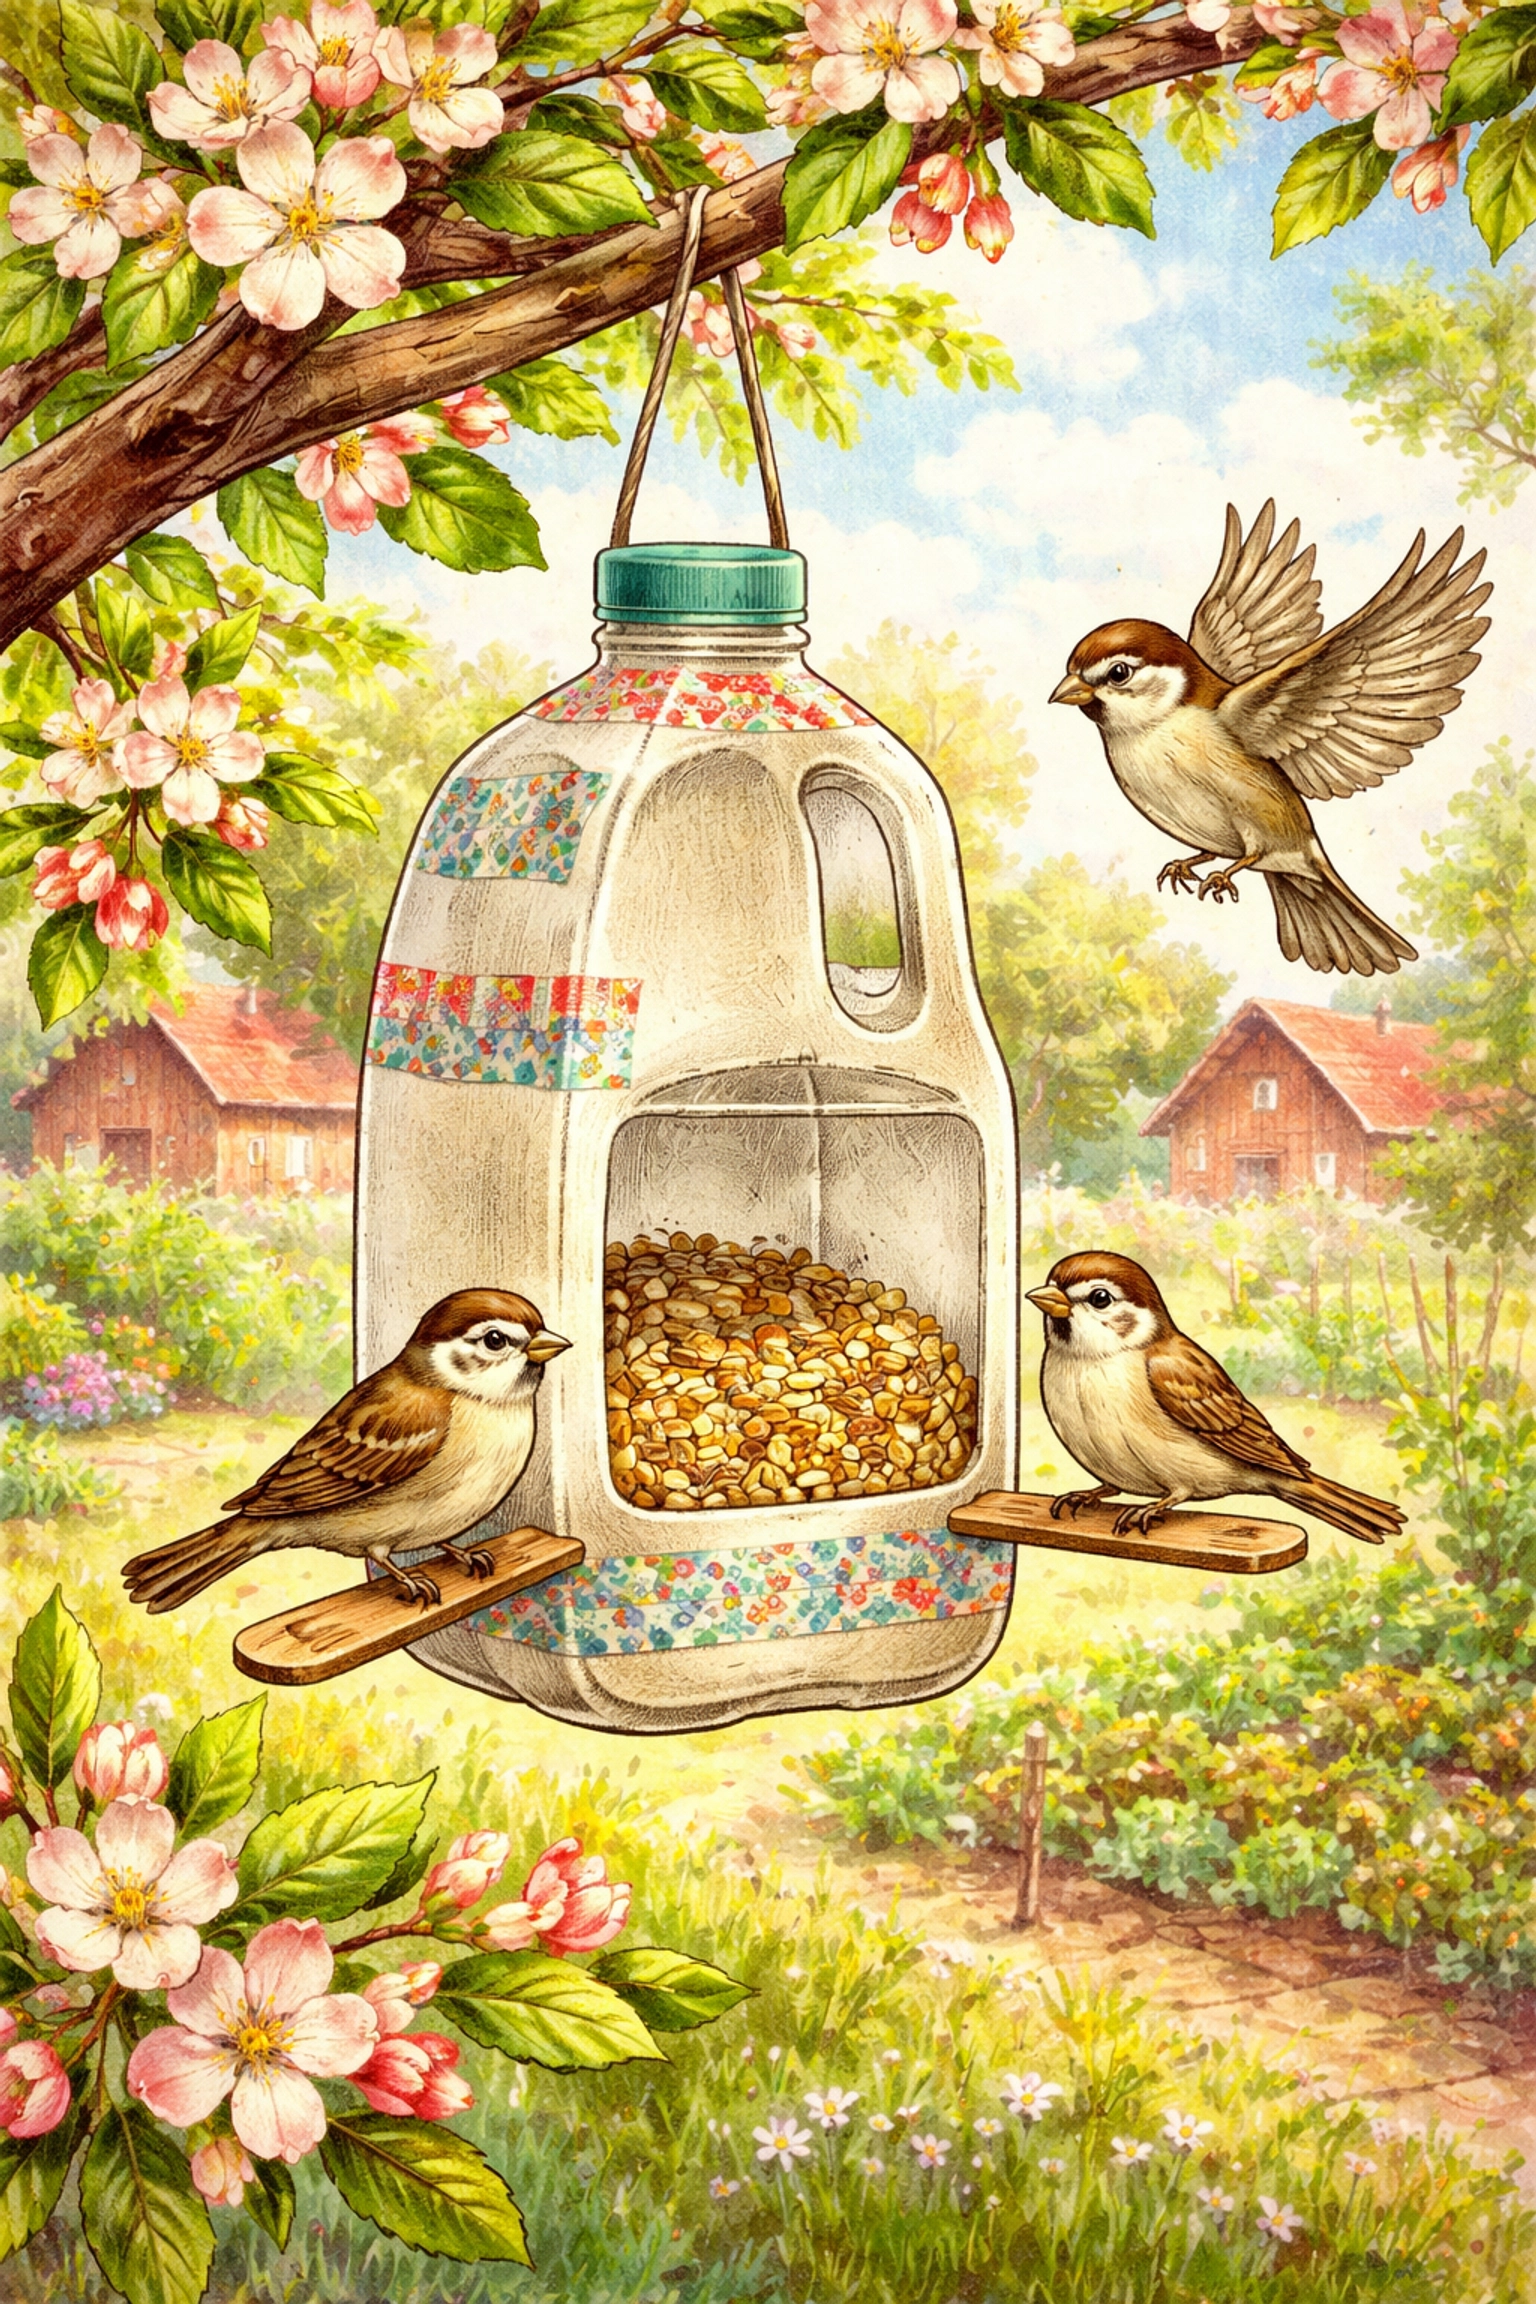
Step 5: Add the Perches
Use your hole punch to create two small holes on opposite sides of the bottle, positioned just below your feeding openings. Thread your wooden skewer or spoon handle through both holes so it spans the width of the bottle.
Birds need somewhere to land and sit while they eat. The perch should stick out a couple inches on each side so there's room for their feet.
Step 6: Create Your Hanging System
Punch three evenly-spaced holes around the top of the bottle, near the cap area. Thread your string through all three holes and tie them together at the top, creating a secure loop for hanging.
Three attachment points keep the feeder from tilting and dumping seed everywhere when the wind picks up.
Step 7: Fill It Up
Pour birdseed into the bottle through the top opening. Fill it up to just below the feeding holes: you want birds to be able to reach in easily without seed spilling out.
Screw the cap back on tightly. This keeps rain out and squirrels frustrated.
Step 8: Find the Perfect Spot
Hang your feeder from a tree branch, shepherd's hook, or fence post. Ideal placement is:
- At least 5 feet off the ground (away from cats and other predators)
- Near some shrub or tree cover (birds like escape routes)
- Visible from a window (so you can actually watch!)
Give it a few days. Birds are cautious about new things in their territory, but once one brave soul discovers it, word spreads fast in the bird community.
Two Quick Alternative Versions
The Toilet Paper Roll Feeder (Ages 3+)
This one's messy but magical for little ones:
- Spread peanut butter all over an empty toilet paper roll
- Roll it in birdseed until fully coated
- Thread string through the tube
- Hang from a branch
These don't last long in wet weather, so consider them "starter feeders" that can be replaced easily.
The Egg Carton Feeder (Ages 2+)
The simplest version for your youngest helpers:
- Cut the lid off a cardboard egg carton
- Punch a hole in each corner
- Thread string through and tie for hanging
- Fill each cup with birdseed
Replace these when they get soggy. It's a good excuse to make a new one together.
Tips for Long-Term Success
Once your feeder is up, here's how to keep the birds coming back:
- Refill regularly. An empty feeder teaches birds to look elsewhere.
- Clean monthly. Dump old seed, rinse with diluted vinegar, dry completely, refill.
- Watch for mold. Especially on cardboard versions after rain. When in doubt, toss it and make a fresh one.
- Keep a bird book nearby. Half the fun is identifying who's visiting. Check out some of our other kids crafts for more nature-based activities.
Frequently Asked Questions
What kind of birdseed should I use in a homemade feeder?
A basic wild bird seed mix works great for most backyard birds. Black oil sunflower seeds are especially popular with cardinals, chickadees, and finches.
Is peanut butter safe for birds?
Yes! Birds love peanut butter and it's perfectly safe. Opt for natural varieties without added salt or sugar when possible.
How long will a recycled plastic bottle feeder last outside?
With proper care, a plastic bottle feeder can last an entire season or longer. Check for cracks or damage periodically and replace as needed.
Can I paint my bird feeder?
Absolutely: just use non-toxic, water-based paints and let them dry completely before adding seed. Avoid painting areas where birds will eat directly.
Why aren't birds coming to my new feeder?
Patience! Birds can take several days to two weeks to discover a new food source. Make sure it's visible, stable, and placed away from high-traffic areas.
How often should I clean a homemade bird feeder?
Aim for once a month, or more frequently in wet weather. Remove old seed, scrub with diluted white vinegar, rinse well, and dry before refilling.
What's the best height to hang a bird feeder?
Between 5-6 feet off the ground is ideal. This keeps feeders away from ground predators while remaining accessible to most songbirds.
Can squirrels get into bottle feeders?
They'll certainly try! Hanging feeders from thin wire or adding a squirrel baffle above can help discourage them.
Is this project good for teaching kids sustainability?
It's one of the best! Kids directly see how "trash" becomes something useful, and the ongoing bird visits reinforce that their eco-friendly choice made a real difference.
Looking for more ways to get kids involved in sustainability projects? Check out our guide on how to create a DIY worm composting bin with children for another hands-on family gardening project.


