


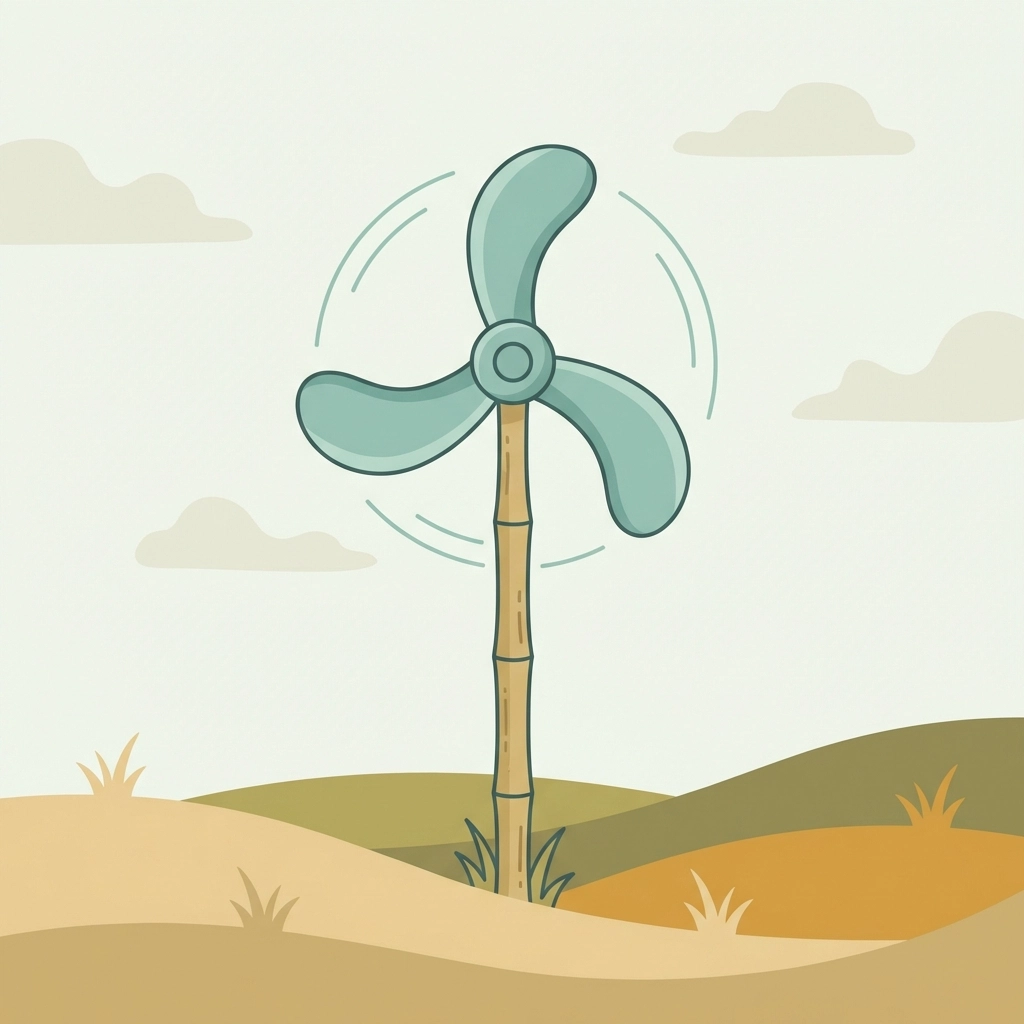
A mini windmill converts moving air into rotational energy. Building one from recycled materials costs nothing and teaches fundamental wind science.
This project takes roughly 45 minutes. The finished windmill spins in light breezes and serves as a functional demonstration of kinetic energy transfer.
What Materials Work Best for a Recycled Windmill?
Plastic bottles provide the ideal blade material. The curved surface catches wind efficiently. The plastic cuts easily and resists weather damage.
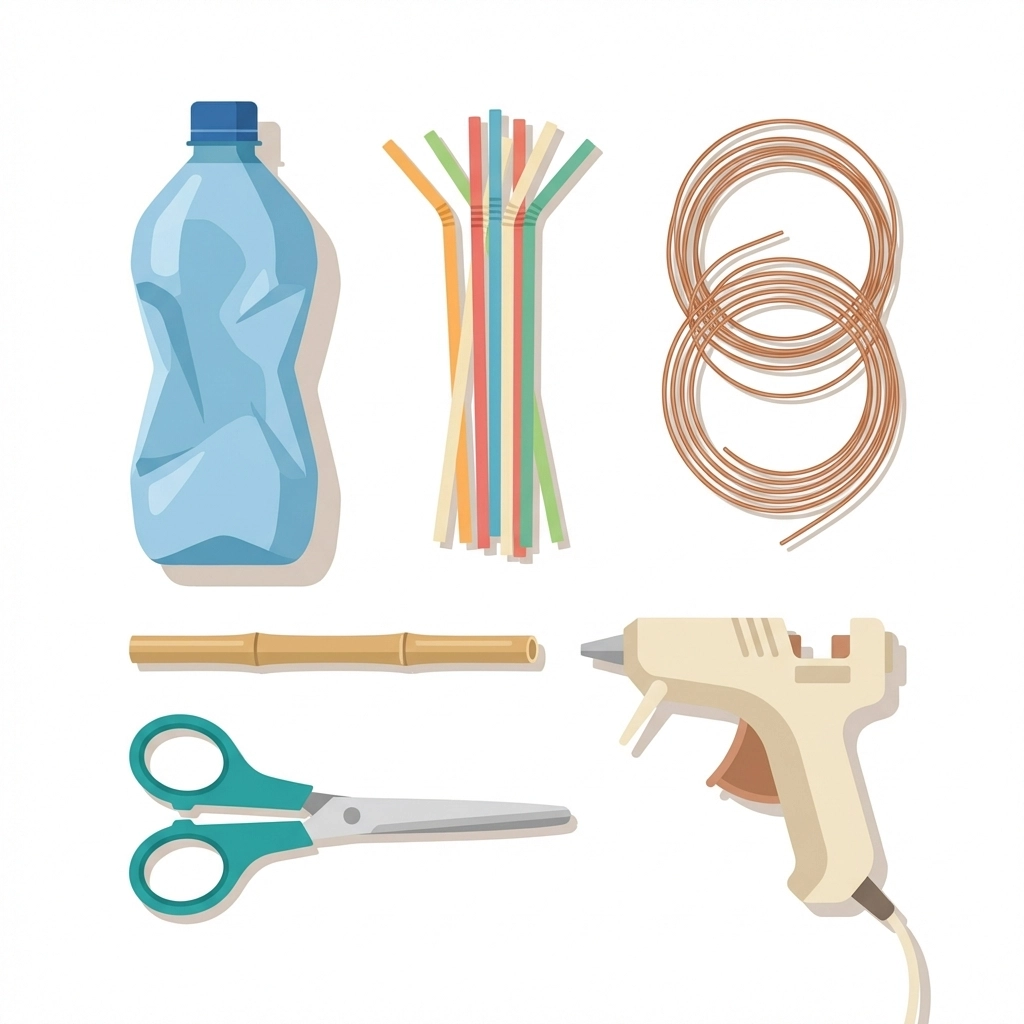
Required materials:
- One 2-liter plastic bottle (empty and clean)
- Three plastic straws or one wooden skewer
- Garden wire or copper wire (12 inches minimum)
- One bamboo stick or wooden dowel (18-24 inches)
- Strong glue or hot glue gun
- Scissors or utility knife
- Marker for tracing
Optional additions:
- Small DC motor (5V) for electricity generation
- LED lights for visual feedback
- Colored tape for blade visibility
- Cork or bottle cap for hub construction
All materials come from household recycling or standard craft supplies. No specialized tools required.
How Does the Blade Design Affect Performance?
Blade curvature determines spin efficiency. Flat blades push against wind. Curved blades redirect airflow and create lift.
The plastic bottle’s natural curve provides this shape automatically. Cutting blades at an angle increases the surface area exposed to wind direction.
Three blades balance weight distribution and rotational momentum. Fewer blades spin faster but generate less torque. More blades increase resistance without proportional benefit.
Optimal blade specifications:
- Length: 4-6 inches from hub to tip
- Width: 2-3 inches at the widest point
- Angle: 30-45 degrees from vertical
- Curve: Slight concave shape facing wind direction
Symmetry matters. Uneven blades create wobble. Wobble wastes energy and stresses the central axis.
Step One: Prepare the Bottle
Remove the label completely. Residue affects blade weight distribution.
Cut off the top portion of the bottle just below the neck. Set aside the cap area: this becomes the hub later.
Cut off the bottom portion of the bottle. The middle cylindrical section provides blade material.
Flatten the cylinder by cutting a single vertical line. This creates a rectangular plastic sheet.
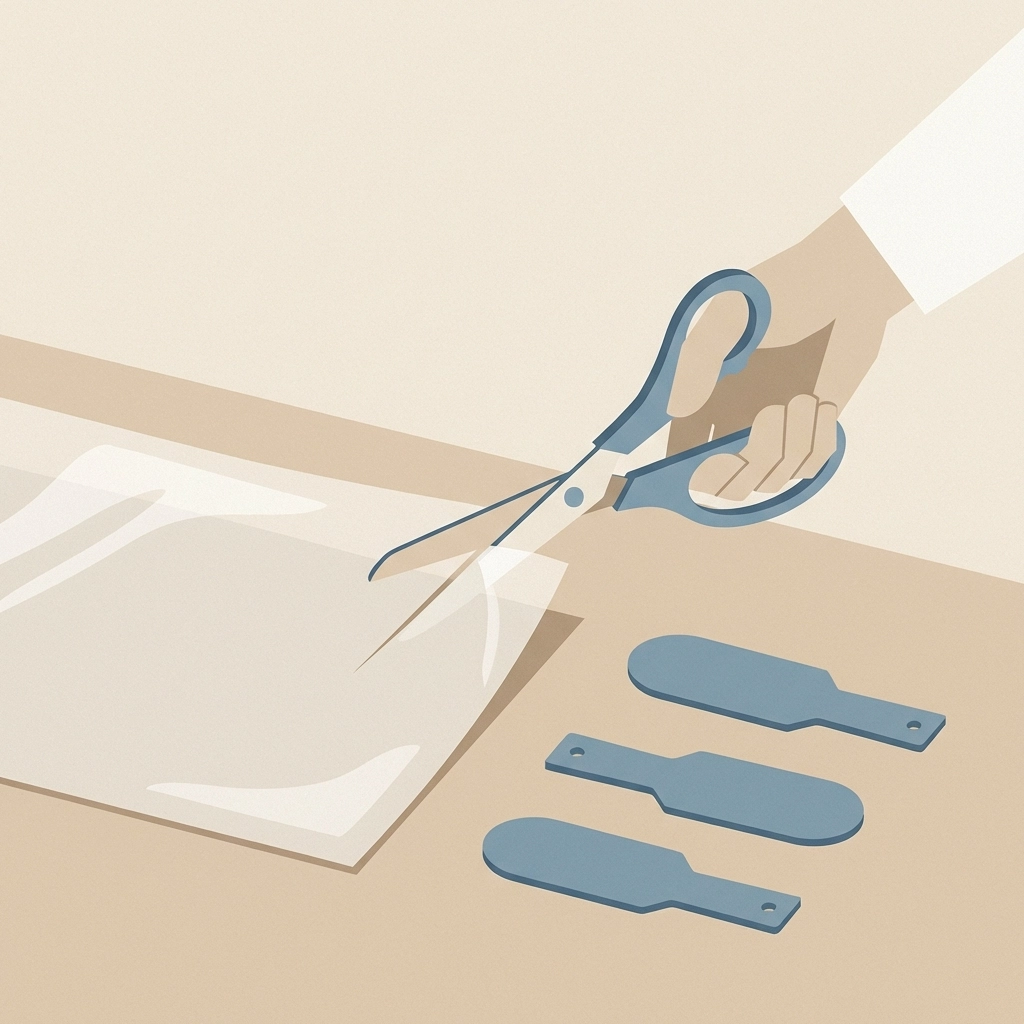
Step Two: Cut the Blades
Trace three identical blade shapes onto the plastic sheet. Each blade resembles an elongated teardrop or paddle shape.
Cut along the traced lines. Precision matters less than consistency. All three blades must match in size and shape.
Create a slight twist in each blade. Hold one end stationary and rotate the other end approximately 20 degrees. The plastic retains this shape.
This twist angle captures wind from one direction and deflects it, creating spin.
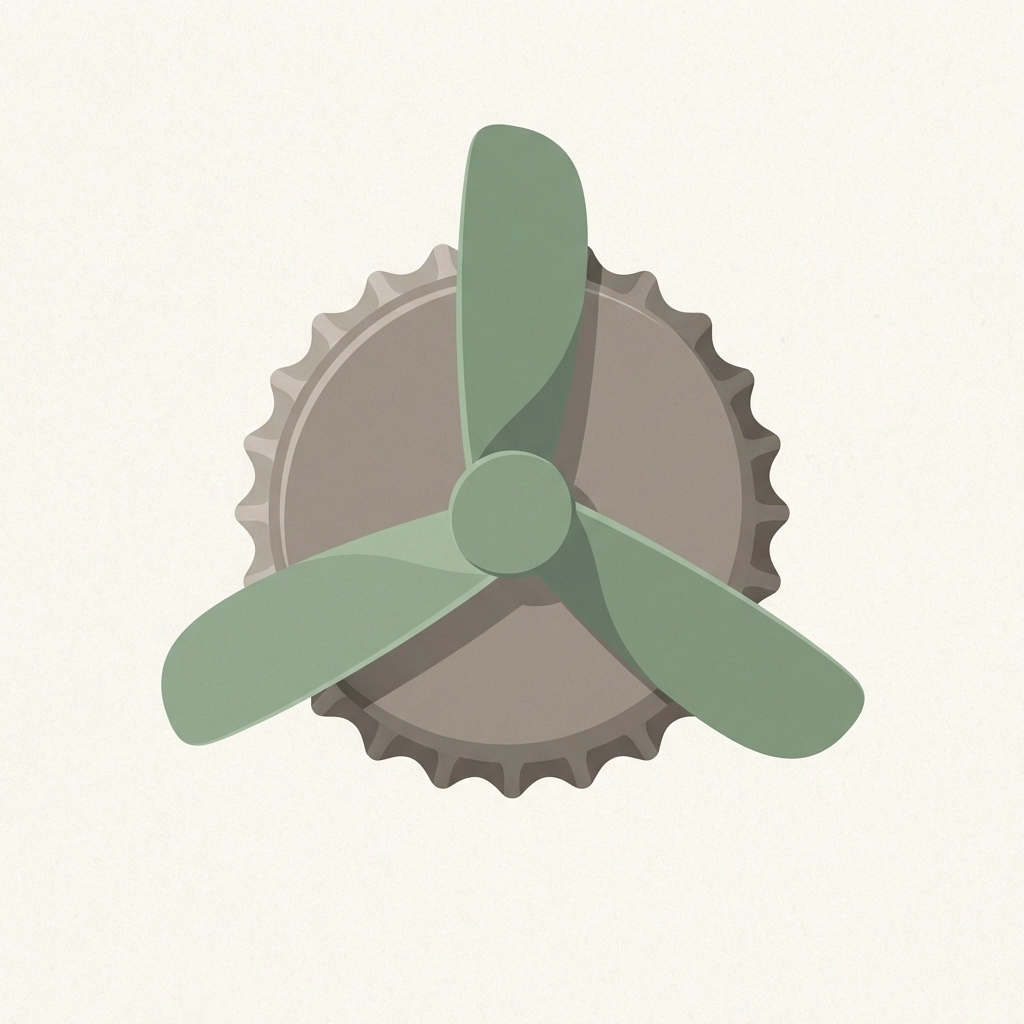
Step Three: Build the Hub
The hub connects all blades to the central axis. A bottle cap works perfectly for small windmills.
Drill or punch three evenly spaced holes around the edge of the bottle cap. Use a heated nail or small drill bit. Spacing: 120 degrees apart.
Punch one center hole for the axis wire or skewer.
Insert the base of each blade into the outer holes. Secure with hot glue. All blades must angle in the same rotational direction.
The completed hub resembles a three-armed pinwheel with elongated arms.
Step Four: Create the Axis and Mount
The axis allows free rotation. Garden wire works well: stiff enough to hold position, thin enough to spin freely.
Thread wire through the center hub hole. Create a small loop or bend on the front side to prevent the hub from sliding off.
Attach the wire to the bamboo stick or wooden dowel. Leave 1-2 inches of clearance between the hub and the pole. This prevents blade contact during rotation.
The attachment point requires stability but not rigidity. Some lateral movement accommodates changing wind directions.
Mounting options:
- Push the pole directly into soft ground
- Clamp to a fence post or railing
- Insert into a weighted base (sand-filled bottle works)
- Attach to a pivot mount for directional tracking
Height affects performance. Wind speed increases with elevation. A taller mount captures stronger, more consistent airflow.
Why Does the Windmill Spin?
Wind contains kinetic energy. Moving air molecules collide with blade surfaces and transfer momentum.
The angled blade design redirects this momentum perpendicular to the wind direction. This creates rotational force around the central axis.
The physics breakdown:
- Wind pushes against the concave blade surface
- The blade angle converts linear force into rotational force
- Each blade receives this push in sequence
- Continuous rotation results from sustained wind exposure
Faster wind produces faster rotation. The relationship is roughly linear until blade design limitations cause turbulence.
Light plastics spin in minimal wind conditions. This makes recycled bottle windmills excellent for demonstrating principles that larger turbines use for electricity generation.
How to Add Electricity Generation
A small DC motor converts rotational energy into electrical current. This upgrade transforms the demonstration into a functional power source.
Required additions:
- 5V DC motor (salvage from old toys or electronics)
- Two lengths of thin wire (6 inches each)
- One LED light
- Electrical tape
Replace the simple wire axis with the motor shaft. The hub attaches directly to the motor’s rotating component.
Connect the two wires to the motor terminals. Connect the opposite ends to the LED leads. Polarity matters: if the light fails to illuminate, reverse the connections.
Spin generates current. Current illuminates the LED.
Performance expectations:
- Light breeze: Dim or flickering light
- Moderate wind: Steady illumination
- Strong wind: Bright, consistent output
This setup generates milliwatts. Enough to power small LEDs or trickle-charge capacitors. Not enough for practical applications.
The educational value exceeds the electrical output. Understanding the conversion process applies directly to commercial wind turbine technology.
Troubleshooting Common Problems
Windmill refuses to spin:
- Check for friction at the axis point
- Verify blade angles all curve the same direction
- Reduce hub weight if possible
- Test in stronger wind conditions
Rotation wobbles or vibrates:
- Blade weights differ: trim heavier blades slightly
- Hub attachment points uneven: reposition for symmetry
- Axis bent: straighten or replace wire
Motor fails to generate power:
- Rotation speed too low: wait for stronger wind
- Loose wire connections: resolder or tape securely
- Motor damaged: test with external power source first
Blades detach during operation:
- Insufficient glue: reattach with hot glue
- Plastic cracked at stress points: reinforce with tape
- Hub holes too large: add material to tighten fit
What Variations Exist?
Vertical axis windmills use a different blade orientation. The axis runs perpendicular to the ground. These catch wind from any direction without repositioning.
Savonius designs use curved half-cylinders. Two plastic bottles cut lengthwise and offset create this pattern. Lower efficiency but higher torque.
Darrieus designs use airfoil-shaped blades. More complex to construct from recycled materials but more efficient at higher speeds.
Each variation demonstrates different aerodynamic principles. Building multiple types allows direct comparison of performance characteristics.
The mini windmill project provides hands-on understanding of renewable energy principles. The same physics that spins a plastic bottle turbine powers commercial wind installations generating megawatts.


5 Comments
How to Create a Ball Ramp Challenge at Home – Tierney Family Farms
January 19, 2026, at 9:16 pm[…] How to Build a Mini Windmill from Recycled Materials […]
How to Build a DIY Stick Raft for Kids – Tierney Family Farms
January 20, 2026, at 12:15 am[…] For more outdoor building projects, check out our guide on how to build a mini windmill from recycled materials. […]
How to Make a Paper Tube Kaleidoscope with Kids – Tierney Family Farms
January 21, 2026, at 4:04 am[…] For more hands-on STEM-ish projects, you might also enjoy our guide on how to build a mini windmill from recycled materials. […]
How to Make a Cereal Box Aquarium with Kids – Tierney Family Farms
January 21, 2026, at 5:31 am[…] If your family enjoys recycled crafts like this one, you might also like our guide on how to build a mini windmill from recycled materials. […]
How to Make Newspaper Hats with Kids – Tierney Family Farms
January 21, 2026, at 5:32 am[…] you might also like exploring other crafts that use recycled materials. Check out our guide on how to build a mini windmill from recycled materials or browse our full collection of kids crafts for more […]