


The Direct Answer: Yes, you can absolutely build a functional "Worm Hotel" (also known as a worm tower or vermicomposting bin) for under $10! The secret is using repurposed five-gallon buckets, which restaurants, bakeries, and hardware stores often give away for free. With a simple drill, some shredded newspaper, and a handful of red wigglers, your family can create a thriving worm habitat that transforms kitchen scraps into nutrient-rich compost, all while teaching kids about decomposition, soil science, and sustainability.
What Exactly Is a "Worm Hotel"?
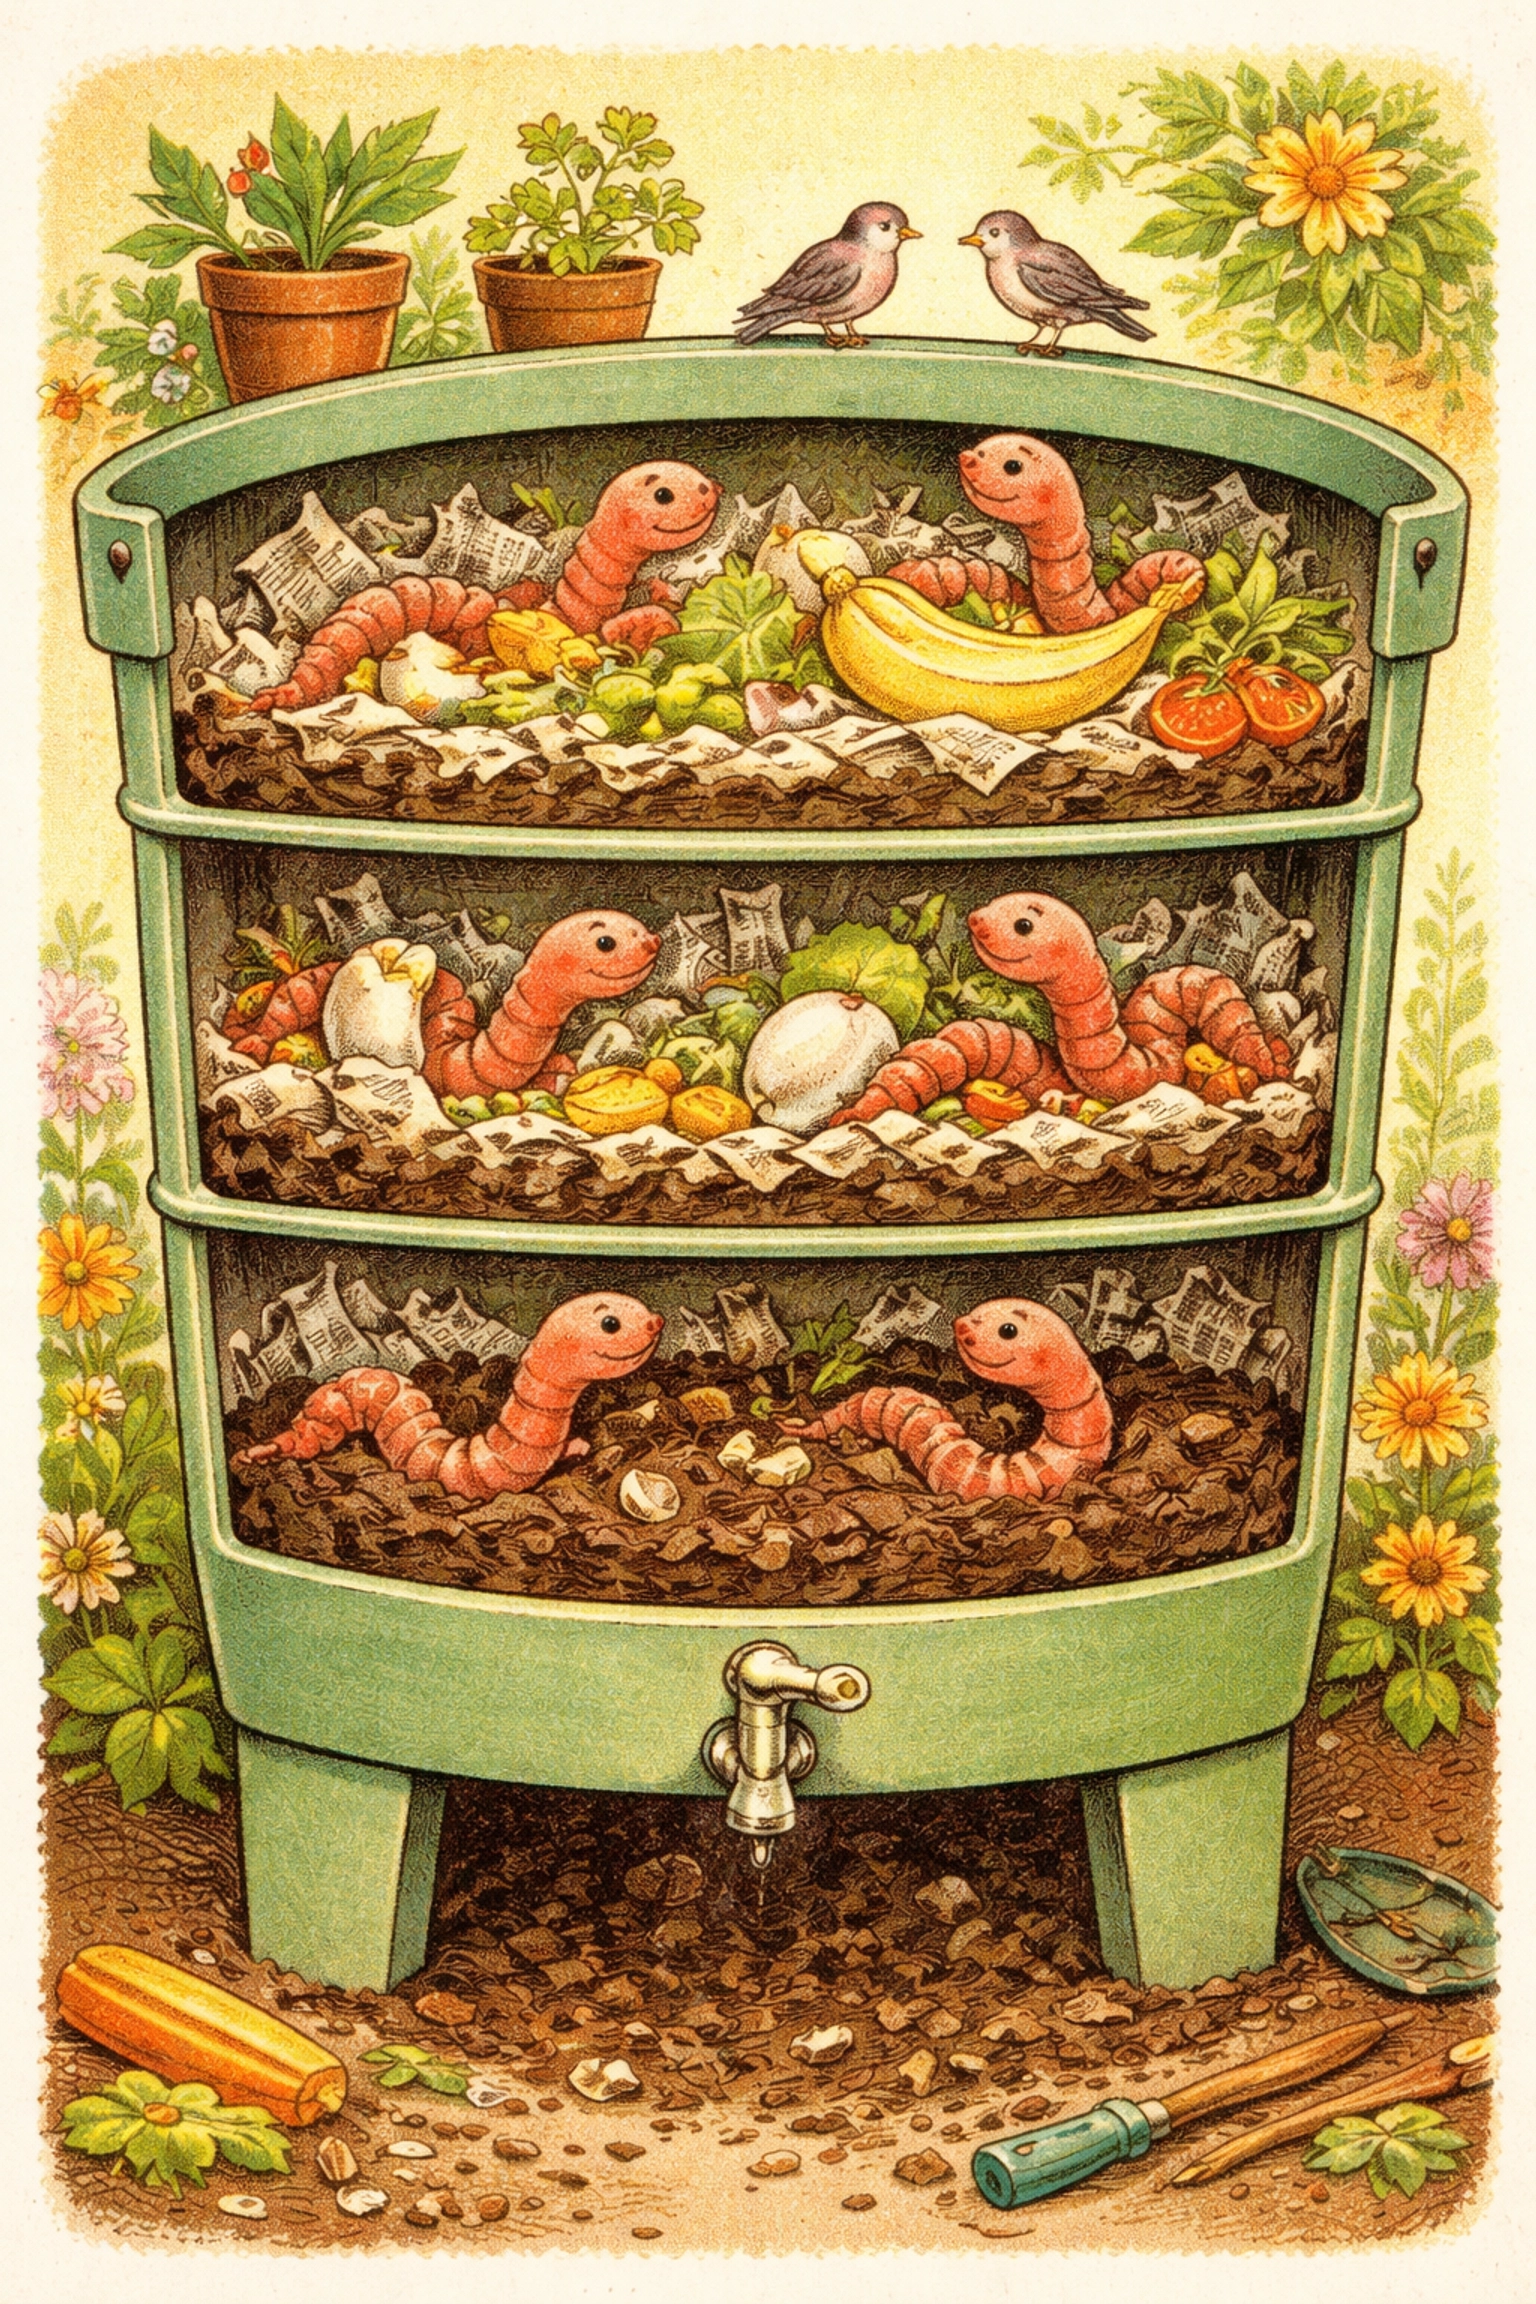
Think of a Worm Hotel as a cozy, multi-story apartment building for composting worms. Instead of paying rent, these tiny tenants work around the clock eating your vegetable scraps and turning them into "black gold", rich, earthy worm castings that plants absolutely love.
Unlike traditional composting (which relies on heat and outdoor space), vermicomposting happens at room temperature and can be done indoors, in a garage, or on a shaded porch. It's compact, nearly odorless when managed correctly, and endlessly fascinating for curious kids who want to see nature's recycling crew in action.
Why Build a Worm Hotel with Kids?
Beyond the "cool factor" of keeping pet worms, this project delivers serious educational value:
- Science in Action: Kids observe the decomposition cycle firsthand, watching organic matter break down into soil nutrients.
- Responsibility: Feeding worms weekly teaches gentle caretaking habits.
- Environmental Awareness: Diverting food scraps from the landfill reduces methane emissions and closes the loop on household waste.
- Garden Superpower: The finished worm castings can be used to boost your kitchen scrap regrow garden or container plants.
It's STEAM learning disguised as a really fun weekend project.
Budget Breakdown: Keeping It Under $10
Here's where the magic happens. By sourcing materials creatively, this build stays firmly in the "pocket change" category.
| Item | Estimated Cost | Notes |
|---|---|---|
| Three 5-gallon buckets | $0–$3 | Ask local bakeries, delis, or restaurants for free food-grade buckets. Hardware stores sometimes sell them for $3–$5 each. |
| One bucket lid | $0–$2 | Often included with free buckets, or under $2 at hardware stores. |
| Shredded newspaper/cardboard | $0 | Use old newspapers, junk mail (no glossy pages), or cardboard boxes you already have. |
| Drill with ¼" bit | $0 (borrowed) | Most families have one, or borrow from a neighbor. |
| Red wiggler worms | $0–$5 | See tips below for sourcing affordably! |
| Total | $0–$10 |
Worm-Sourcing Tip: Red wigglers (Eisenia fetida) are the composting champions, but they can cost $25–$35 online. To stay under budget, try these options:
- Ask a neighbor or community gardener who already composts, they often have extras.
- Check local fishing bait shops for small quantities.
- Post in your community Facebook group (someone nearby may share for free!).
- Collect nightcrawlers after a rainstorm as a temporary alternative while you source red wigglers.
Materials & Tools Checklist
Before you start drilling, gather everything in one spot:
Materials:
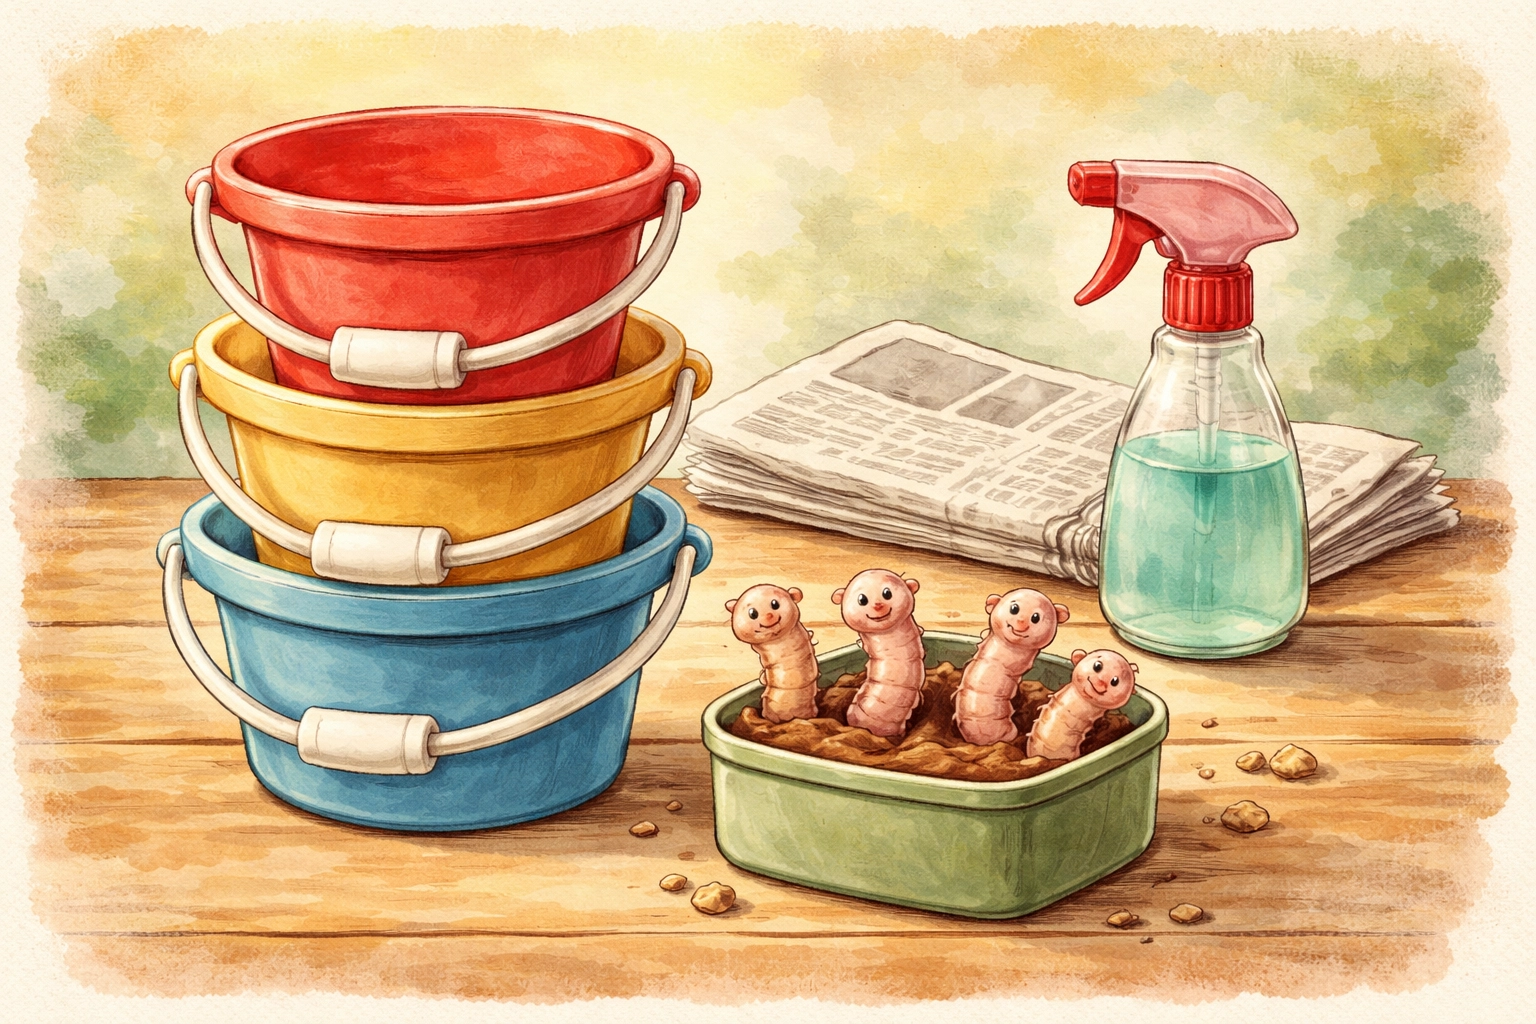
- 3 five-gallon plastic buckets (food-grade preferred)
- 1 matching lid
- Shredded newspaper, cardboard, or dried leaves (for bedding)
- Spray bottle with water
- Red wiggler worms (approximately 100–300 to start)
Tools:
- Electric drill
- 3/16" or ¼" drill bit
- Larger drill bit (for deburring holes)
- Marker (optional, for marking hole placement)
Step-by-Step Instructions: Building the Worm Hotel
Step 1: Drill Airflow Holes in All Three Buckets
Worms need oxygen to survive, so proper ventilation is essential.
Using your drill and ¼" bit, drill 8–10 small holes around the upper rim of each bucket (about 1–2 inches from the top). Space them evenly so air can circulate throughout the stack.
Parent Tip: This is a great opportunity to supervise older kids using power tools safely. Younger children can mark the hole locations with a marker while you handle the drilling.

Step 2: Drill Drainage Holes in Two of the Buckets
Select two of your buckets. These will be your "working" worm floors.
Flip them upside down and drill holes across the entire bottom, spacing them roughly 1–1.5 inches apart. This allows worms to migrate between levels and lets excess moisture drain downward.
Important: After drilling, use a slightly larger drill bit to gently remove any plastic burrs or sharp edges. Worms have sensitive skin, and rough plastic can injure them.
The third bucket stays solid on the bottom, this is your drainage catcher and will collect "worm tea" (liquid gold for plants!).
Step 3: Drill Holes in the Lid
Your lid needs ventilation too! Drill 15–20 small holes across the surface. This keeps airflow moving while preventing curious critters or debris from getting inside.
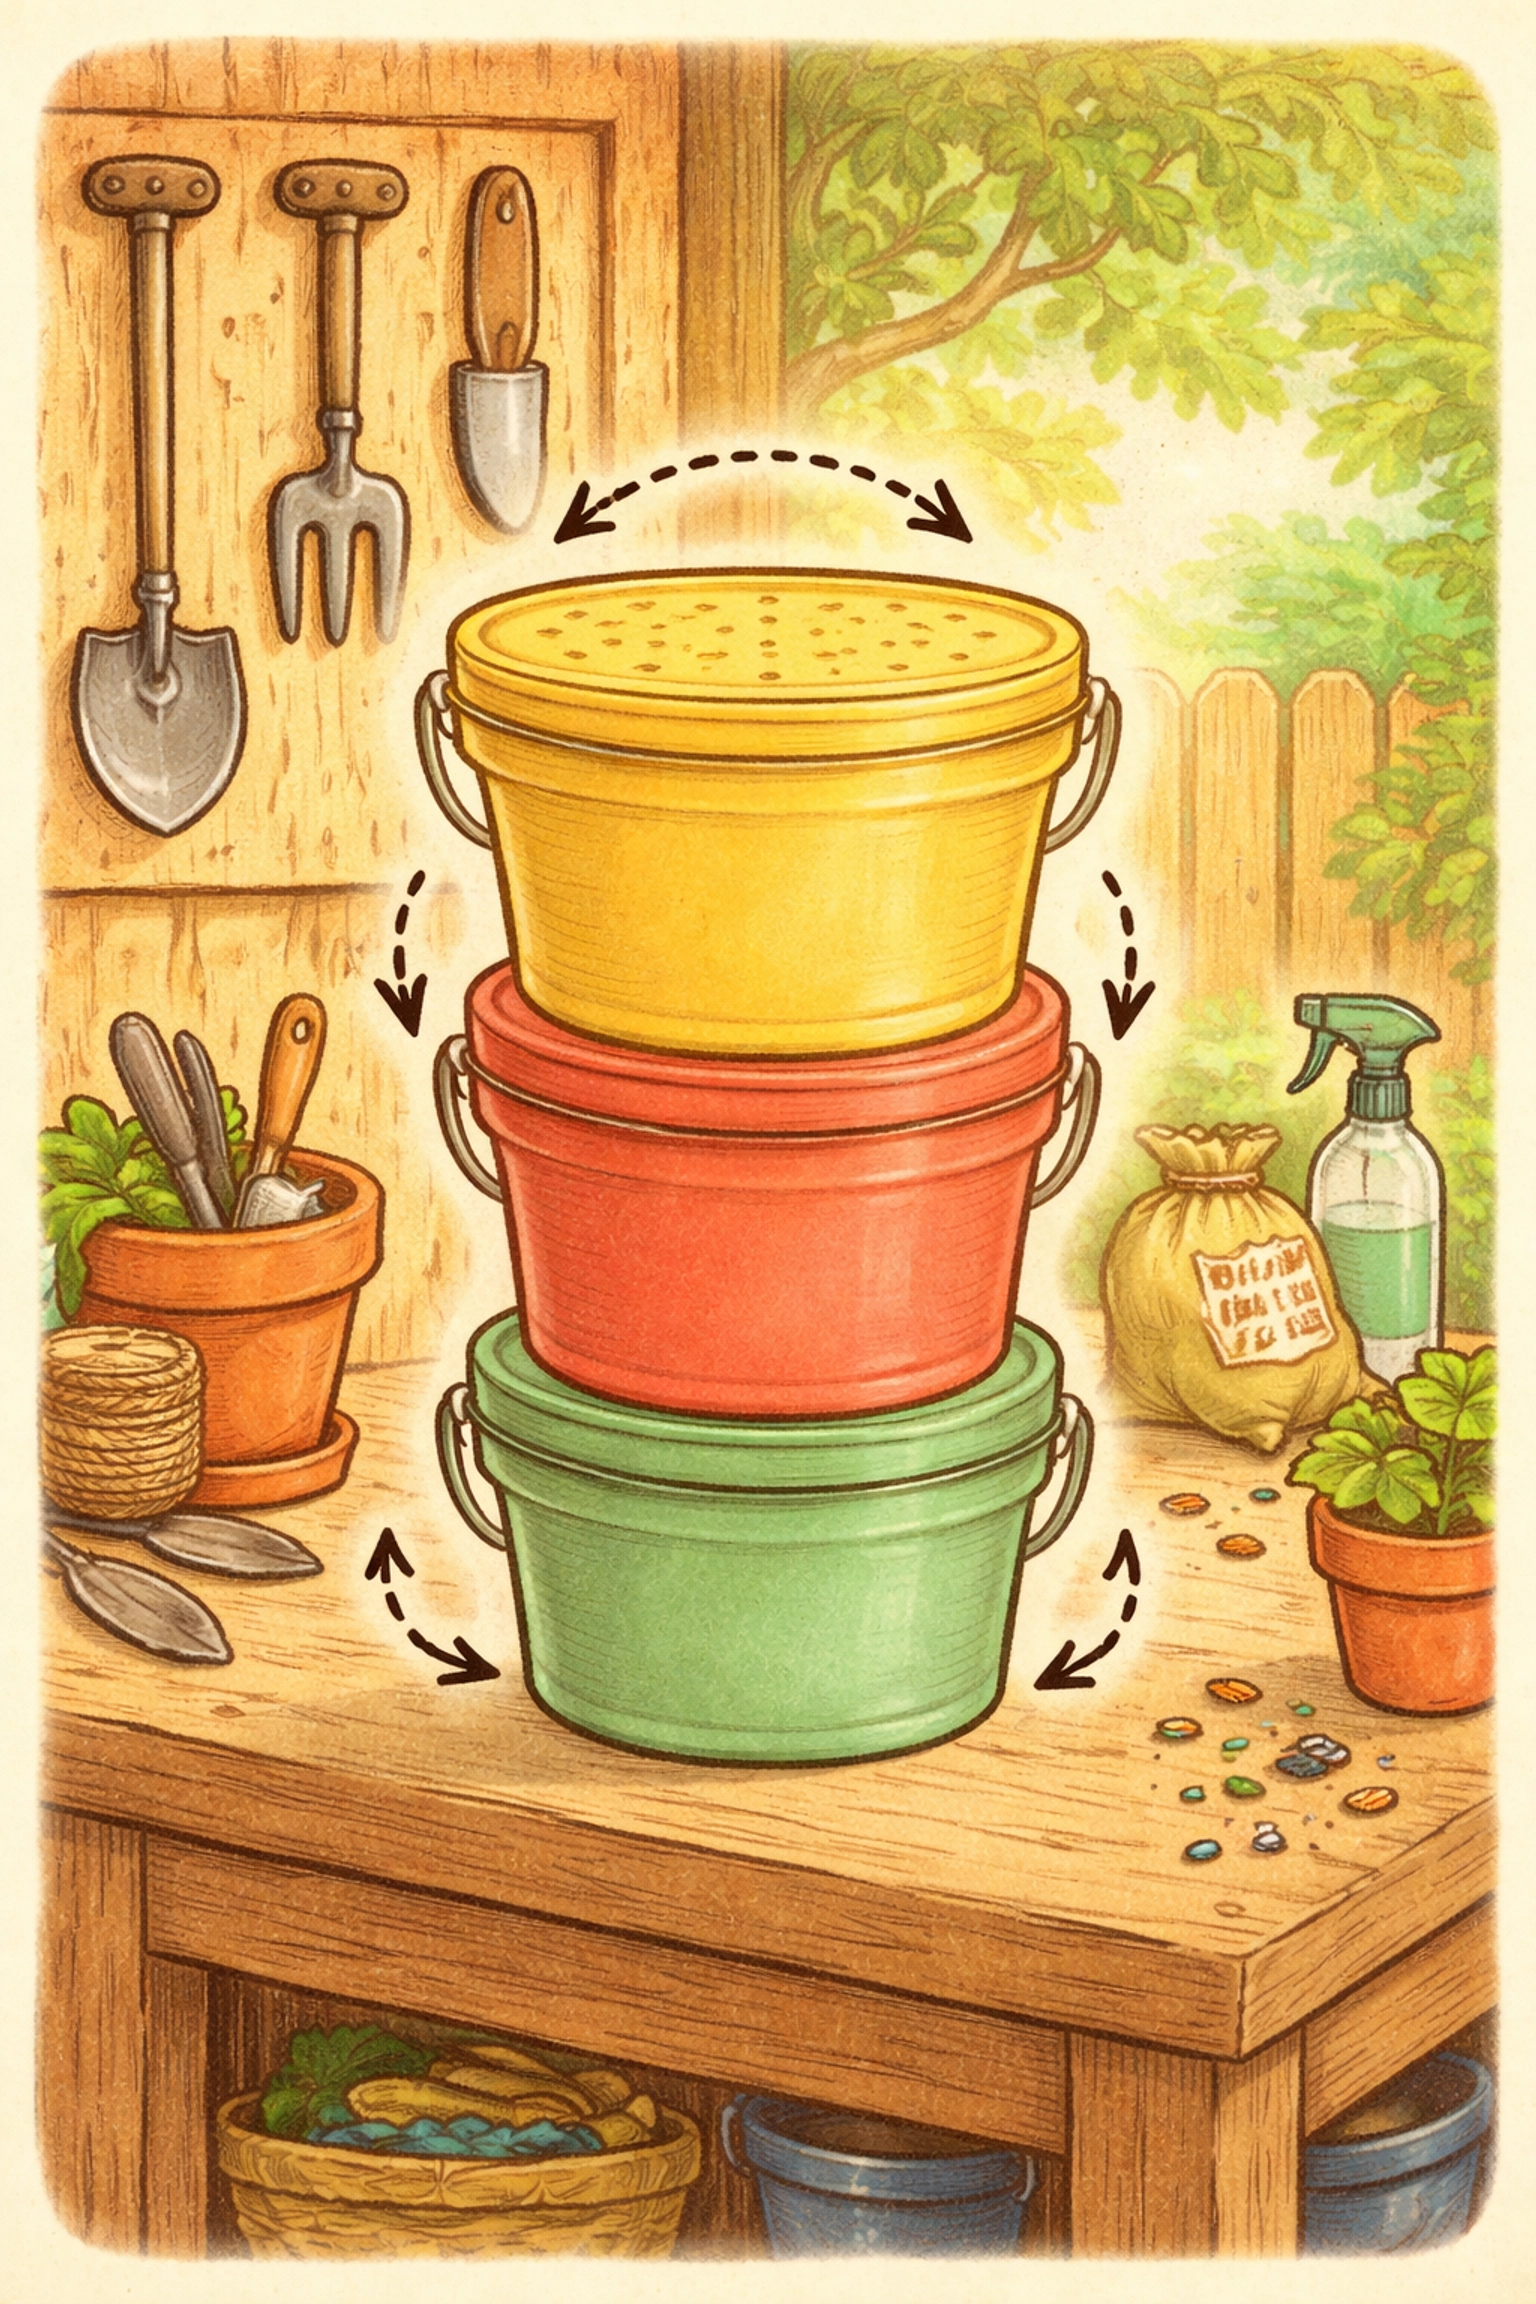
Step 4: Stack Your Buckets
Now for the fun part, assembly!
- Place the solid-bottom bucket on the ground as your base. This catches any liquid drainage.
- Nest one of the perforated buckets inside the base.
- Keep the second perforated bucket nearby, you'll add it later as your worms expand.
- Pop the ventilated lid on top.
That's it! Your Worm Hotel structure is complete.
Step 5: Prepare the Bedding
Worms need a cozy, moist environment to thrive.
Shred newspaper, cardboard, or brown paper bags into thin strips (about 1 inch wide). Avoid glossy paper, colored inks, or anything with heavy plastic coatings.
Add a 4–6 inch layer of this bedding to the bottom perforated bucket. Spray it generously with water until it feels like a wrung-out sponge, damp but not dripping.
Fluff the bedding gently so it's not packed down. Worms like to burrow!
Step 6: Introduce Your Worms
Gently add your red wigglers on top of the bedding. They may seem shy at first, worms dislike light and will quickly burrow down into their new home.
Give them a day or two to settle in before adding food scraps.
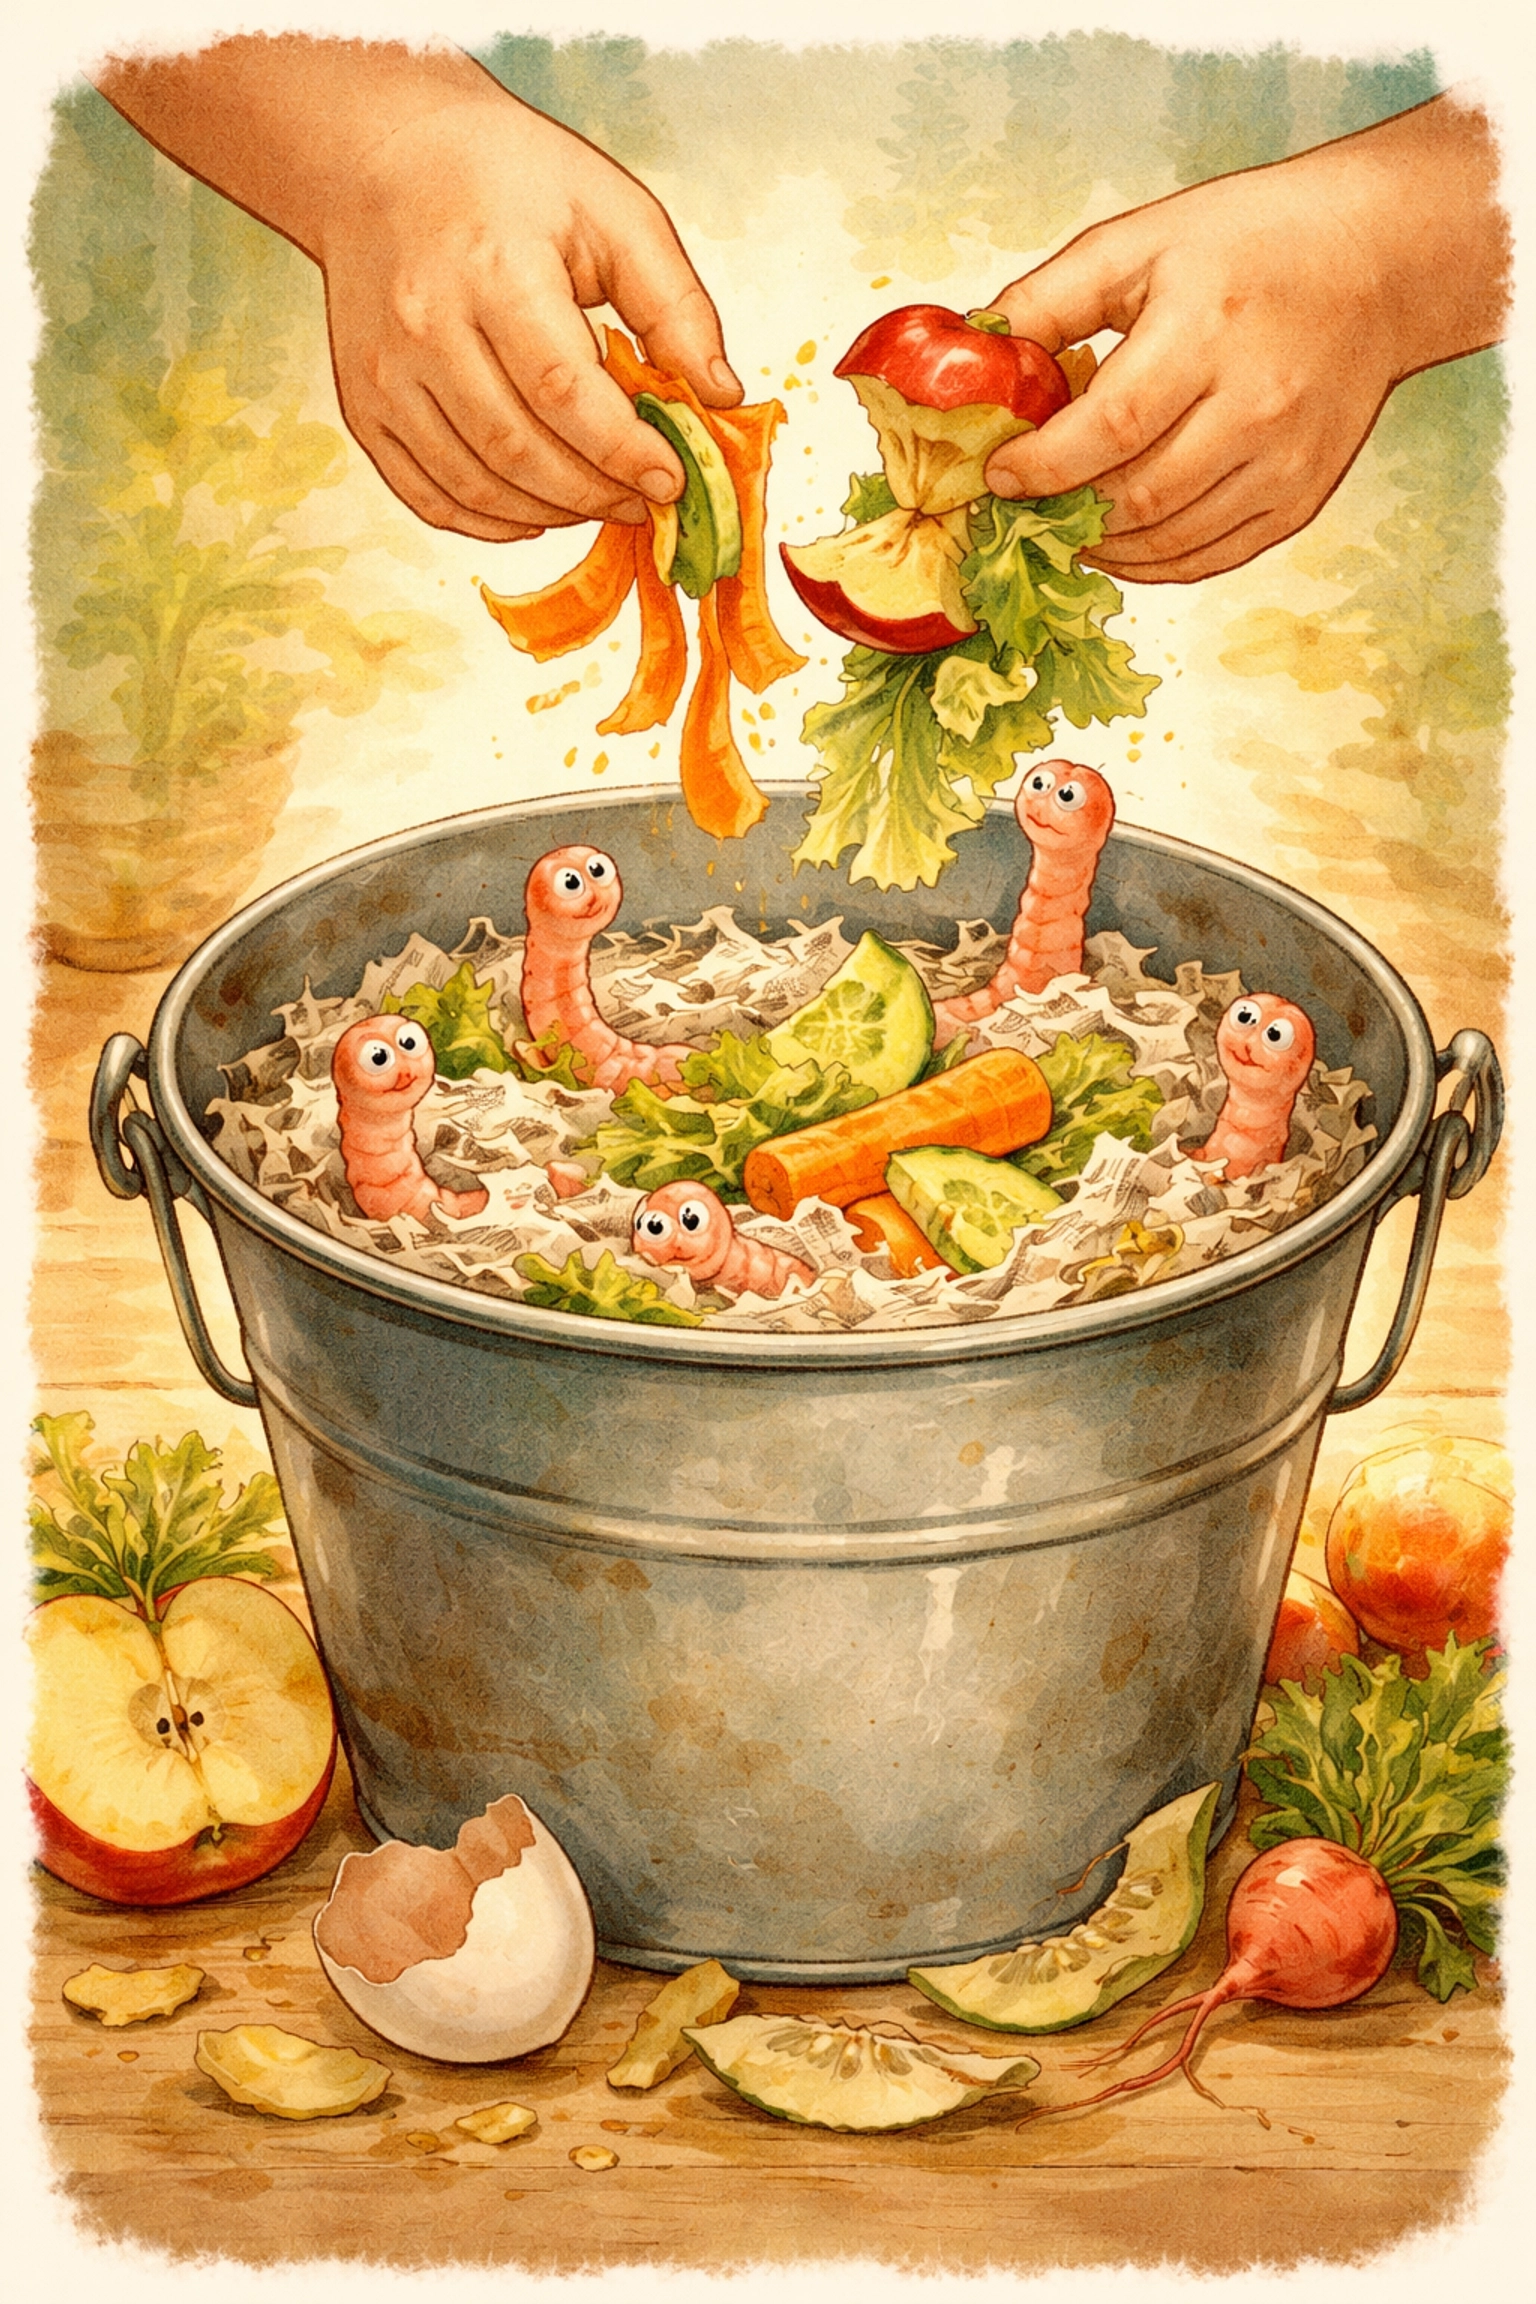
Step 7: Start Feeding (The Grand Opening!)
After your worms have acclimated, begin adding small amounts of vegetable scraps:
Worm-Approved Menu:
- Fruit and vegetable peels
- Lettuce, spinach, and leafy greens
- Crushed eggshells (adds calcium!)
- Tea bags (staple removed)
- Plain bread or pasta (in moderation)
Avoid These Items:
- Meat, fish, or dairy (attracts pests and smells)
- Oily or greasy foods
- Citrus fruits (too acidic)
- Onions and garlic (worms dislike the smell)
- Coffee grounds in large quantities
Bury scraps under the bedding to discourage fruit flies and keep odors down.
Ongoing Care: Keeping Your Guests Happy
- Feed weekly: Add scraps once or twice a week. Don't overfeed, worms eat roughly half their body weight daily.
- Keep it moist: Spritz with water if the bedding looks dry.
- Rotate buckets: After 4–8 weeks, the bottom bucket will fill with castings. Add the second perforated bucket on top with fresh bedding and food. Worms will migrate upward, leaving harvestable compost below.
- Harvest worm tea: Liquid collecting in the base bucket can be diluted (10:1 with water) and used as plant fertilizer.
Frequently Asked Questions (FAQ)
1. Do worm bins smell bad?
When properly maintained, a worm bin should smell like fresh soil, earthy and pleasant. Foul odors usually indicate overfeeding, too much moisture, or forbidden foods like meat and dairy.
2. Can I keep a Worm Hotel indoors?
Absolutely! Many families keep small vermicomposting bins in kitchens, garages, basements, or under sinks. Worms prefer temperatures between 55–77°F (13–25°C).
3. How many worms do I need to start?
For a 5-gallon bucket system, starting with 100–300 red wigglers works well. They reproduce quickly, so the population will grow over time.
4. What if my worms try to escape?
Worms typically try to escape when conditions aren't right, too wet, too dry, too acidic, or not enough food. Adjust moisture levels, check your pH (eggshells help neutralize acidity), and ensure adequate ventilation.
5. How long until I can harvest worm castings?
Most bins produce harvestable castings within 2–3 months, depending on worm population and feeding frequency.
6. Can I use regular earthworms from my yard?
Garden earthworms are soil dwellers and don't thrive in bin environments. Red wigglers (Eisenia fetida) are surface feeders specifically adapted for composting.
7. Is this project safe for young children?
Yes! Handling worms is safe and educational. Supervise younger children around power tools during the build phase, and always wash hands after handling worms or compost.
8. What do I do with the finished compost?
Mix worm castings into garden soil, sprinkle around houseplants, or add to seed-starting mixes. It's one of the best natural fertilizers available!
Ready for More Hands-On Projects?
If your family enjoyed this build, check out our full library of over 100 budget-friendly Kids Crafts and STEAM projects: with new projects going live daily!
References
- Cornell Waste Management Institute. "Worm Composting Basics." Cornell University Cooperative Extension.
- EPA. "Composting at Home." United States Environmental Protection Agency.
- University of California Agriculture and Natural Resources. "Vermicomposting: Composting with Worms."


