


Building an indoor obstacle course for toy cars is simple: gather cardboard, tape, and household items to create tunnels, ramps, and weaving challenges on any floor space. Kids design the layout, test their cars through each section, and tweak obstacles to make the course easier or harder. The whole project typically costs under $10 using recycled materials and keeps children engaged for hours of creative, hands-on play.
This activity combines engineering thinking with good old-fashioned racing fun. Your little ones will problem-solve as they figure out ramp angles, tunnel heights, and the best paths through their custom course. And the best part? You can set it up, tear it down, and redesign it whenever the mood strikes.
Why Kids Love This Activity
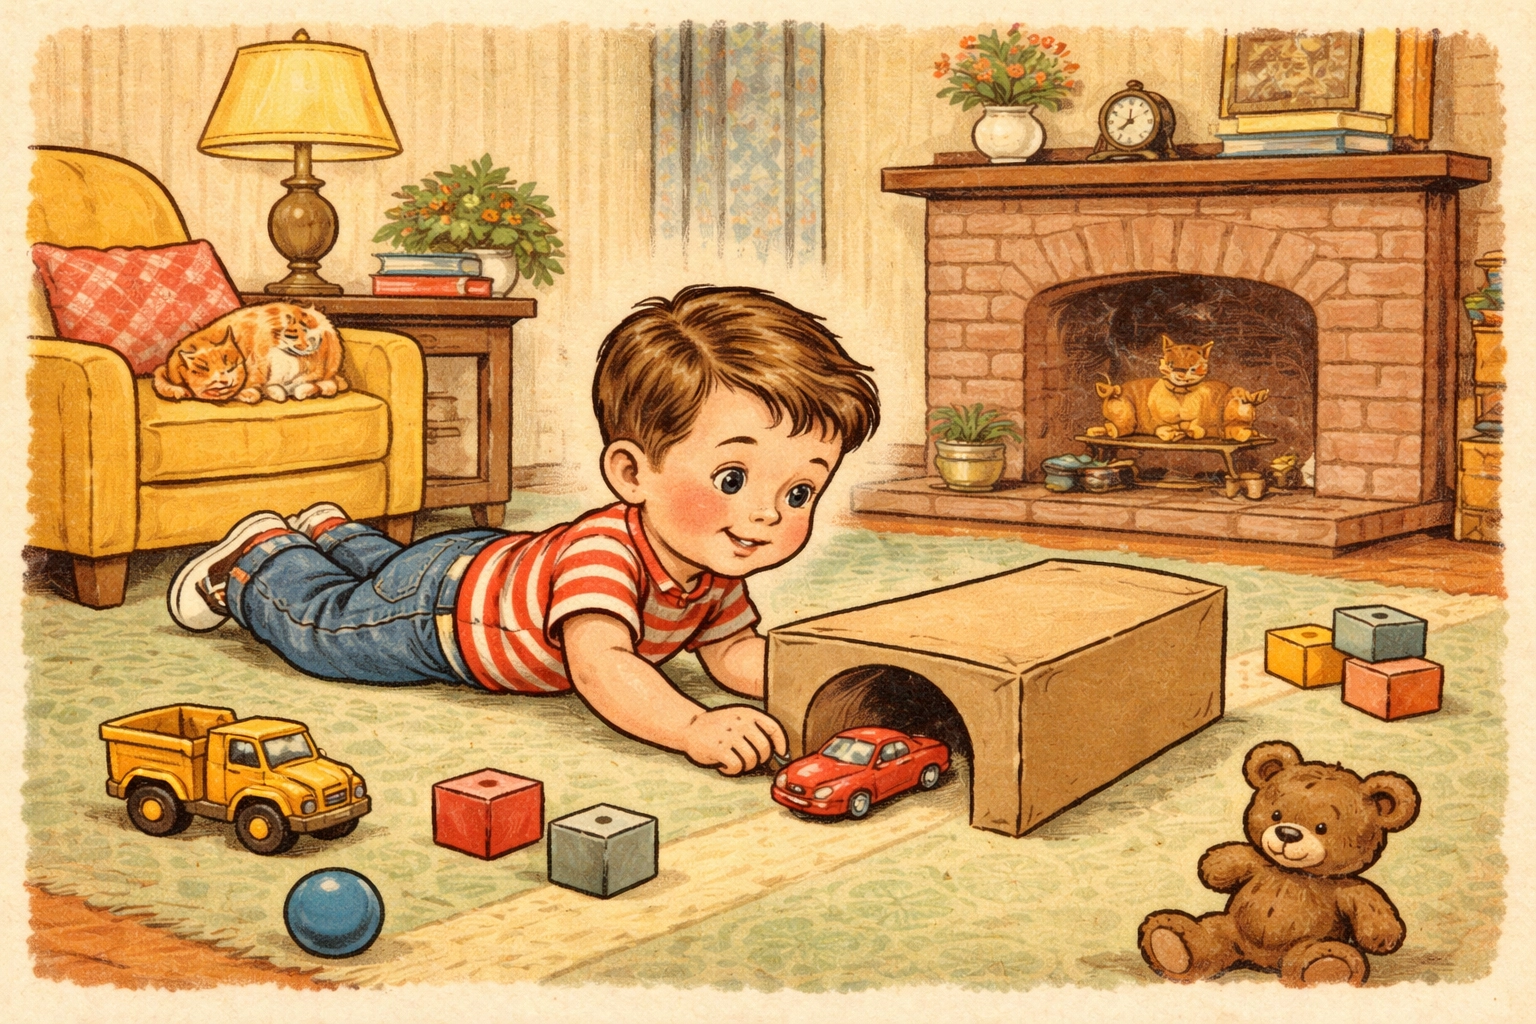
There's something magical about watching a tiny car zoom through a tunnel you built yourself. This project taps into that natural fascination kids have with vehicles, speed, and building things. They get to be the architects of their own racetrack, making decisions about every twist and turn.
Beyond the fun factor, obstacle course building sneaks in some valuable skills. Spatial reasoning, cause-and-effect thinking, and fine motor control all come into play. When a car keeps flying off a ramp, kids naturally start experimenting with angles and speeds: that's physics in action, no textbook required.
Materials You'll Need
Most of what you need is probably already in your recycling bin or junk drawer. Here's a quick shopping list for anything you might need to grab:
| Material | Approximate Cost | Where to Find It |
|---|---|---|
| Cardboard boxes (various sizes) | Free | Recycling bin, shipping boxes |
| Paper towel/toilet paper tubes | Free | Kitchen, bathroom |
| Masking tape or painter's tape | $3–$4 | Dollar store, craft aisle |
| Straws (paper or plastic) | $1–$2 | Kitchen drawer, dollar store |
| Small cups or containers | Free–$1 | Recycling, dollar store |
| Construction paper (optional) | $1–$2 | Craft supplies |
| Books or blocks for elevation | Free | Around the house |
Total estimated cost: Free to $10, depending on what you have on hand
Age Range Guide
This project works well across a wide age range, though kids will engage with it differently:
- Ages 2–3: Love pushing cars through pre-built tunnels and down ramps. They'll mostly play with the finished course rather than help build it.
- Ages 4–5: Can help tape tunnels together, suggest obstacle ideas, and start understanding cause and effect when cars don't make it through.
- Ages 6–8: Ready to take the lead on designing and building. They'll enjoy timing runs, comparing different car performances, and making the course progressively harder.
- Ages 9+: Often want to add complexity: multiple paths, scoring systems, or challenges that require precision driving.
Time Estimate
- Basic setup: 20–30 minutes
- Elaborate course with multiple obstacles: 45–60 minutes
- Playtime: As long as they want (often 1–2 hours)
- Redesign and rebuild: Ongoing fun for days or weeks
Step-by-Step Instructions
Step 1: Choose Your Space
Find a hard, flat surface where cars roll smoothly. Hardwood floors, tile, or low-pile carpet work well. Clear an area at least 4 feet by 4 feet: bigger if you have the room.
Push furniture back so there's a buffer zone around the course. This prevents cars from disappearing under the couch every five seconds and gives kids room to move around their creation.
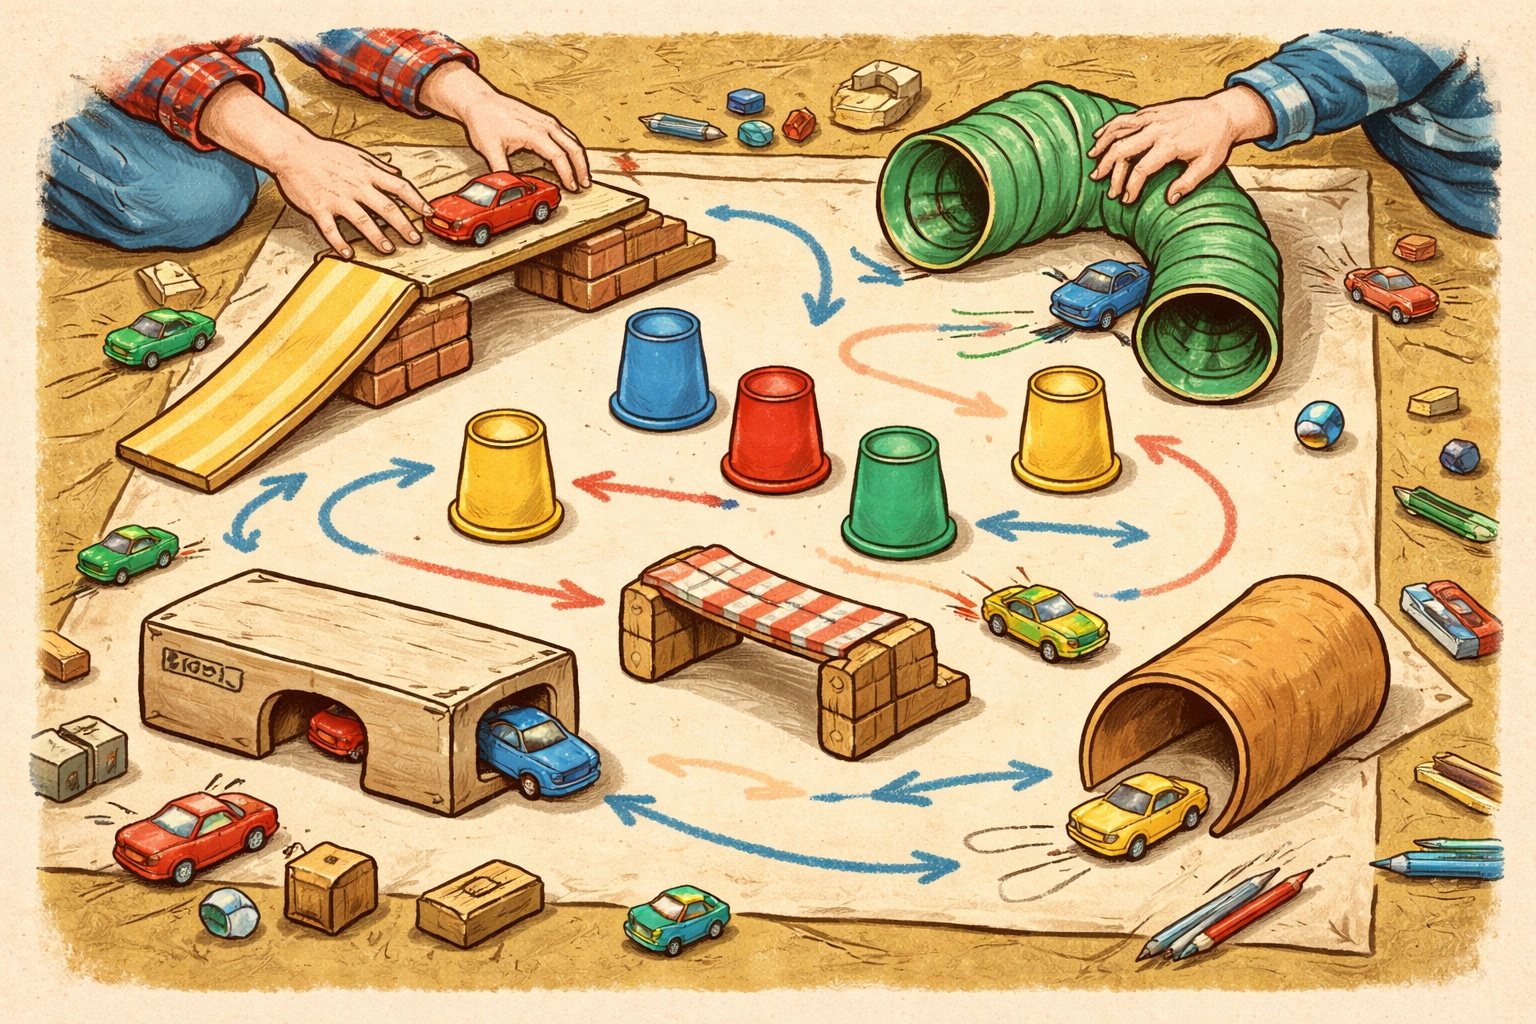
Step 2: Map Out the Course Layout
Before taping anything down, have your kids walk through the general path. Where will cars start? Where's the finish line? What obstacles will they face along the way?
Laying out the rough shape first prevents the frustration of building a gorgeous tunnel that ends up facing the wrong direction. Use books or shoes as temporary markers if it helps visualize the flow.
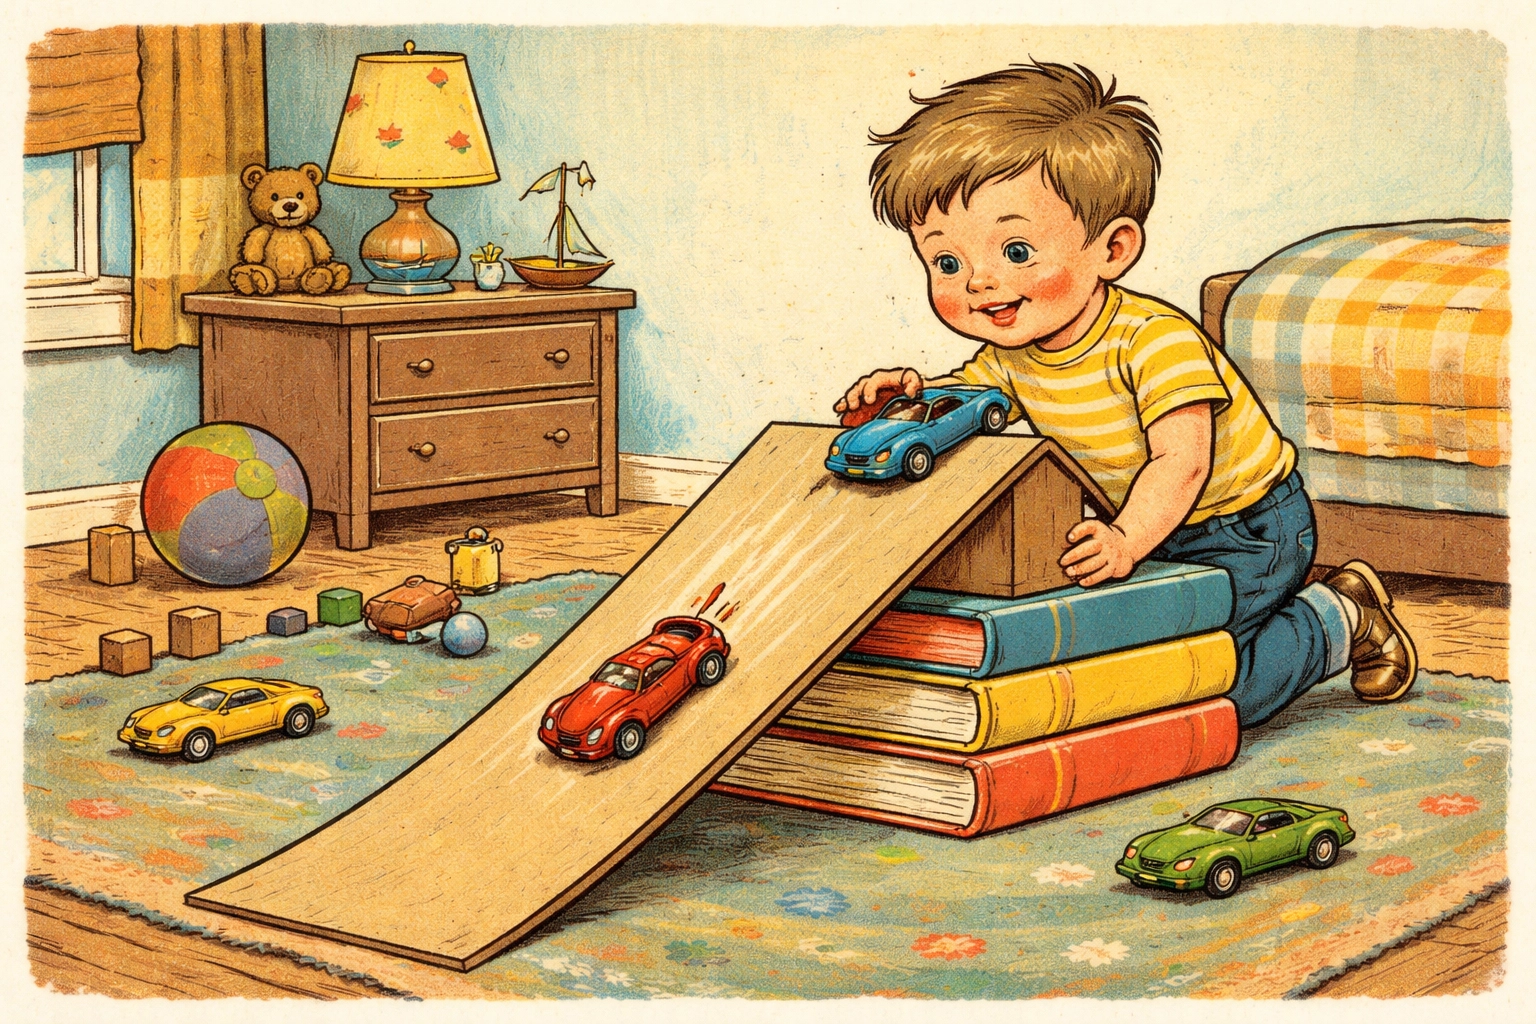
Step 3: Build Your Ramps
Ramps are usually the star of any toy car course. Here are a few easy options:
- Book stack ramp: Lean a flat piece of cardboard against a stack of 3–5 books. Tape the bottom edge to the floor so it doesn't slide.
- Box lid ramp: Flip a shallow box lid upside down and prop one end on a cup or small container.
- Cereal box ramp: Cut a cereal box lengthwise to create a long, narrow ramp with built-in side rails.
Test your ramps with different cars. Some vehicles need steeper angles, while others zoom better on gentler slopes.
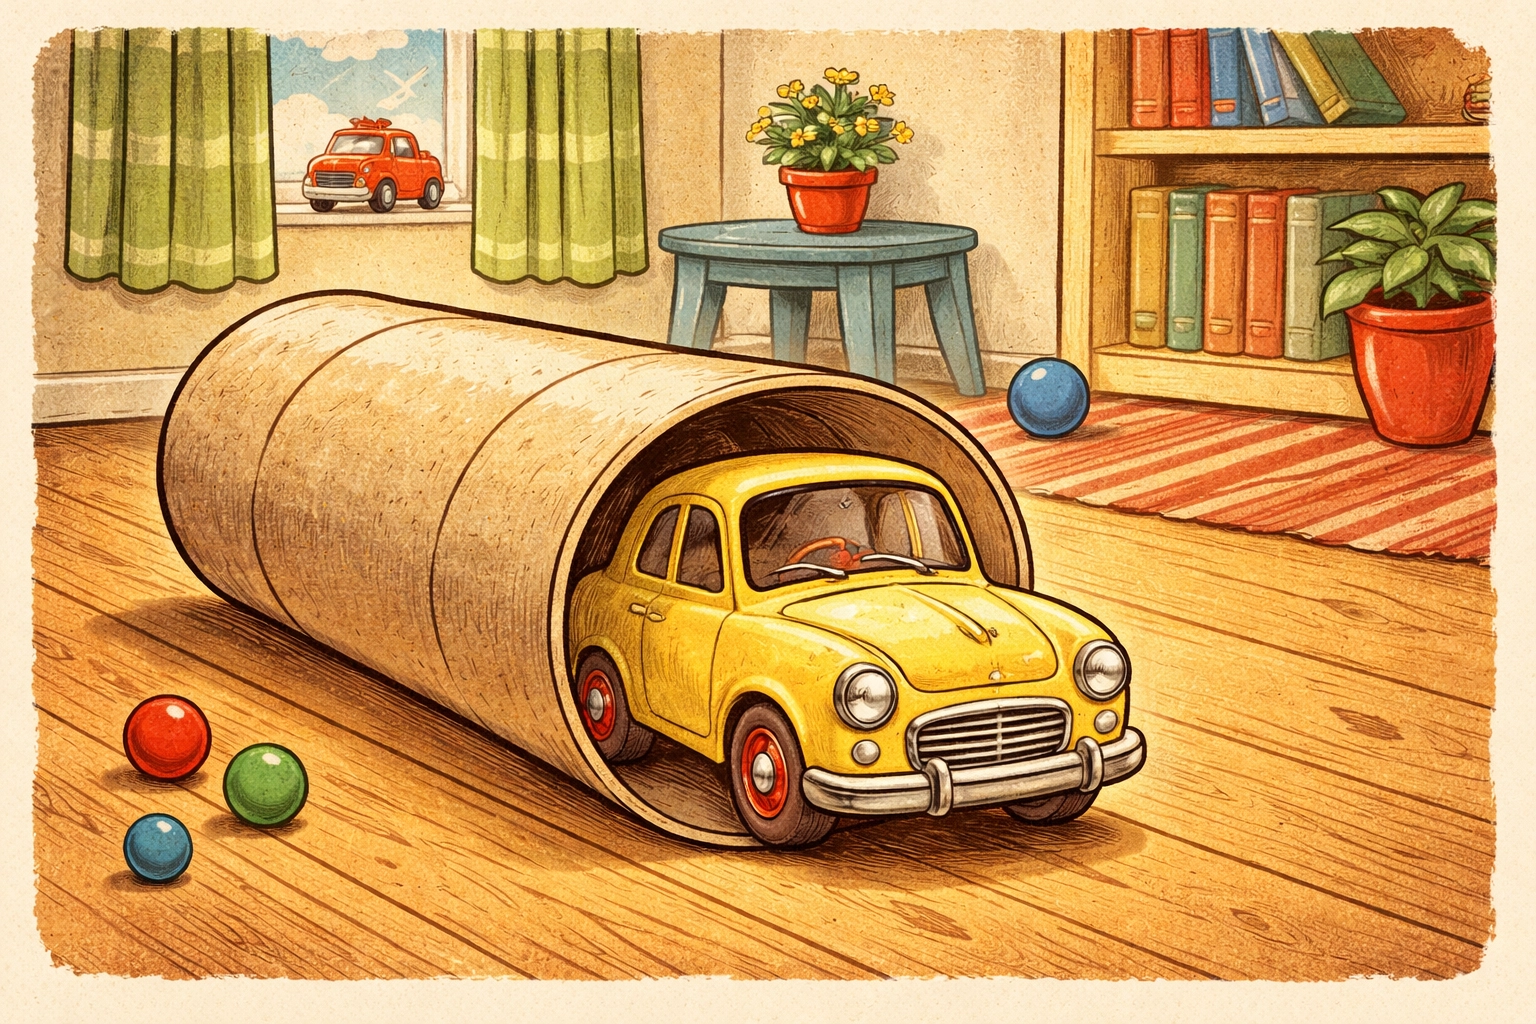
Step 4: Create Tunnels
Tunnels add mystery and excitement to any course. Kids love watching cars disappear and reappear.
- Paper towel tube tunnels: Tape several tubes end-to-end for longer passages. Secure them to the floor with masking tape so they don't roll.
- Cardboard box tunnels: Cut the flaps off a shoebox, lay it on its side, and you've got an instant tunnel.
- Blanket tunnels: For larger toy cars, drape a dish towel or small blanket over two book stacks.
Make sure tunnel openings are slightly wider than your widest car. Nothing kills the racing mood like a traffic jam at the entrance.
Step 5: Set Up Weaving Obstacles
Weaving challenges test steering skills and add variety to the course:
- Cup slalom: Line up plastic cups in a zigzag pattern. Cars must weave between them without knocking any over.
- Straw gates: Tape straws upright to create narrow gates cars must pass through.
- Block chicanes: Arrange wooden blocks or LEGO structures to create tight turns.
Space obstacles based on your child's skill level. Beginners need wider gaps; experienced racers can handle tighter squeezes.
Step 6: Add Texture Challenges
Changing the driving surface keeps things interesting:
- Crinkled paper zone: Tape down crumpled newspaper or tissue paper for a bumpy stretch.
- Fabric patch: A washcloth or felt square creates a different traction experience.
- Foil straightaway: Smooth aluminum foil reflects light and feels different under wheels.
These texture zones help kids notice how surfaces affect speed and control: another sneaky science lesson.
Step 7: Mark Start and Finish Lines
Use tape to create clear start and finish lines. Different colored tape makes it easy to identify each zone.
Consider adding a "pit stop" area where cars can pull over for imaginary repairs or driver changes. A small cardboard garage works perfectly for this.
Step 8: Test and Adjust
Now comes the best part: testing! Run several cars through the course and watch what happens:
- Do cars fly off ramps? Lower the angle or add side rails.
- Are tunnels too tight? Widen the openings.
- Is the course too easy? Add more obstacles or tighter turns.
Encourage kids to identify problems and brainstorm solutions. This trial-and-error process is where real learning happens.
Step 9: Time Trials and Challenges
Once the course is dialed in, amp up the fun with challenges:
- Time each car and record results
- See which car makes it through without touching any obstacles
- Create a "longest jump" competition at the end of a ramp
- Challenge kids to complete the course using only one finger to push
Tips for Success
- Start simple. You can always add more obstacles, but a cluttered course frustrates young builders.
- Let kids lead. Resist the urge to take over. Their "imperfect" designs teach more than your optimized version.
- Document the fun. Take photos of different course layouts to inspire future builds.
- Store components together. Keep tunnels, ramps, and obstacles in a box so you can rebuild quickly another day.
For more hands-on activities your kids will love, check out our Kids Crafts collection for dozens of budget-friendly project ideas.
Frequently Asked Questions
What's the best flooring for a toy car obstacle course?
Hard, smooth surfaces like hardwood, tile, or laminate work best because cars roll freely without resistance. Low-pile carpet can work, though cars may move more slowly.
How do I keep cardboard tunnels from rolling away?
Use masking tape or painter's tape to secure tunnels to the floor. You can also cut a small notch in the bottom of round tubes so they sit flat.
Can toddlers participate in building the course?
Toddlers typically enjoy playing with a finished course rather than building it. They can help by handing you tape or choosing which cars to use, but expect to do most of the construction yourself.
How do I make ramps steeper without them sliding?
Tape the bottom edge firmly to the floor. You can also place a heavy book at the base to anchor the ramp in place.
What if my child gets frustrated when cars don't complete the course?
Reframe it as a design challenge. Ask questions like "What do you think is making the car fall off?" and "What could we try differently?" This shifts the focus from failure to problem-solving.
How long will kids typically play with an obstacle course?
Most children stay engaged for one to two hours during the initial build and play session. The course often gets revisited over several days, especially if you leave it set up.
Can we use Hot Wheels tracks with homemade obstacles?
Absolutely. Commercial track pieces integrate well with cardboard and household obstacles. You can extend existing tracks or use them as starting ramps.
What's an easy way to add difficulty for older kids?
Introduce precision challenges like narrow gates, multiple path choices, or scoring systems where touching obstacles costs points.
How do I store the course pieces between uses?
Flatten cardboard boxes and bundle tunnels together with a rubber band. A dedicated bin or bag keeps everything organized and ready for the next race day.
Is this activity good for playdates?
Very much so. Multiple kids can each build a section of the course, then combine their creations into one mega track. It naturally encourages cooperation and shared problem-solving.
References
- DIY toy car track extensions and obstacle ideas
- Indoor RC car course design and safety planning


