


You can create a backyard obstacle course for kids by mapping out your available space, gathering household items like pool noodles, hula hoops, and cardboard boxes, then arranging 5-8 age-appropriate challenges in a logical sequence. Most families can build a solid course in under an hour for less than $20: and often for free using items you already own.
A homemade obstacle course gets kids moving, builds coordination, and turns an ordinary afternoon into an adventure. Plus, it's one of those projects where the setup is half the fun.
Quick Reference Table
| Detail | Information |
|---|---|
| Best Ages | 3-12 years (adjust difficulty accordingly) |
| Estimated Cost | $0-$25 |
| Setup Time | 30-60 minutes |
| Space Needed | 15×20 feet minimum (adjust to your yard) |
| Supervision | Recommended for ages 7 and under |
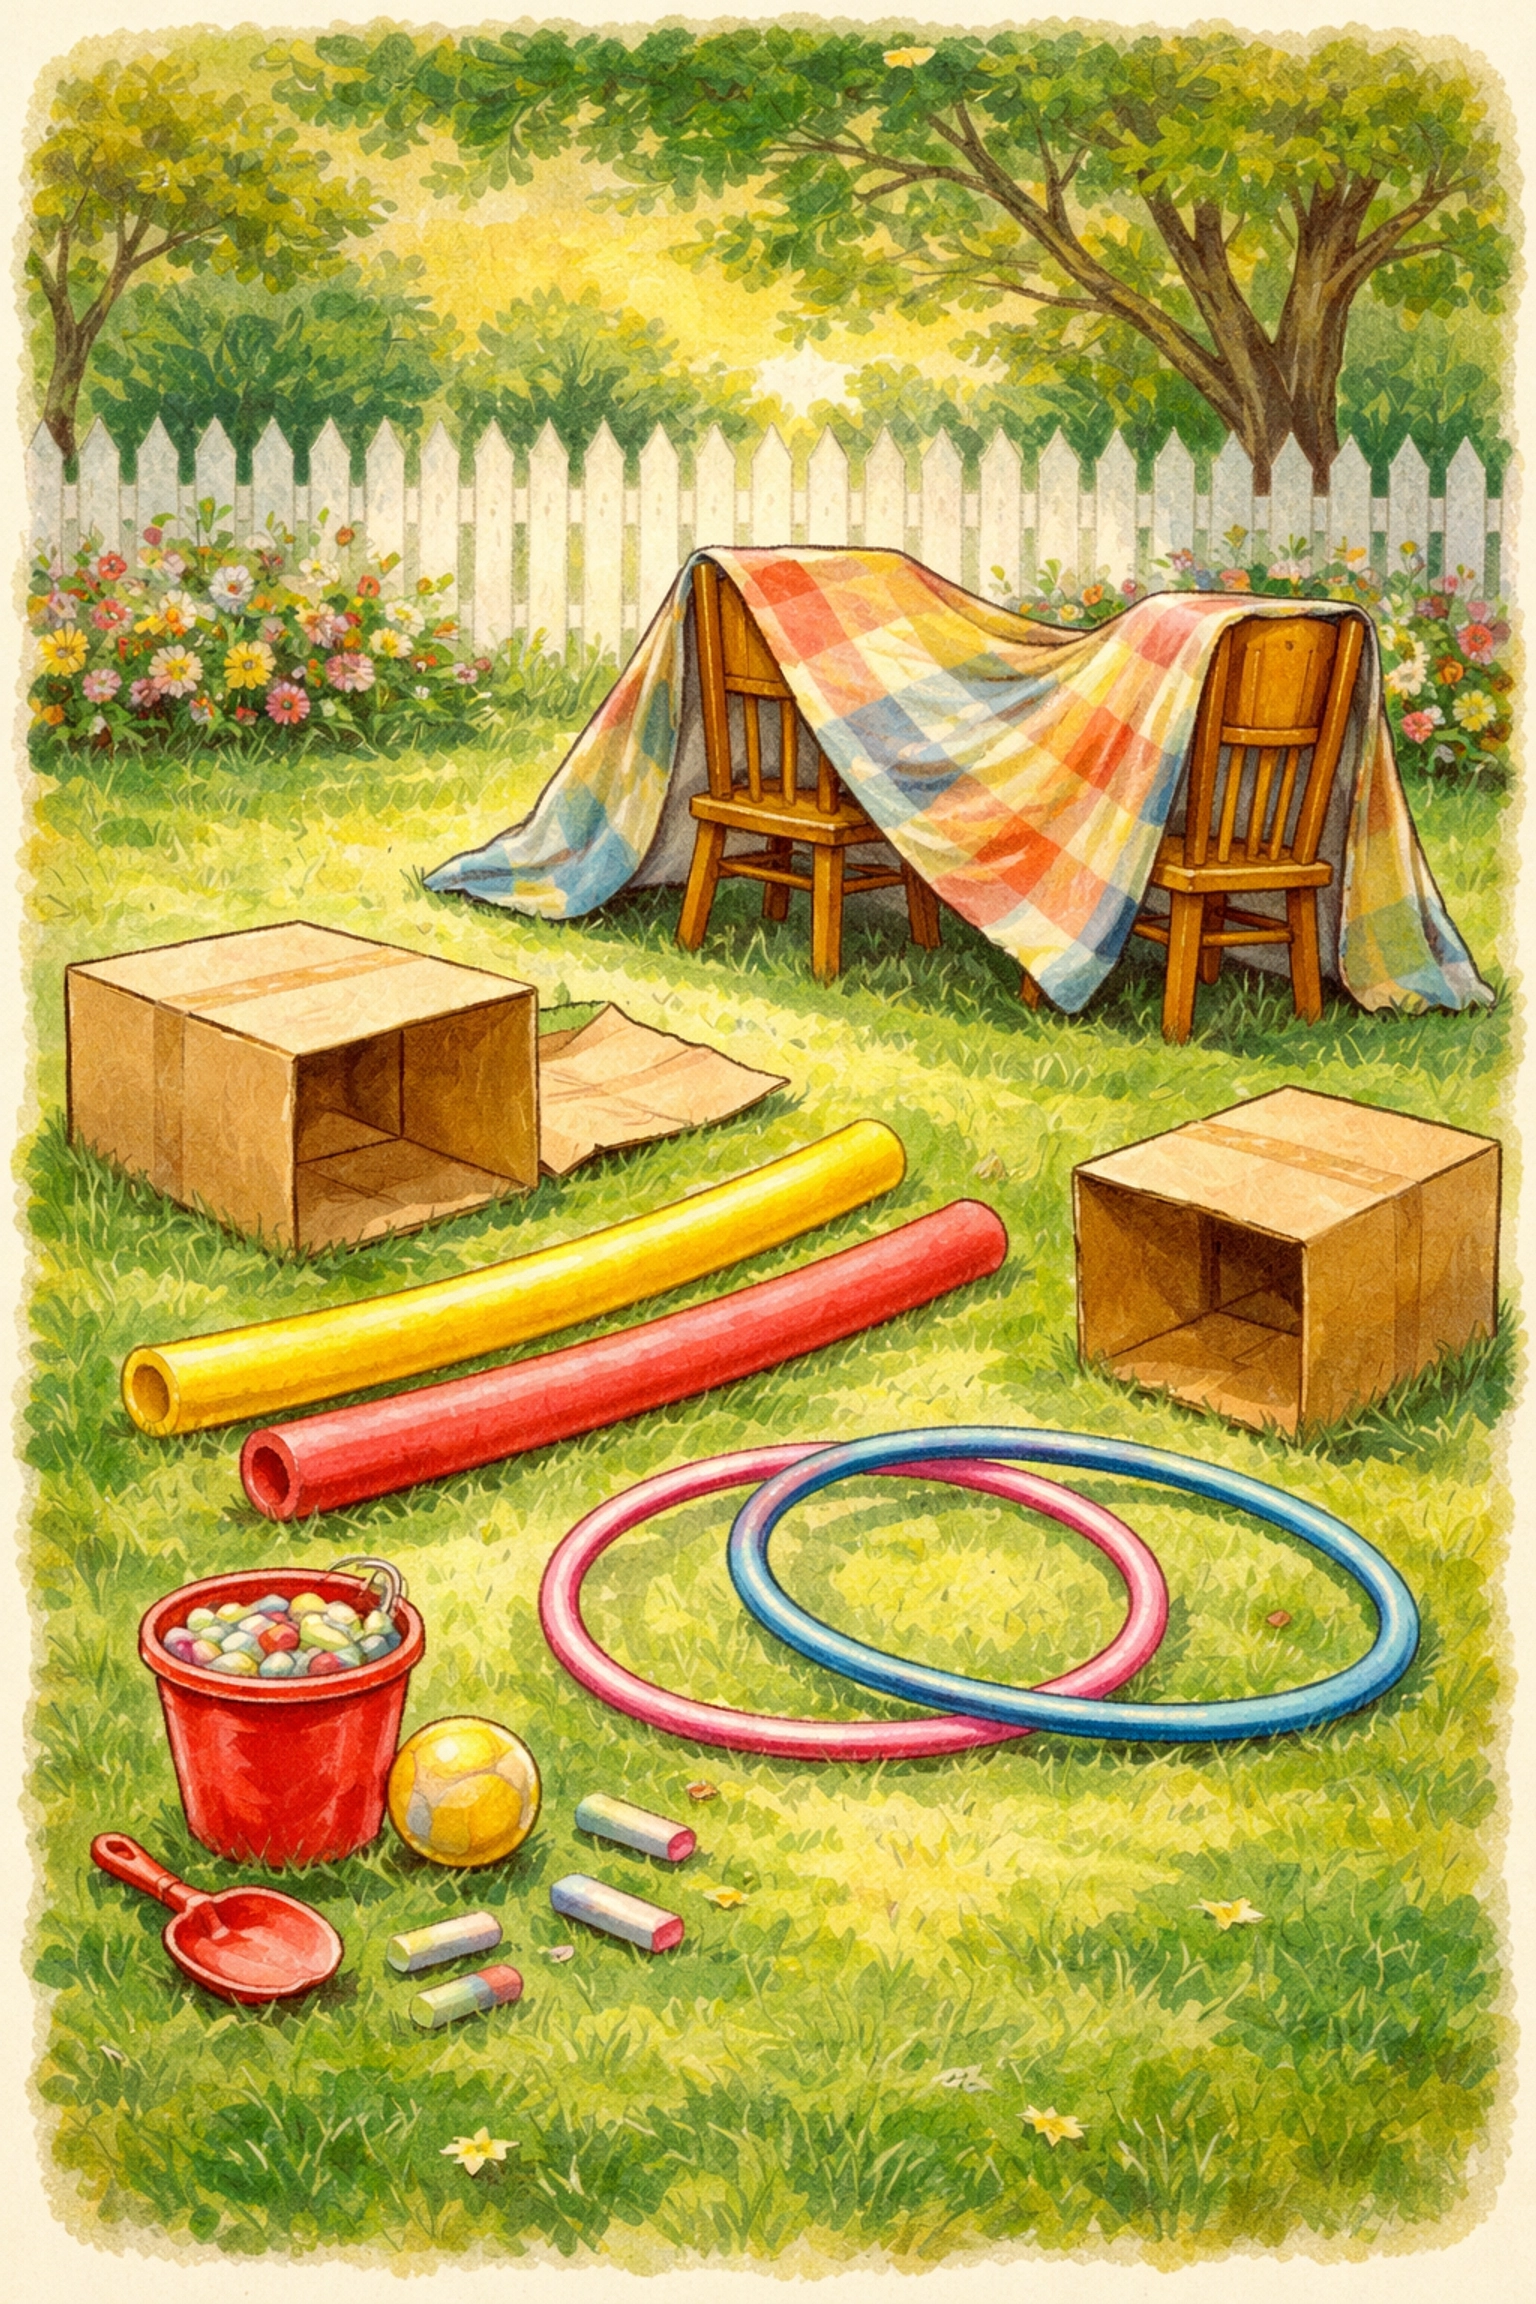
Materials You Might Already Have
Before hitting the store, raid your garage, shed, and playroom. You'd be surprised what works:
- Old tires or hula hoops
- Pool noodles
- Cardboard boxes (various sizes)
- Rope or clothesline
- Folding chairs or sawhorses
- Blankets or old sheets
- Painter's tape or masking tape
- Pillows or couch cushions
- Stepping stones or flat rocks
- Buckets or crates
- PVC pipes or wooden boards
If you need to buy anything, dollar stores are your best friend for pool noodles, hula hoops, and plastic cones.
Step-by-Step: Building Your Obstacle Course
Step 1: Scout Your Space
Walk your backyard and identify the flattest, safest area. Look for:
- Soft grass (easier on little knees)
- Shade if it's a hot day
- Clear sightlines so you can supervise
- Natural features you can incorporate (trees for hanging challenges, hills for rolling)
Sketch a rough layout on paper or just visualize a start-to-finish path. A winding course tends to be more exciting than a straight line.
Step 2: Choose Your Obstacles
Pick 5-8 obstacles based on your kids' ages and abilities. Here's the sweet spot:
- Ages 3-5: Focus on crawling, stepping, and simple jumping
- Ages 6-8: Add balancing, climbing, and timed challenges
- Ages 9-12: Include strength-based obstacles and more complex sequences
Mix it up with different movement types: some crawling, some jumping, some balancing. Variety keeps things interesting.
Step 3: Arrange in Logical Order
Set up obstacles in a sequence that flows naturally. A good pattern:
- Warm-up obstacle (easy, confidence-building)
- 2-3 moderate challenges (building intensity)
- One "showstopper" (the hardest or most fun)
- Cool-down finish (satisfying but not exhausting)
Leave 3-5 feet between obstacles so kids have room to reset.
Step 4: Mark Your Course
Use colorful flags, ribbons, or chalk arrows to show the path. Clear start and finish lines make races more exciting. A piece of rope or a row of rocks works great for marking boundaries.
Step 5: Test Run It Yourself
Before unleashing the kids, walk through the course. Check for:
- Wobbly setups that might tip
- Gaps that are too wide for smaller kids
- Sharp edges or pinch points
- Obstacles that are frustratingly difficult
Adjust as needed. What looks easy to an adult might be challenging for a four-year-old.
10 Classic Obstacle Ideas
1. The Tire Run
Lay old tires flat on the ground in a zigzag pattern. Kids step or jump from tire to tire. No tires? Hula hoops work just as well.
2. Pool Noodle Hurdles
Stick pool noodles into the ground in an arc, or balance them between two buckets. Kids jump over each hurdle. Start low for little ones.
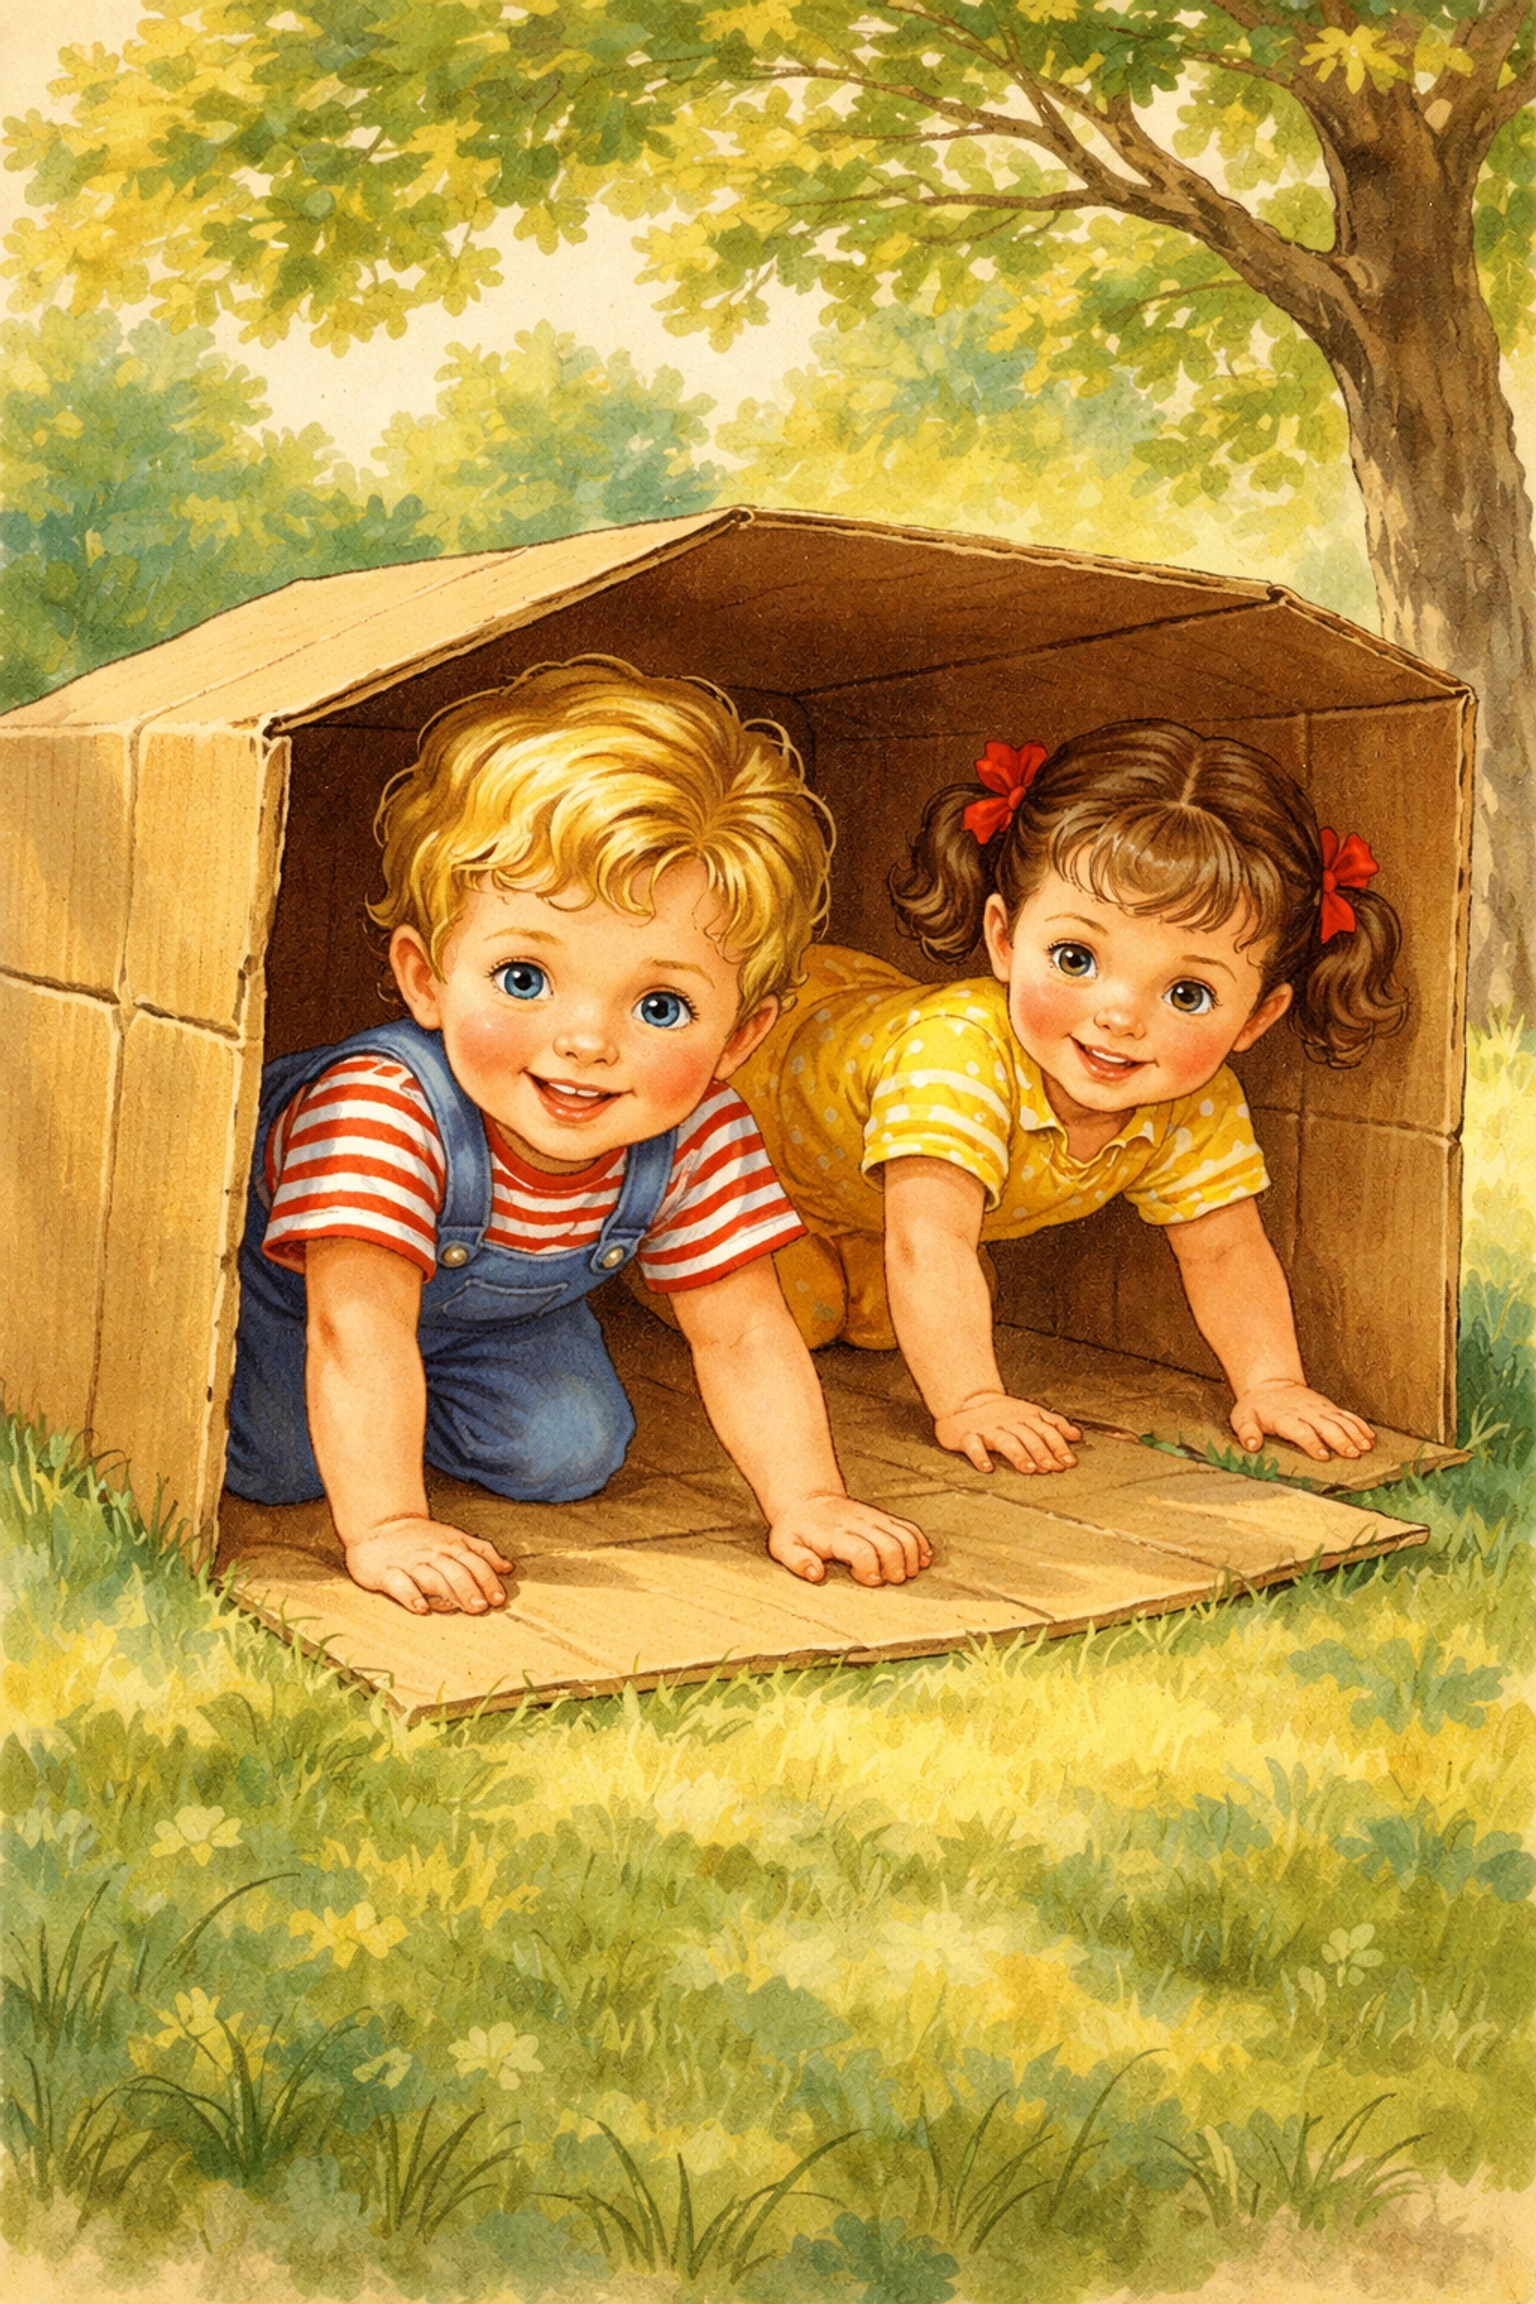
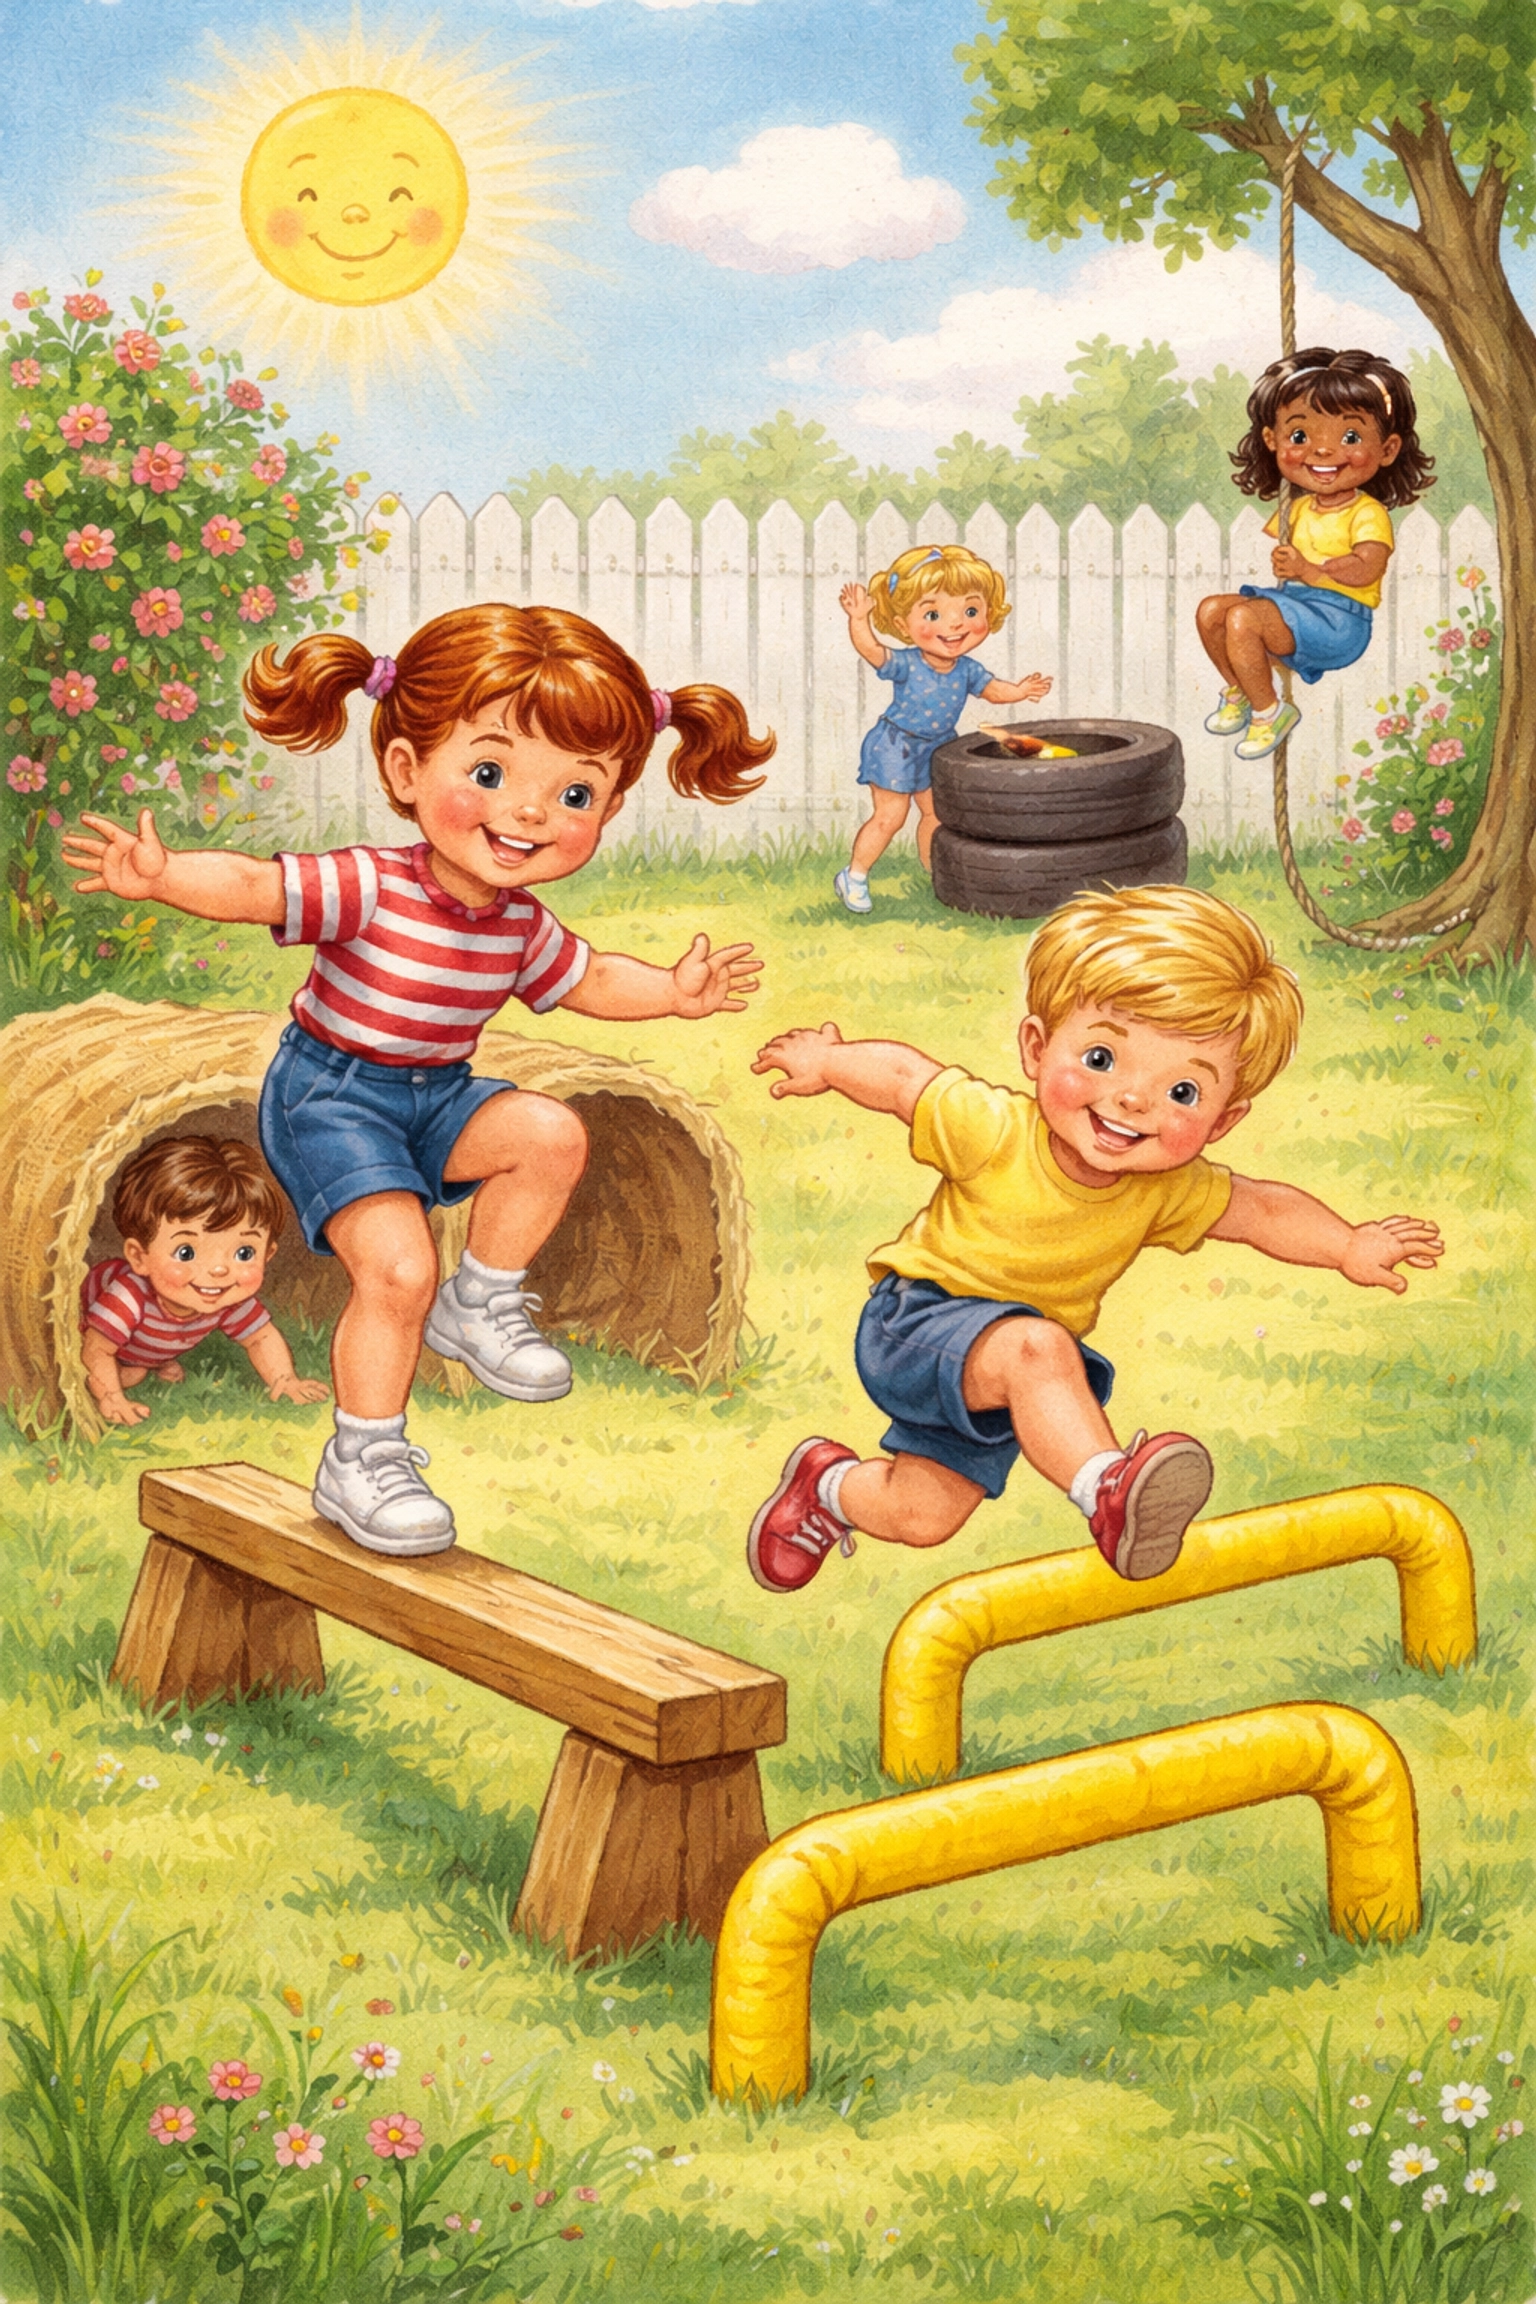
3. Crawl Tunnel
Line up cardboard boxes with the ends cut out, or drape a blanket over a rope tied between two chairs. Kids army-crawl through.
4. Balance Beam
Lay a 2×4 board flat on the ground (no elevation needed for safety). Or simply use painter's tape on a patio to create a "beam" kids must walk without stepping off.
5. Over-Under Challenge
Alternate obstacles at different heights: jump over a pool noodle, crawl under a rope, jump over a pillow, crawl under a chair. Creates a great rhythm.
6. Stepping Stone Crossing
Scatter pillows, flat rocks, or cardboard squares across the grass. The ground is "hot lava": kids must hop from stone to stone without touching grass.
7. Weave Poles
Stick pool noodles, garden stakes, or PVC pipes into the ground in a line. Kids weave in and out, slalom-style.
8. Ball Carry Station
Kids must carry a ball (or water balloon for extra challenge) across a section without dropping it. Spoons and ping pong balls work too.
9. Jumping Jack Station
Mark a spot where kids must do 10 jumping jacks before moving on. Simple, but it breaks up the course nicely.
10. Ring Toss Finish
End with a ring toss onto a stake or cone. Kids get three tries before their time "stops." Adds a skill element to the finale.
Tips to Keep Kids Engaged
Time it. Use a stopwatch and let kids try to beat their own records. Competition against themselves tends to be more motivating than racing siblings.
Add themes. Call it a "Jungle Expedition" or "Secret Agent Training Course." A little imagination goes a long way with younger kids.
Rotate obstacles. Swap out 2-3 elements each time you set up the course. Keeps it fresh without rebuilding everything.
Let kids help design. Hand them paper and crayons and ask them to sketch their dream obstacle. Then build it together. Ownership increases enthusiasm.
Create relay races. Divide kids into teams for birthday parties or playdates. Each team member completes one obstacle before tagging the next person.
Safety Considerations
- Check for tripping hazards before starting
- Avoid elevated balance beams for kids under 6
- Keep obstacles away from fences, trees, and hard surfaces
- Supervise younger children throughout
- Have water available: obstacle courses are surprisingly tiring
- Skip rope climbs and hanging challenges unless you have secure, tested anchor points
Frequently Asked Questions
What age is best for backyard obstacle courses?
Most kids between ages 3 and 12 enjoy obstacle courses. Younger children (3-5) do best with ground-level challenges like crawling and stepping, while older kids can handle balance and strength obstacles.
How much space do I need?
A minimum of 15×20 feet works for a basic course, but you can adapt to smaller spaces by creating a circuit that loops back on itself.
Can I build an obstacle course indoors?
Absolutely. Use painter's tape for balance beams, couch cushions for stepping stones, and blanket tunnels between chairs. Just clear breakables from the area first.
How do I make it harder for older kids?
Add time limits, require tasks to be completed while carrying something, or include strength challenges like crab walks and bear crawls between obstacles.
What if I don't have a yard?
Parks, driveways, and even long hallways can work. Portable obstacles like hula hoops, pool noodles, and jump ropes travel easily.
How often should I change the course?
Swap 2-3 obstacles every few uses to maintain interest. Kids tend to lose enthusiasm once they've mastered the same layout multiple times.
Is this good exercise for kids?
Yes! Obstacle courses build coordination, balance, cardiovascular fitness, and problem-solving skills: all while feeling like play rather than exercise.
Can multiple kids use it at once?
For safety, it's usually better to have one child on the course at a time, especially with younger kids. For groups, relay races work well.
Looking for more active outdoor projects? Check out our kids crafts collection for more ways to keep little hands and feet busy.
References:
- Research compiled from expert DIY parenting and outdoor activity resources, 2024-2025.


