


What Is a Giant Roll-Paper Mural and Why Should You Make One?
A giant roll-paper mural is a collaborative art project where your family creates one oversized piece of artwork together on a long stretch of paper taped to a wall or floor. It's one of the simplest ways to get kids drawing, painting, and creating without worrying about staying inside the lines or making something "perfect."
The beauty of this project is that it grows with your family. A 3-year-old can scribble happily in one corner while a 7-year-old draws detailed scenes in another. Even toddlers and older kids outside the "skill" range tend to enjoy jumping in. You can finish it in one 30-minute session or leave it up for days and add to it whenever inspiration strikes.
At a Glance:
- Skill Age Range: 3–7 years old
- Enjoyment Age Range: 2–10 years old (some sources suggest even younger children enjoy the sensory experience of drawing on large paper)
- Time to Complete: 30–60 minutes for a single session, or ongoing over several days
- Budget: $0–$10, depending on whether you need to buy a paper roll
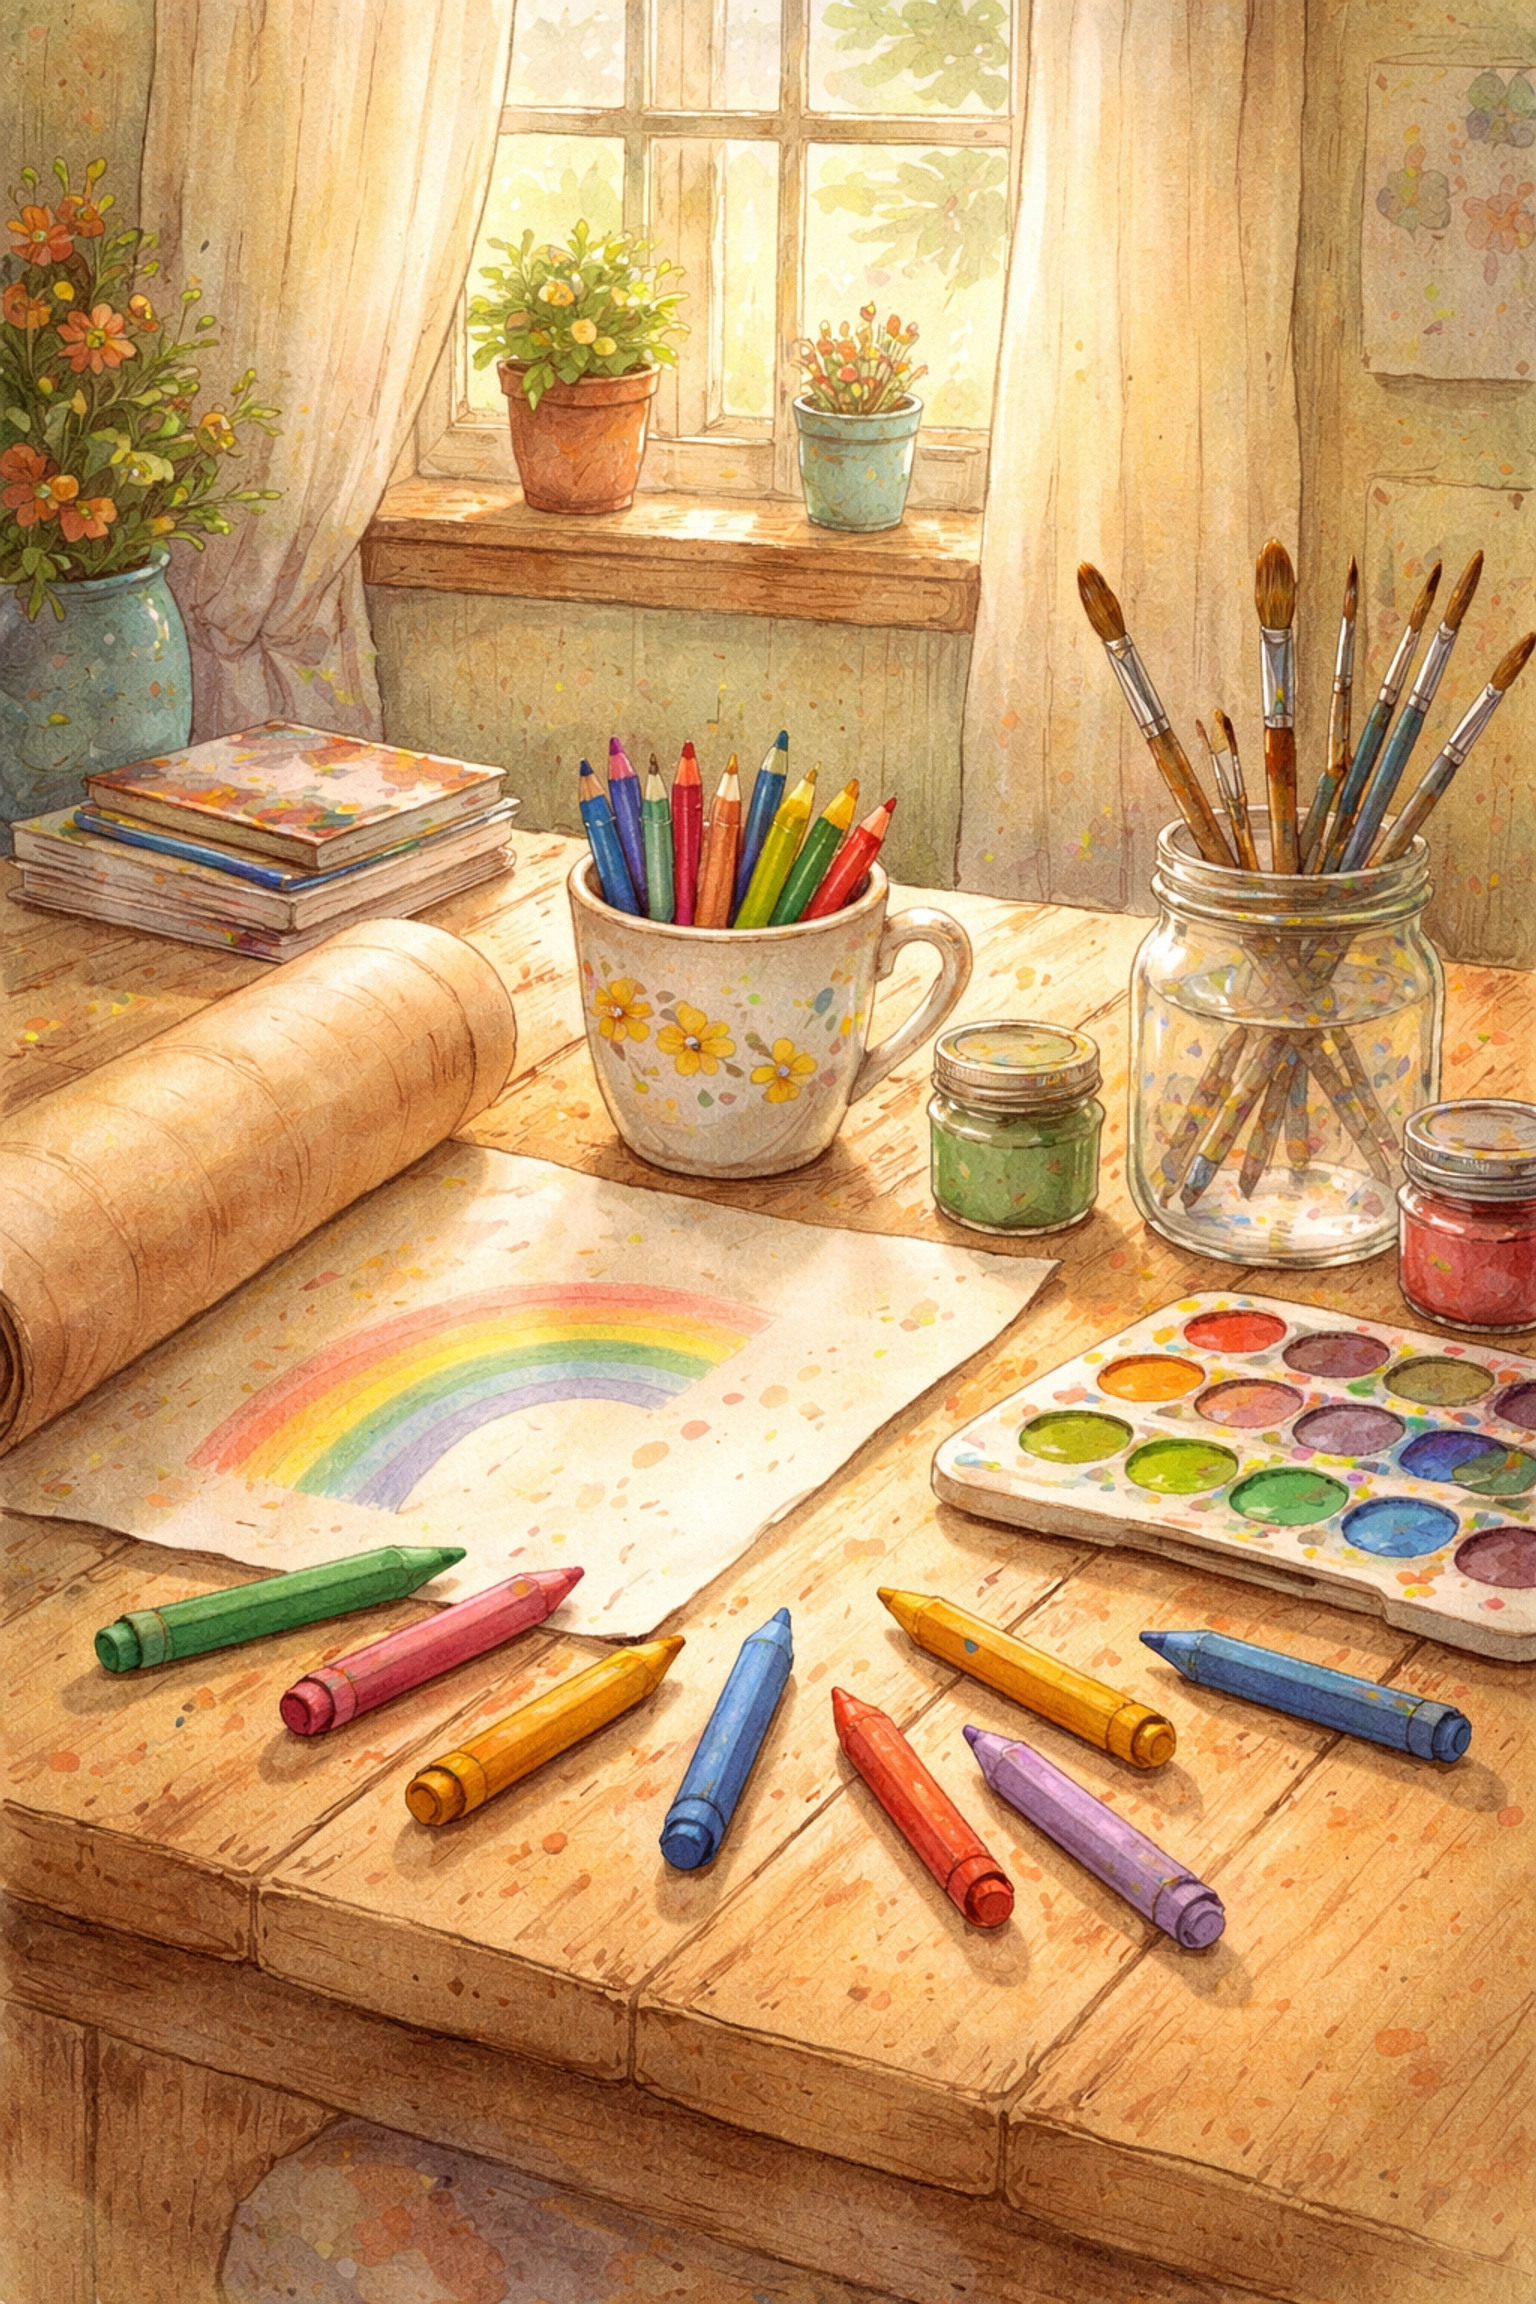
What Materials Do You Need for a Family Mural?
You likely have many of these supplies around the house already. If not, a quick trip to the dollar store or craft aisle should cover you.
| Material | Purpose | Estimated Cost |
|---|---|---|
| Large roll of paper (kraft paper, butcher paper, or bulletin board paper) | The canvas for your mural | $0–$8 (or free if using the back of wrapping paper) |
| Painter's tape or masking tape | Securing paper to the wall or floor | $0–$4 |
| Crayons | Drawing and coloring | $0 (likely have at home) |
| Markers (washable recommended for younger kids) | Bolder lines and details | $0–$3 |
| Washable tempera paint (optional) | Adding color and texture | $0–$5 |
| Paintbrushes or sponges (optional) | Applying paint | $0–$2 |
| Chalk pastels or oil pastels (optional) | Blending and layering colors | $0–$4 |
| Stickers, washi tape, or magazine cutouts (optional) | Mixed media additions | $0–$3 |
Budget Note: If you use paper you already have: like the blank side of wrapping paper, old packing paper, or even taped-together paper bags: and stick to crayons and markers, this project can cost nothing at all. If you're buying a fresh roll of kraft paper and a few new supplies, expect to spend around $5–$10.
How Do You Set Up a Giant Mural Space?
Setting up takes just a few minutes, but doing it right helps the project go more smoothly.
Step 1: Choose Your Location
Pick a wall or floor space that can handle some mess. Hardwood or tile floors are easier to clean than carpet if paint gets involved. A hallway, playroom, or even a garage wall works well.
If you're worried about your walls, lay the paper on the floor instead. Kids can crawl around it and work from different angles.
Step 2: Cut and Secure the Paper
Unroll your paper to the desired length. A 4-foot by 6-foot mural is a good starting size for most families, but you can go bigger or smaller depending on your space and ambition.
Use painter's tape around all the edges to secure the paper to the wall or floor. Painter's tape is gentle on most surfaces and peels off without leaving residue. If you're working on the floor, tape down the corners and middle edges so the paper doesn't bunch up as kids draw.
Step 3: Set Up a Supply Station
Gather your crayons, markers, and any other materials in a central spot near the mural. Small cups or containers help keep supplies organized and reduce the chaos of kids reaching over each other.
If you're using paint, lay down an old sheet, towel, or plastic tablecloth under the work area. Even washable paint can leave marks on flooring if it sits too long.
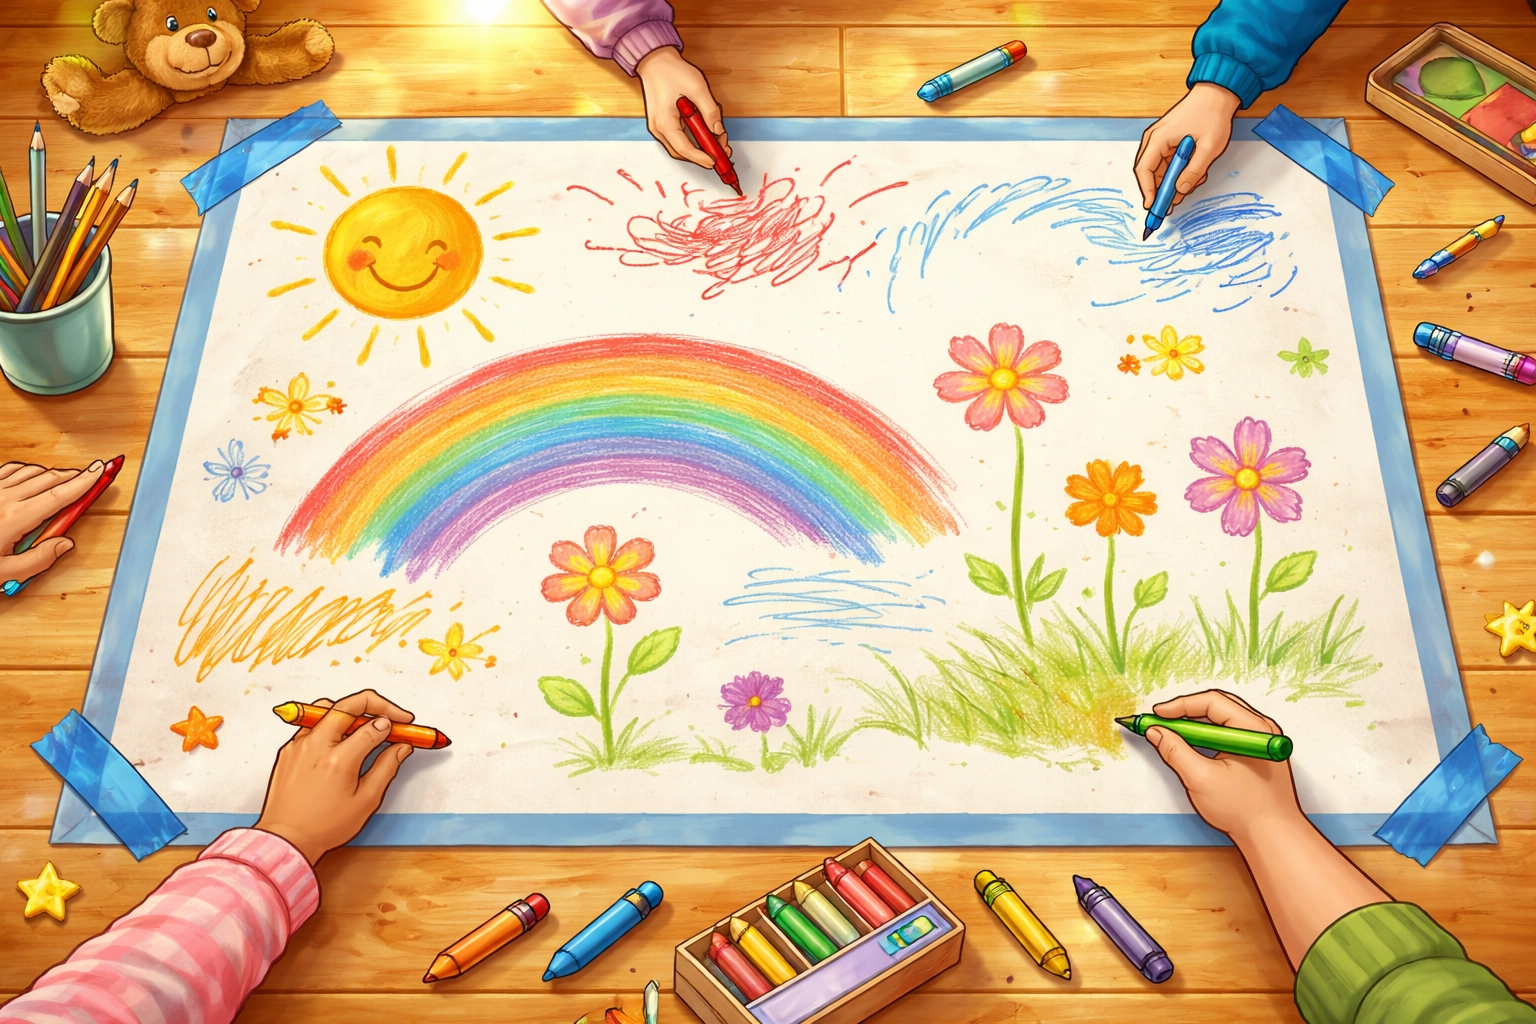
How Do You Create the Mural Together?
Here's where the fun begins. There's no single "right" way to make a family mural, but these approaches tend to work well.
Option 1: Divide Into Sections
Use a pencil and yardstick to lightly divide the paper into sections: one for each family member. Each person decorates their own space however they like. You can tie sections together visually by having elements cross over borders, like a river flowing through multiple sections or a rainbow arching across the whole mural.
This approach works well when you have kids of different ages who want their own space to create.
Option 2: Pick a Theme Together
Choose a theme before you start: an underwater scene, a magical forest, outer space, your neighborhood, or a family adventure. Everyone contributes different elements to the shared scene.
Themes can help younger kids who might feel overwhelmed by a blank page. "Can you draw some fish for our ocean?" gives them a clear starting point.
Option 3: Free-Form Collaboration
Skip the planning entirely and just let everyone draw whatever they want, wherever they want. The result is often chaotic, colorful, and surprisingly charming. This is the easiest approach for very young children who aren't ready for structured projects.
What Are Some Tips for Making It Go Smoothly?
A few simple strategies can help keep the experience positive for everyone.
Start with dry materials first. Crayons and markers are easier to manage than paint, especially with younger kids. You can add paint later as a second layer if you want more color and texture.
Embrace imperfection. This isn't about creating gallery-worthy art. It's about the experience of making something together. If your toddler scribbles over your 6-year-old's drawing, that's part of the process.
Take breaks. One of the best things about a mural is that you don't have to finish it in one sitting. Leave it up for a few days and let family members add to it whenever they feel inspired.
Play music. Background music can help set a creative mood and keep energy levels up during longer sessions.
Document the process. Take photos as you go. Kids love seeing the mural evolve from blank paper to finished artwork.
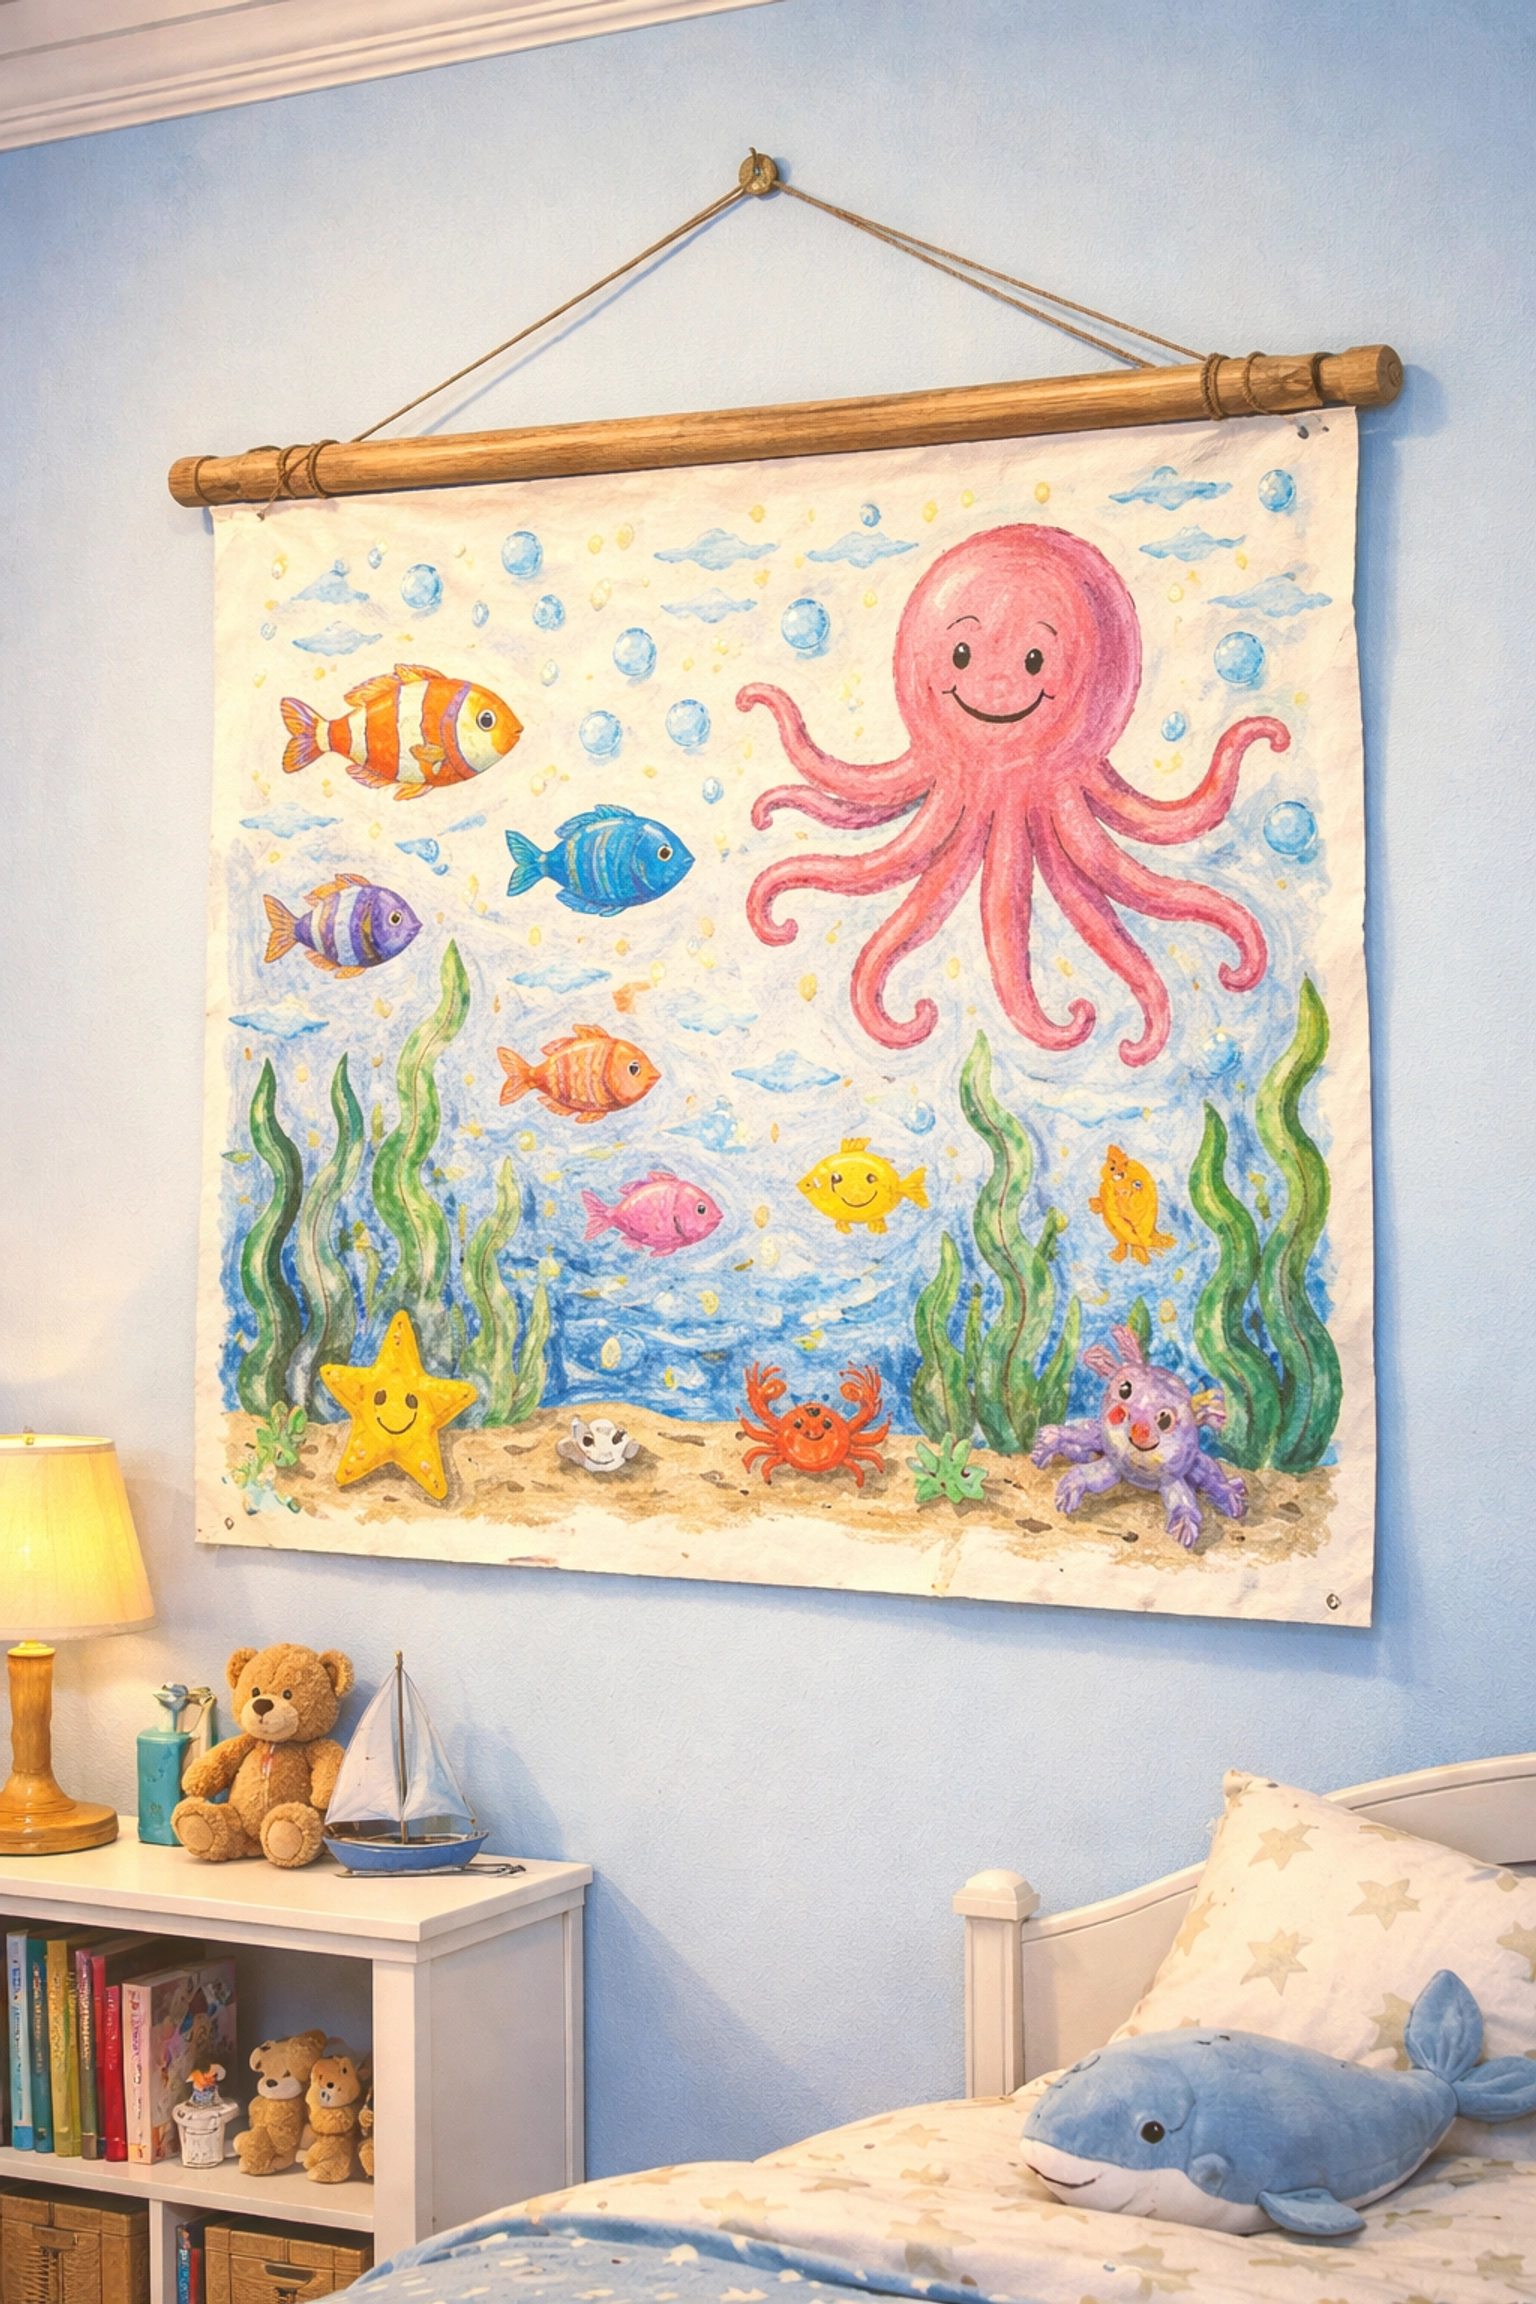
How Do You Display the Finished Mural?
Once your mural is complete (or complete enough), you have several options for showing it off.
Leave it on the wall. If you created it in a spot where it can stay, simply leave it up as a rotating piece of family art. When you're ready for a new one, roll it up and store it or recycle it.
Roll it around a dowel. Attach a wooden dowel or cardboard tube to the top edge with tape or a glue gun. Add string to each end for hanging. This creates a nice scroll effect.
Frame a section. If the full mural is too large to display long-term, cut out a favorite section and frame it. This makes a great keepsake or gift for grandparents.
Create a photo book. Take photos of the mural and the process, then compile them into a simple photo book. This works especially well if you make murals a regular family activity.
What Can You Do Next?
If your family enjoys this project, consider making murals a regular thing: maybe a new one each season or for special occasions like birthdays. You can also explore other collaborative art projects like creating a DIY worm composting bin or building a mini greenhouse from plastic bottles for hands-on family fun that goes beyond the craft table.
The giant mural project is meant to be low-pressure and high-reward. Don't worry about making it perfect: just have fun making it together.
FAQ: Giant Roll-Paper Mural Questions (Parents Ask Most)
- What type of paper is best for a giant mural? A roll of kraft paper or butcher paper is ideal because it's sturdy and comes in long lengths. You can also use the back of a roll of wrapping paper or tape several sheets of printer paper together.
- How do I keep the markers or paint from bleeding onto the wall? Use painter's tape to secure the edges and be careful not to use too much water if you're using paint. If you're worried about your walls, laying the paper on the floor is the safest option.
- How long does it usually take to finish a family mural? It can take anywhere from 30 minutes to several days! Many families like to leave the mural up and add to it a little bit each day whenever they have some free time.
References:
- Family craft project guidelines and material suggestions from various parenting and art education resources


