


The quick answer: Design an egg-drop cushion for toys by combining soft shock-absorbing materials (like cotton balls, sponges, or bubble wrap) with a sturdy outer structure made from cardboard or straws, then test your design by dropping it from increasing heights. This hands-on STEM activity teaches kids about physics, problem-solving, and the engineering design process, all while keeping their favorite small toys safe from imaginary "crash landings."
If you've ever watched a kid toss a toy across the room and wince at the impact, you already understand why cushioning matters. This classic engineering challenge takes that real-world concern and turns it into a playful experiment. Instead of risking an actual egg (and the mess that comes with it), we use small toys, think plastic figurines, bouncy balls, or lightweight action figures, to test our protective designs.
The best part? Kids get to fail, tinker, and try again. That's where the learning happens.
What You'll Need
Good news: you likely have most of these materials lying around the house already. Here's a breakdown of supplies to gather before you start building.
| Material | Purpose | Estimated Cost |
|---|---|---|
| Small cardboard box or plastic container | Outer protective structure | Free (recycled) |
| Cotton balls or tissue paper | Shock absorption | $1–$2 |
| Bubble wrap or foam scraps | Additional cushioning | $1–$2 (or free from packages) |
| Drinking straws | Structural frame building | $1 |
| Rubber bands | Suspension and securing | $1 |
| Masking or duct tape | Assembly | $2–$3 |
| String or yarn | Suspension or parachute attachments | $1 |
| Plastic grocery bag (optional) | Parachute material | Free |
| Small lightweight toy | Test subject | Already owned |
Total estimated cost: Under $10 (often free with household items)
Age Range and Time Estimate
Best suited for ages: 4–10 years old
- Ages 4–5: Focus on stuffing cushioning materials and simple testing. An adult handles cutting and taping.
- Ages 6–8: Kids can help design the structure, make predictions, and lead the building process with supervision.
- Ages 9–10: Encourage independent problem-solving, hypothesis testing, and design iterations.
Time needed: 30–45 minutes for building and initial testing, plus extra time for redesigns and experiments.
Step-by-Step Instructions
Step 1: Choose Your Test Toy
Select a small, lightweight toy that can handle being dropped a few times. Plastic dinosaurs, small action figures, or bouncy balls work well. Avoid anything fragile, heavy, or with small parts that might break off.
Have your child hold the toy and ask: "What do you think would happen if we dropped this from up high? How could we protect it?"

Step 2: Pick a Design Approach
There are several ways to tackle this challenge. Talk through the options with your kids and let them choose one, or combine ideas:
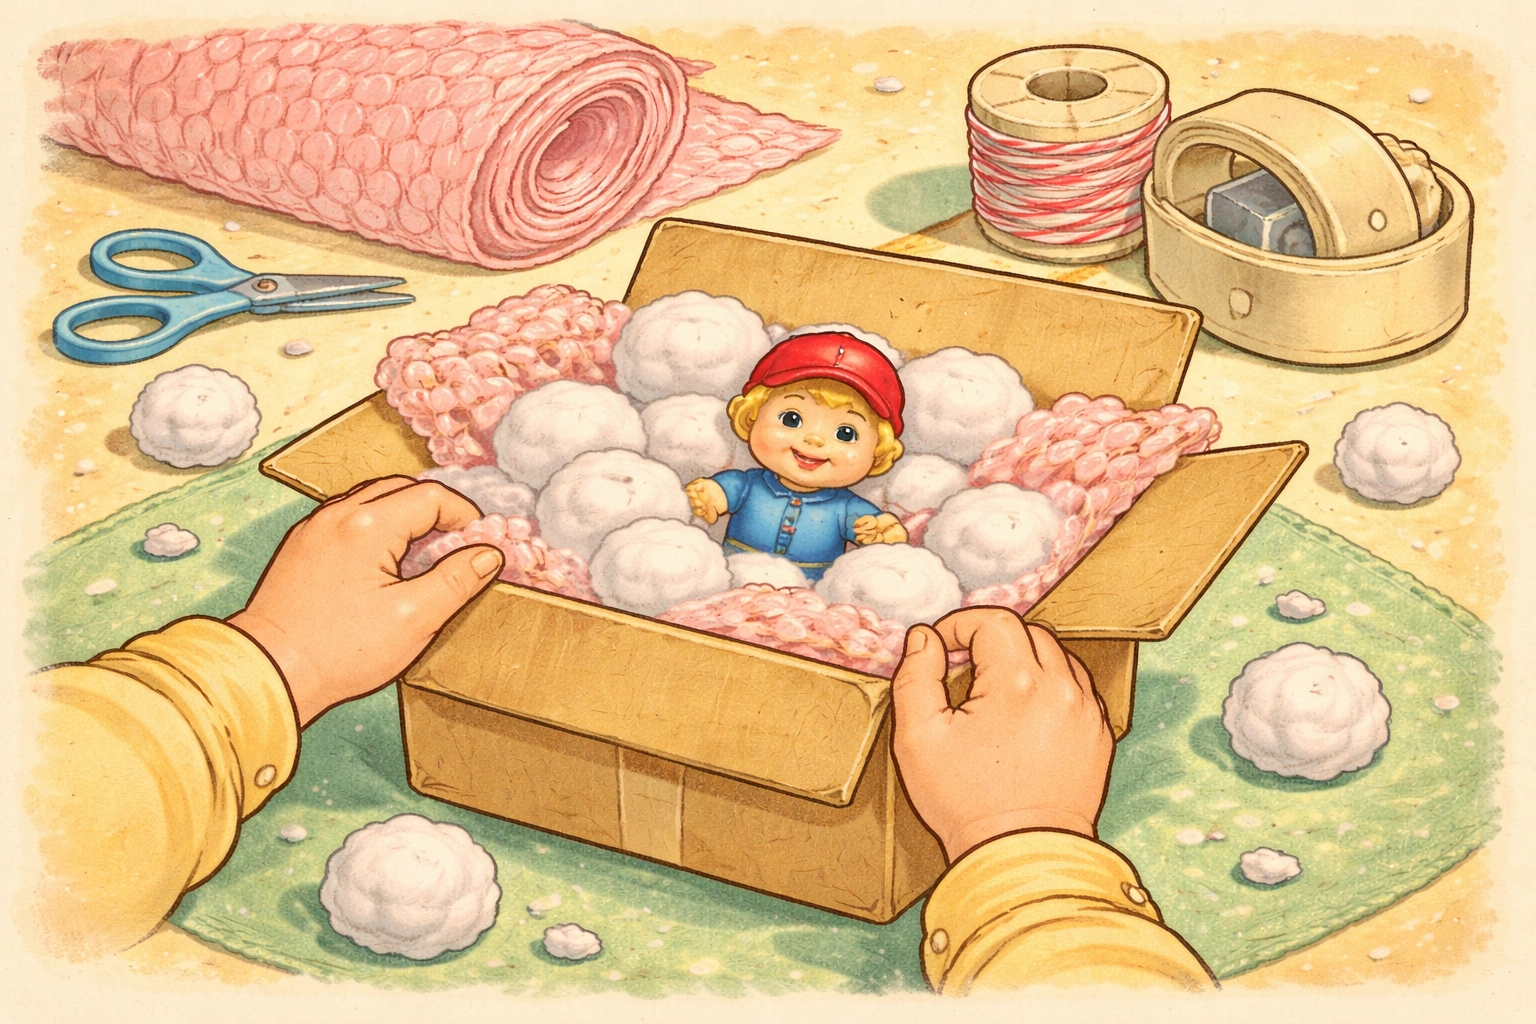
The Cushioned Container Method
Line a small box or container with layers of soft materials. The toy sits in the center, completely surrounded by padding. This approach relies purely on shock absorption.
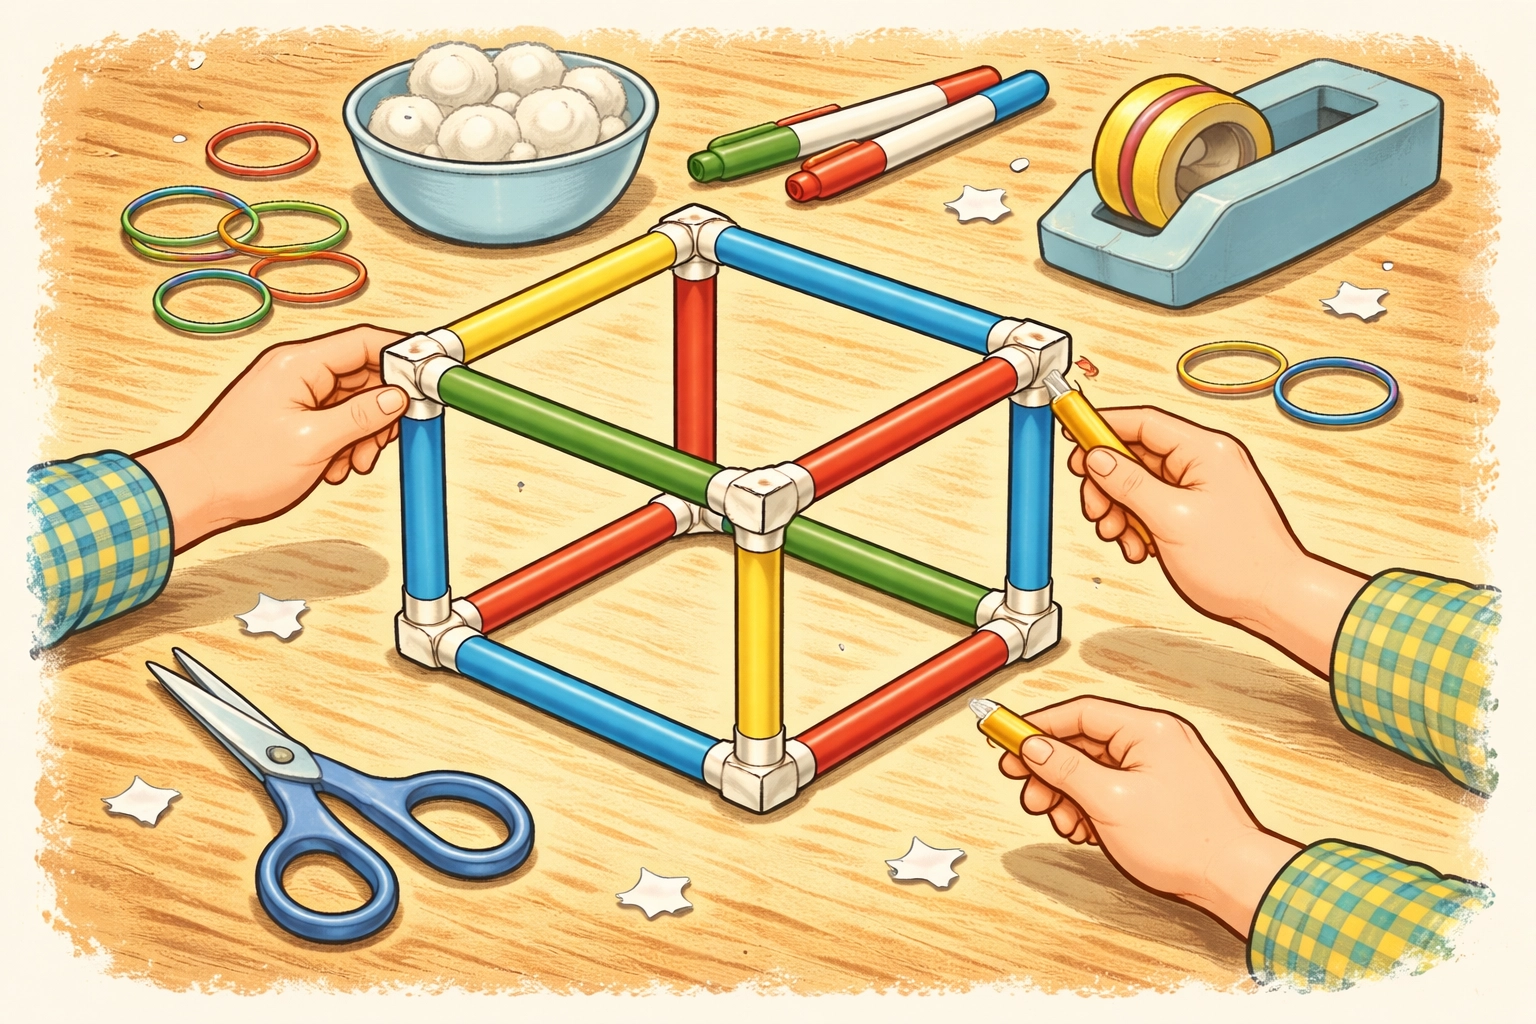
The Straw Cage Method
Build a 3D frame using drinking straws taped together in cube or pyramid shapes. The toy hangs suspended inside without touching the walls. Triangles tend to be particularly strong shapes in engineering.
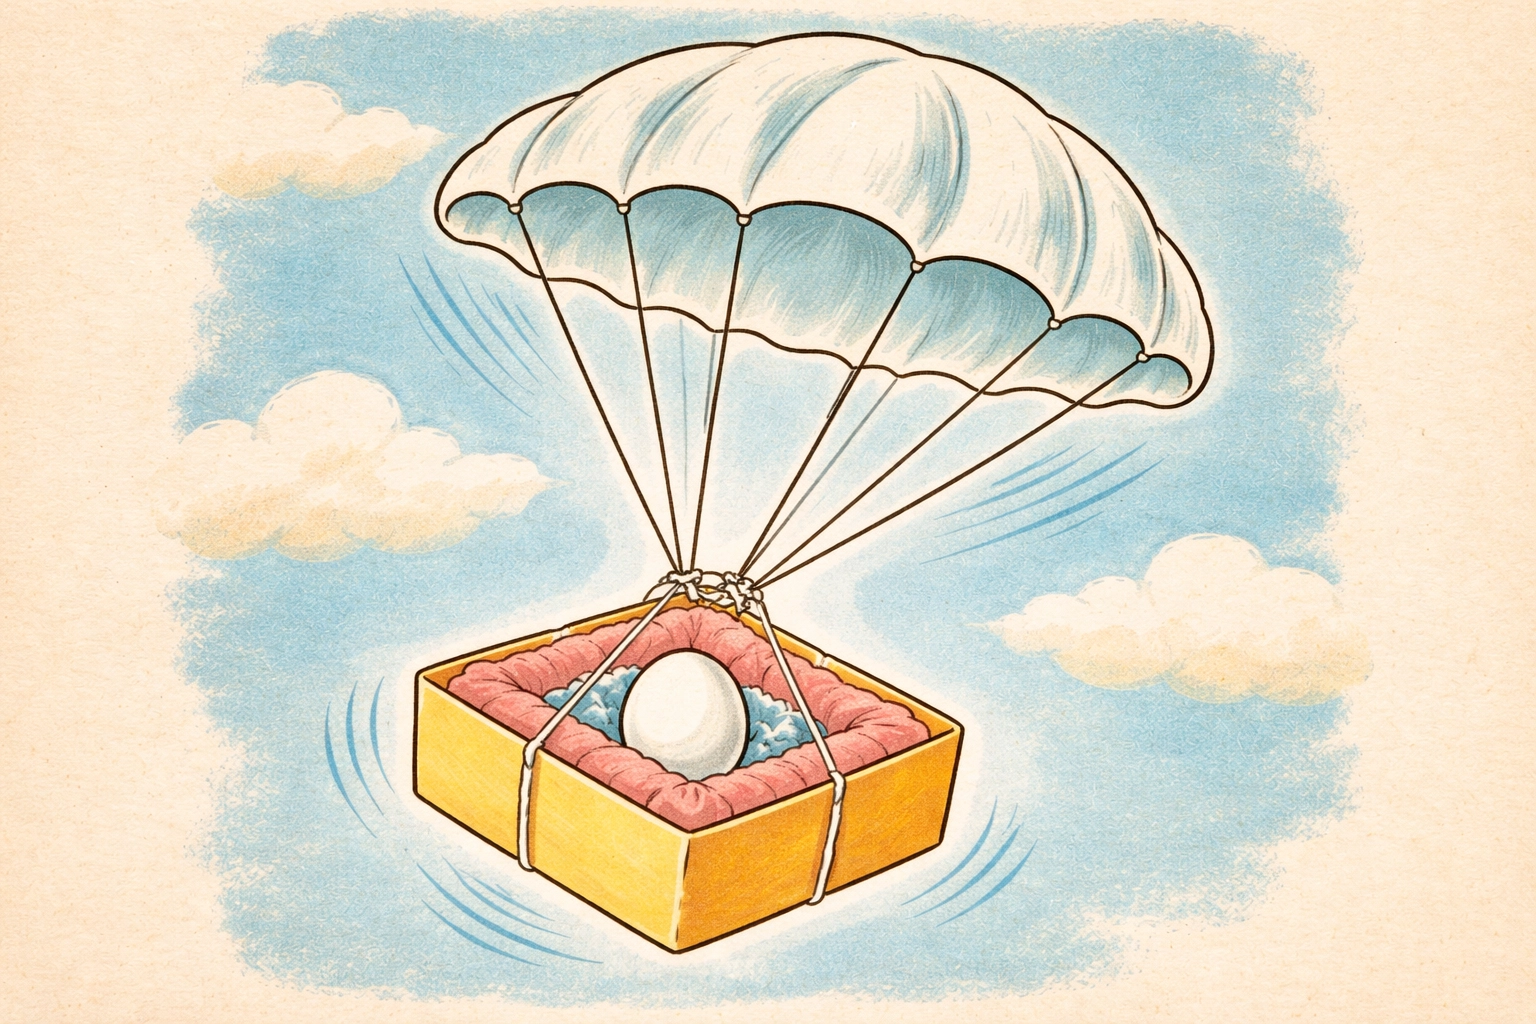
The Parachute Method
Attach a small plastic bag "parachute" to a cushioned container. The parachute slows the descent, giving the cushioning less work to do on impact.
The Combination Method
Mix and match elements from each approach for maximum protection.
Step 3: Build Your Outer Structure
If using the cushioned container method, grab your cardboard box or plastic container. Cut it down to size if needed, smaller containers often work better for lightweight toys.
For the straw cage method, connect straws using tape at the corners. Start with a simple cube shape, then add diagonal supports for extra strength. Pyramid shapes (tetrahedrons) are surprisingly sturdy and fun to build.
Step 4: Add Your Cushioning Layers
This is where kids really get to experiment. Layer your shock-absorbing materials inside the structure:
- Start with a base layer of cotton balls or crumpled tissue paper
- Add a middle layer of bubble wrap or foam scraps
- Create a "nest" in the center where the toy will sit
- Pack more cushioning material around and on top
The goal is to surround the toy completely so it never touches the hard outer walls during impact. Think of it like a protective cocoon.
Step 5: Secure the Toy Inside
Place your test toy in the cushioned center. If you're using the suspension method, attach rubber bands or string to hold the toy in place without it touching the sides.
Close up your container with tape, making sure everything stays put during the drop. If using a parachute, attach strings to the four corners of your plastic bag and connect them to the top of your container.
Step 6: Test from a Low Height First
Start small. Drop your cushion design from about waist height onto a soft surface like carpet or grass. Open it up and check on your toy.
Ask your child:
- Did the toy move around inside?
- Does anything look squished or damaged?
- What could we change to make it work better?
Step 7: Increase the Height and Iterate
If your first test went well, try dropping from shoulder height, then standing on a sturdy chair (with adult supervision). Each time, examine the results and discuss what's working.
This is where the real engineering happens. Maybe you need more cushioning on one side. Maybe the structure needs reinforcement. Maybe a parachute would help. Let your child make predictions, test them, and adjust.
Tips for Success
Embrace the failures. A crushed design or a toy that rattles around inside isn't a disaster, it's valuable data. Ask "What can we learn from this?" rather than treating it as a setback.
Keep materials lightweight. Heavy cushioning materials can actually make things worse by adding momentum to the fall. Cotton balls and tissue paper often outperform heavier options.
Try different shapes. Triangular structures tend to distribute force more evenly than squares. Encourage kids to experiment with pyramids, geodesic shapes, or other geometric forms.
Document the process. Take photos of each design iteration. Kids love seeing their progression from first attempt to final success.
Make it a friendly competition. If you have multiple kids, let each one design their own cushion and compare results. Different approaches can all be "winners" in their own ways.
Why This Activity Matters
Beyond the giggles and the satisfying thump of a successful drop test, this project introduces kids to real engineering concepts:
- The engineering design process: Identify a problem, brainstorm solutions, build, test, and improve
- Physics basics: Gravity, momentum, force distribution, and energy absorption
- Materials science: Understanding why some materials protect better than others
- Critical thinking: Analyzing failures and making evidence-based improvements
These are the same principles engineers use when designing everything from car bumpers to phone cases to spacecraft landing systems. Pretty cool for a rainy afternoon project.
For more hands-on STEM activities, check out our kids crafts collection for additional projects that blend learning with creative fun.
Frequently Asked Questions
What's the best material for cushioning an egg-drop container?
Cotton balls, bubble wrap, and foam tend to perform well because they compress on impact and absorb energy. Combining multiple soft materials in layers often provides better protection than using just one type.
Can we use an actual egg instead of a toy?
You certainly can, though be prepared for potential messes. Using a toy first lets kids refine their designs without the cleanup. Once they have a successful prototype, graduating to a real egg raises the stakes in a fun way.
What height should we drop from?
Start at waist height (about 3 feet) and work your way up. Many successful designs can handle drops from 6–8 feet. Chair height with adult supervision is usually a good maximum for indoor testing.
Why do triangular shapes work well for the frame?
Triangles distribute force evenly across their three sides, making them more resistant to collapsing than squares or rectangles. This is why you see triangular supports in bridges and buildings.
How do parachutes help protect the toy?
Parachutes increase air resistance, slowing down the fall. A slower descent means less force on impact, giving your cushioning materials an easier job.
What if our design keeps failing?
That's part of the process. Examine what's happening, is the toy hitting one particular side? Is there not enough cushioning? Is the structure collapsing? Each failure gives you information to improve the next version.
Can younger kids do this activity?
Yes, with modifications. Younger children (ages 3–5) can help stuff cushioning materials and make predictions, while adults handle cutting, taping, and structural building.
How many test drops should we do?
There's no set number. Keep testing until your child feels satisfied with the results, or until you run out of height to drop from. Some kids want to perfect one design; others prefer trying multiple approaches.
What toys work best for testing?
Small, lightweight plastic toys are ideal. Avoid anything too heavy (which hits harder), too fragile (which might break regardless), or too precious (just in case).


