


Quick Answer: To make DIY mini banner garlands with kids, cut triangles from colored paper, decorate them with crayons or stickers, and tape them onto a length of string or yarn. The whole project typically takes about 20-30 minutes, costs under $5, and works well for children ages 3 and up with varying levels of adult help.
Why Mini Banner Garlands Make a Great Family Craft
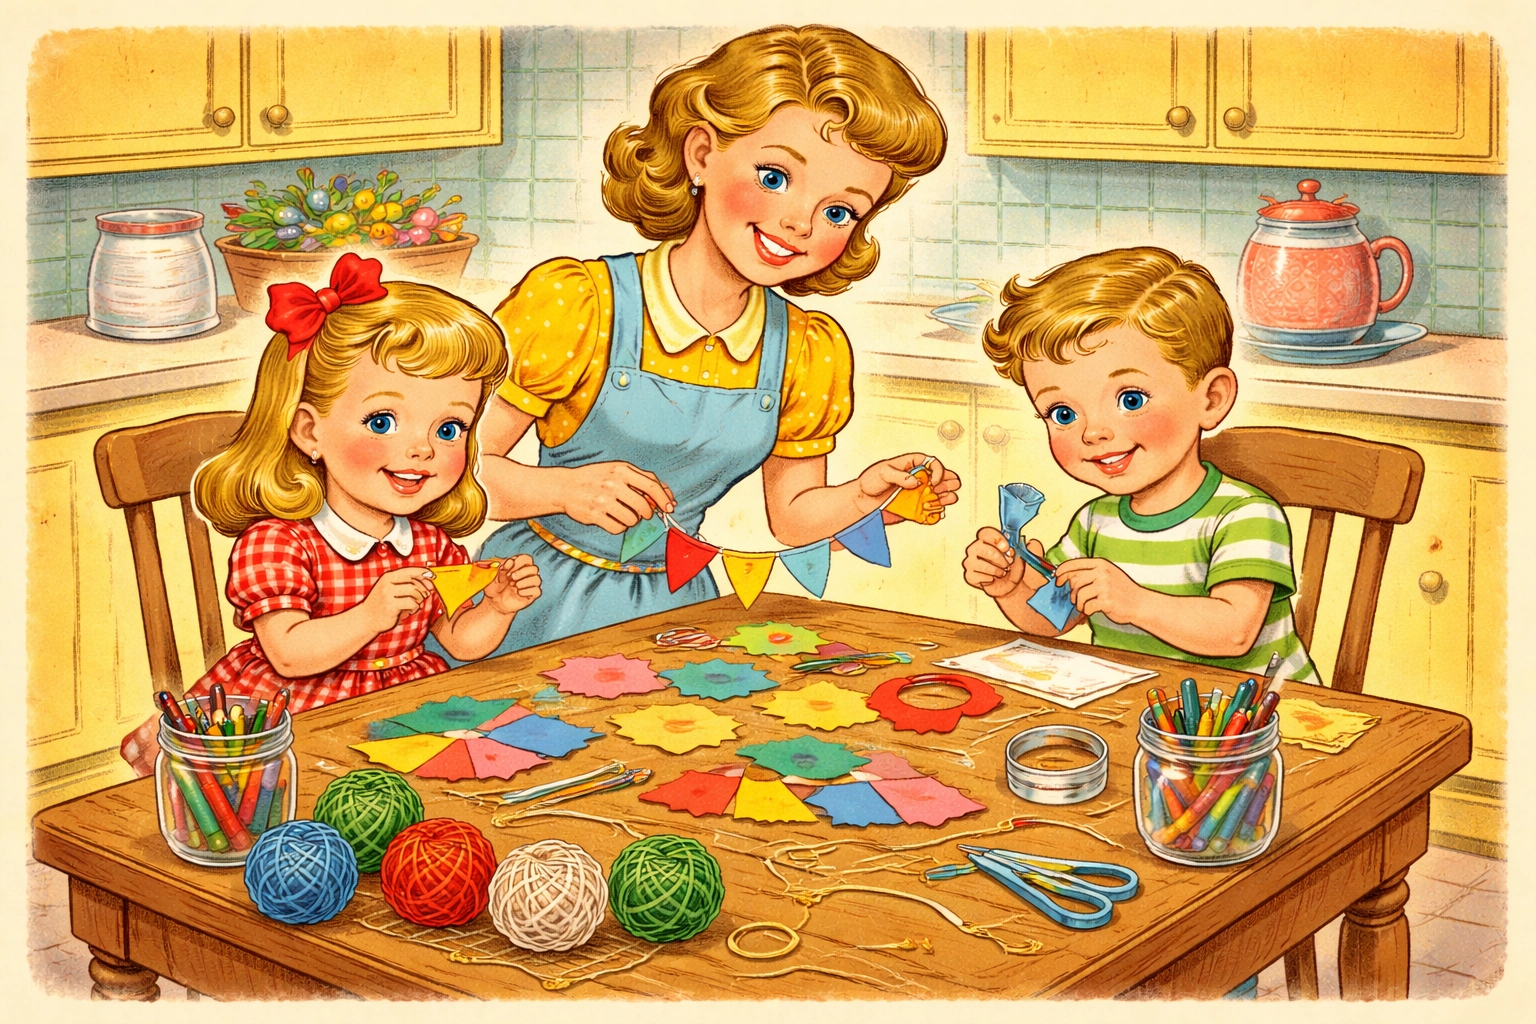
There's something genuinely satisfying about stringing up a homemade garland. Maybe it's the way those little paper triangles transform a plain bedroom door into party central, or how kids beam when they see their artwork dangling across the window. Either way, banner garlands tend to punch well above their weight in the "craft effort vs. room transformation" department.
This project hits a sweet spot for busy families: it's simple enough for preschoolers to join in, yet customizable enough to keep older kids engaged. Plus, you likely have most of the supplies sitting in a drawer right now.
Materials You'll Need
| Item | Estimated Cost | Notes |
|---|---|---|
| Colored construction paper or cardstock | $1-3 | A variety pack works great |
| String, yarn, or baker's twine | $1-2 | About 3-4 feet per garland |
| Scissors | $0 (likely owned) | Child-safe scissors for little ones |
| Tape (regular or double-sided) | $1-2 | Double-sided makes assembly easier |
| Crayons, markers, or stickers | $0-2 | For decorating |
| Cardboard scrap (optional) | $0 | For making a triangle template |
Total estimated cost: $3-9
Most families find they can complete this project for under $5 using supplies already around the house.
Age Ranges and Time Estimates
Ages 3-4: Can decorate pre-cut triangles and help with taping. Expect about 30-40 minutes with adult assistance for cutting and assembly.
Ages 5-7: Can trace templates, cut their own triangles (with supervision), and decorate independently. Usually takes 25-35 minutes.
Ages 8+: Can handle the entire project with minimal guidance, including measuring and cutting string to size. Often finished in 20-30 minutes.
Pro tip: Younger children tend to enjoy the decorating phase most, so consider pre-cutting a stack of triangles before craft time begins if you're working with toddlers or preschoolers.
Step-by-Step Instructions
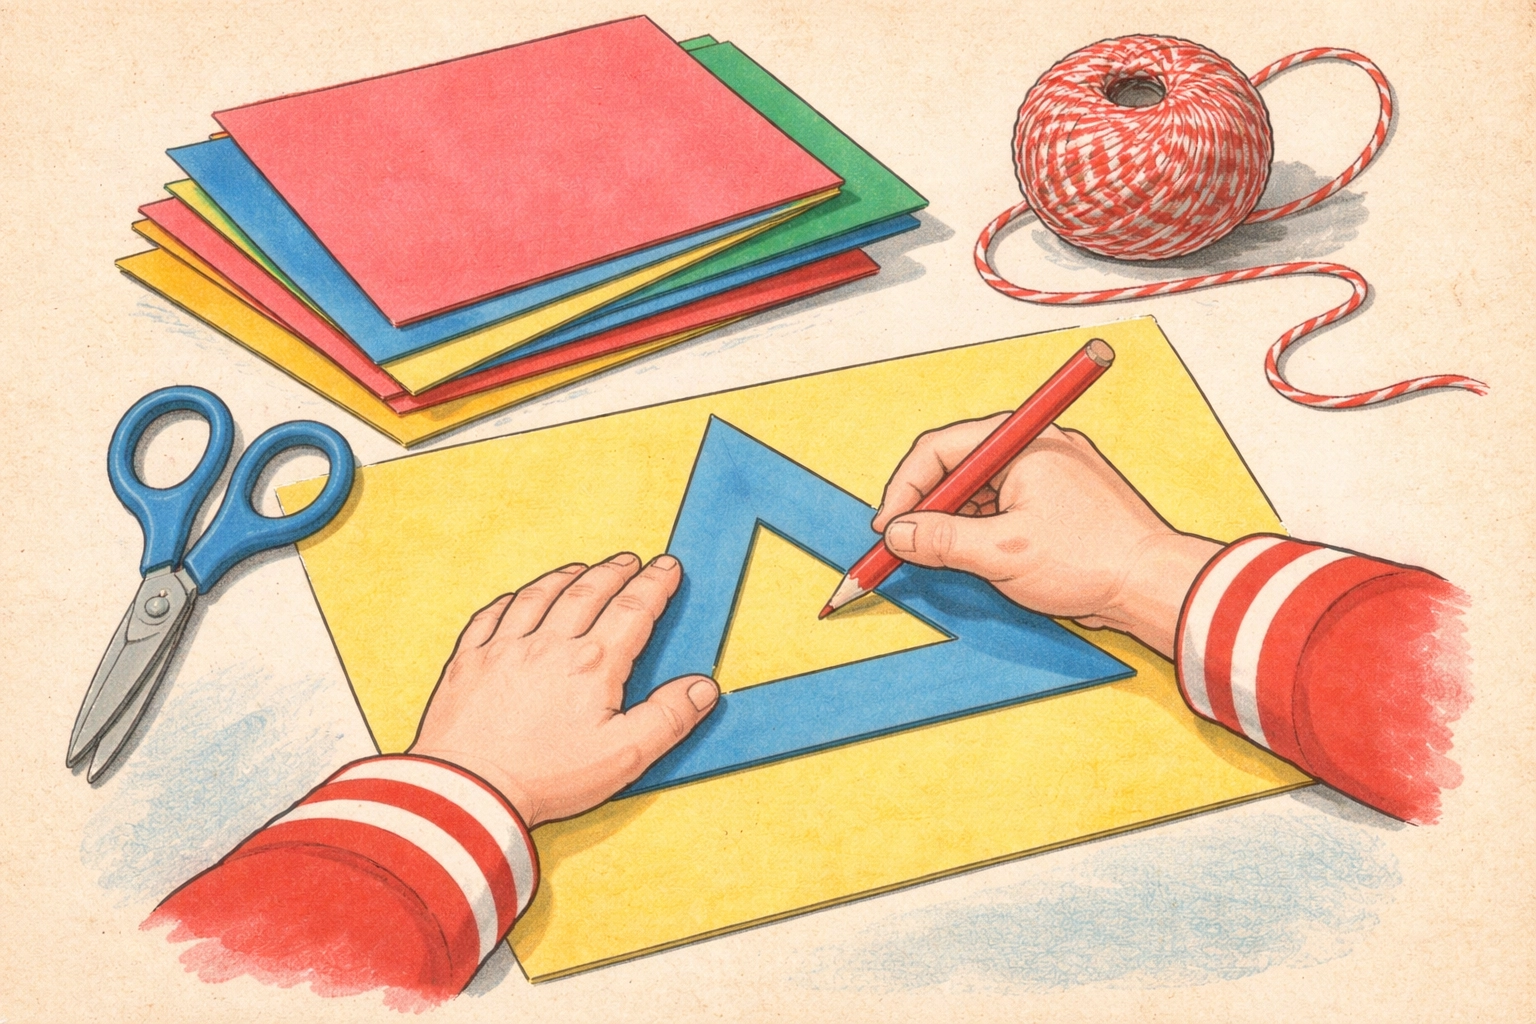
Step 1: Create Your Triangle Template
Start by cutting a triangle shape from cardboard or thick paper. A good size for mini banners is roughly 4 inches wide at the top and 5-6 inches tall. This template becomes your guide for consistent flag shapes.
For younger kids, keep the triangles on the larger side: they're easier to decorate and handle. Older children might enjoy making smaller, more detailed flags.
Step 2: Trace and Cut Your Paper Flags
Place your template on colored paper and trace around it with a pencil. Most kids can manage 6-10 flags before their attention starts to wander, which creates a garland roughly 2-3 feet long.
Time-saving trick: Fold your paper in half or quarters before cutting. This way, you'll get multiple identical triangles from each cutting session.
Let kids choose their own color combinations. Some will want a rainbow pattern, others might prefer all pink, and a few will create gloriously chaotic mismatches. All approaches are valid.
Step 3: Decorate the Flags
This is where the magic happens. Set out crayons, markers, stickers, stamps, or whatever decorating supplies you have available.
Decoration ideas:
- Draw simple shapes like stars, hearts, or suns
- Add stickers in patterns
- Write letters to spell out a name or message
- Create seasonal designs (snowflakes, flowers, pumpkins)
- Make abstract patterns with dots and lines

Give kids creative freedom here. The flags don't need to match or follow a theme: unless that's what your child wants. Some of our favorite garlands have featured a mix of dinosaurs, rainbows, and what appeared to be spaghetti.
Step 4: Attach Flags to String
Cut your string to the desired length, adding about 6-8 extra inches on each end for hanging.
Two attachment methods:
Method A (Fold and Tape): Fold the top edge of each triangle over the string by about half an inch. Secure with tape on the back. This creates a clean look and the flags hang nicely.
Method B (Direct Tape): Simply tape each triangle directly to the string using a small piece of tape across the top. This is faster and works well for younger crafters.
Space your flags about 2-3 inches apart, or let kids decide their own spacing. Uneven spacing adds charm, honestly.
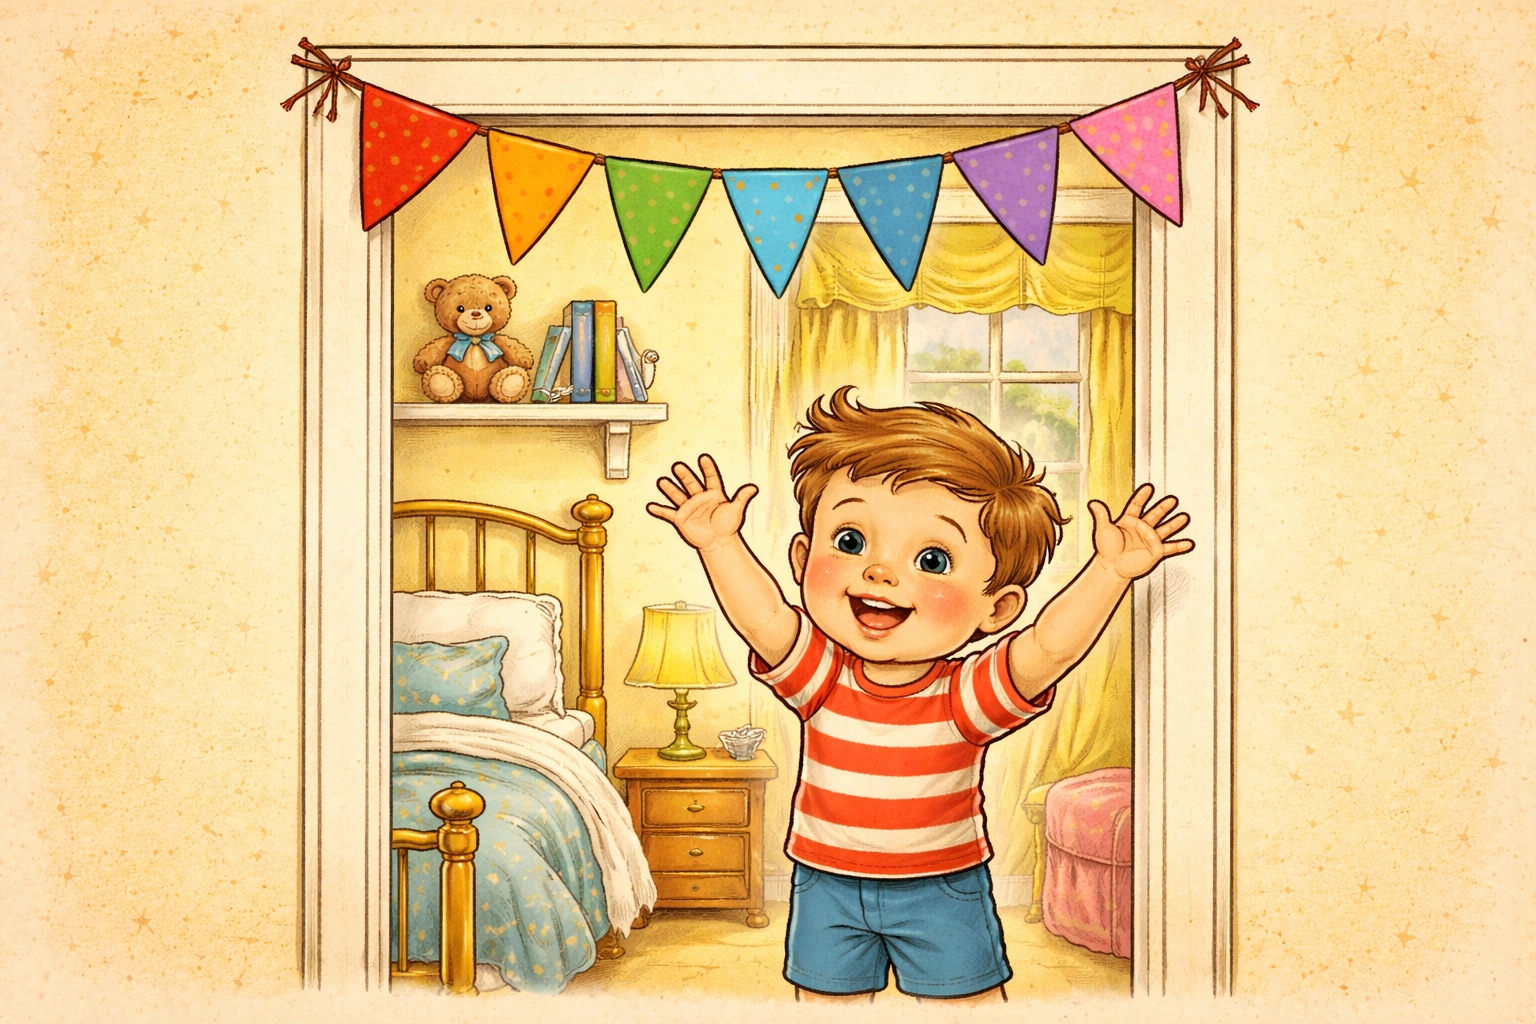
Step 5: Hang and Admire
Use tape, thumbtacks, or removable adhesive strips to hang your garland. Popular spots include:
- Across a bedroom door frame
- Along a window
- Above a bed headboard
- Strung between two chairs for a reading nook
- Draped across a bookshelf
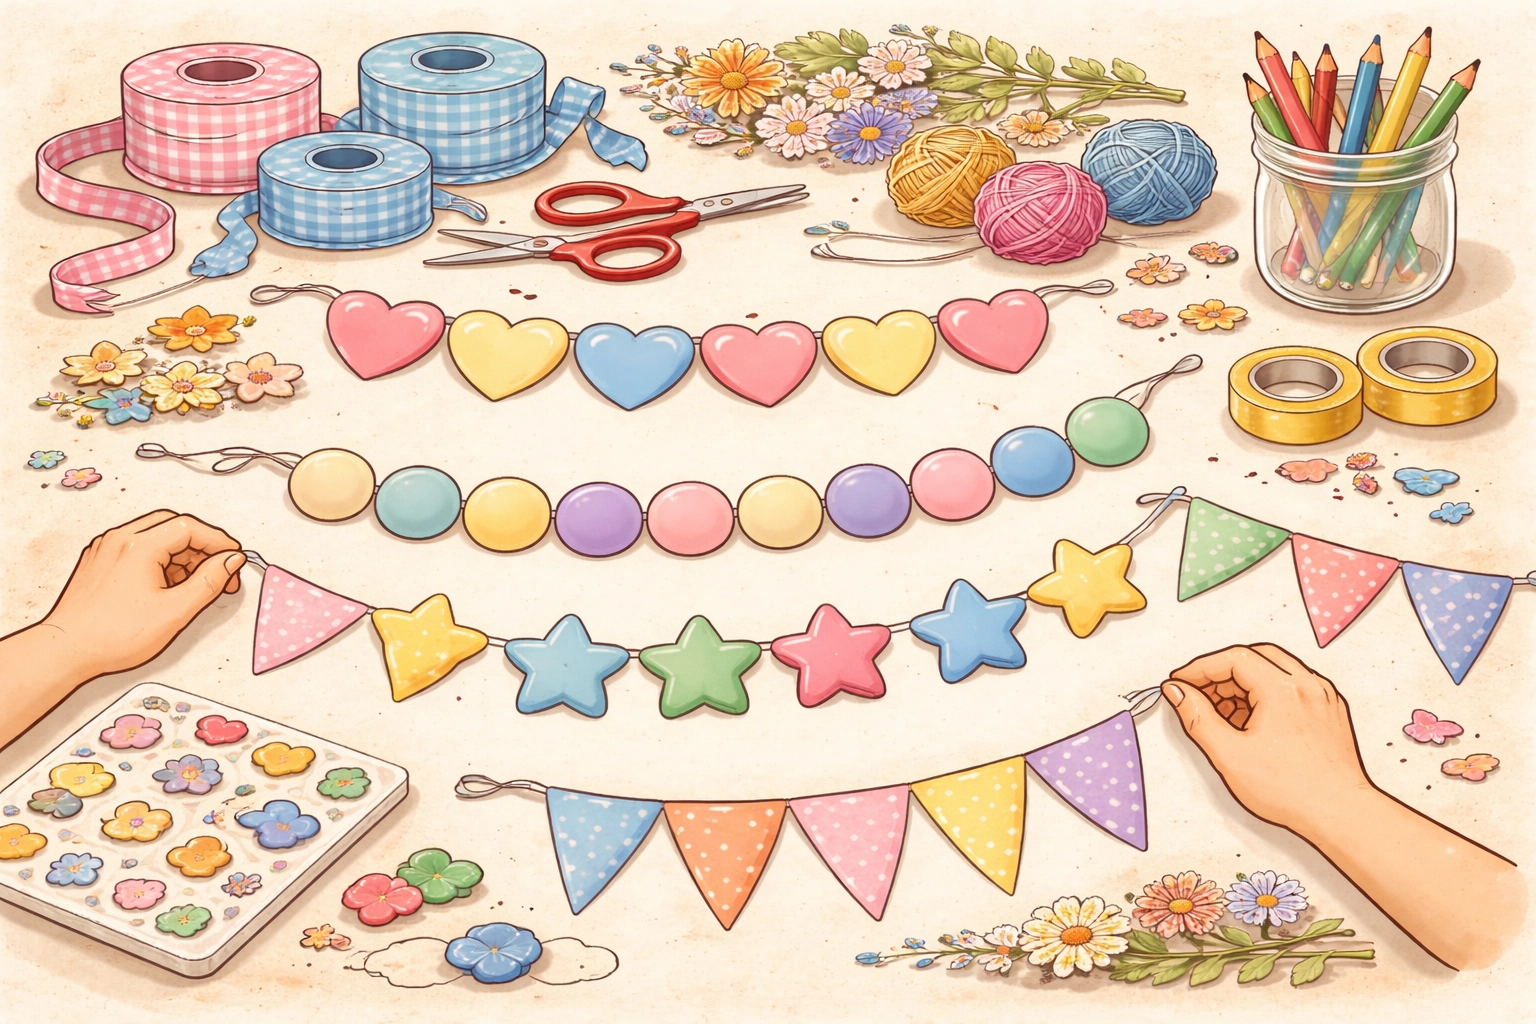
Creative Variations to Try
Shape swap: Who says banners need to be triangles? Try cutting circles, squares, hearts, or even kid-drawn blobs. Older children might enjoy cutting out animal silhouettes or seasonal shapes.
Layered flags: Cut smaller triangles from contrasting colors and glue them centered on larger triangles for a dimensional look.
Nature additions: Tape a small pressed leaf or flower to each flag for a botanical twist.
Photo banner: Glue small printed photos onto each flag for a personalized birthday or celebration garland.
Seasonal rotations: Make several garlands throughout the year: pastels for spring, bright colors for summer, oranges and reds for fall, and wintery blues or holiday colors for December.
Tips for Success
Work in batches: Doing all the cutting first, then all the decorating, then all the assembly tends to flow more smoothly than completing one flag at a time.
Embrace imperfection: Wobbly triangles and creative color choices are part of the handmade charm. Resist the urge to "fix" kids' work.
Make it a tradition: Consider creating a new garland for each birthday, holiday, or season. Over time, you'll build a collection of sweet keepsakes.
Store flat: Garlands store well in large envelopes or between book pages, making them easy to reuse year after year.
For more kid-friendly craft projects, check out our Kids Crafts collection for dozens of hands-on activities.
Frequently Asked Questions
What type of paper works best for banner garlands?
Cardstock or construction paper tends to hold up better than regular printer paper, especially if you plan to reuse the garland. However, any paper will work for a temporary decoration.
How long should the string be for a door frame garland?
Most standard door frames are about 32-36 inches wide. Cut your string to roughly 44-48 inches to allow for flag spacing plus hanging loops on each end.
Can toddlers participate in this craft?
Toddlers (ages 2-3) can typically help with decorating pre-cut flags using chunky crayons or large stickers. Adult supervision and assistance with scissors and taping is generally necessary.
How do I make the garland more durable?
For longer-lasting banners, use cardstock instead of construction paper, and consider laminating the decorated flags before attaching them to the string.
What's the best way to hang garlands without damaging walls?
Removable adhesive hooks or strips (like Command strips) work well and come off cleanly. Painter's tape is another low-damage option for temporary displays.
How many flags do I need for a full garland?
For a standard door-width garland, 8-12 flags spaced 2-3 inches apart usually looks balanced. Adjust based on your space and how many flags your child wants to make.
Can we use fabric instead of paper?
Fabric works wonderfully for more permanent garlands, though it typically requires either fabric glue or sewing to attach. This variation suits older children or adult-led projects better.
What if my child loses interest halfway through?
No problem! Store the partially completed supplies in a bag and return to the project another day. There's no rule saying crafts need to be finished in one sitting.
How can we make this project educational?
Practice letter recognition by putting alphabet letters on flags, work on color patterns and sequencing, or count flags together as you string them up. Older kids might measure string lengths for some basic math practice.
Happy crafting! There's something pretty wonderful about watching a pile of paper scraps transform into cheerful room décor: especially when little hands did most of the work. 🎨


