


Age Range: 4–12 years (with adult supervision for younger kids)
Estimated Cost: $5–$15 (less if upcycling containers and using pantry seeds)
Time to Harvest: 7–14 days
What Are Microgreens and Why Should Kids Grow Them?
Microgreens are tiny, nutrient-packed seedlings harvested just after their first leaves appear. They're one of the fastest, most rewarding plants for kids to grow indoors, perfect for short attention spans and eager little gardeners who want to see results now.
Growing microgreens with your kids teaches patience (but not too much!), responsibility, and basic botany. Plus, they get to eat what they grow, which is a powerful lesson in food security and self-sufficiency. The whole process takes about one to two weeks from seed to salad, making it ideal for a weekend family project that keeps on giving.
Here's your complete, step-by-step guide to growing microgreens indoors with kids, including what you'll need, how to involve children of different ages, and tips to make it fun and educational.
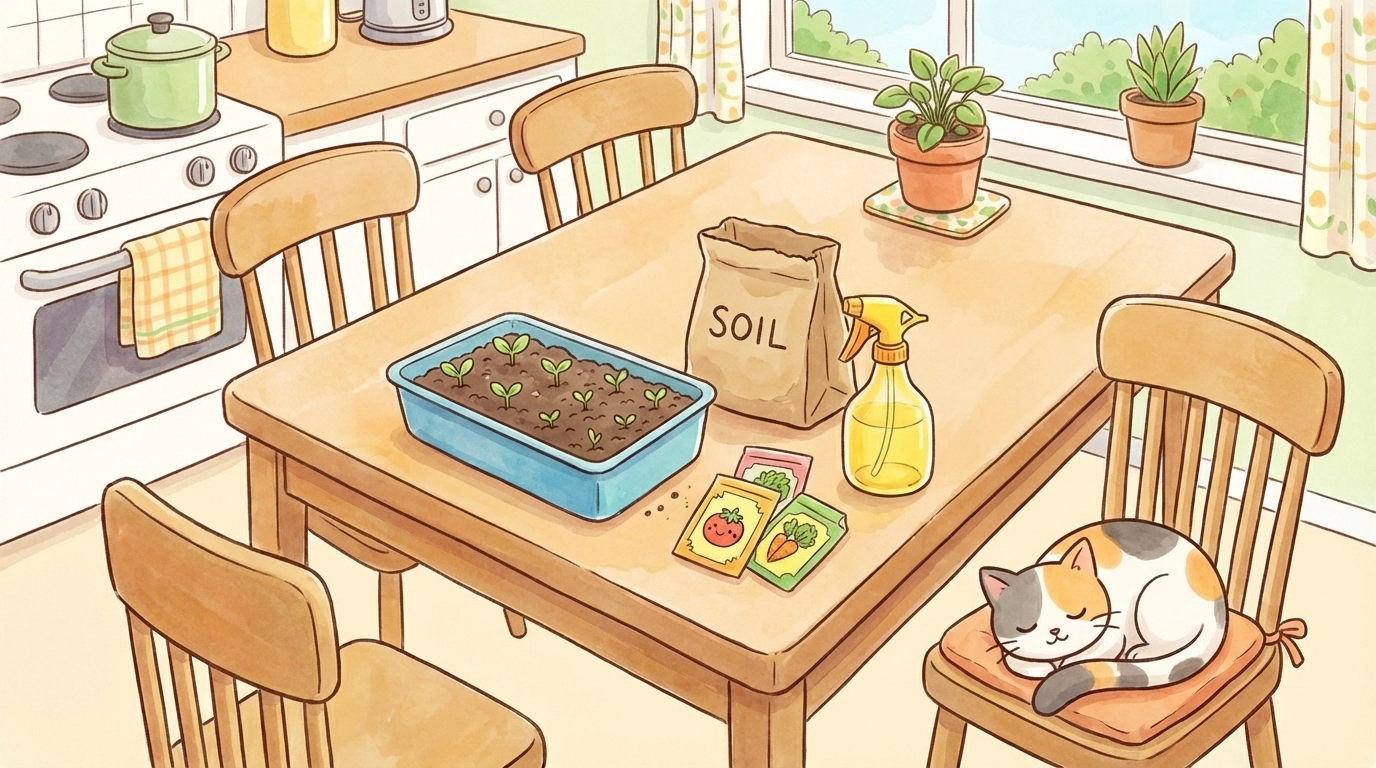
What Supplies Do You Need to Grow Microgreens with Kids?
Good news: you probably have most of what you need around the house already. Here's the full list:
Materials:
- Shallow container (upcycled produce containers, takeout trays, or a standard seedling tray work great)
- Potting soil or seed starting mix (about 2 inches deep)
- Microgreen seeds (broccoli, radish, sunflower, pea, and lettuce are beginner-friendly)
- Spray bottle filled with water
- A sunny windowsill or a basic grow light
- Optional: paper towels (for a soil-free method)
Estimated Costs:
| Item | Cost Range |
|---|---|
| Upcycled container | Free |
| Potting soil (small bag) | $3–$6 |
| Microgreen seeds | $2–$5 |
| Spray bottle | $1–$3 (or use one you have) |
| Grow light (optional) | $10–$20 |
If you're raiding the pantry, try sprouting lentils, mung beans, or even chia seeds for a zero-cost experiment!
How Do You Prepare the Container and Soil?
Step 1: Choose Your Container
Let the kids pick out a container, this is their project! Upcycled strawberry clamshells, cleaned-out deli containers, or shallow baking trays all work. Just make sure there are drainage holes or a way for excess water to escape (poke a few holes in the bottom if needed).
Step 2: Add Your Growing Medium
Fill the container with about 2 inches of potting soil or seed starting mix. Have kids pat it down gently so it's level but not packed too tight. The soil should feel like a damp sponge, moist, but not dripping wet.
Pro Tip for Parents: If mess is a concern, lay down a towel or do this step outside. Kids love getting their hands dirty, but your kitchen table might not.
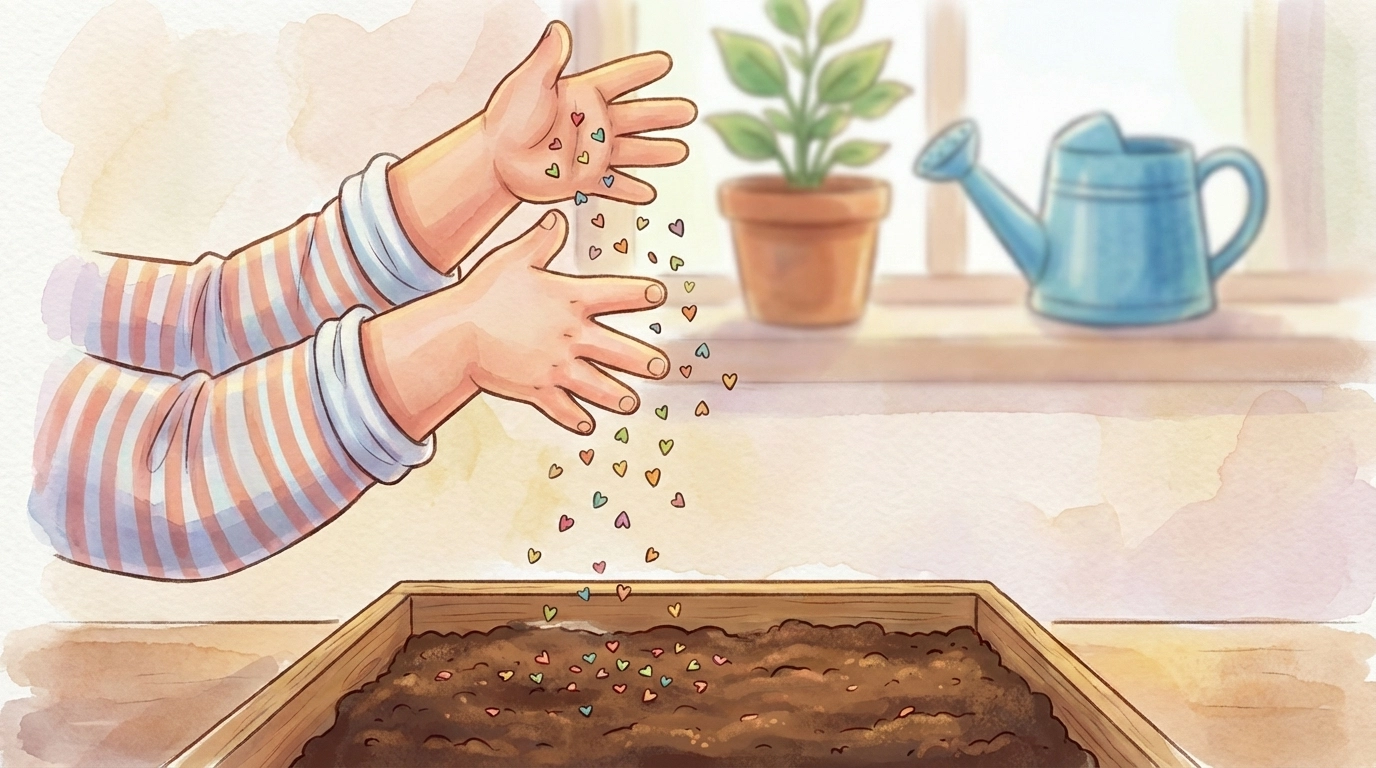
How Do You Plant Microgreen Seeds?
Step 3: Scatter the Seeds
Here's where kids really shine. Have them sprinkle the seeds densely and evenly across the soil surface. Unlike a traditional garden, microgreens are planted close together, think of it like making a "seed blanket."
For larger seeds like sunflower or pea, soak them in water overnight before planting. This speeds up germination and gives kids a chance to observe how seeds change when they absorb water (hello, science lesson!).
Step 4: Cover Lightly
Sprinkle a very thin layer of soil over the seeds: just enough to barely cover them. Then, have your child gently press down with their palm or a flat piece of cardboard.
How Much Light and Water Do Microgreens Need?
Step 5: Find the Right Spot
Place the container in a sunny window that gets at least 4 hours of direct sunlight each day. If your home is short on natural light (especially in winter), a simple grow light works wonders. You can find affordable clip-on LED grow lights for under $15.
Step 6: Mist Daily
Hand your child the spray bottle and let them take over watering duties. Microgreens prefer a gentle mist rather than a heavy pour. Aim to keep the soil consistently moist: not soggy, not bone dry.
This daily misting ritual is a great way to build responsibility. Even kids as young as four can handle this task with a little guidance.
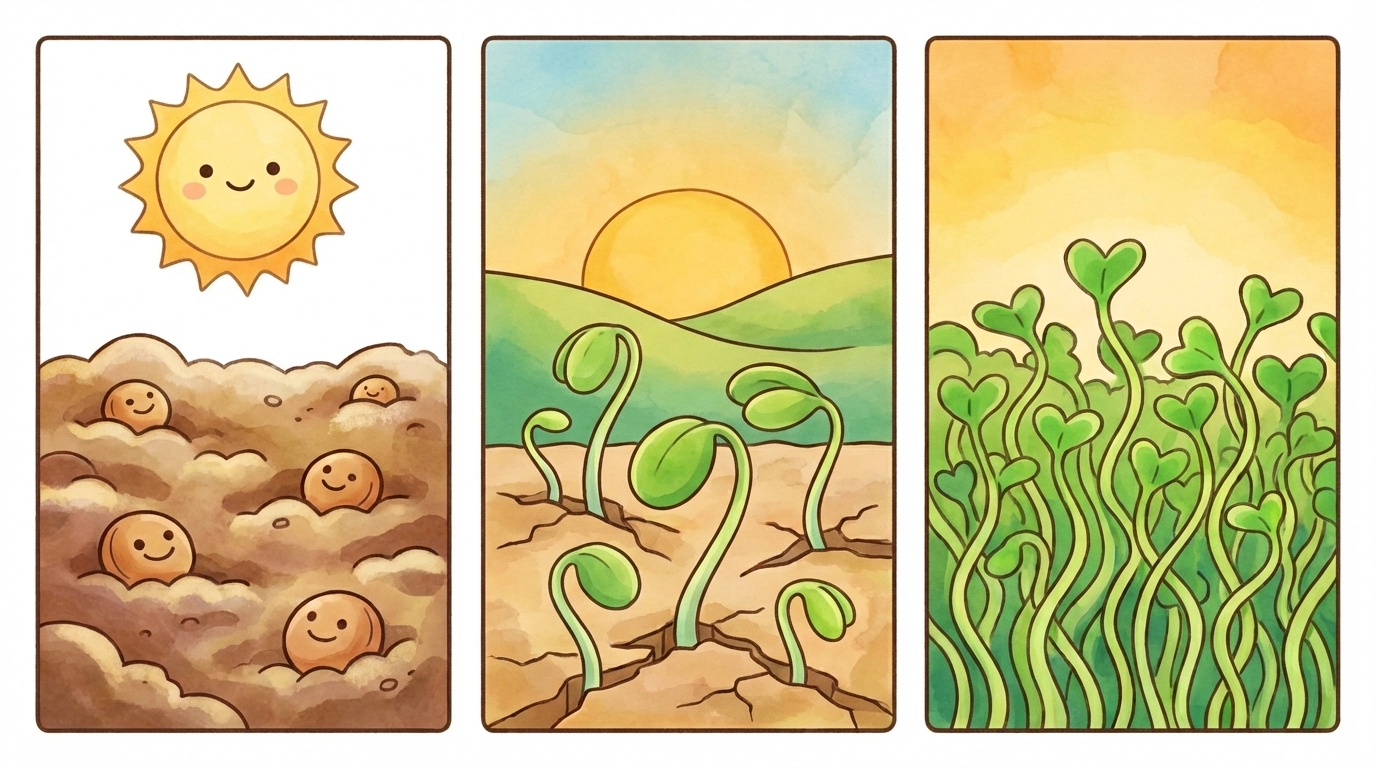
What Happens During the Growing Phase?
Days 1–3: The Waiting Game
Not much visible action yet, but underneath the soil, seeds are waking up. This is a perfect time to talk about what's happening: seeds absorb water, their outer shells soften, and tiny roots start to emerge.
Days 4–7: Sprouts Appear!
This is the exciting part. Little green (or sometimes pale yellow) shoots will push through the soil. If your microgreens look a bit leggy or pale, they need more light: move them closer to the window or add a grow light.
Days 7–14: Harvest Time
When the first set of true leaves appears and your microgreens are 1–3 inches tall, they're ready to harvest. Most varieties hit this stage between 7 and 14 days.
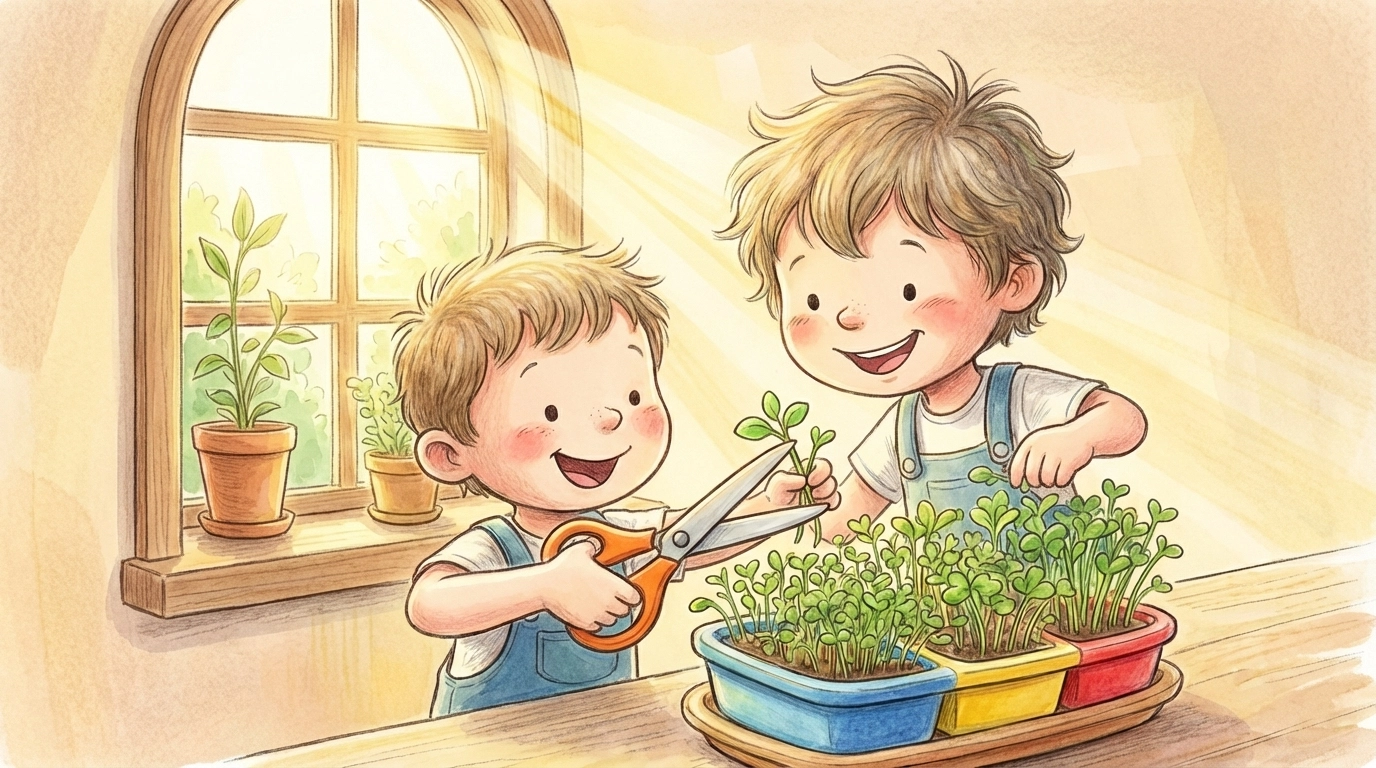
How Do You Harvest Microgreens with Kids?
Step 7: Snip and Enjoy
Give your child a pair of kid-safe scissors and let them cut the microgreens just above the soil line. Harvest only what you'll eat right away: freshly cut microgreens taste best.
Rinse them gently, pat dry, and add them to sandwiches, salads, smoothies, scrambled eggs, or just eat them straight as a crunchy snack.
Fun Idea: Host a "taste test" with different varieties. Which microgreen is the spiciest? The mildest? Let kids rate their favorites on a homemade chart.
What Are the Best Microgreens for Kids to Grow?
Not all microgreens are created equal: some are easier (and tastier) for beginners. Here are our top picks for families:
| Variety | Flavor | Days to Harvest | Kid Appeal |
|---|---|---|---|
| Sunflower | Nutty, crunchy | 10–14 | High: big seeds, big sprouts! |
| Pea Shoots | Sweet, mild | 10–14 | High: great for snacking |
| Radish | Spicy, peppery | 5–7 | Medium: fast results! |
| Broccoli | Mild, earthy | 7–10 | Medium: nutrient powerhouse |
| Lettuce Mix | Mild, leafy | 10–12 | High: familiar flavor |
Start with sunflower or pea shoots if your kids are picky eaters. The mild, slightly sweet taste wins over most little palates.
How Can You Make This Project More Educational?
Microgreens aren't just a gardening project: they're a full-on learning opportunity. Here are ways to sneak in some extra education:
- Science: Track growth daily in a simple journal. Measure height, note color changes, and predict what will happen next.
- Math: Count seeds before planting, measure soil depth, and calculate how many days until harvest.
- Nutrition: Talk about why greens are good for our bodies. Microgreens can contain 4–40 times more nutrients than their mature counterparts!
- Responsibility: Assign daily watering duties and let kids "own" their tray.
Troubleshooting Common Microgreen Problems
| Problem | Likely Cause | Easy Fix |
|---|---|---|
| Mold or fuzz on soil | Too wet, not enough airflow | Reduce misting, add ventilation |
| Pale or leggy sprouts | Not enough light | Move closer to window or add grow light |
| Seeds didn't sprout | Old seeds or too dry | Try fresh seeds, keep soil moist |
| Uneven growth | Uneven seed distribution | Scatter more carefully next time |
Don't stress over imperfect results: every "failure" is a teaching moment!
Ready to Grow? Start Your Family Microgreen Project Today
Growing microgreens indoors with kids is one of the simplest, fastest, and most satisfying family gardening projects you can try. With minimal cost, easy cleanup, and a harvest in under two weeks, it's a perfect introduction to indoor gardening and food security for children of all ages.
Grab a container, scatter some seeds, and watch your little gardeners' faces light up as their tiny greens come to life. For more hands-on family projects, visit Tierney Family Farms and explore our full library of kid-friendly gardening ideas.
Microgreens FAQs (Quick Answers for Parents)
- What is the difference between sprouts and microgreens? Sprouts are grown in water and you eat the whole thing (root and all). Microgreens are grown in soil and you snip off the tops just as the first true leaves appear.
- How soon can we eat our microgreens? Most microgreens are ready to harvest in just 7 to 14 days. They are the "instant gratification" of the gardening world!
- Do microgreens need a lot of sun? They love light, but because they are harvested so young, they don't need as much as a full-grown plant. A bright windowsill is usually plenty.
References:
- University extension resources on microgreen cultivation
- USDA nutrient data for microgreens vs. mature vegetables


