


The Quick Answer
Making a cardboard crown with kids typically takes about 20-30 minutes and requires just a few household supplies you likely already have: cardboard from a cereal box, scissors, tape, and whatever decorations spark your little one's imagination. It's an affordable, creative project that works well for pretend play, birthday celebrations, or just a rainy Tuesday afternoon when someone declares themselves royalty of the living room.
This craft tends to be a hit because kids get to design something they can actually wear and use immediately. No waiting for paint to dry for days, no complicated assembly: just measure, cut, decorate, and crown yourself.
What You'll Need
Here's the good news: this project typically costs under $10, and you might not need to buy anything at all.
| Material | Estimated Cost | Notes |
|---|---|---|
| Cardboard (cereal box, snack box, or shipping box) | Free | Recycled works great |
| Scissors | Already own | Kid-safe scissors for little ones |
| Tape or glue | $1-3 | Masking tape or a glue stick |
| Hot glue gun (optional) | $5-8 | For sturdier builds; adult use only |
| Decorations (paint, markers, stickers, gems, sequins) | $0-5 | Use what you have on hand |
| Ribbon or elastic (optional) | $1-2 | For adjustable sizing |
Pro tip: Raid your recycling bin and craft drawer before heading to the store. Cereal boxes, cracker boxes, and even tissue boxes work wonderfully for crown-making.
Age Recommendations
Best for ages 3-10, though honestly, kids of many ages can enjoy this one with the right level of involvement.
| Age Range | Skill Level | Adult Help Needed |
|---|---|---|
| 3-4 years | Can decorate and stick on gems/stickers | Adult handles cutting and measuring |
| 5-7 years | Can help with measuring and simple cutting | Adult supervises scissors and hot glue |
| 8-10 years | Can often complete most steps independently | Minimal supervision needed |
Younger kids tend to get the most joy from the decorating phase, while older children often love designing the crown shape themselves.
Time Estimate
- Prep time: 5 minutes
- Crafting time: 15-25 minutes
- Decorating time: 10-20 minutes (or longer if you have an enthusiastic artist)
Total time: Roughly 30-50 minutes, depending on how elaborate the royal headwear becomes.
Step-by-Step Instructions
Step 1: Gather Your Cardboard
Start by finding a sturdy piece of cardboard. Cereal boxes work particularly well because they're flexible enough to curve around a child's head but rigid enough to hold their shape. Flatten the box completely and cut off any flaps.
If you're working with a thicker shipping box, that's fine too: just know it may require more effort to bend into a circle.
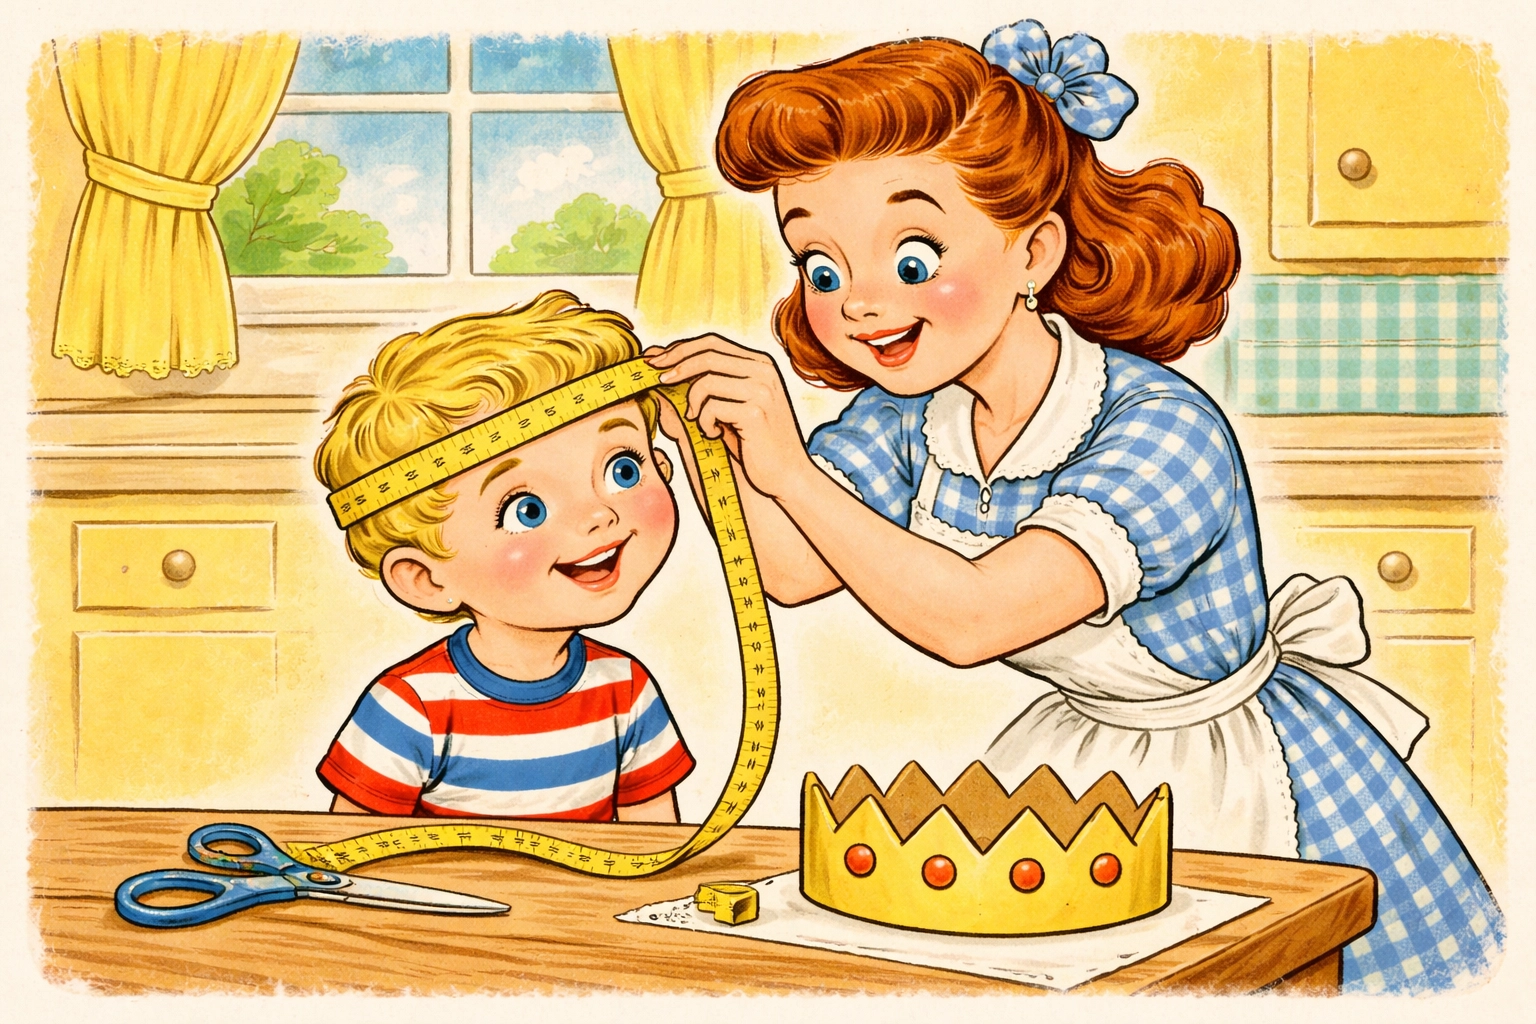
Step 2: Measure Your Child's Head
Wrap a piece of string, ribbon, or flexible measuring tape around your child's head just above their ears. Add about an inch for overlap where you'll tape or glue the ends together.
For most kids ages 3-7, you'll need strips that are roughly 20-22 inches long. Older kids and adults typically need 22-24 inches.
Step 3: Cut the Crown Base
Cut two long strips from your cardboard, each about 2-3 inches wide. If your cardboard isn't long enough for one continuous strip, that's perfectly okay: you can tape two pieces together to get the length you need.
These strips will form the band that wraps around the head.
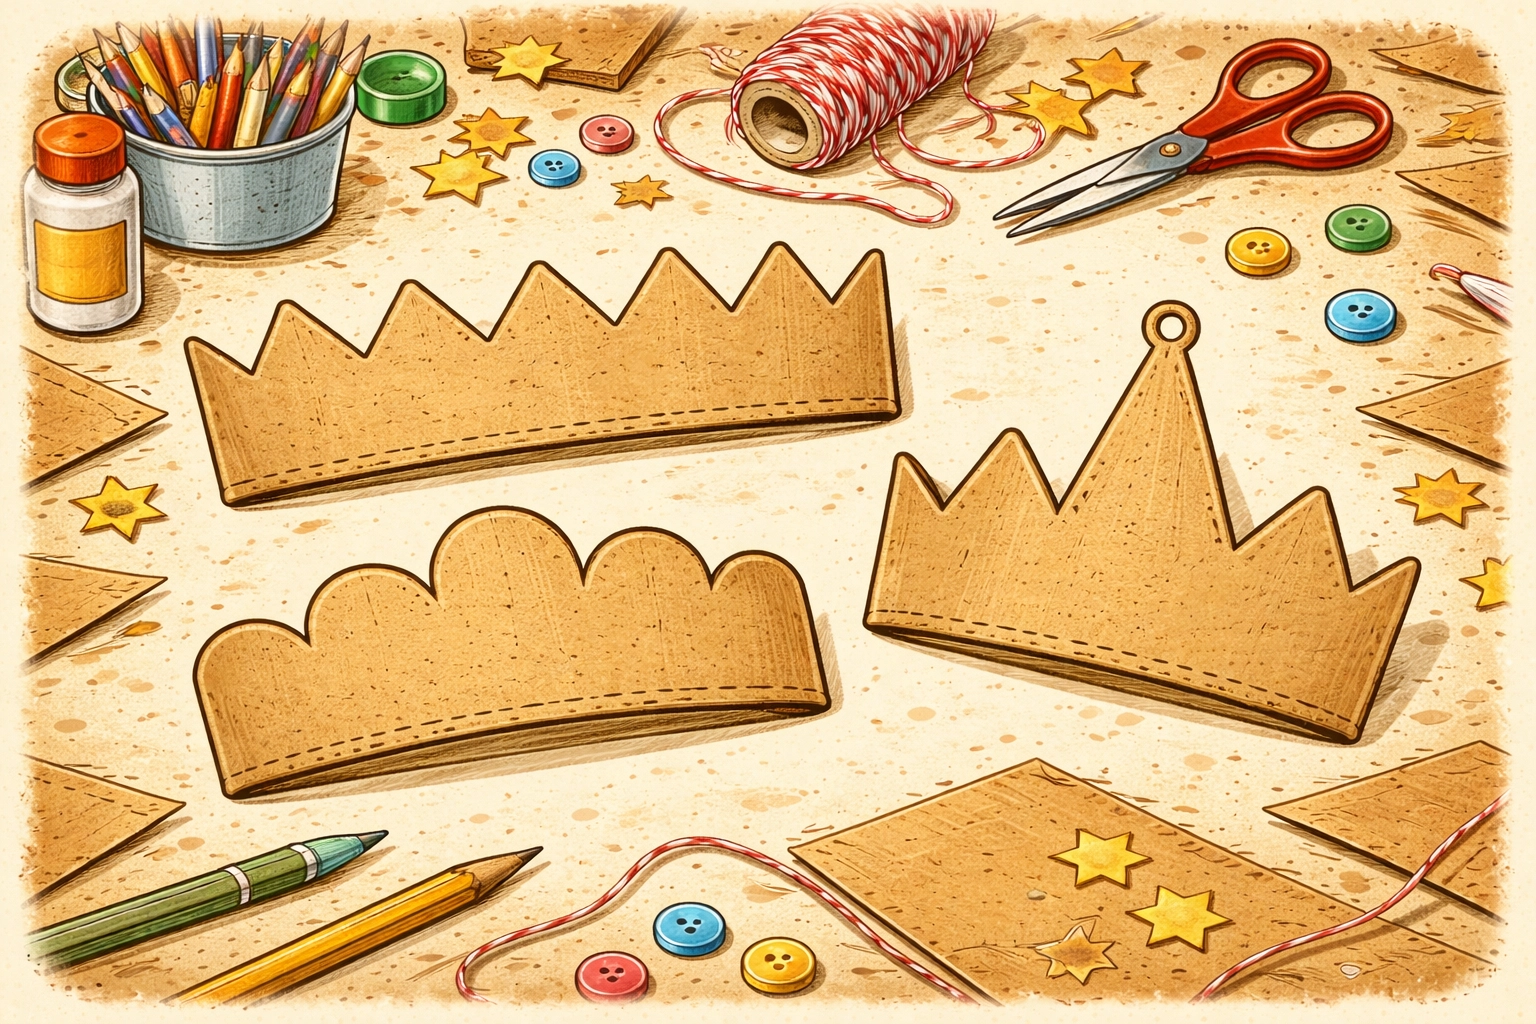
Step 4: Create the Crown Points
This is where the fun really starts. You have several design options:
- Classic triangular points: Cut a zigzag pattern along the top edge of one strip
- Rounded arches: Cut scalloped, wave-like curves for a softer look
- Single tall point: Create one dramatic peak in the front for a birthday crown effect
- Matching peaks all around: Cut separate triangle pieces and glue them onto the band
For younger kids, simple triangular points tend to be easiest. Cut them about 2-3 inches tall so they're visible but not so tall they flop over.
Step 5: Form the Circle
Once your crown strip is decorated with points, carefully curve it into a circle. Overlap the ends by about an inch and secure them with tape or hot glue.
Hot glue tip: If you're using a hot glue gun, this is definitely an adult-only task. The glue gets quite hot and can cause burns. Have kids step back during this part, then hand them the secured crown for decorating.
Test the fit on your child's head before the glue fully sets. You want it snug enough to stay on during play but not so tight it's uncomfortable.
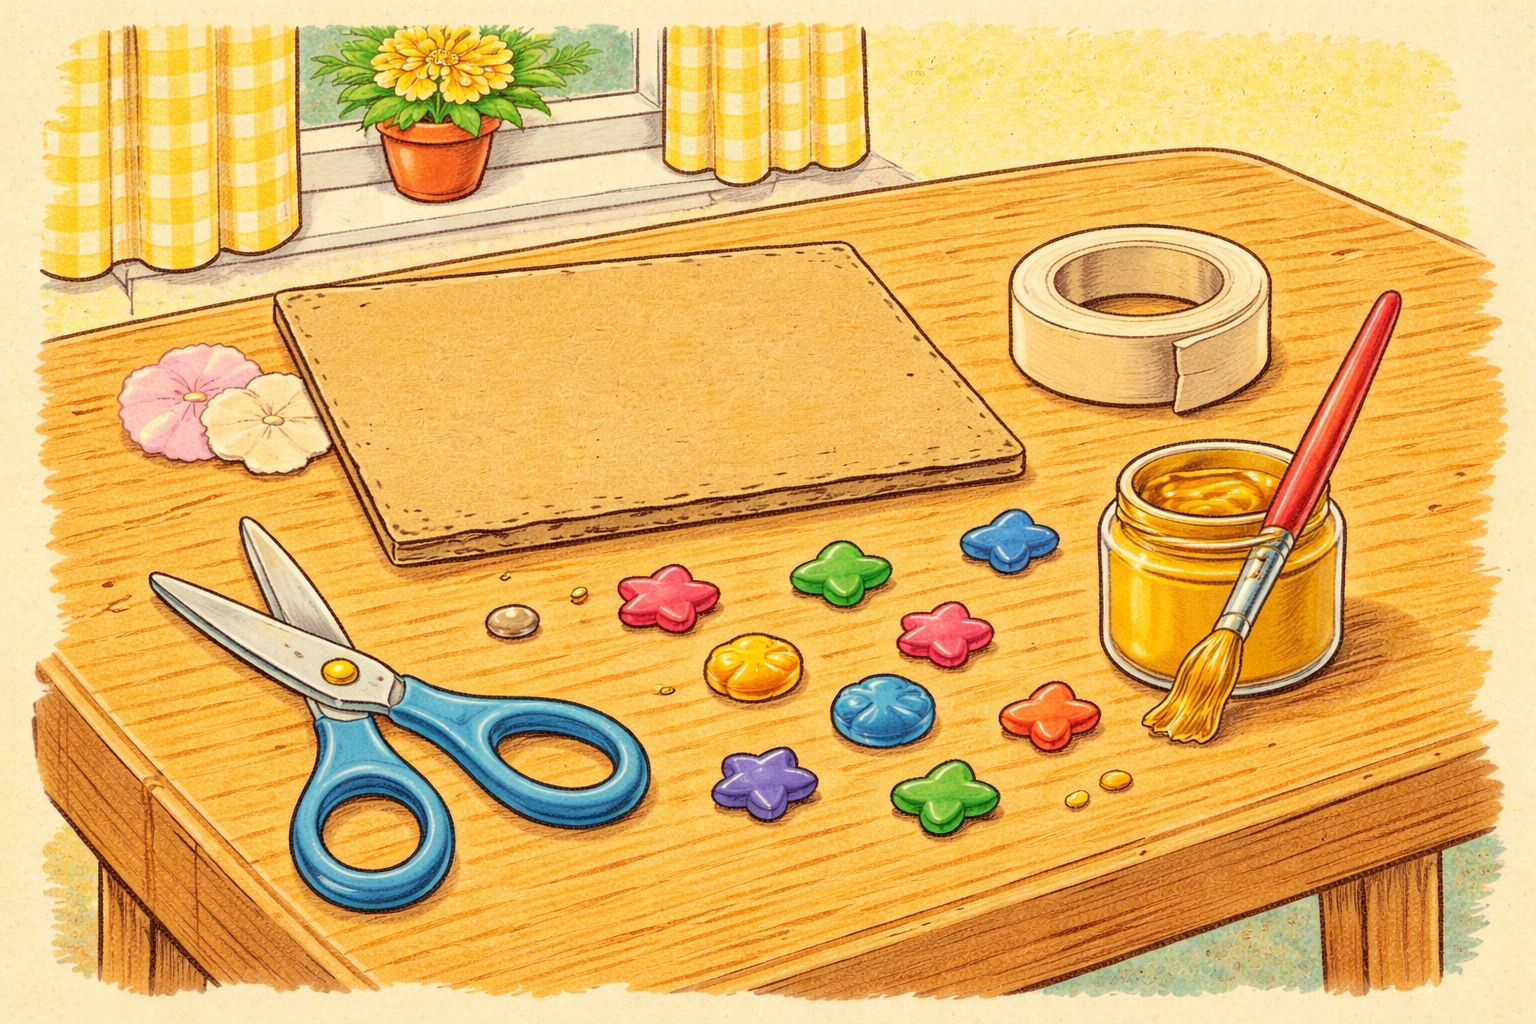
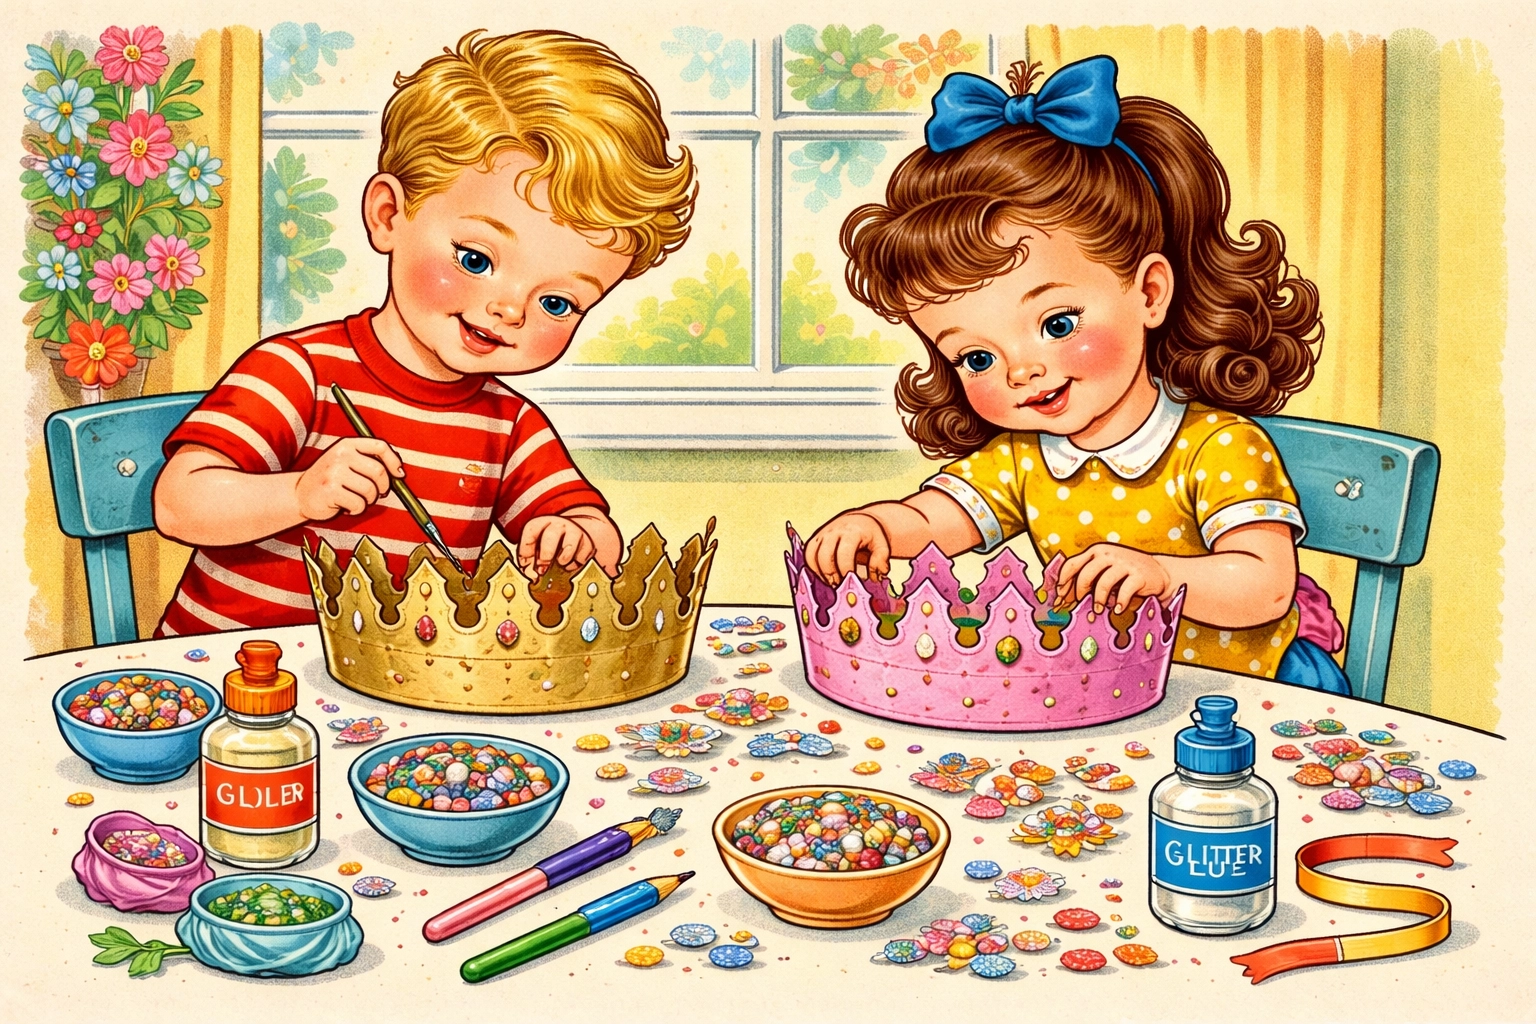
Step 6: Decorate Like Royalty
Now for the main event: decorating! Lay out all your supplies and let your child go wild. Some popular decoration ideas include:
- Paint: Metallic gold, silver, or bright colors
- Gems and rhinestones: Hot glue works better than white glue for these
- Stickers: Quick and mess-free
- Markers or crayons: Great for drawing patterns or writing names
- Glitter glue: Sparkly but contained (mostly)
- Sequins and beads: Adds texture and shine
- Ribbon or fabric scraps: For a fabric-wrapped look
If you're feeling adventurous, take the decorating outdoors and collect natural materials like small leaves, acorns, or flower petals for a nature-inspired crown.
Step 7: Let It Dry and Play
If you've used paint or glue, give the crown about 15-30 minutes to dry before wearing. Once it's ready, the coronation ceremony can begin!
These crowns hold up reasonably well for pretend play, though they may not survive rough-and-tumble activities. For longer-lasting crowns, consider adding a layer of clear tape over decorated areas or coating with a clear sealant spray (adult application only).
Variations to Try
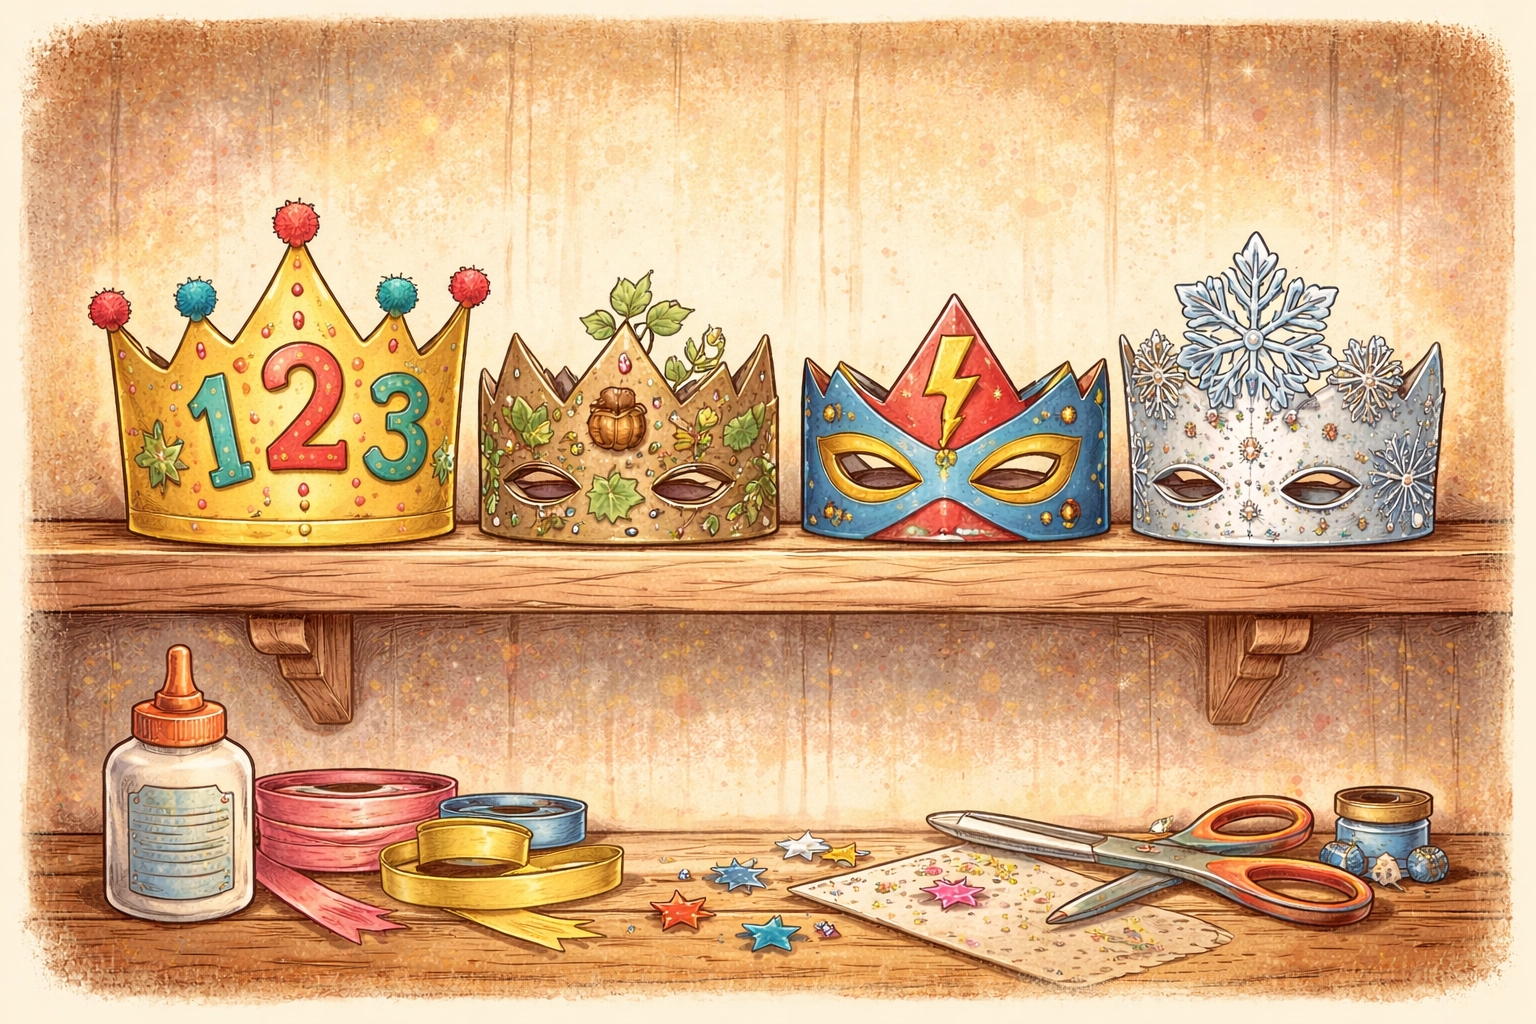
Birthday Crown: Make it extra special with the birthday child's name (written by hand) and their age in big numbers.
Nature Crown: Use a plain cardboard base and decorate exclusively with items found outside: leaves, small twigs, pressed flowers.
Superhero Crown: Skip the traditional points and create a mask-crown hybrid with eye holes cut out.
Seasonal Crowns: Add themed decorations for holidays: hearts for Valentine's Day, paper leaves for fall, snowflakes for winter.
For more hands-on craft projects like this one, check out our kids crafts collection for ideas that keep little hands busy.
Frequently Asked Questions
What type of cardboard works best for kids' crowns?
Cereal boxes and snack boxes tend to work well because they're thin enough to bend easily but sturdy enough to hold their shape. Thicker cardboard from shipping boxes can work too, but may require scoring (making a shallow cut) to help it curve smoothly.
How do I make the crown adjustable?
Instead of taping the ends permanently, punch holes on each end and thread ribbon or elastic through. This lets you tie it to fit different head sizes: handy if siblings want to share.
Can toddlers do this craft?
Toddlers can definitely participate in the decorating phase with stickers, chunky crayons, or washable paint. Adults should handle all cutting and gluing for safety.
How long will a cardboard crown last?
With gentle use, a cardboard crown can last several weeks. For extended durability, cover it with clear packing tape or avoid getting it wet.
What's the safest glue option for young kids?
Glue sticks and white school glue are generally the safest options for children to use independently. Save hot glue for adult-only application when you need a stronger bond for gems or heavier decorations.
Can I make this crown without any cutting tools?
You could use pre-cut cardboard strips or even paper plates as a base, though the classic crown shape really does require some cutting. Consider safety scissors designed for small hands if regular scissors are a concern.
How do I prevent the crown from falling off during play?
Make sure the fit is snug during the measuring phase. You can also attach a ribbon chin strap or add a piece of elastic that goes under the chin for active play.
What if I don't have any decorations?
Crayons, markers, and colored pencils work wonderfully. Kids can also draw gems, jewels, and patterns directly onto the cardboard for a completely illustrated crown.
References
- Cardboard crown crafting techniques and nature-themed decoration ideas
- Crown design variations including triangular and arched styles
- Basic materials list and assembly methods for DIY paper crowns
- Printable crown template alternatives and decoration suggestions


