


The quick answer: You can make beautiful leaf skeletons at home by simmering leaves in a baking soda or sodium carbonate solution, then gently brushing away the soft green tissue to reveal the delicate vein structure underneath. It's like uncovering nature's hidden highway system, and the whole project costs less than five bucks!
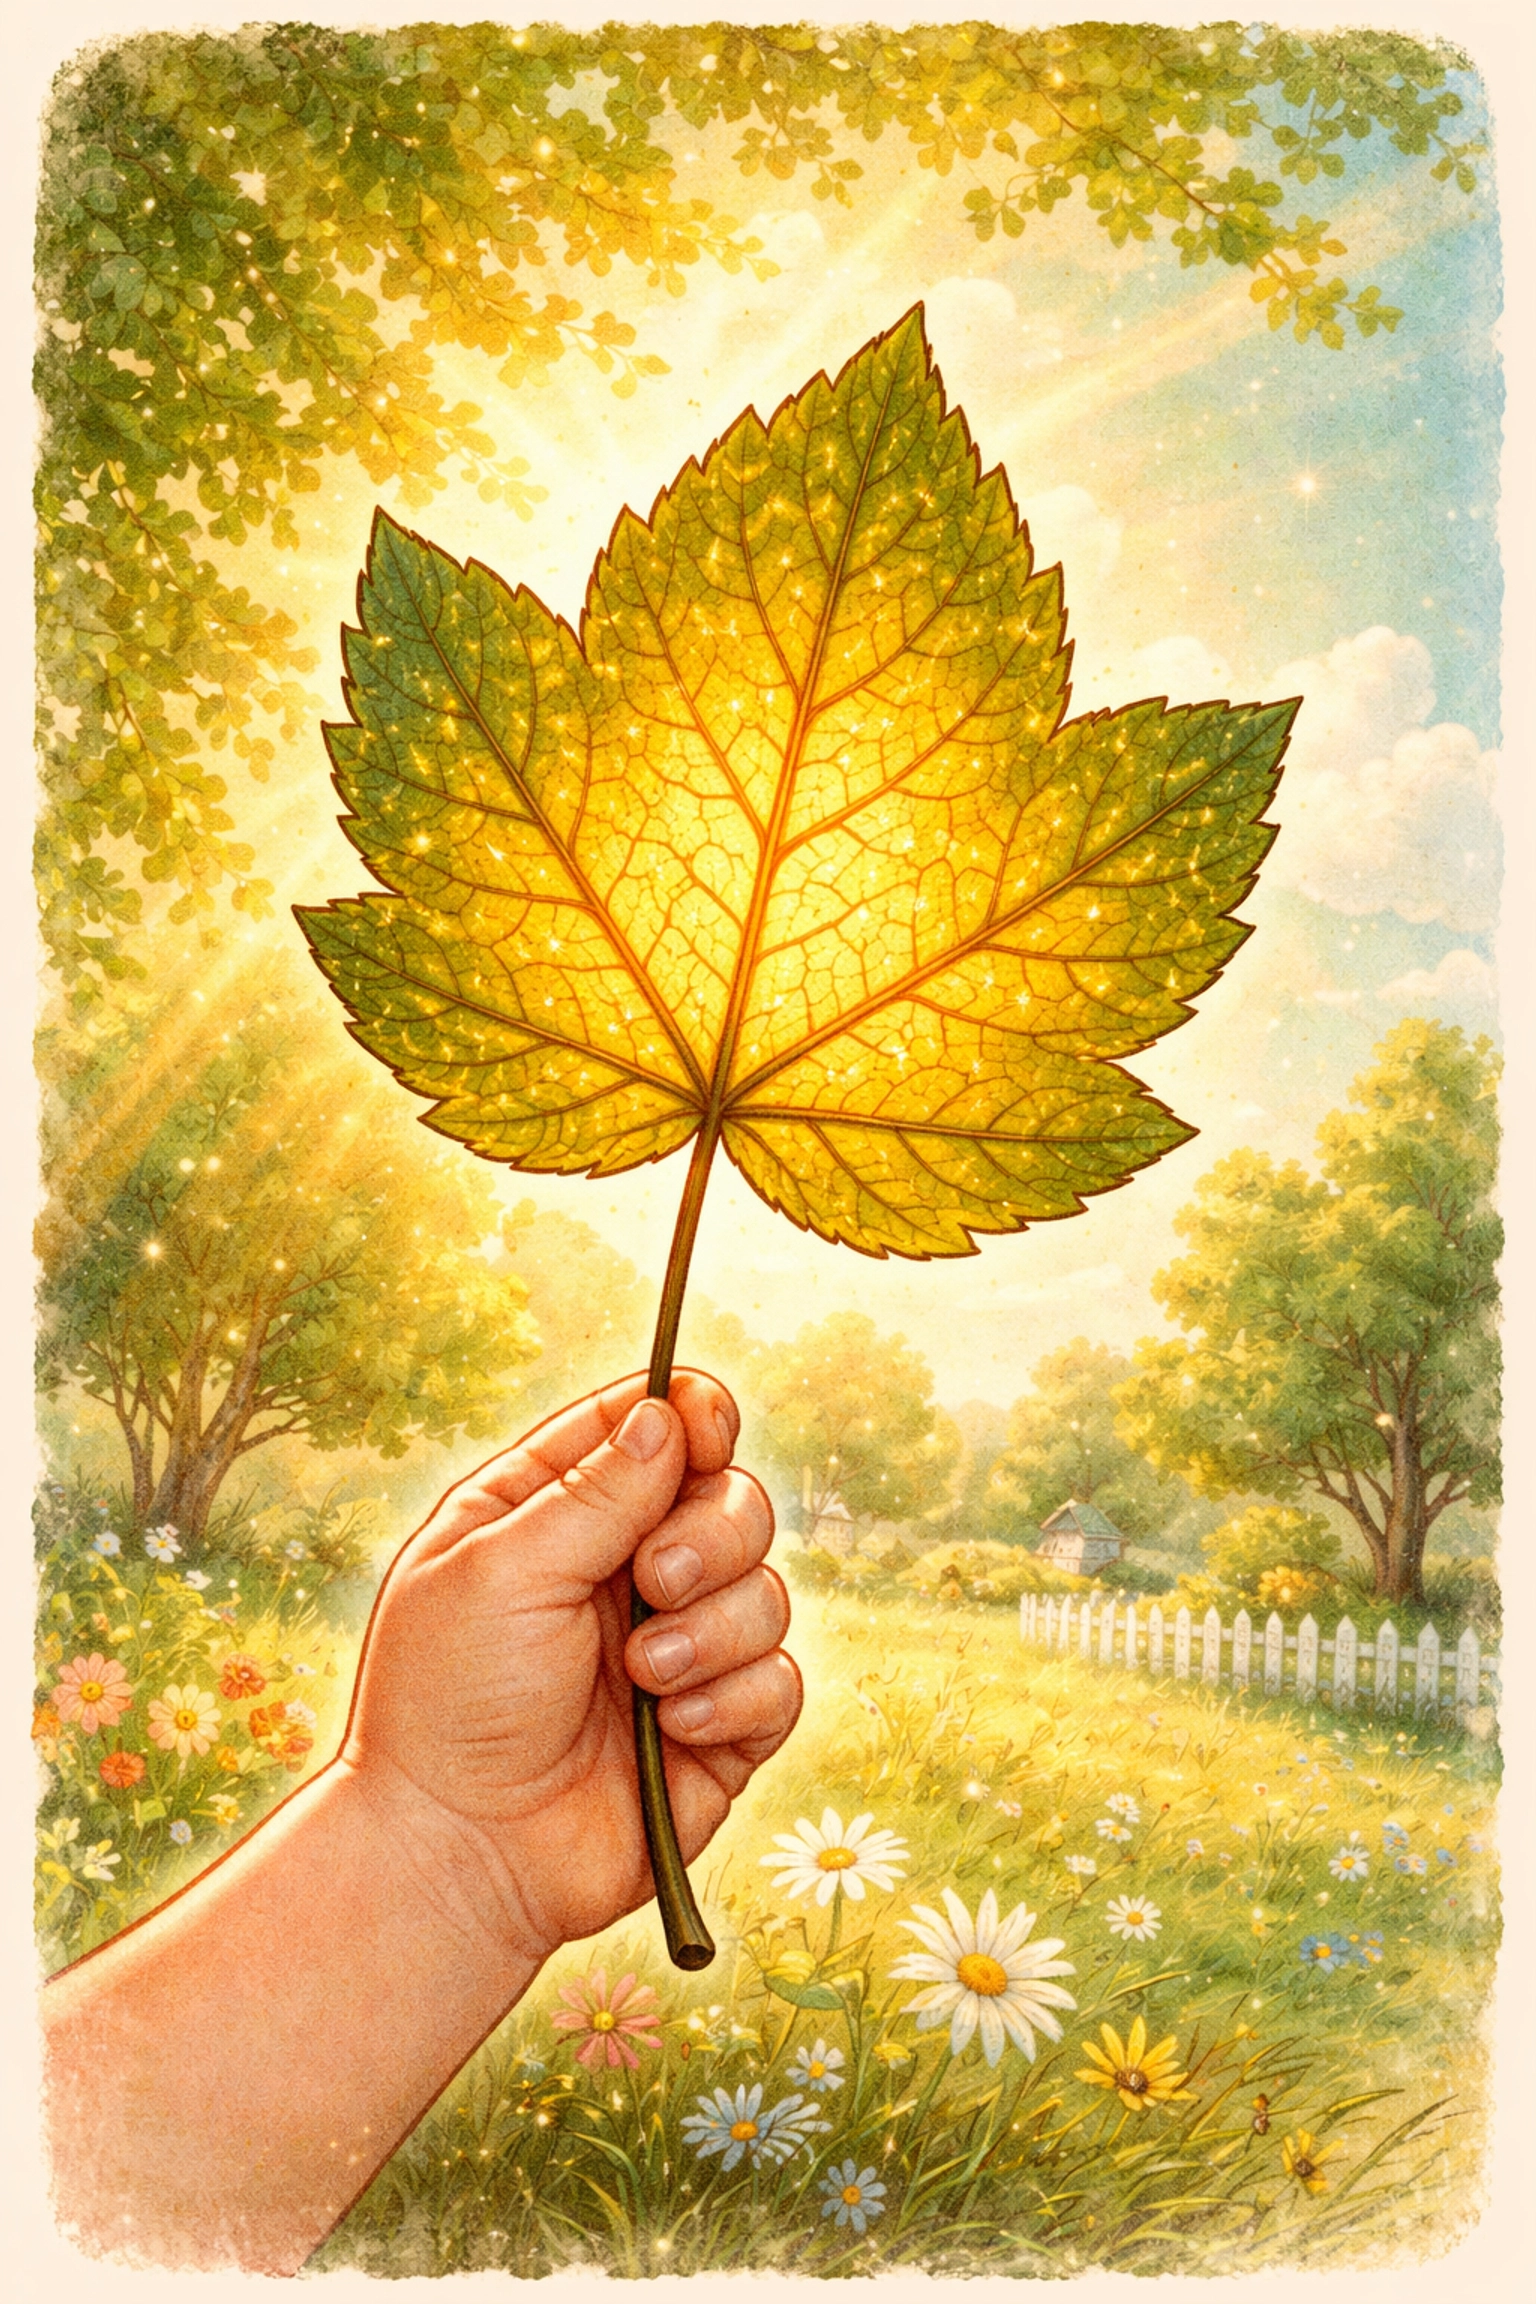
If you've ever held a leaf up to the sun and marveled at those tiny lines running through it, you're about to get even closer to the magic. Leaf skeletons are one of those "wow, we made THAT?" projects that look like they belong in a fancy nature museum but can absolutely happen at your kitchen table on a Saturday afternoon.
Let's dig in!
What Exactly IS a Leaf Skeleton?
Think of a leaf like a tiny city. The green stuff? That's all the buildings, the people, the hustle and bustle. But underneath all that action, there's an infrastructure, roads, highways, and little side streets that carry water and nutrients to every corner of the leaf.
When you make a leaf skeleton, you're essentially clearing away the "city" to expose that incredible network of veins. What's left behind is a lacy, almost ghostly version of the leaf that shows you exactly how plants move water from their stems to their tips.
It's science. It's art. It's a little bit magical.
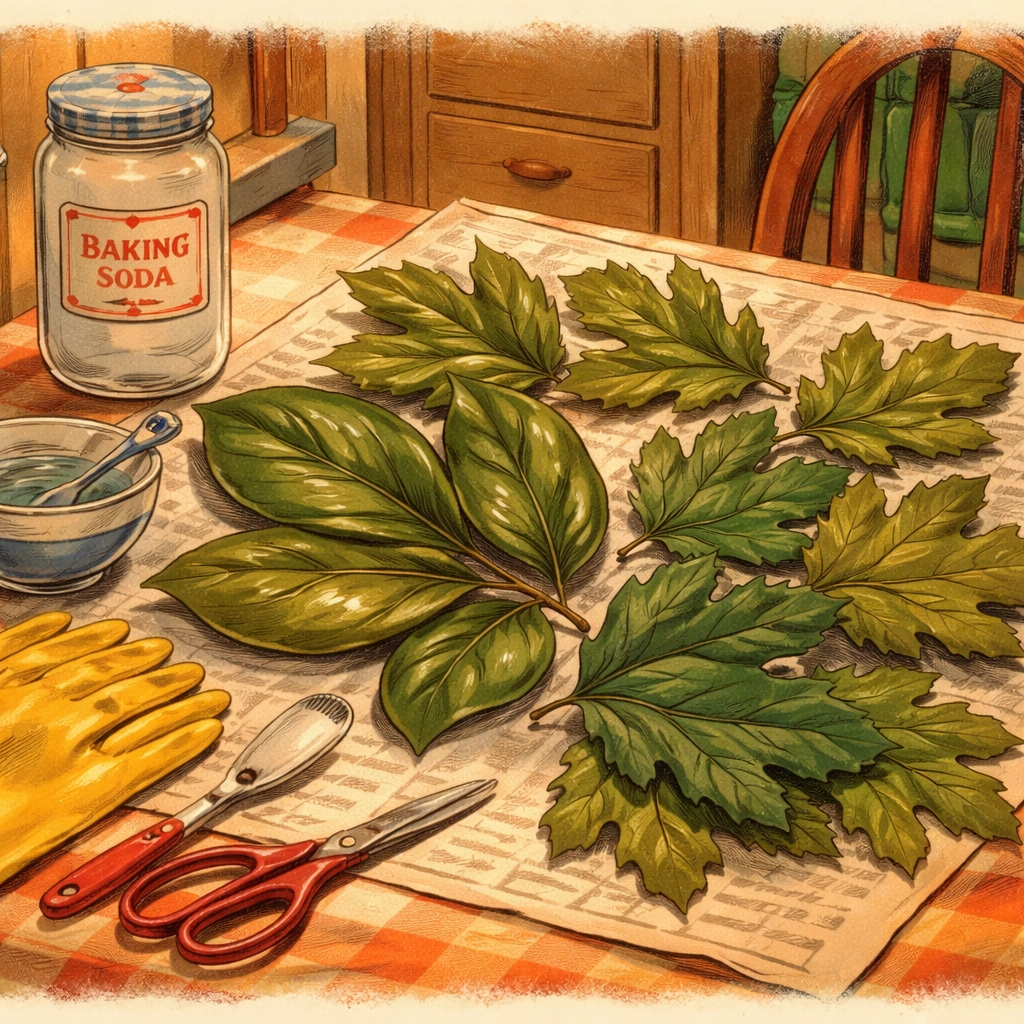
What You'll Need (Budget: Under $5!)
Here's the good news: you probably have most of these supplies in your kitchen right now.
The Essentials:
- Fresh leaves (3-5 to start)
- Baking soda OR washing soda (sodium carbonate)
- Water
- A pot you don't mind getting a little funky
- An old toothbrush (soft bristles work best)
- Rubber gloves
- A shallow dish or bowl
- Paper plates or paper towels
Optional Fancy Additions:
- Household bleach (for whitening)
- Food coloring or fabric dye (for tinting)
- Heavy books (for pressing)
Cost breakdown:
- Leaves: FREE (your backyard is calling!)
- Baking soda: ~$1-2
- Toothbrush: ~$1 (or raid the bathroom drawer)
- Everything else: probably already in your house
Total: Around $2-4
Step 1: Choose Your Leaves Wisely
Not all leaves are created equal for this project. You want leaves that are:
- Fresh and firm (not dried out or crumbly)
- Thick and waxy (thin, delicate leaves will disintegrate)
- Medium to large sized (easier for little hands to work with)
Best leaves for beginners:
- Magnolia (the champion of leaf skeletons!)
- Oak
- Maple
- Rhododendron
- Rubber plant leaves
- Camellia
Skip these:
- Ferns (too delicate)
- Grass blades (no vein structure to speak of)
- Super thin leaves like birch or willow
Pro tip: Grab more leaves than you think you'll need. Some won't survive the process, and that's totally normal!
Step 2: Make Your Magic Solution
You've got two options here, depending on what's in your pantry.
Option A: Baking Soda Method (Slower but Gentler)
- 2 cups water
- 3 tablespoons baking soda
Option B: Washing Soda Method (Faster Results)
- 2 cups water
- 4 teaspoons washing soda (sodium carbonate)
Pour your water into a pot and stir in your soda of choice until it's completely dissolved. Easy peasy.
Step 3: Simmer Those Leaves
Here's where the science starts cooking, literally!
- Bring your solution to a gentle boil
- Carefully add your leaves (use tongs if the kids are helping)
- Reduce heat to a low simmer
- Cover loosely and let it bubble away
Timing depends on your method:
- Washing soda: about 30-45 minutes
- Baking soda: about 2-2.5 hours
You'll know the leaves are ready when they look darker, softer, and a bit slimy. That's the good stuff breaking down!
Safety note: This is a great time to talk about kitchen safety. The solution is alkaline (the opposite of acidic), so it can irritate skin. Keep those rubber gloves handy and supervise closely around the hot stove.
Step 4: The Gentle Brushing (The Fun Part!)
This is where patience meets payoff.
- Use tongs or a slotted spoon to carefully transfer one leaf to a shallow dish of cool, clean water
- Let it rest for a minute to cool down
- Place the leaf on a paper plate
- Grab your soft toothbrush and get ready for the satisfying part
The brushing technique:
- Work from the center stem outward toward the edges
- Use short, gentle strokes (think "tickling," not "scrubbing")
- Brush in the direction of the veins, not against them
- Rinse your brush frequently
- Pour off the green gunk as it accumulates
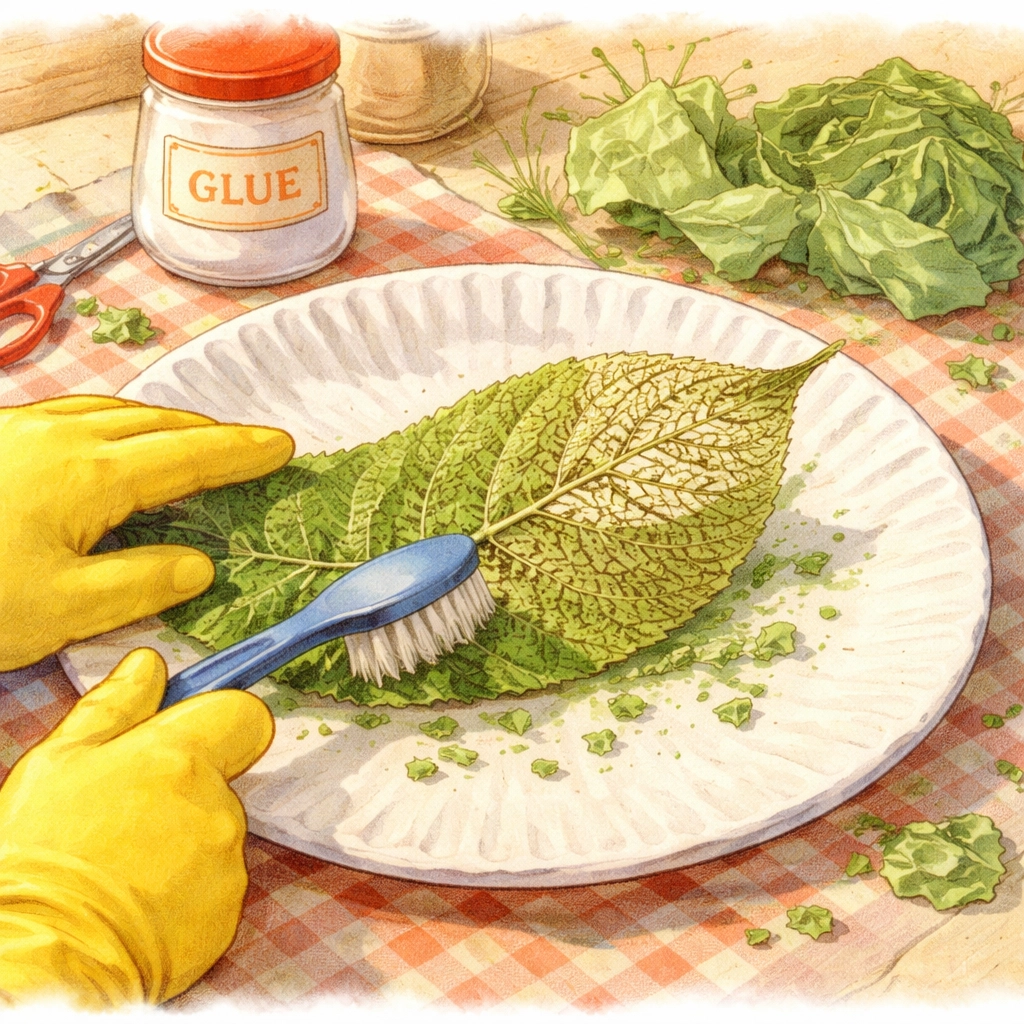
The green tissue will start sloughing off in satisfying little bits, revealing that gorgeous vein network underneath. It's oddly relaxing once you get the hang of it!
Troubleshooting:
- If the tissue isn't coming off easily, pop the leaf back in the solution for another 15-20 minutes
- If the leaf is falling apart completely, you may have cooked it too long (grab another one and try again!)
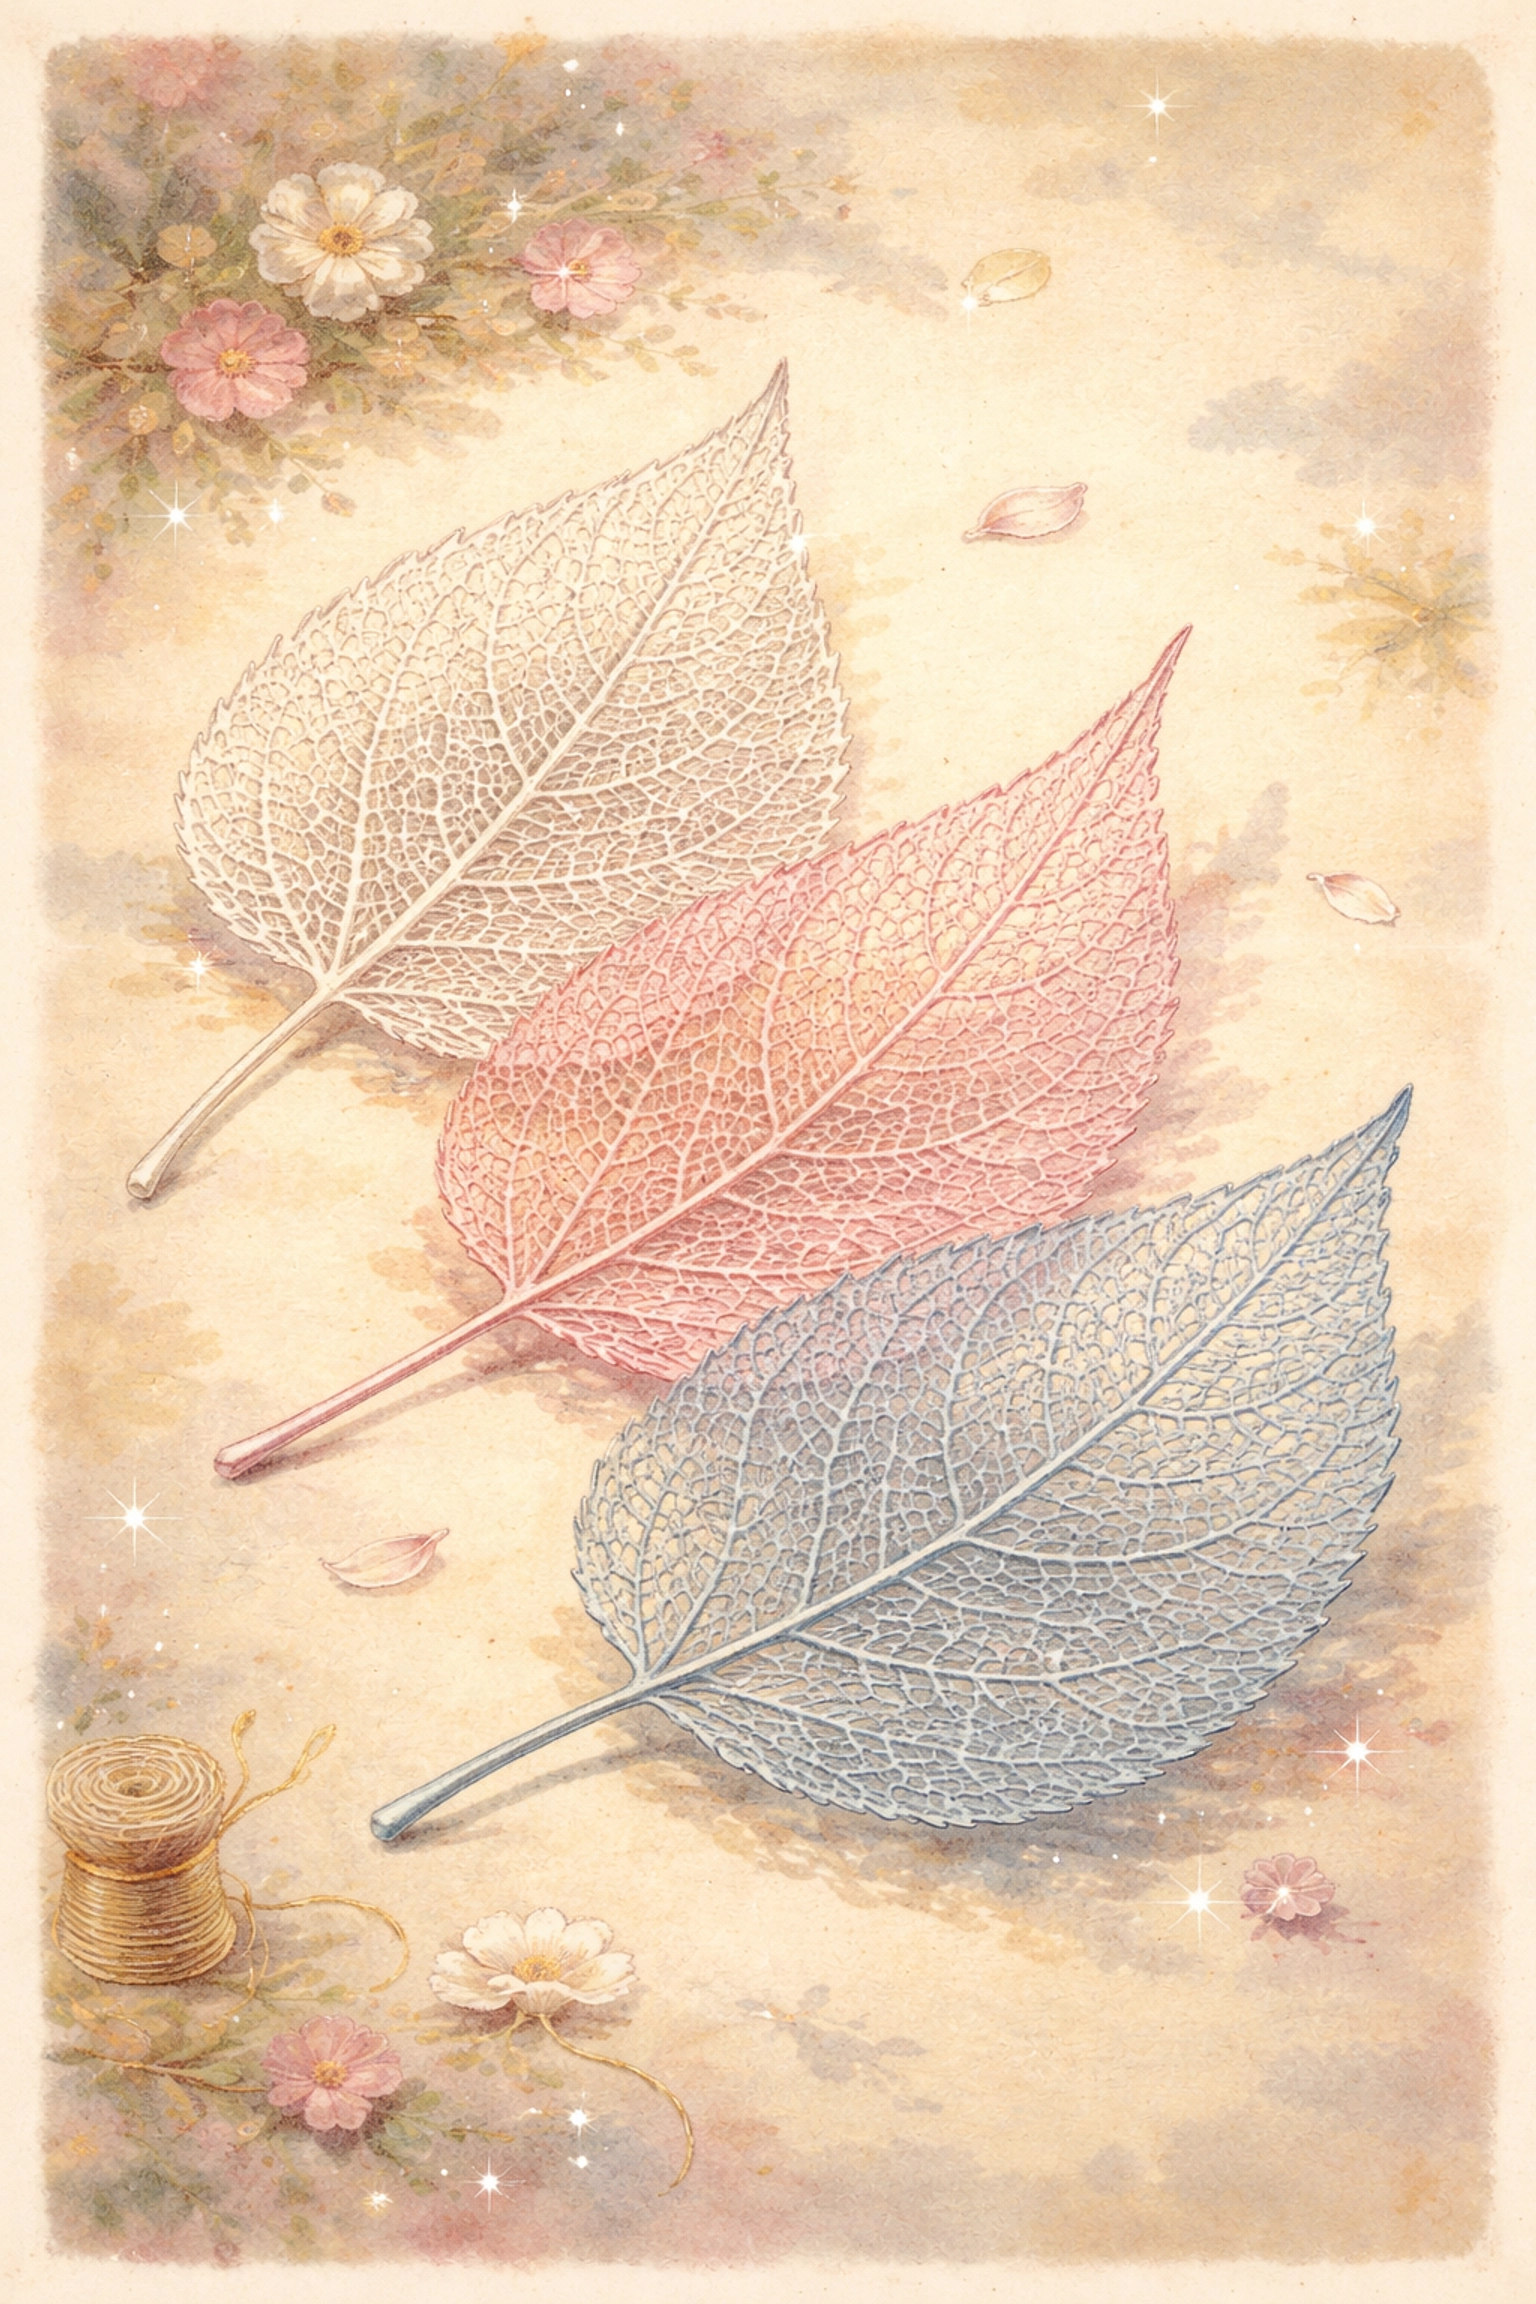
Step 5: Bleach and Dry (Optional but Pretty)
Once you've brushed away all the green tissue, you'll have a skeleton that's kind of brownish-tan. Totally cool on its own! But if you want that ethereal, ghostly white look:
- Fill a cup with household bleach
- Gently place your leaf skeleton in the bleach
- Wait about 20 minutes (watch it transform!)
- Remove carefully and rinse with clean water
- Lay flat on paper towels to dry
For colored skeletons: Skip the bleach and dip your finished skeleton in diluted food coloring or fabric dye instead. Rainbow leaf skeletons? Yes please!
Step 6: Press and Preserve
Once your leaf skeletons are completely dry (about an hour in a warm spot), you can preserve them for display:
- Place each skeleton between two paper towels
- Slip them inside a heavy book
- Stack more books on top
- Wait at least two weeks
The result? Perfectly flat, museum-worthy leaf skeletons ready for framing, crafting, or just admiring.
Why Does This Work? (The Science Bit)
Here's what's happening at a microscopic level:
Leaves have two main parts, the soft mesophyll tissue (the green, squishy stuff that does photosynthesis) and the tough vascular tissue (the veins that transport water and nutrients).
The alkaline solution breaks down the soft tissue while leaving the stronger vein fibers intact. It's basically like dissolving the "meat" of the leaf while preserving the "bones."
This is actually similar to how scientists and artists have been preserving botanical specimens for hundreds of years. Your kitchen just became a Victorian-era laboratory!
Creative Ideas for Your Finished Skeletons
Now that you've got these gorgeous natural treasures, what do you do with them?
- Frame them for instant botanical art
- Make bookmarks by laminating or pressing between contact paper
- Create greeting cards for a handmade touch
- Add to a nature journal alongside pressed flowers
- String them as a garland for a nature-themed party
- Use in resin crafts if you're feeling ambitious
They also pair beautifully with other DIY nature projects, like growing your own herbs in a mini greenhouse made from plastic bottles!
Frequently Asked Questions
How long does the whole leaf skeleton project take?
Plan for about 1-3 hours depending on your method, plus drying and pressing time. It's perfect for a weekend afternoon project!
Can you use dried leaves from fall?
Unfortunately, no. Dried leaves are too brittle and will crumble during the brushing process. You need fresh, flexible leaves for best results.
Is the baking soda solution safe for kids?
The solution is alkaline and can irritate skin, so rubber gloves are a must. Always supervise around the hot stove, and this is a great opportunity to teach kitchen safety!
Why did my leaf fall apart completely?
It probably simmered too long or the leaf was too thin/delicate to begin with. Try a thicker leaf like magnolia and check it earlier next time.
Can I skip the boiling and just soak the leaves?
Yes! The "long soak" method involves leaving leaves in plain water for 4-8 weeks until the tissue breaks down naturally. It's slower but requires zero cooking.
What's the difference between baking soda and washing soda?
Baking soda (sodium bicarbonate) is gentler but takes longer. Washing soda (sodium carbonate) is stronger and works faster. Both are safe for this project.
How do I store finished leaf skeletons?
Keep them pressed flat between wax paper in a book or frame them behind glass. They're delicate, so handle with care!
What age is this project appropriate for?
Kids 6 and up can help with leaf collecting and the brushing portion. The boiling and bleaching steps should be adult-supervised or adult-only depending on your child's maturity.
Can I make leaf skeletons from houseplant leaves?
Absolutely! Rubber plant and fiddle leaf fig leaves work wonderfully. Just make sure you're not sacrificing your favorite plant's only leaves!
Why are some veins thicker than others?
The thick center vein (midrib) is the main highway, while the smaller veins are like side streets branching off to reach every cell. You're literally looking at the leaf's circulatory system!
Happy skeleton-making, friends! This is one of those projects that reminds us just how incredible nature's engineering really is: and it all happens right in your own backyard and kitchen.
Now go grab some leaves and get simmering! 🍂✨


