


Quick Answer: To create a paper snowflake blizzard, fold square sheets of paper into triangles, snip creative patterns along the edges, unfold to reveal unique designs, and then tape or hang your collection around windows and ceilings. It's one of the simplest winter crafts around: requiring just paper, scissors, and about 5–15 minutes per snowflake depending on how fancy you get.
This project transforms any room into a cozy winter wonderland, and the best part? Every single snowflake turns out differently, just like the real thing. Kids get a serious confidence boost when they unfold their creations and see the magic they made with their own hands.
What You'll Need: Materials List (Under $10)
| Material | Approximate Cost | Notes |
|---|---|---|
| White copy paper (1 ream or partial) | $3–$5 | Standard printer paper works great |
| Child-safe scissors | $2–$4 (or use what you have) | Rounded tips for younger crafters |
| Clear tape or poster putty | $1–$3 | For hanging your blizzard |
| Optional: String or ribbon | $1–$2 | For garland-style displays |
| Optional: Colored or foil paper | $2–$4 | Adds variety to your blizzard |
Total estimated cost: Generally under $10, often under $5 if you raid your existing craft supplies.
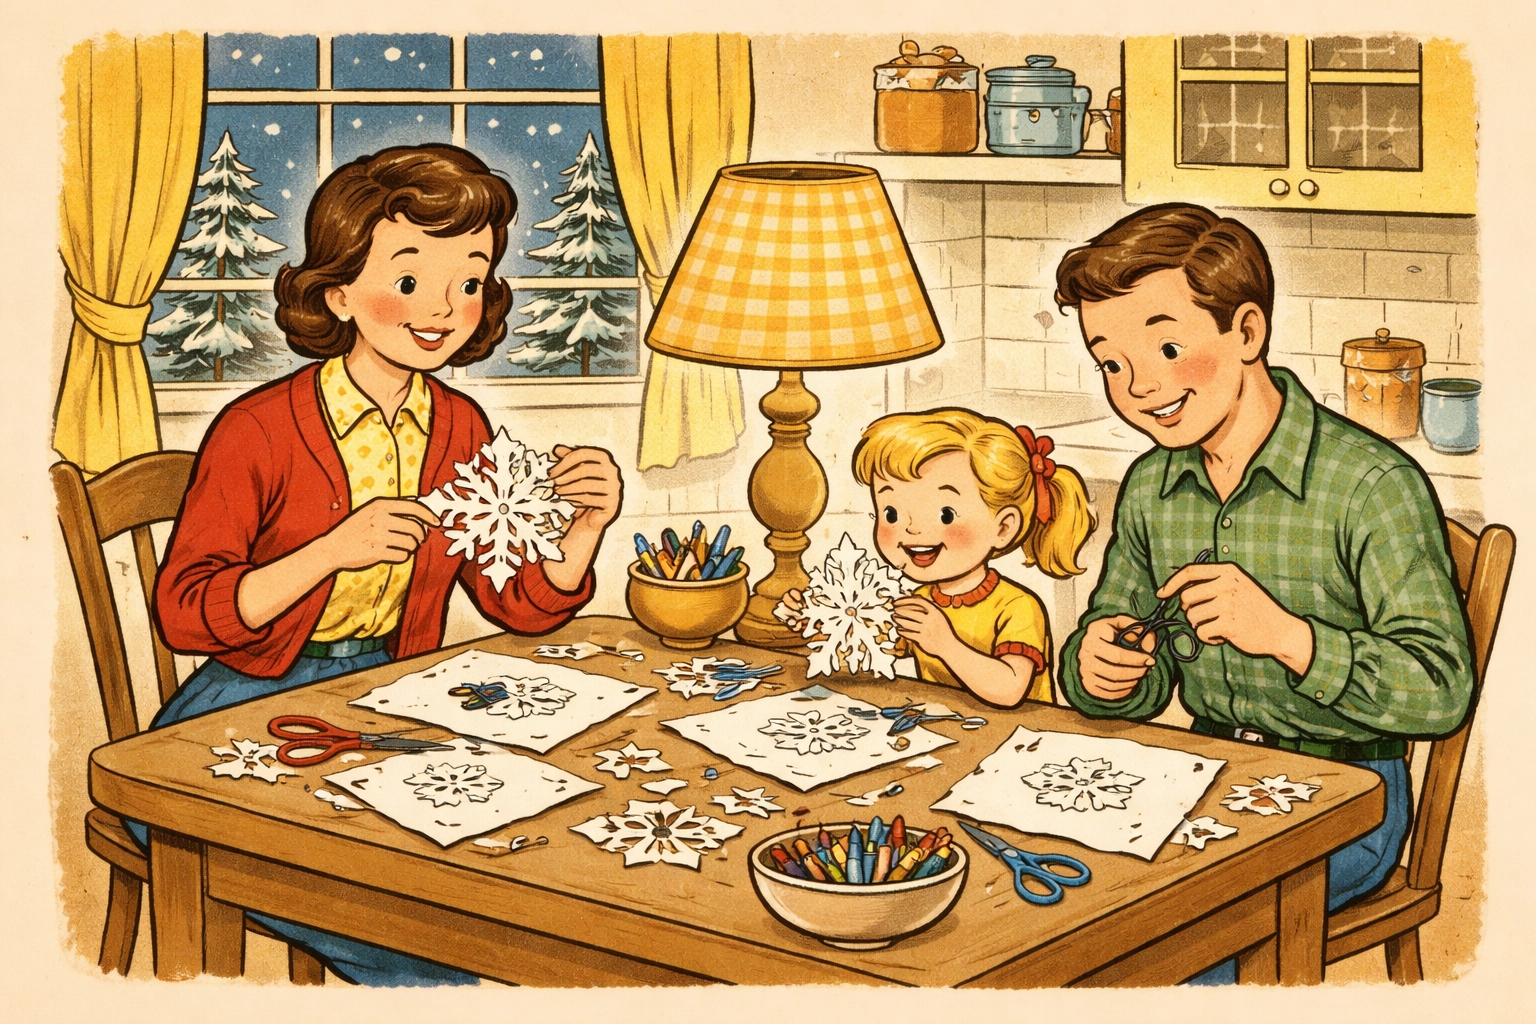
Age Range: Who Can Join In?
This craft works well across a wide age range, though the level of participation varies:
- Ages 3–4: Little ones can help fold paper and watch the "magic reveal" when you unfold. They may need help with cutting.
- Ages 5–7: Most kids in this range can handle folding and basic snipping with supervision. Expect charmingly wonky results (which are often the best ones).
- Ages 8–12: Older kids can tackle more intricate designs and often get competitive about who can make the fanciest snowflake.
- Teens and adults: Don't count yourselves out: this craft is surprisingly relaxing and satisfying for all ages.
Time Estimate
- Simple snowflakes: About 5 minutes each
- Medium-detail designs: Around 10 minutes each
- Intricate patterns: 15–20 minutes each
- Full "blizzard" setup: Plan for 30–60 minutes to make a good collection and hang them
The beauty of this project is that you can make just a few snowflakes during a quick craft session or spend an entire afternoon building an impressive indoor blizzard.
Step-by-Step Instructions
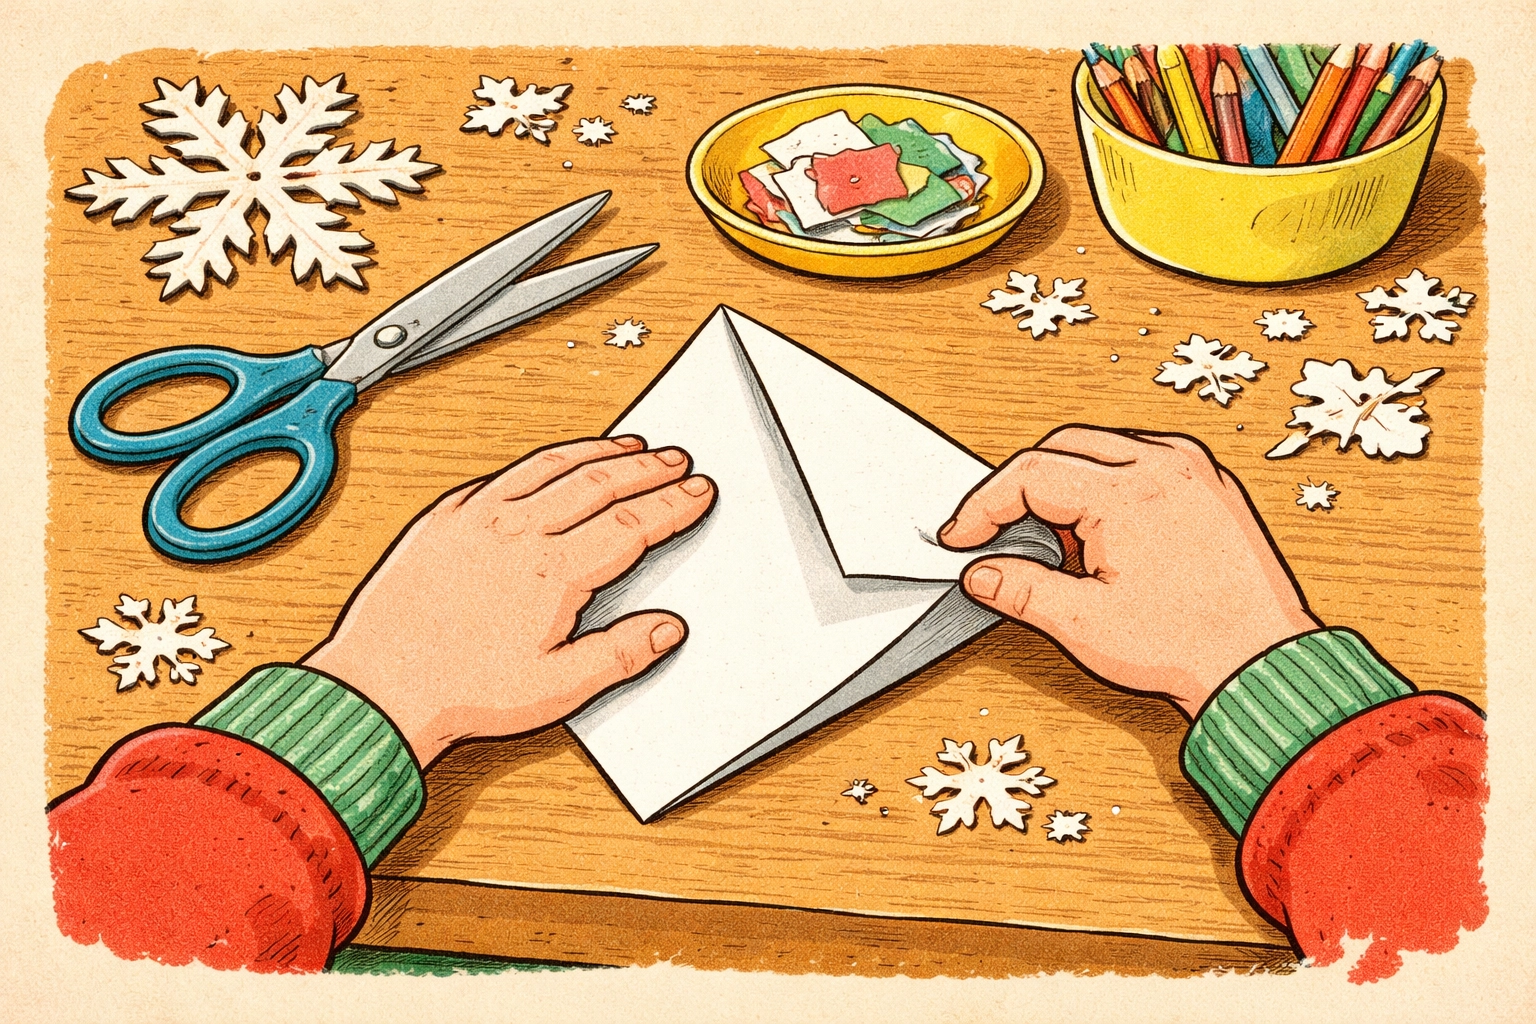
Step 1: Start with a Square
Most paper comes in rectangular sheets, so your first task is making a square. Take a standard piece of printer paper and fold the bottom right corner up to meet the left edge, creating a triangle. You'll have a rectangular strip left over at the top: cut that off and set it aside (or save it for tiny bonus snowflakes later).
Step 2: Fold Your Triangle in Half
Take your triangle and fold it in half by bringing one pointed corner to meet the other. Press the fold flat with your fingers. You should now have a smaller triangle.
Step 3: Fold Into Thirds
This step takes a little practice, but it gets easier quickly. Imagine your triangle divided into three equal sections. Fold the right point toward the left, about one-third of the way across. Then fold the left point toward the right, overlapping the first fold. Your paper should now look like a narrow, pointy wedge.
Tip: Don't stress about perfect thirds. Slightly uneven folds just mean your snowflake will have character.
Step 4: Trim the Uneven Top
Your folded wedge likely has uneven points sticking up at the top. Cut straight across to create a clean edge. This gives you a nice, compact triangle to work with.
Step 5: Cut Your Design
Here's where the creativity happens! Using your scissors, cut shapes into the folded edges of your triangle. Try:
- Small triangles
- Half-circles or scallops
- Rectangles or notches
- Zigzag patterns
- Curved swoops
Important: Don't cut all the way through from one side to the other, or your snowflake will fall apart. Leave some connected "bridges" of paper between your cuts.
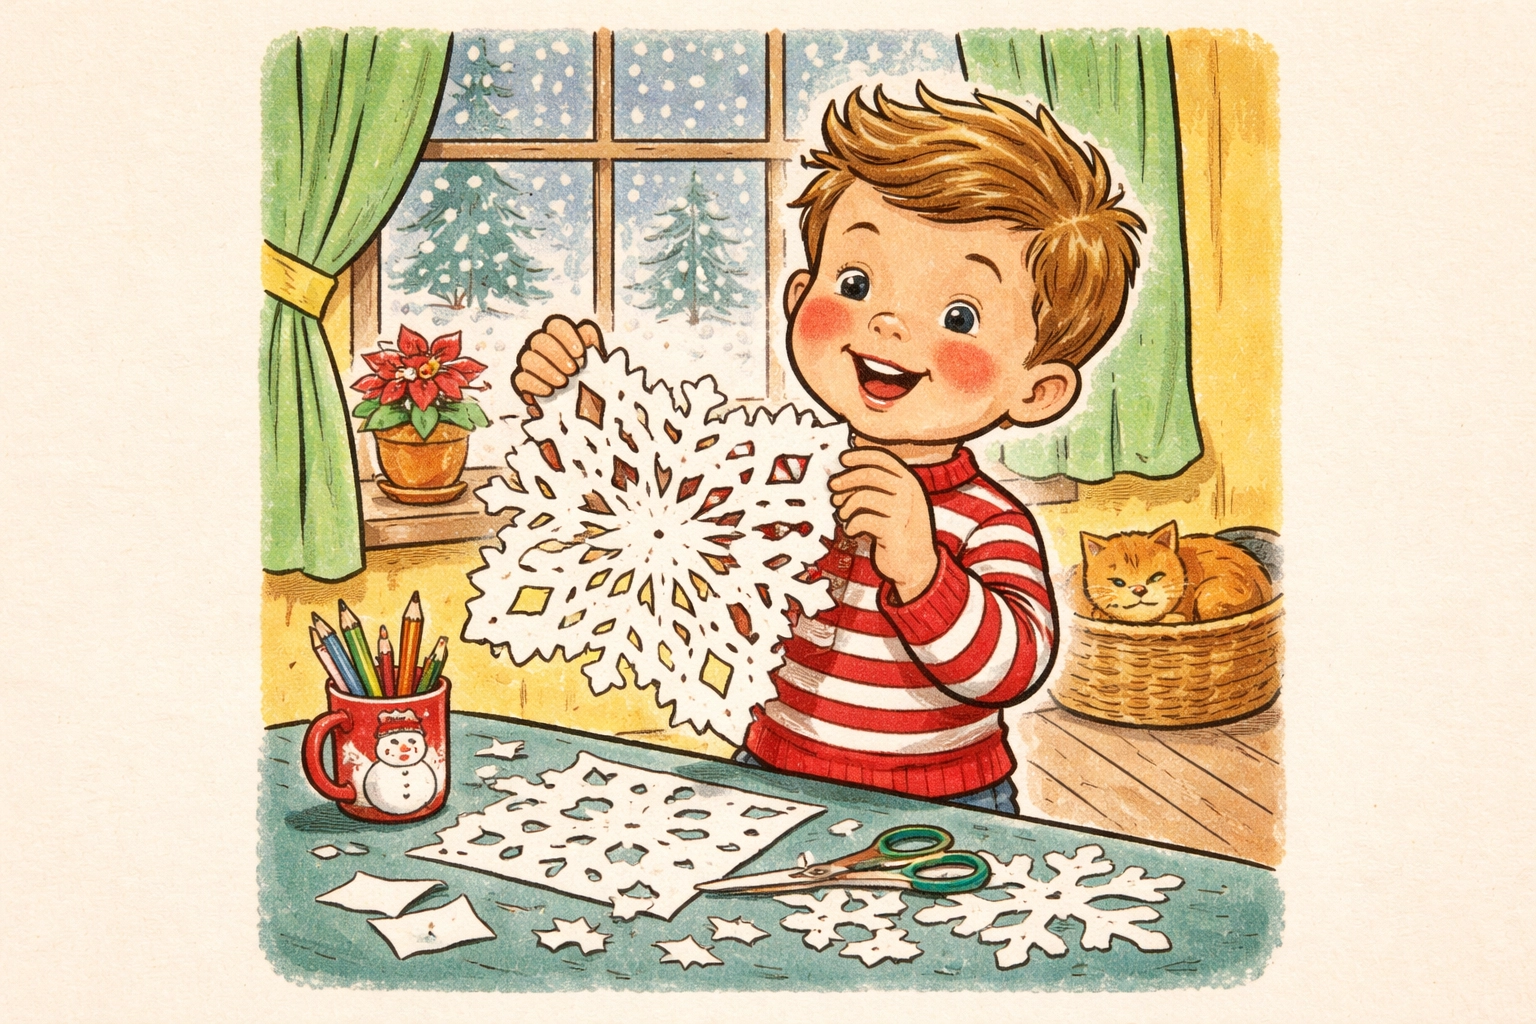
Step 6: The Magic Unfold
Gently unfold your paper, working backwards through each fold. Go slowly: wet or thin paper can tear if you rush. When you open that final fold and see your unique snowflake pattern, it feels a little like magic every single time.
Press your snowflake flat under a heavy book for a few minutes if it's curling up.
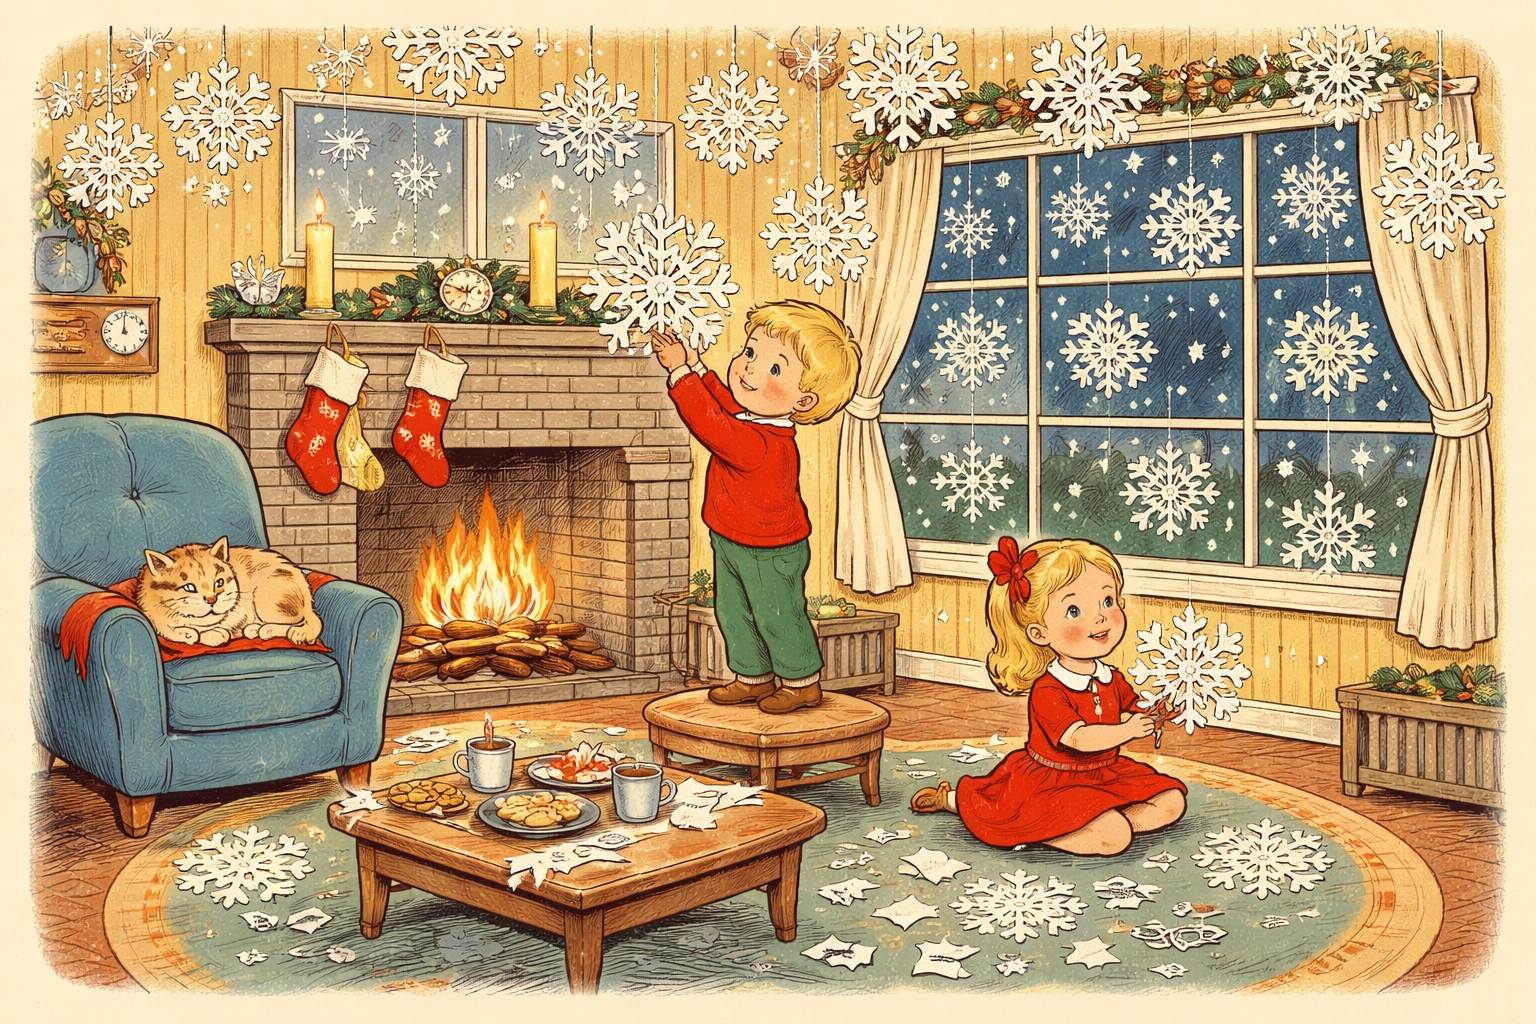
Building Your Blizzard: Display Ideas
Making one snowflake is fun. Making a whole blizzard is an event. Here's how to turn your collection into a winter display:
Window Wonderland
Tape snowflakes directly onto windows using small loops of clear tape or poster putty. The light shining through creates a beautiful effect, especially on gray winter days. Vary the sizes and overlap some snowflakes for a more natural "falling snow" look.
Ceiling Cascade
Attach snowflakes to string or ribbon and tape them to the ceiling at varying heights. When air moves through the room, they'll twist and spin gently. This works especially well in doorways or above dining tables.
Garland Style
Punch a small hole in each snowflake and thread them onto a long piece of string or yarn. Hang your garland across a window, mantle, or along a staircase railing.
Wall Cluster
Group snowflakes together on a wall in a loose cluster pattern. This creates a dramatic focal point without needing to hang anything from the ceiling.
Tips for Better Snowflakes
- Thinner paper = easier cutting. Standard copy paper works well, but lightweight origami paper cuts like butter.
- Sharp scissors matter. Dull scissors make frustrating, ragged cuts. If your scissors are struggling, it might be time for a new pair.
- Mix up your paper. Try foil wrapping paper, tissue paper, or colored construction paper for variety. A blizzard with different textures and colors looks extra festive.
- Start simple. Younger kids (and impatient adults) do better with basic cuts at first. Fancy patterns can come later once the folding technique feels natural.
- Embrace imperfection. Lopsided snowflakes, unexpected holes, and "oops" moments often create the most interesting designs.
Frequently Asked Questions
Can toddlers really do this craft?
Toddlers can participate in age-appropriate ways: helping fold paper, watching the reveal, and decorating finished snowflakes with stickers or crayons. Actual cutting usually works better for kids ages 5 and up, depending on their fine motor skills.
What's the best paper to use?
Standard white copy paper is the most accessible choice and works well for most snowflakes. For easier cutting, try lightweight origami paper. For sparkly snowflakes, foil gift wrap is fun but can be trickier to fold.
How do I make symmetrical snowflakes?
The folding technique naturally creates symmetry. If your snowflakes look uneven, focus on making your folds as precise as possible: especially the "fold into thirds" step.
Will tape damage my windows?
Most clear tape removes cleanly from glass, especially if you don't leave it up for months. Poster putty or removable mounting squares are gentler options if you're worried about residue.
How many snowflakes do I need for a "blizzard"?
There's no magic number, but a good starting point is 15–25 snowflakes for a single window display or 30–50 for a larger room installation. Make them in varying sizes for the most realistic effect.
Can we save snowflakes for next year?
You can store paper snowflakes flat between pages of a heavy book or in a large envelope. They may get a bit crinkled over time, but many families enjoy reusing favorites year after year.
What if my snowflake falls apart when I unfold it?
This usually means too much paper was cut away. Next time, leave wider "bridges" of uncut paper between your designs. A snowflake that falls into pieces is just an opportunity to try again!
How do I make really intricate designs?
Practice helps, but you can also find printable templates online that show you exactly where to cut. Trace the pattern onto your folded paper and follow the lines.
Ready for more hands-on family projects? Check out our Kids Crafts collection for dozens of ideas that keep little hands busy and creativity flowing.


