


A popsicle stick puzzle is a simple DIY craft where kids paint or draw a picture across lined-up popsicle sticks, then scramble them apart and reassemble the sticks like a puzzle. It's one of those wonderfully low-cost projects that combines art, problem-solving, and hands-on fun: all in one activity that typically takes about 30 to 45 minutes from start to finish.
The best part? You probably have most of the supplies sitting in a craft drawer right now. And if you don't, you can gather everything for well under ten bucks.
This craft works beautifully for family craft nights, rainy afternoon activities, or even as a homemade gift kids can make themselves. Once finished, these puzzles are surprisingly satisfying to solve: and kids often want to make several with different designs.
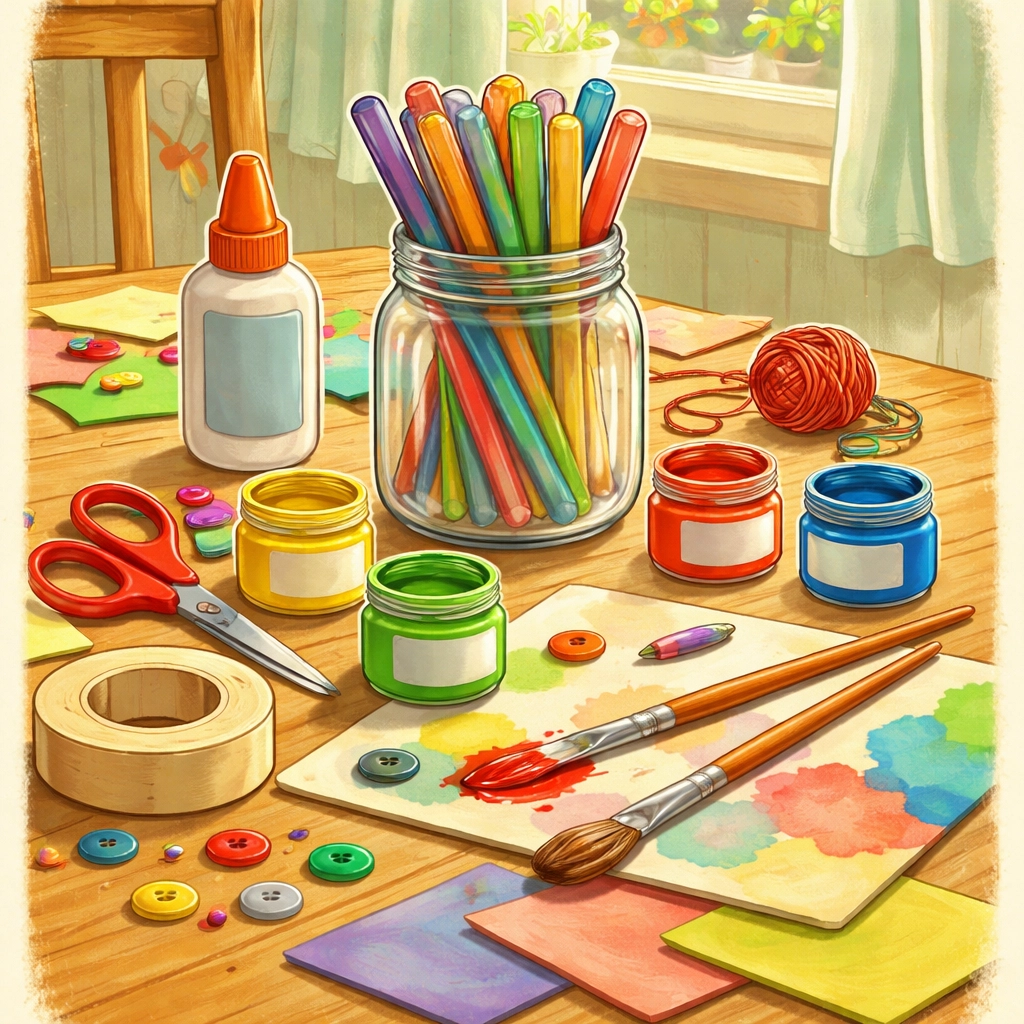
What You'll Need: Materials & Cost
Here's a quick rundown of everything required to make popsicle stick puzzles at home. Most families find they spend somewhere between $3 and $8 total, depending on what's already in the craft bin.
| Material | Estimated Cost | Notes |
|---|---|---|
| Popsicle sticks (craft sticks) | $1–$3 | A pack of 50–100 sticks works well |
| Acrylic paint | $1–$3 | Basic colors; washable paint can work too |
| Paintbrushes | $1–$2 | Small detail brushes help with finer designs |
| Masking tape or painter's tape | $1–$2 | Keeps sticks aligned while decorating |
| Permanent markers or paint pens | $1–$2 | Optional, for outlines and details |
| Pencil | Free | For sketching designs lightly |
Total estimated cost: $5–$10
You might also want a piece of cardboard or newspaper to protect your work surface. A paper plate works great as a paint palette, too.
Age Range & Time Estimate
Recommended ages: This project tends to work well for kids roughly 3 to 10 years old, though older children and adults often enjoy it too.
Ages 3–5: Younger kids may need help lining up sticks and taping them. They generally do best with simple designs, bold colors, or abstract patterns. Consider drawing the outline for them and letting them fill it in with paint.
Ages 6–8: This age group can typically handle the full process with some guidance. They often enjoy creating their own designs: animals, flowers, rainbows, and favorite characters tend to be popular choices.
Ages 9–10+: Older kids might experiment with more detailed artwork, two-sided puzzles, or even create puzzles as gifts for younger siblings.
Time needed: Plan for about 30 to 45 minutes of active craft time, plus drying time between paint coats (usually 10–15 minutes per coat). If you're doing multiple coats for bolder colors, the whole project might stretch across an hour or so.
Step-by-Step Instructions
Step 1: Line Up Your Popsicle Sticks
Gather between 6 and 12 popsicle sticks for your first puzzle. (You can use more for larger, more complex designs once everyone gets the hang of it.)
Lay the sticks flat on your work surface, side by side, so they're touching and the ends line up evenly: kind of like a tiny wooden fence. Take your time here; straight alignment makes the finished puzzle much easier to solve later.
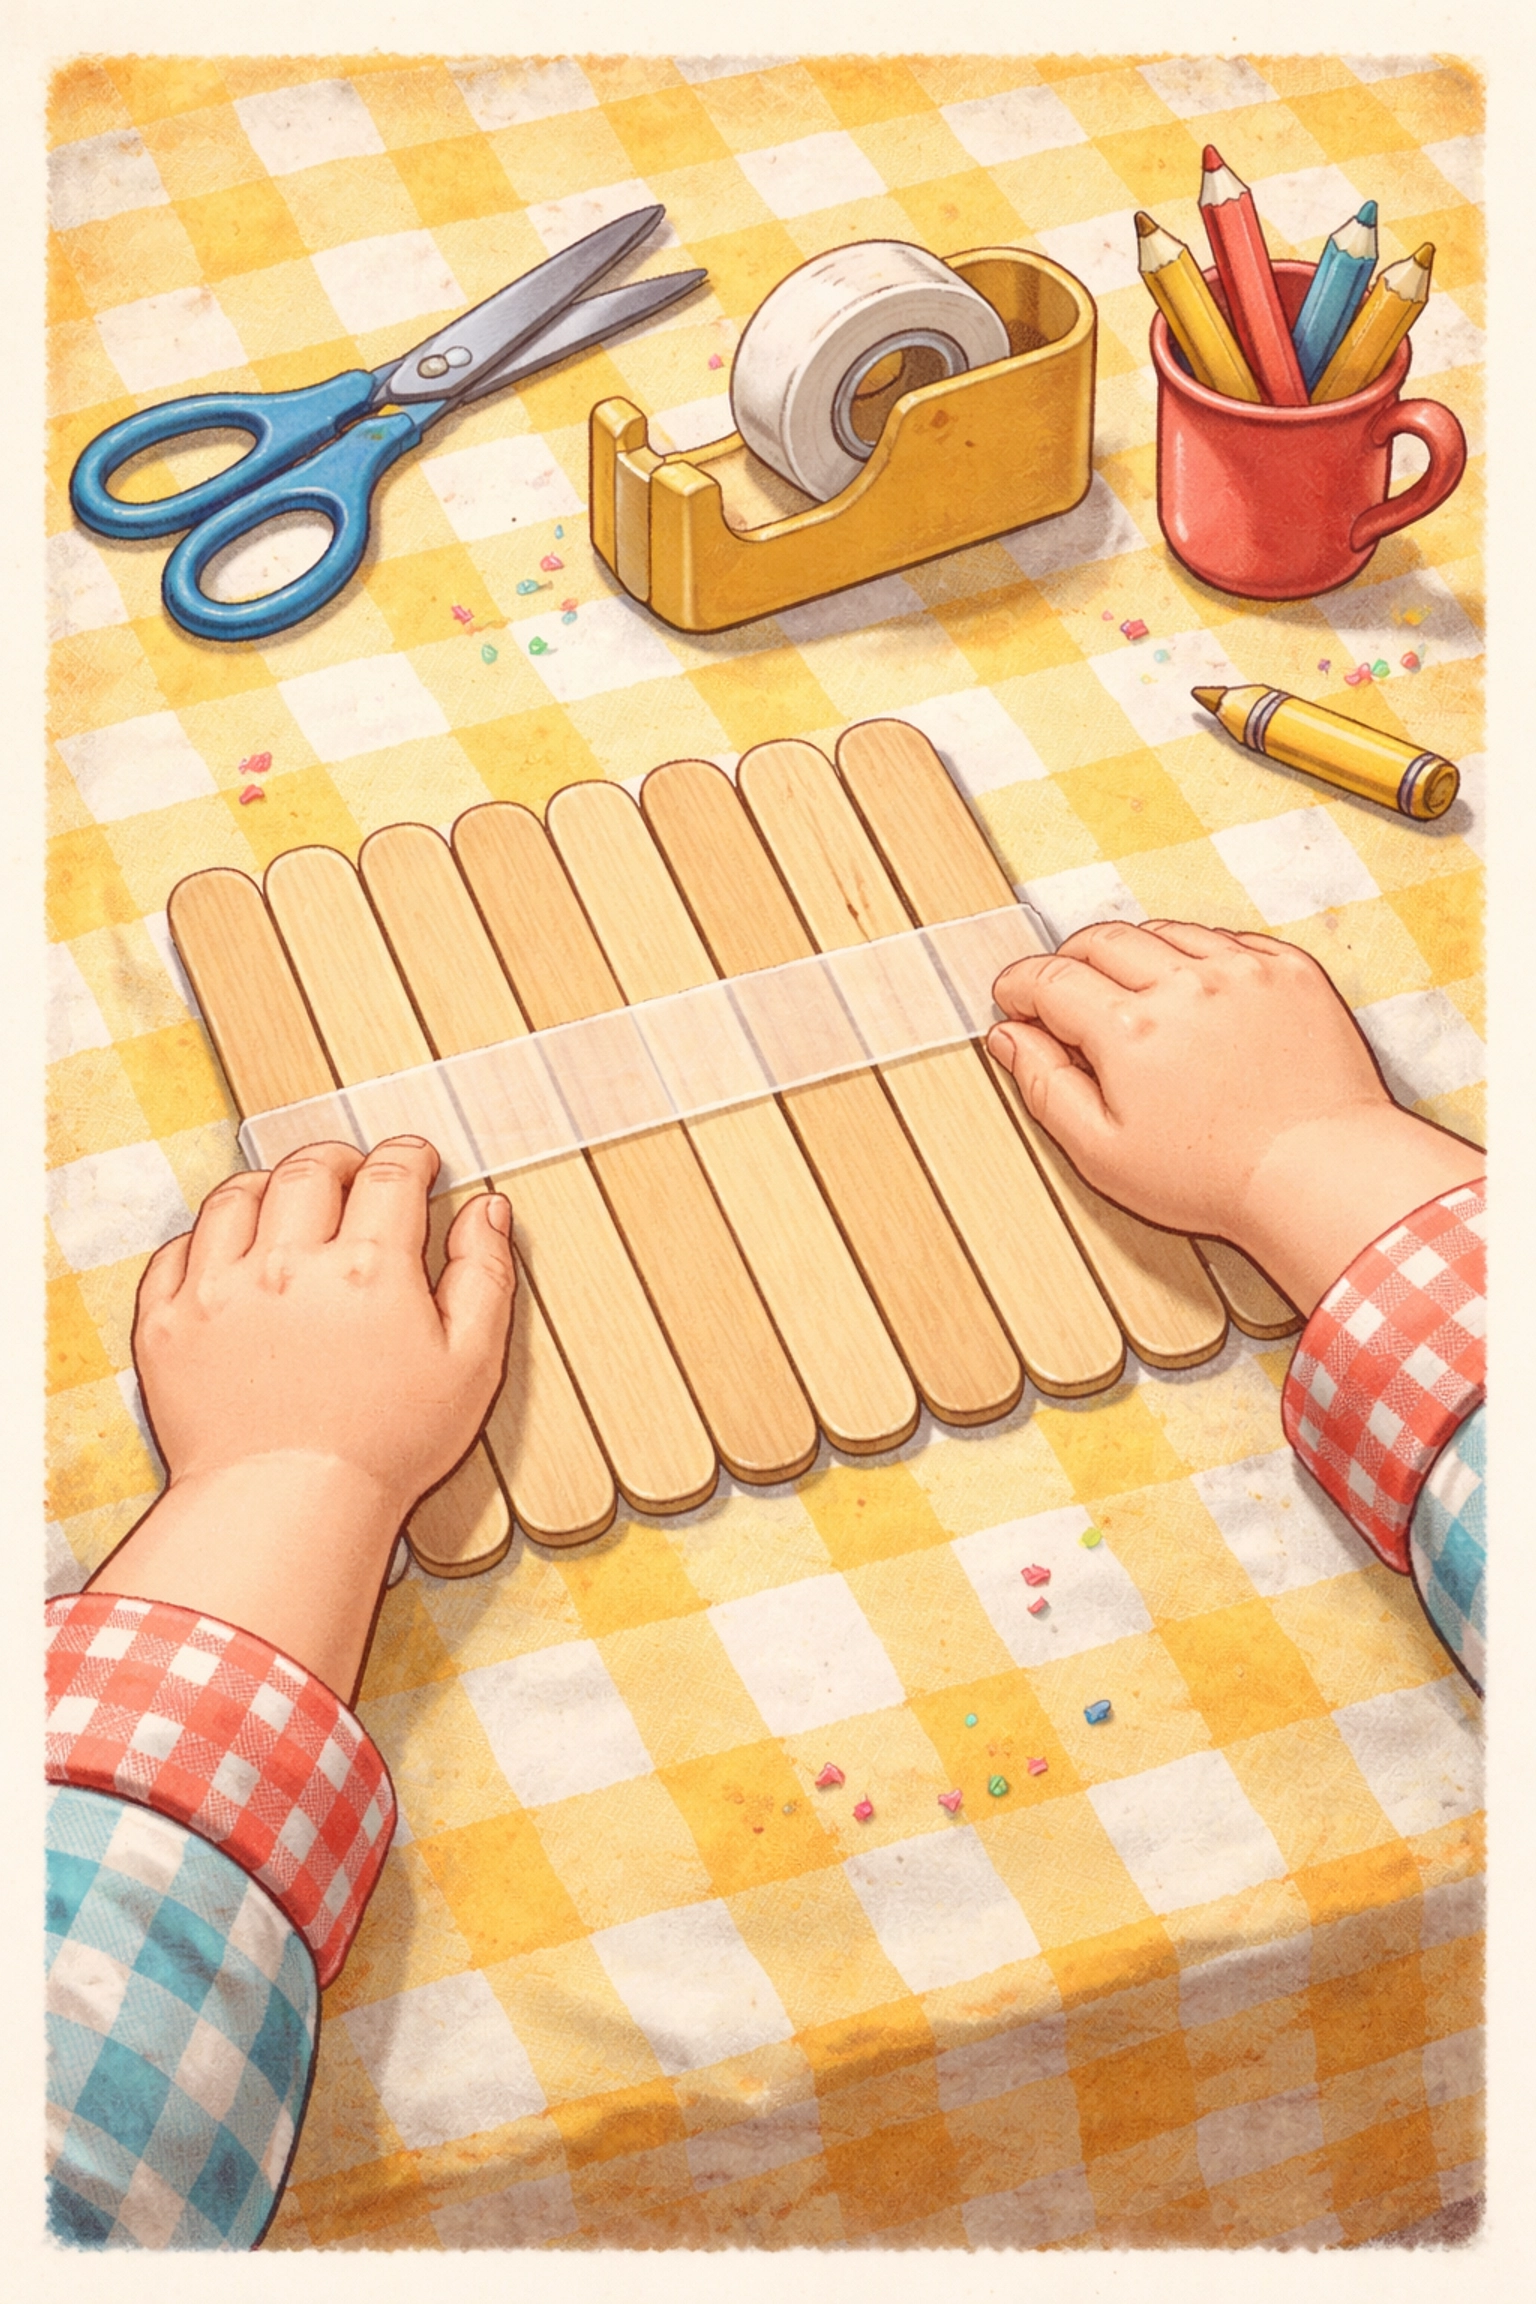
Step 2: Tape the Sticks Together
Once your sticks are lined up nicely, carefully place a strip of masking tape or painter's tape horizontally across the back. One strip near the top and one near the bottom usually holds everything secure.
This tape is temporary: it just keeps the sticks from shifting while you paint. You'll remove it at the end.
Step 3: Sketch Your Design (Optional but Helpful)
Flip the taped sticks over so the smooth, untaped side faces up. Using a pencil, lightly sketch your design across all the sticks.
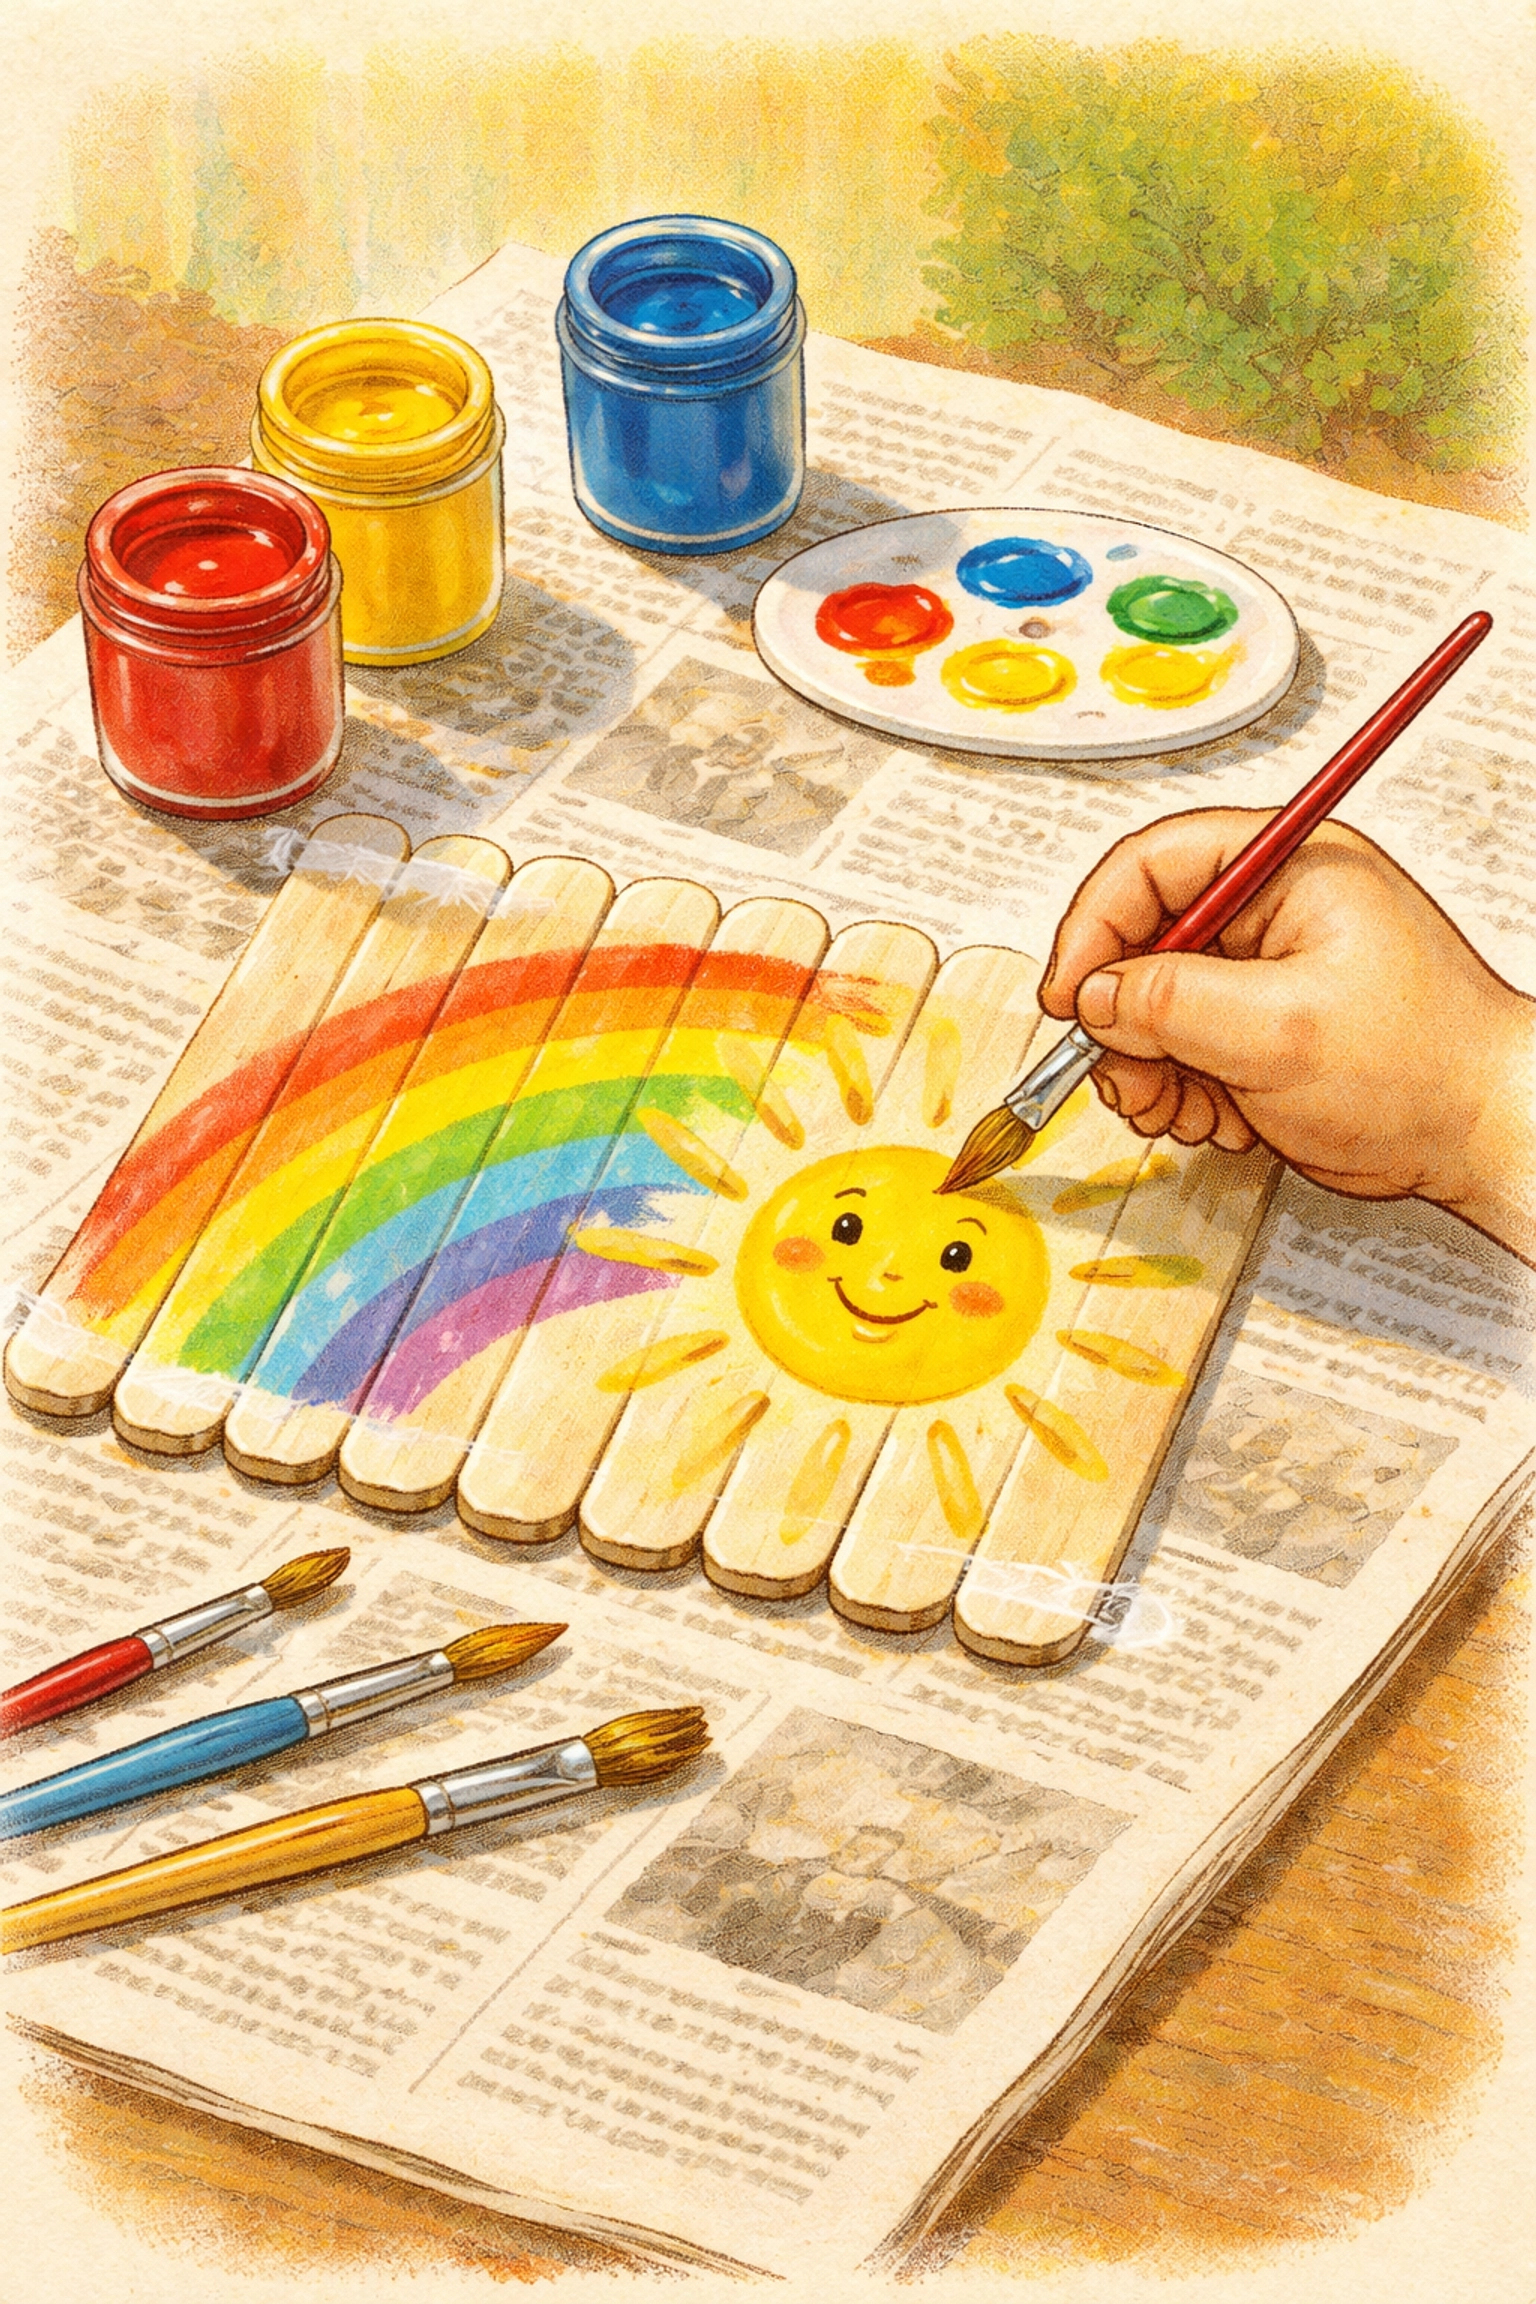
Simple shapes work especially well for first-timers: a big sun, a flower, a rainbow, a smiling caterpillar, or even just colorful stripes. The design should span across multiple sticks so that when you separate them later, the puzzle aspect actually works.
Don't worry about making it fancy. Even abstract swirls and bold color blocks turn into surprisingly fun puzzles.
Step 4: Paint Your Design
Now comes the fun part. Using acrylic paint and brushes, fill in your sketch with color. Encourage kids to paint right across the stick edges: that's what creates the "puzzle" effect.
A couple of tips:
- Two coats of paint generally look better than one, especially with lighter colors
- Let each coat dry for about 10–15 minutes before adding another
- Paint the background color first, then add details on top once it's dry
Step 5: Add Outlines and Details
Once the paint is completely dry, grab a permanent marker or paint pen to outline the design. This step makes the picture pop and helps define where each puzzle piece begins and ends.
Bold, dark outlines tend to make reassembly easier: especially helpful for younger puzzlers.
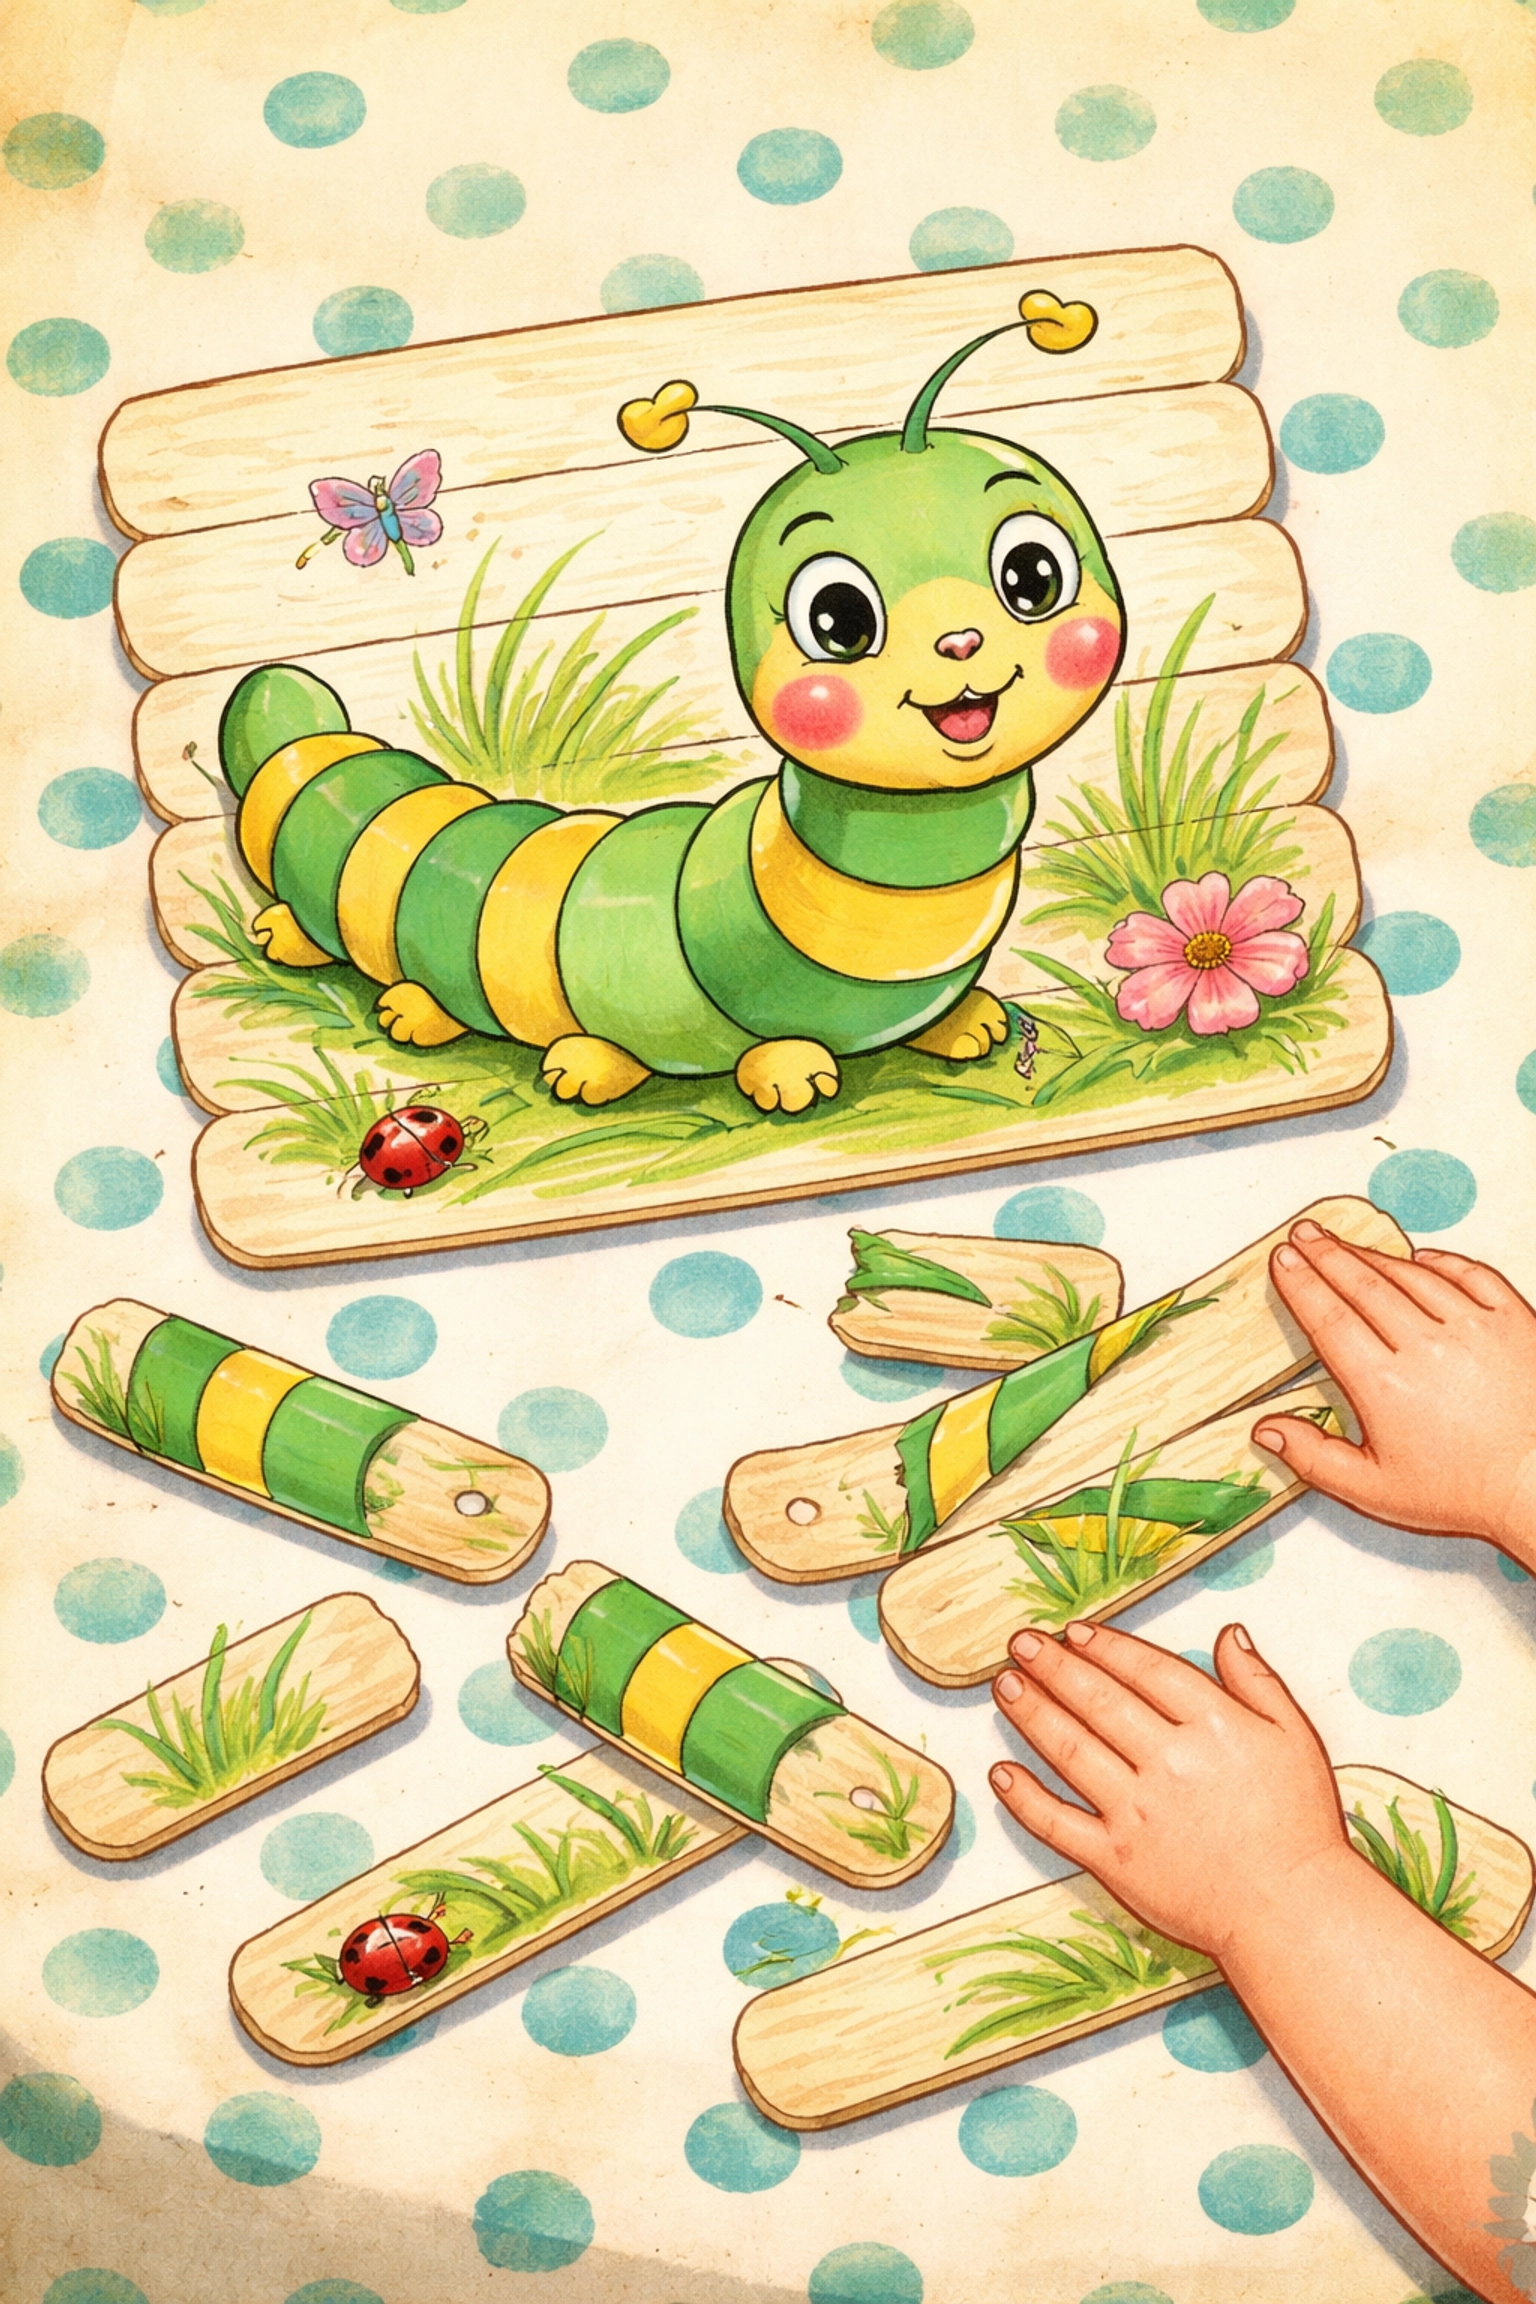
Step 6: Remove the Tape and Mix It Up
Carefully peel the tape off the back of your puzzle. Now you've got a set of individual sticks, each showing a portion of your design.
Shuffle them up, flip them around, and challenge someone to put the picture back together. Store finished puzzles in small ziplock bags or rubber-banded bundles so the pieces stay together.
Tips for Success
Start simple. Abstract designs, bold patterns, and big shapes work better than tiny detailed drawings: at least for the first few puzzles.
Number the backs. If you're making puzzles for very young children, consider lightly numbering the backs of the sticks in order. This gives them a hint if they get stuck.
Try two-sided puzzles. Paint one design on the front and a different design on the back. Now you've got two puzzles in one set of sticks.
Make it a gift. Kids can create personalized puzzles featuring a family pet, favorite animal, or the recipient's name spelled out in colorful letters. These make thoughtful handmade presents.
Use what you have. Crayons, colored pencils, or even stickers can work instead of paint if that's what's available. The results might look a bit different, but the puzzle still functions.
Variations to Try
Once your family gets comfortable with the basic technique, here are a few ways to mix things up:
Photo puzzles: Tape sticks together, then glue a printed photo on top. Once dry, carefully cut along the stick edges with a craft knife (adults only for this step).
Story puzzles: Draw a simple scene, then write a sentence or short poem on the back. Solve the puzzle to reveal the story.
Seasonal themes: Make puzzles for holidays: pumpkins for fall, snowmen for winter, flowers for spring.
Collaborative puzzles: Have each family member paint one section, then combine everyone's sticks into one big group puzzle.
For more hands-on projects the whole family can enjoy together, check out our kids crafts collection for additional ideas.
Frequently Asked Questions
How many popsicle sticks should I use for a puzzle?
For beginners, 6 to 10 sticks usually works well. This creates a puzzle that's challenging enough to be interesting but not so complex that it becomes frustrating. As kids gain confidence, you can increase to 15 or 20 sticks for more detailed designs.
What kind of paint works best?
Acrylic paint tends to give the brightest, most durable results. Washable tempera paint works too, though colors may appear slightly less vibrant. Watercolors generally don't adhere well to the slick wood surface.
Can younger toddlers do this craft?
Kids around age 2 to 3 can participate with significant help. You might tape and sketch the design yourself, then let them paint freely. The puzzle-solving portion may be too advanced, but they'll likely enjoy the painting process.
How do I store finished puzzles?
Small ziplock bags work great: one bag per puzzle. You can also wrap a rubber band around each set. Label the bags if you're making multiple puzzles so you don't accidentally mix pieces.
What if my design doesn't line up when reassembled?
This happens sometimes, especially with first attempts. The sticks may have shifted slightly while painting. Going forward, make sure the tape is secure and avoid moving the sticks while working. Honestly, slight imperfections often add charm.
Can I use jumbo craft sticks instead?
Larger craft sticks work wonderfully and actually make painting easier for small hands. You'll just need fewer sticks to create a similarly sized puzzle.
How long does it take for the paint to dry?
Acrylic paint typically dries to the touch in about 10 to 15 minutes. For best results, wait until the paint feels completely dry before adding additional coats or marker details.
Is this craft mess-free?
Not entirely: paint is involved, after all. But compared to many art projects, this one stays relatively contained. A plastic tablecloth or newspaper underneath catches most drips.

References
- Research on popsicle stick puzzle construction and variations
- General craft supply cost estimates from common retailers
- Age-appropriate activity guidelines for children's crafts


