


A sticker story bin is a self-contained activity box filled with stickers, paper, and crayons that lets kids create their own illustrated scenes and narratives. You can put one together in about 10 minutes using supplies you likely already have at home, and the whole thing typically costs under $10 if you're starting from scratch. Once assembled, it becomes a go-to quiet time activity that encourages creativity, storytelling, and fine motor skills: all without screens or constant adult supervision.
What Is a Sticker Story Bin?
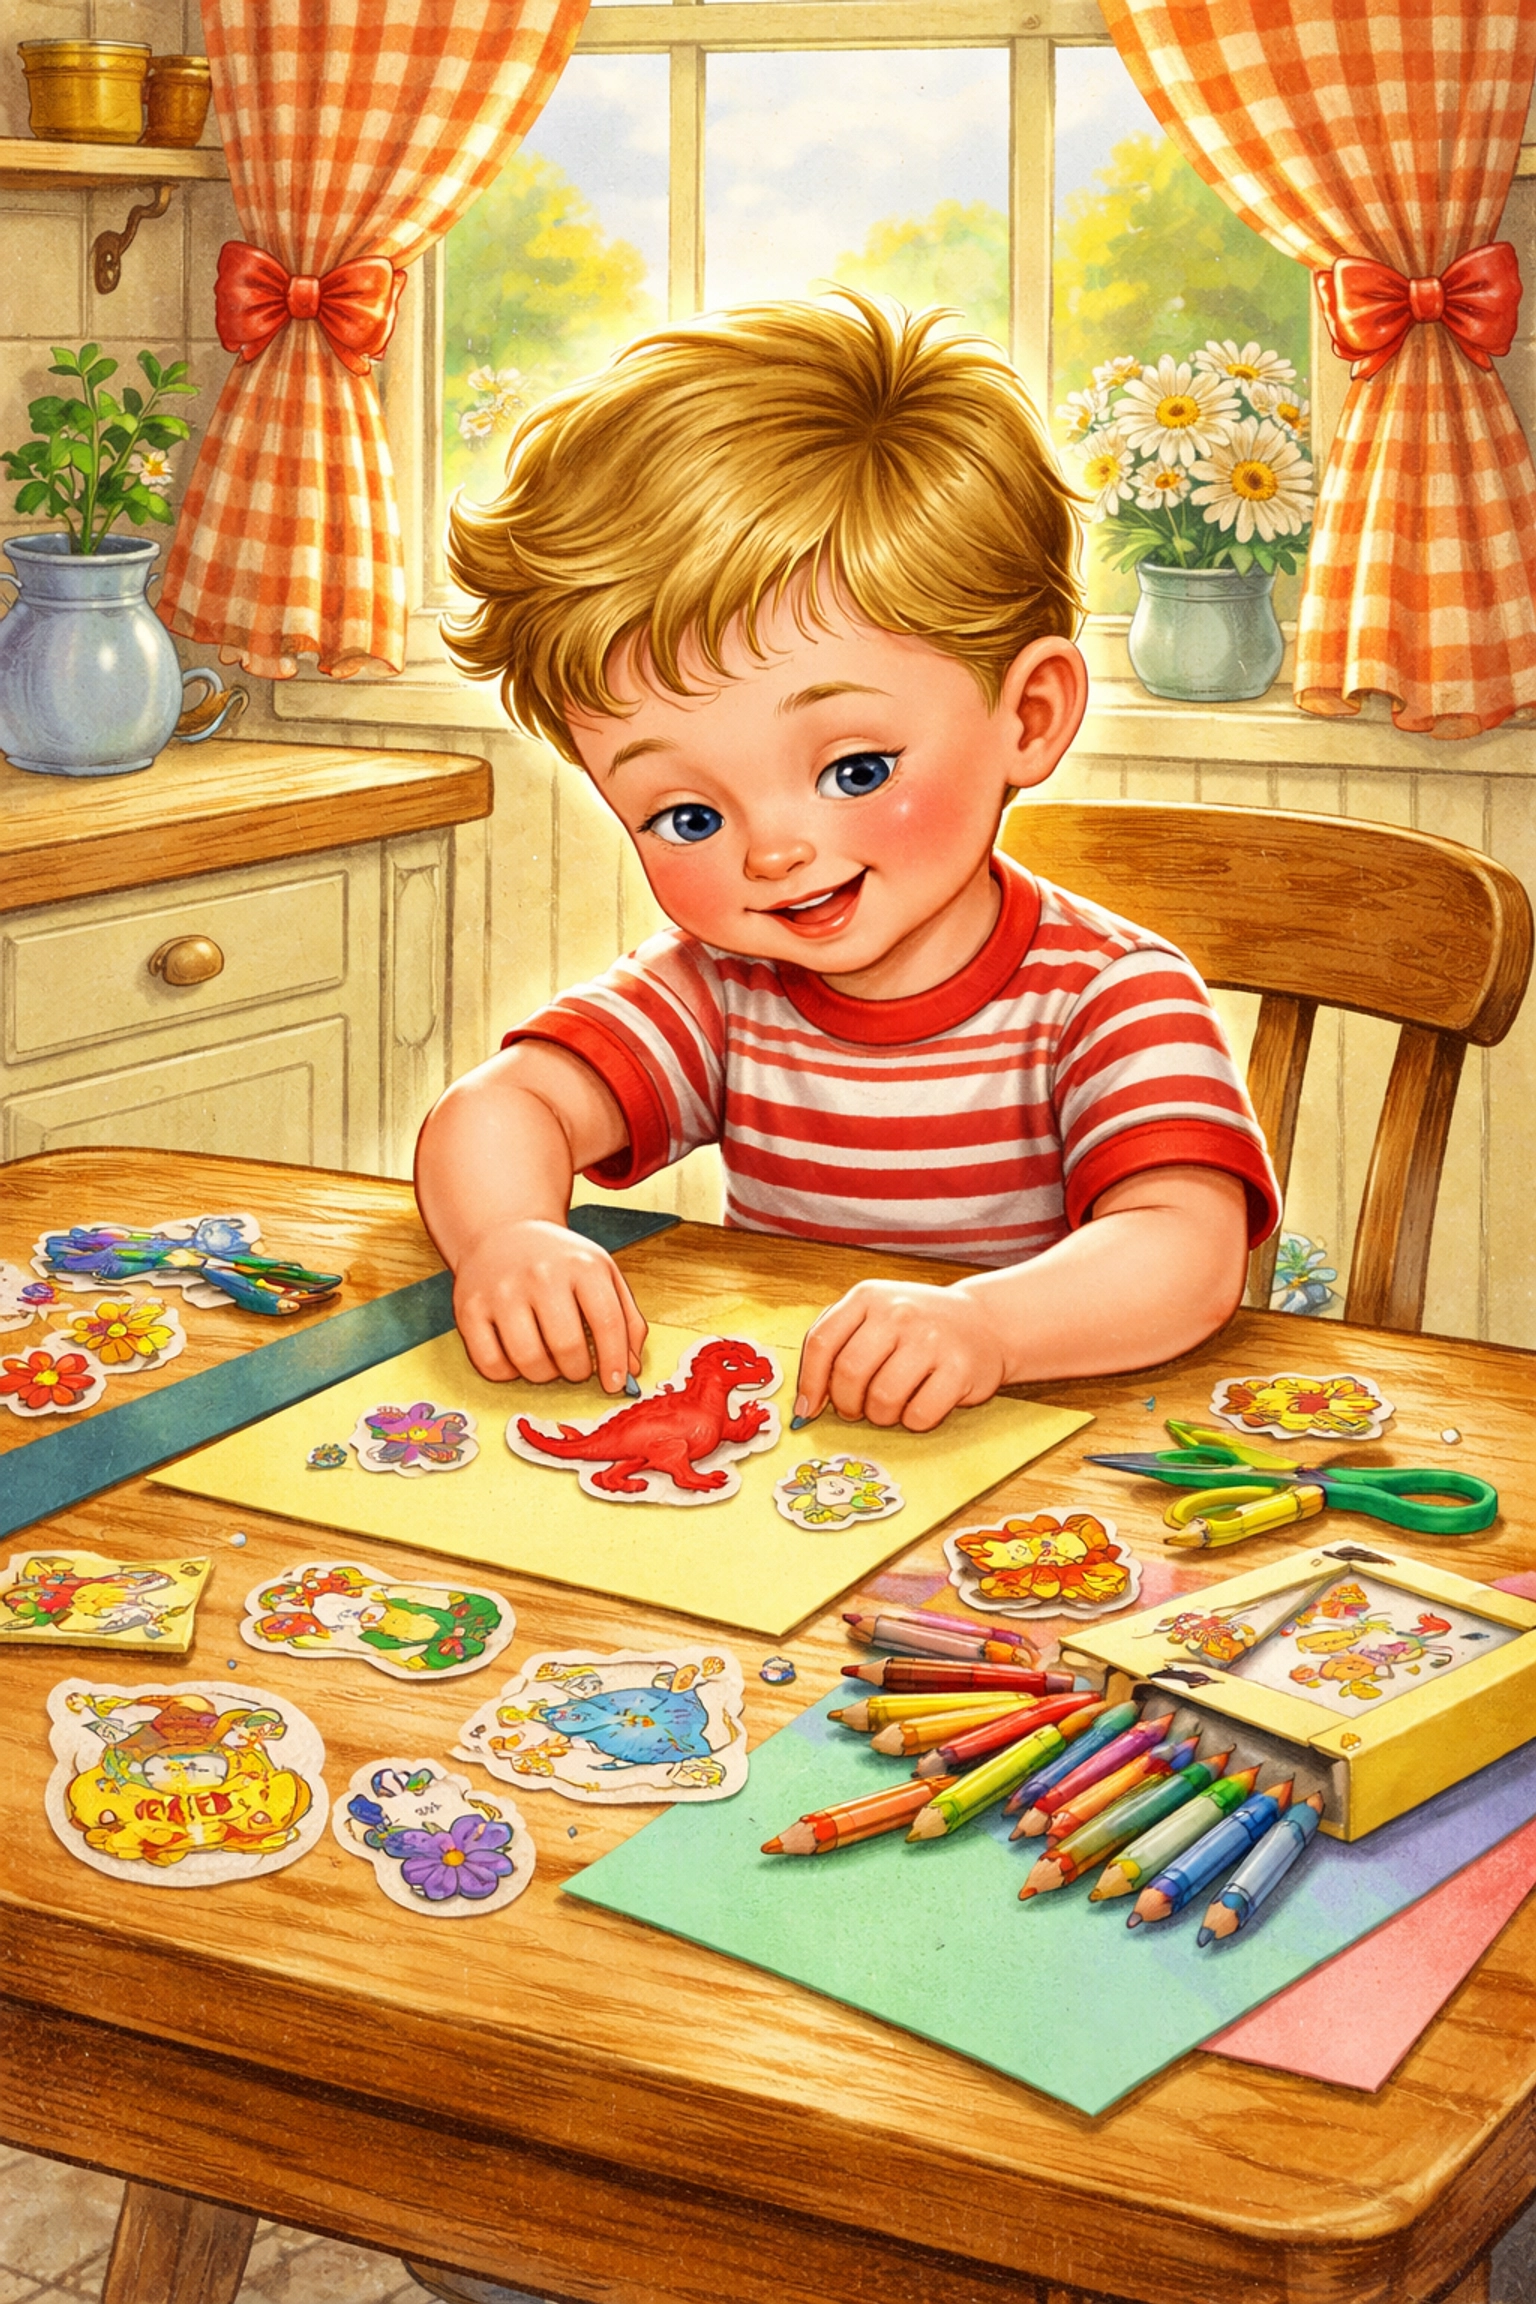
Think of it as a portable creativity station. Kids pull out paper, choose stickers, place them on the page, and then draw scenes around them. A dinosaur sticker might become the star of a prehistoric jungle adventure. A rainbow sticker could inspire a whole weather story. The stickers act as creative prompts, and the paper becomes a canvas for imagination.
The beauty of this activity is its simplicity. There's no right or wrong way to use it, which makes it appealing for a wide age range. Toddlers can practice peeling and placing stickers (great for those little finger muscles), while older kids might write full stories to accompany their artwork.
Materials You'll Need
Here's what you'll want to gather. Most of these items are probably already floating around your house, but I've included estimated costs if you need to pick anything up.
| Material | Estimated Cost | Notes |
|---|---|---|
| Plastic bin or shoebox | $1–$3 | Any container with a lid works well |
| Assorted stickers | $1–$4 | Dollar stores often have great variety packs |
| Construction paper or copy paper | $1–$2 | A mix of colors adds extra appeal |
| Crayons or markers | $1–$3 | Bag-style storage saves space in the bin |
| Optional: coloring book pages | $0–$1 | Repurpose half-used books |
Total estimated cost: $4–$10
The container is really your biggest decision. Something with a lid helps keep everything organized and makes the bin easy to grab when you need a quick activity. Shoeboxes work fine, though a plastic bin tends to hold up better over time.
What Age Range Works for This Activity?
Skill-appropriate ages: Around 2–8 years old
Here's how it typically breaks down:
Toddlers (2–3 years): Focus on sticker peeling and placement. This is surprisingly challenging for little hands and helps develop the pincer grasp. Expect more abstract art than recognizable scenes.
Preschoolers (3–5 years): Start creating actual scenes. They might place animal stickers and draw grass underneath, or add a sun in the corner. Storytelling begins to emerge.
Early elementary (5–8 years): Often create detailed narratives, sometimes adding dialogue bubbles or writing short stories to accompany their artwork. May use the bin independently for quiet time.
Kids outside this range can certainly enjoy sticker story bins too: I've seen plenty of older kids get into it when they're in a creative mood.
Time Estimate
- Setup time: 5–10 minutes
- Activity time: 20–60+ minutes (varies widely by child and mood)
- Cleanup time: 2–3 minutes
One of the reasons this activity works so well is the minimal adult involvement after setup. Once kids understand how the bin works, they can pull it out and get started on their own.
Step-by-Step: Building Your Sticker Story Bin
Step 1: Choose Your Container
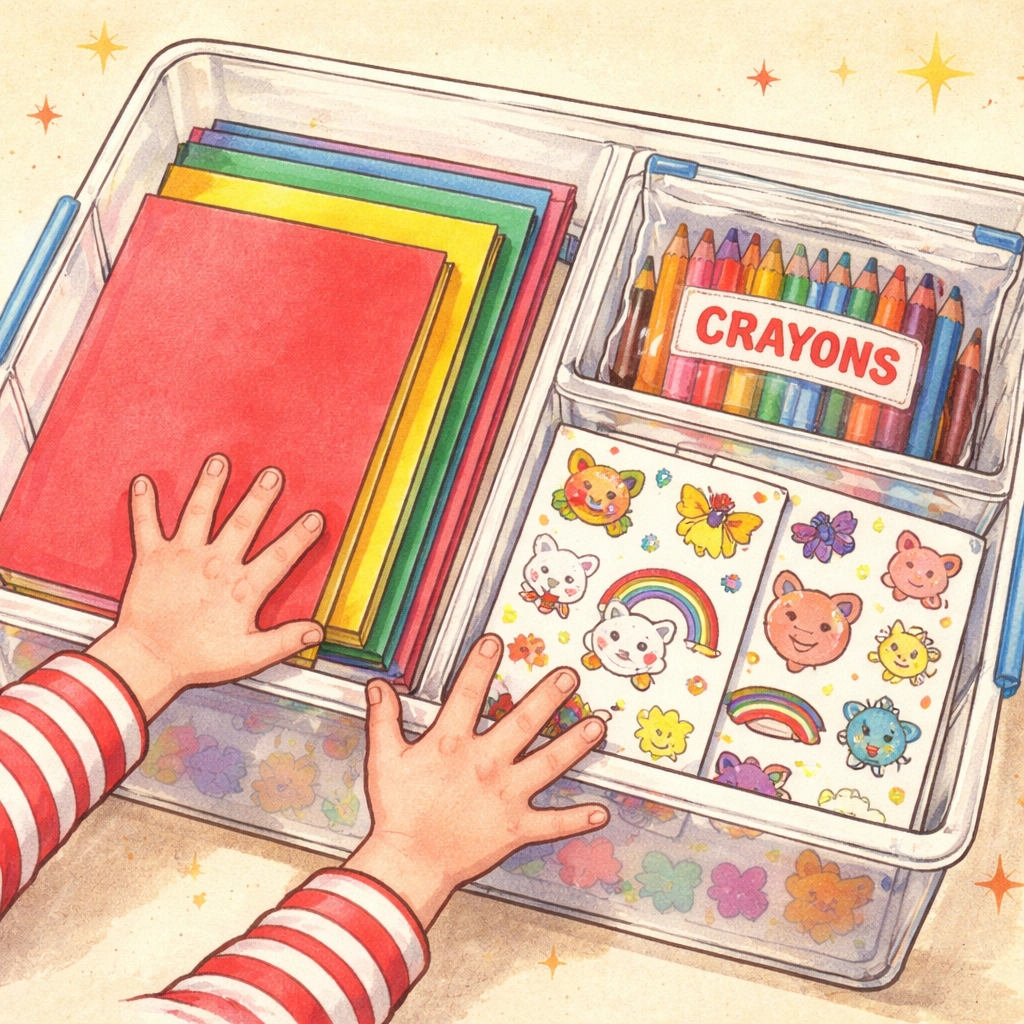
Find a bin, box, or basket that's large enough to hold your supplies but small enough for kids to carry. Shoe boxes work in a pinch, but a plastic container with a snap-on lid tends to last longer and keeps everything corralled. Clear containers let kids see what's inside, which can help with independent use.
Step 2: Stock Up on Stickers
Variety is your friend here. Look for:
- Animals (farm, jungle, ocean, dinosaurs)
- Nature elements (trees, flowers, clouds, suns)
- Transportation (cars, planes, boats)
- People and characters
- Shapes and letters (especially helpful for younger kids)
Dollar stores and craft stores often have multi-packs that give you solid variety without breaking the budget. You don't need anything fancy: basic stickers work just as well as the puffy or glittery options.
Step 3: Add Your Paper
Include a stack of paper in the bin. Construction paper in various colors gives kids more creative options, but plain white copy paper works perfectly well too. Cut some sheets in half if you want to make supplies last longer or give younger kids a less overwhelming canvas.
Pro tip: Pre-draw some simple elements on a few sheets: a horizon line, a house outline, or just some dots for kids to cover with stickers. This can help spark ideas for children who feel stuck staring at a blank page.
Step 4: Include Drawing Supplies
Add crayons, markers, or colored pencils. I'd suggest keeping these in a bag rather than their original box: it takes up less space and makes the bin easier to close. Washable markers are generally a safer bet if you're worried about wayward artwork ending up on furniture.
Step 5: Consider Optional Add-Ins
A few extras can extend the life and appeal of your sticker story bin:
- Coloring book pages: Those half-used coloring books finally have a purpose. Tear out unused pages and add them to the bin.
- Index cards: Great for making mini books or greeting cards.
- Safety scissors: For older kids who want to cut and arrange elements.
- Glue sticks: If you want to incorporate other paper scraps or collage elements.
Step 6: Introduce It to Your Kids
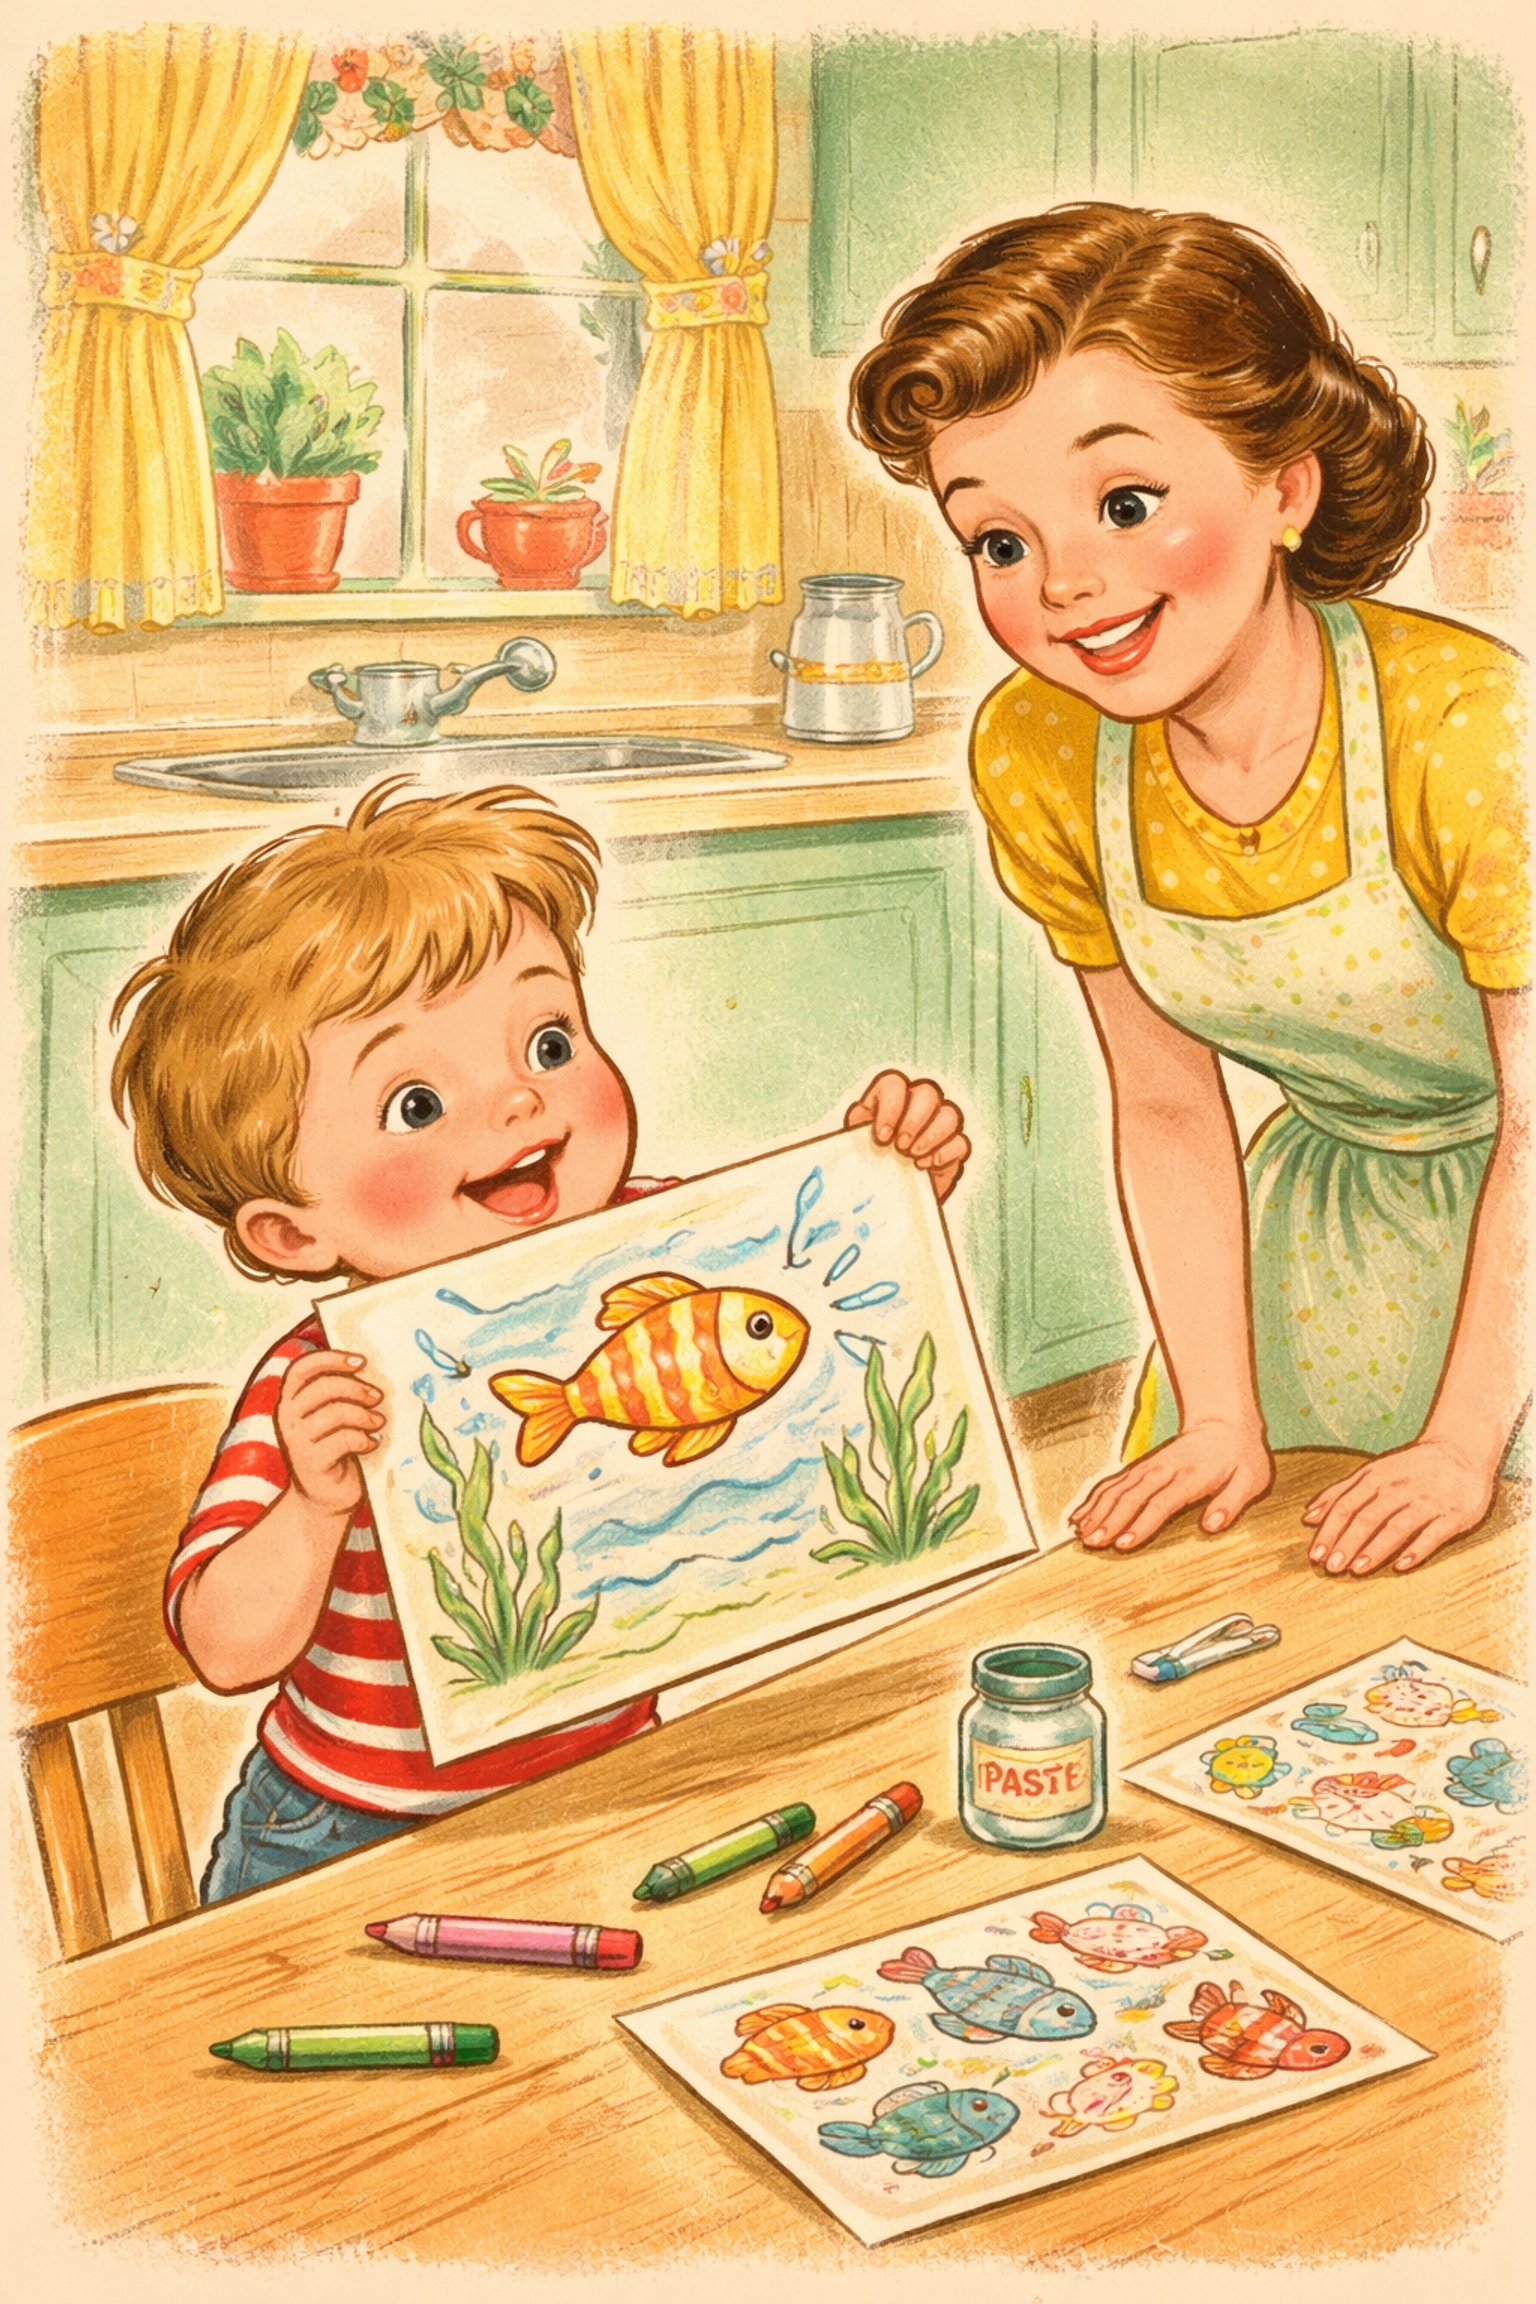
Show them what's in the bin and demonstrate how it works. Place a sticker on paper, then draw a scene around it. "Look, this fish sticker is swimming! I'll draw some water and maybe some seaweed." Most kids catch on quickly and run with their own ideas.
Tips for Getting the Most Out of Your Sticker Story Bin
Set a sticker limit. Some kids will want to use every single sticker on one page in the first five minutes. A gentle "let's use five stickers per picture" guideline can help supplies last longer and often results in more thoughtful artwork anyway.
Rotate the stickers. When interest starts to wane, swap out the sticker selection. Seasonal stickers work great for this: pumpkins in fall, hearts around Valentine's Day, and so on.
Display the finished work. Hanging up sticker stories on the fridge or a designated art wall validates the effort and encourages more creating.
Make it giftable. Sticker stories can become cards for grandparents, thank-you notes, or just special artwork to share. This adds purpose to the activity.
Frequently Asked Questions
How do I keep my toddler from using all the stickers at once?
Try giving them a small selection at a time rather than access to the whole stash. You can also opt for sticker sheets where each sticker requires more effort to peel: this naturally slows down the process.
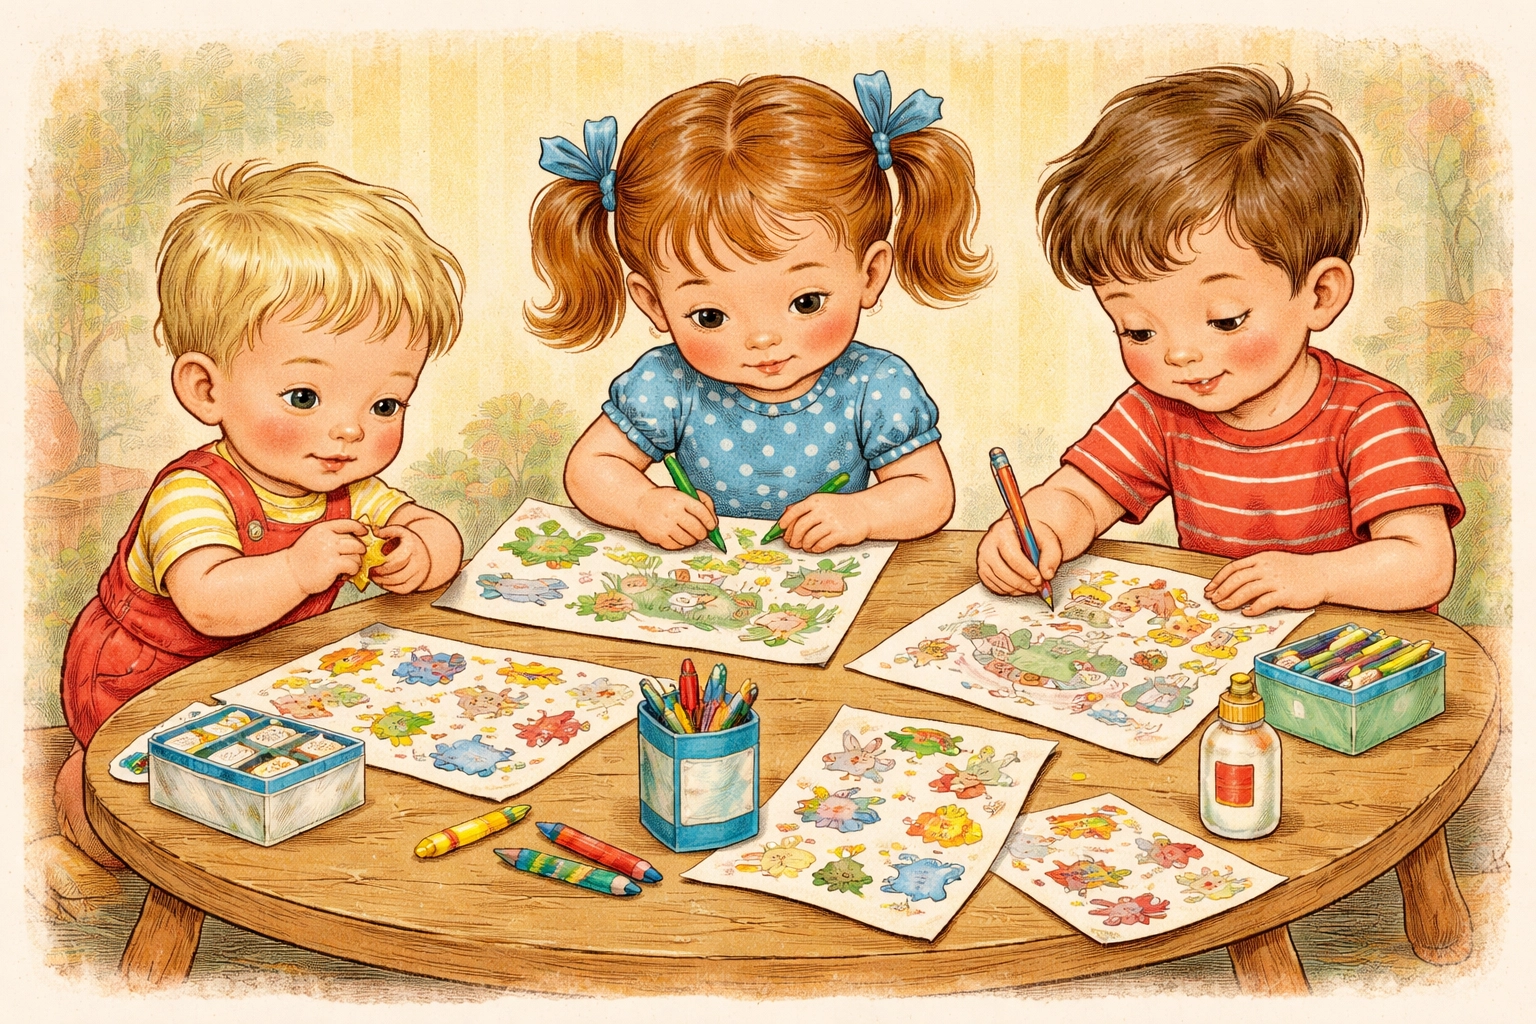
Can I use this activity for multiple kids at once?
Definitely. Just make sure you have enough supplies to go around. Some families keep individual bins for each child, while others use one shared bin and divide materials at activity time.
What if my child just wants to stick and not draw?
That's completely fine, especially for younger kids. The sticking itself is valuable for fine motor development. Drawing can come later as they get more comfortable with the activity.
How often should I refresh the sticker supply?
It depends on how frequently the bin gets used. Most families find that adding new stickers every few weeks keeps interest high. Watch for when the excitement starts to fade: that's usually your cue.
Is this activity screen-free quiet time appropriate?
This is one of the reasons sticker story bins work so well. Once kids know how to use them, they can pull out the bin and create independently while you handle other tasks. Many parents find these bins especially helpful during work-from-home hours or when siblings need different activities.
Can older kids enjoy this too?
Many older children like sticker story bins when framed differently: making comic strips, designing greeting cards, or creating illustrated short stories. The core concept scales up nicely.
How do I store finished artwork?
Consider a simple folder or large envelope where completed sticker stories go. This keeps them from piling up everywhere while still honoring the work your child put in.
Looking for more hands-on activities to keep kids busy? Check out our other kids crafts for ideas that spark creativity without requiring a trip to a specialty store.


