


Cardboard road puzzle pieces are interlocking road segments cut from sturdy cardboard that kids can rearrange into countless configurations. To make them, you'll trace and cut uniform square or rectangular pieces from cardboard boxes, then add road markings with paint pens or markers. The puzzle-style edges allow pieces to connect in different ways, giving your little ones a customizable track for toy cars, trucks, and imaginative play that changes every single day.
This project hits a sweet spot that's surprisingly hard to find: it's genuinely useful, endlessly replayable, and costs almost nothing to make. Most of us have cardboard boxes piling up from deliveries anyway, so why not turn that recycling pile into something your kids will actually use for months?
Quick Project Overview
| Detail | Info |
|---|---|
| Best age range | 3–8 years old (with adult help for cutting) |
| Time to complete | 45 minutes to 1 hour for a starter set |
| Difficulty | Easy for adults; kids handle decorating |
| Total cost | Under $5 (often free with supplies on hand) |
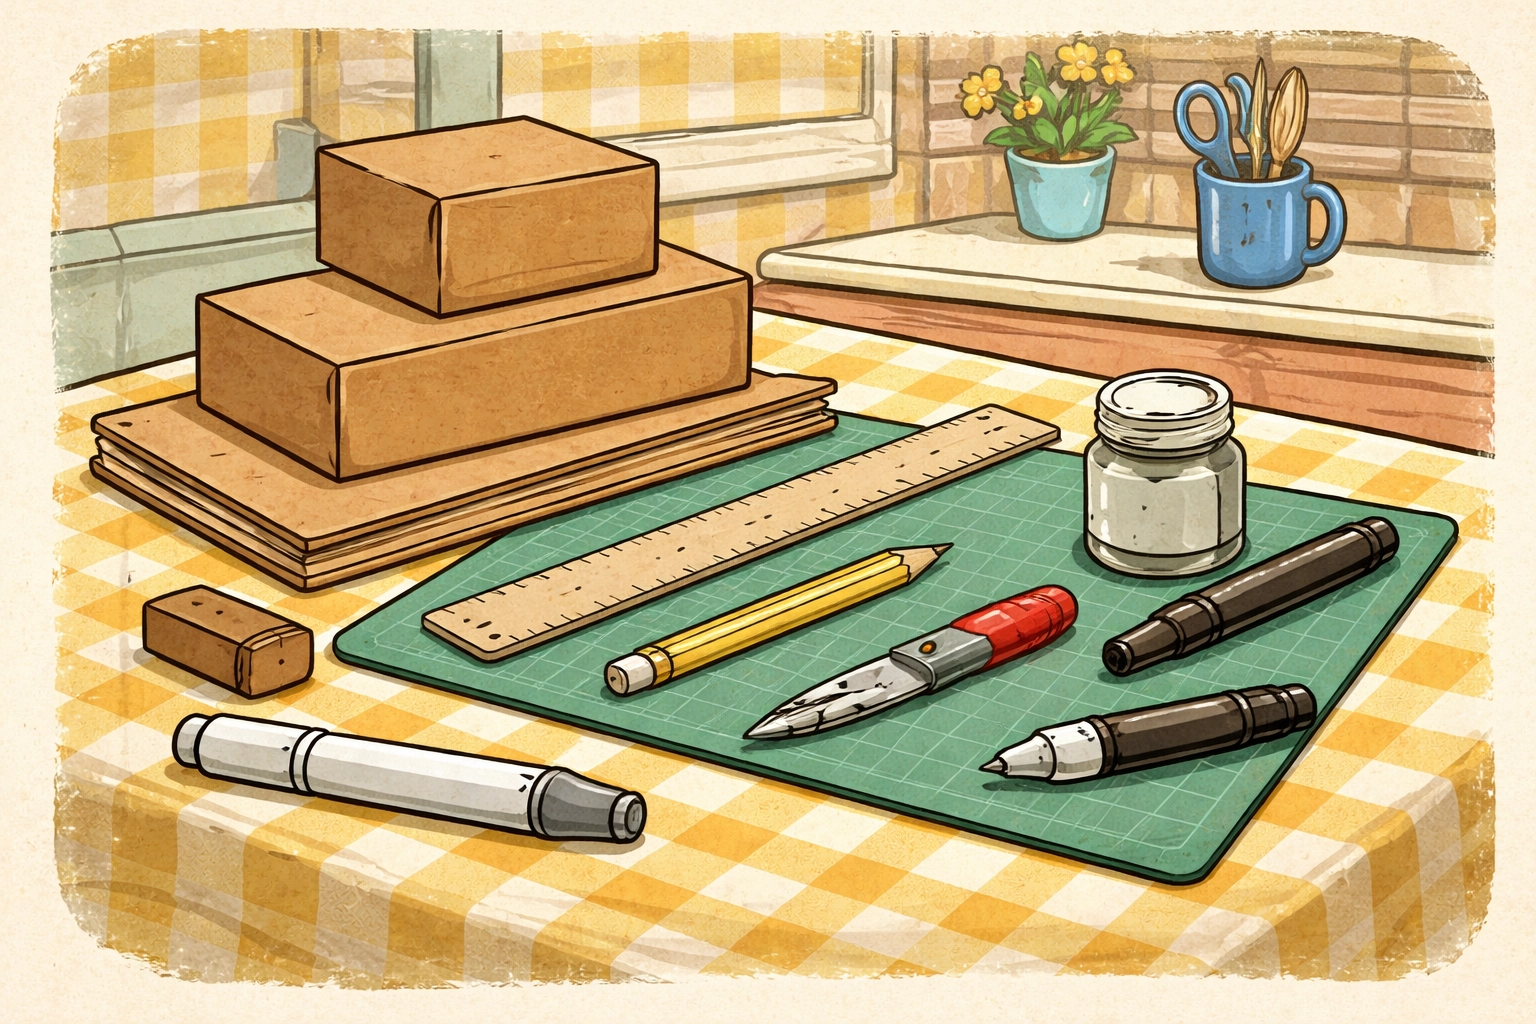
What You'll Need
Here's everything required to build your first batch of road puzzle pieces. You likely have most of these items already.
| Material | Estimated Cost | Notes |
|---|---|---|
| Cardboard boxes | Free | Shipping boxes work great |
| Ruler or straight edge | $1–$2 | For measuring uniform pieces |
| Pencil | On hand | For tracing templates |
| Box cutter or craft knife | $2–$4 | Adults only for cutting |
| Cutting mat or thick cardboard | $2–$3 | Protects your table |
| White paint pen or marker | $2–$3 | For road lines |
| Gray paint (optional) | $1–$2 | To paint road surfaces |
| Black marker | On hand | For details |
Total estimated cost: $3–$10 (depending on what you already own)
Step-by-Step Instructions
Step 1: Gather and Flatten Your Cardboard
Start by collecting a few sturdy cardboard boxes. Shipping boxes from online orders tend to work well because they're thick enough to hold up during play but not so thick that cutting becomes a chore.
Flatten each box and cut away any taped or damaged sections. You want clean, flat panels to work with. Aim for pieces that are relatively uniform in thickness: mixing flimsy cereal box cardboard with thick shipping box material can make the puzzle pieces uneven.
Step 2: Decide on Your Piece Size
Here's where a little planning goes a long way. Most families find that 6-inch by 6-inch squares work nicely for toy cars and small hands. However, you can go larger (8×8 inches) if you have bigger vehicles or younger kids who benefit from chunkier pieces.
The key is consistency. Whatever size you choose, stick with it for all your pieces so everything connects properly.
Step 3: Create Your Templates
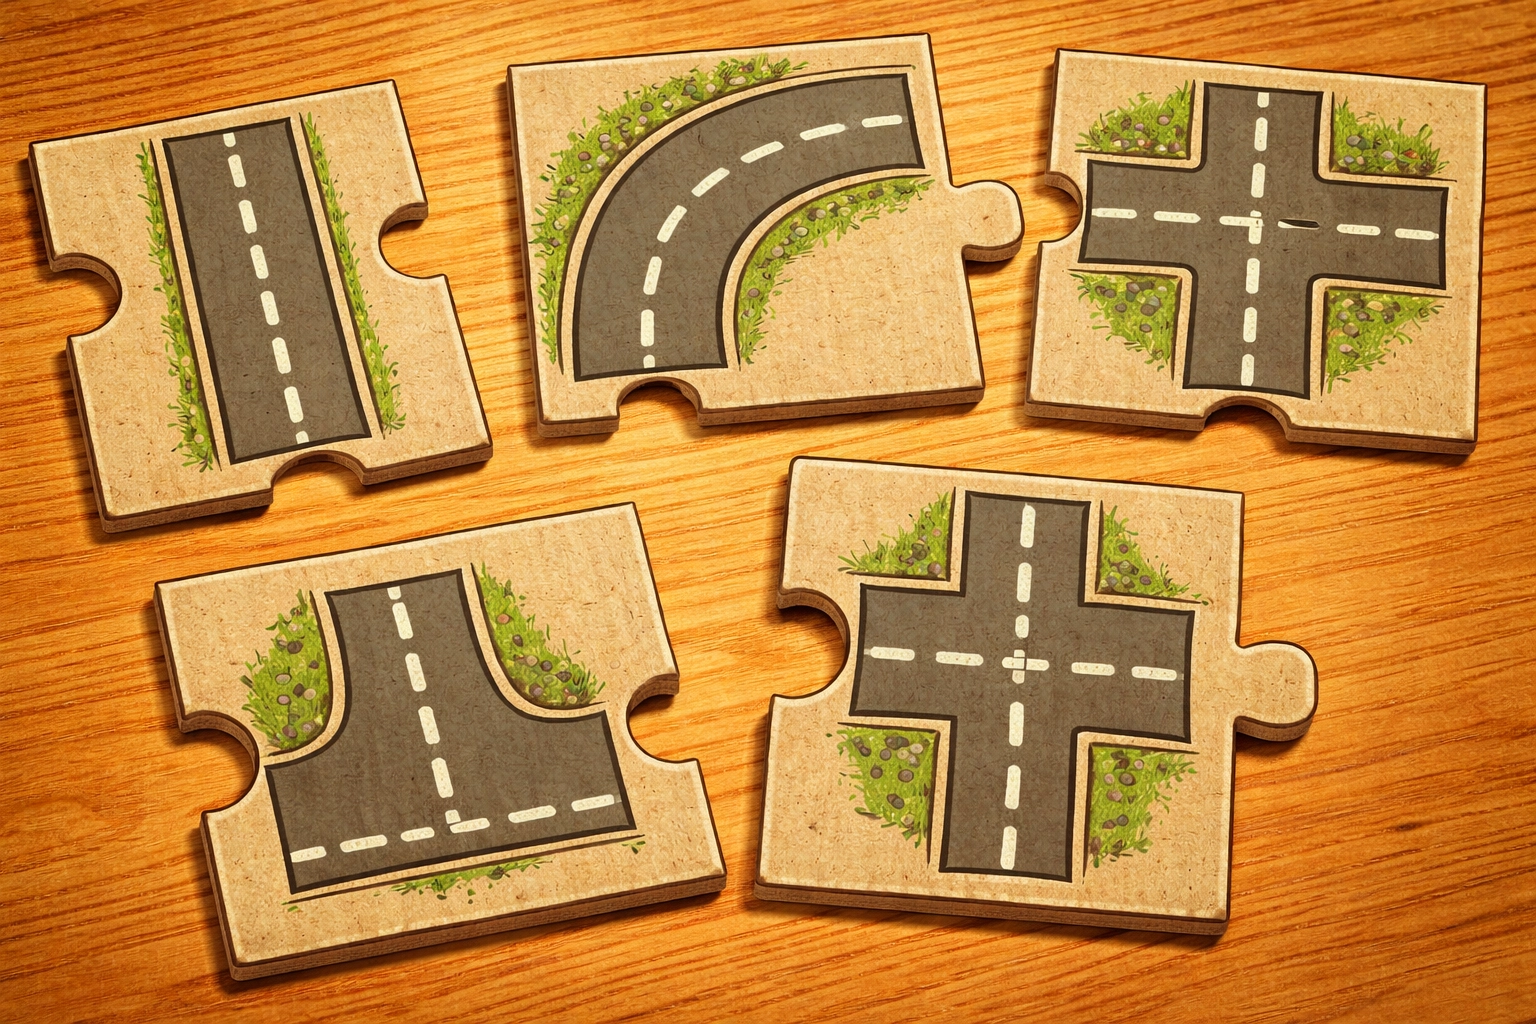
Before you start cutting dozens of pieces, make a few cardboard templates you can trace repeatedly. You'll want:
- Straight road pieces (road runs top to bottom or side to side)
- Curved road pieces (road curves from one edge to an adjacent edge)
- Intersection pieces (four-way or T-shaped intersections)
- Dead-end pieces (road ends in the middle)
Draw your road width at roughly 2 inches for standard toy car scale. Keep the road centered so pieces connect regardless of orientation.
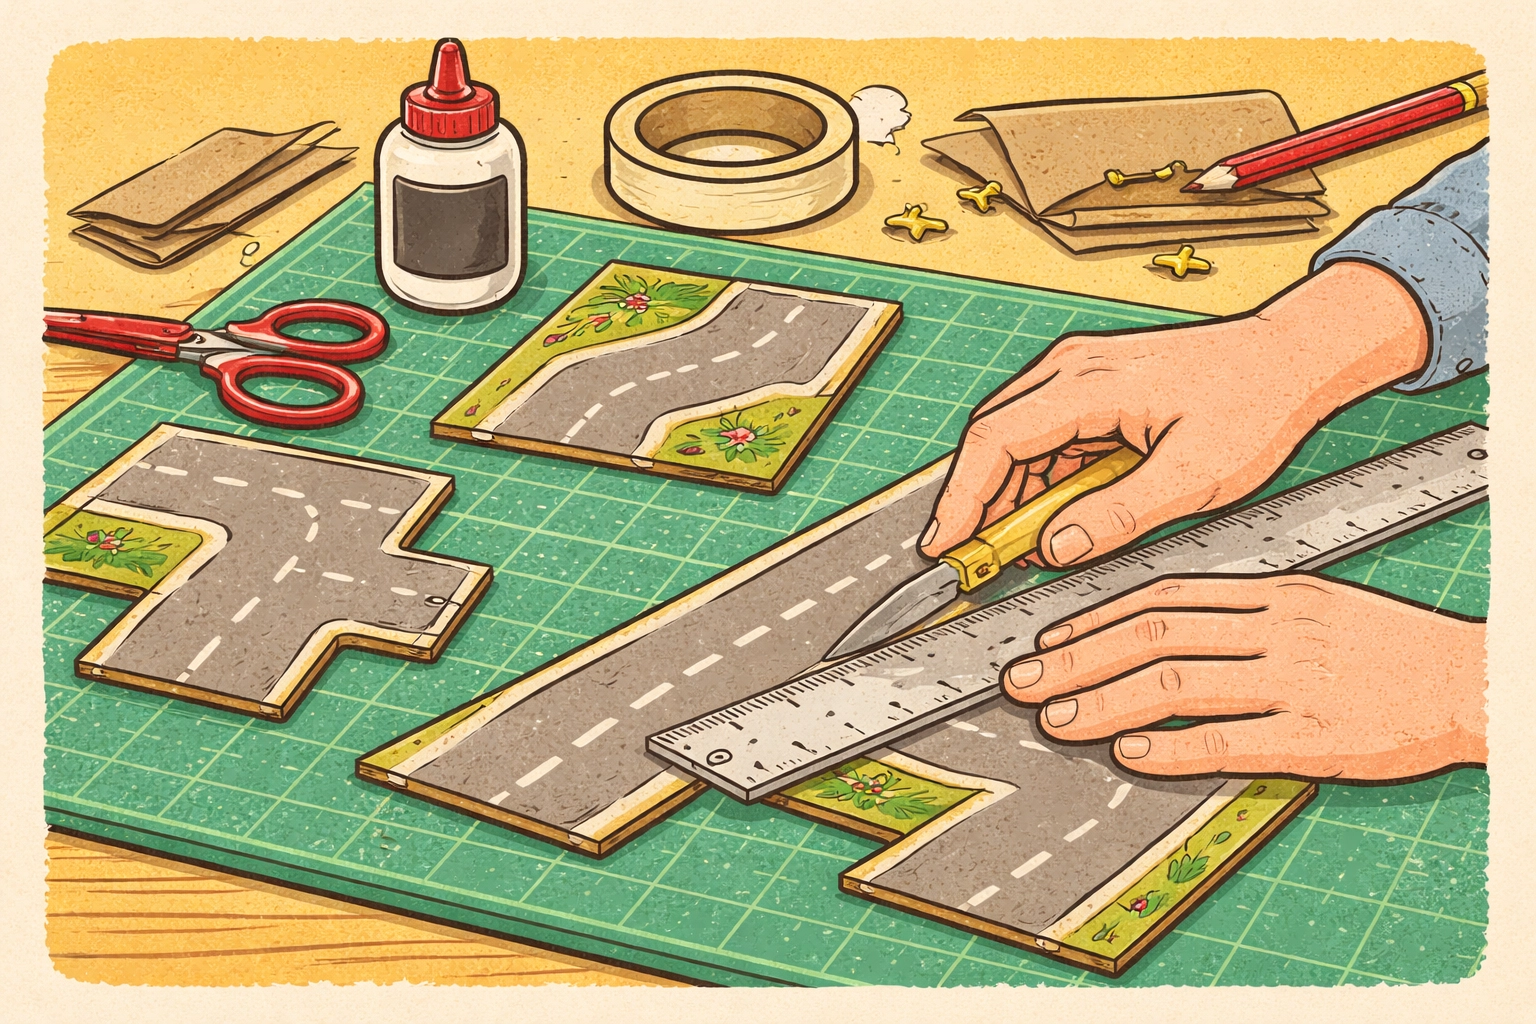
Step 4: Trace and Cut Your Pieces
Using your templates, trace as many pieces as you'd like onto your cardboard panels. For a good starter set, aim for around 15–20 pieces with a mix of straights, curves, and intersections.
Important: The cutting step is strictly for adults. Use a sharp box cutter or craft knife with a metal ruler as your guide. Cut on a protected surface: a self-healing cutting mat works great, but a sacrificial piece of thick cardboard underneath does the job too.
Take your time with the cuts. Clean edges mean pieces that fit together smoothly and look more polished.
Step 5: Add Puzzle-Style Edges (Optional but Recommended)
To make your road pieces actually interlock like a puzzle, you can cut simple tabs and slots into the edges. Think of classic jigsaw puzzle shapes: one edge has a rounded bump that fits into a matching indent on another piece.
This step takes extra time but dramatically improves playability. Kids can build elaborate road systems that stay connected instead of sliding apart.
If you'd rather skip this step, square pieces still work: they just won't lock together as securely.
Step 6: Paint the Road Surface (Optional)
For a more polished look, paint the road area of each piece with gray acrylic paint. This step isn't required: plenty of families leave the cardboard natural and it works just fine: but the gray helps the white road markings pop.
Let the paint dry completely before moving to the next step. Rushing this part leads to smudged lines and frustrated kids.
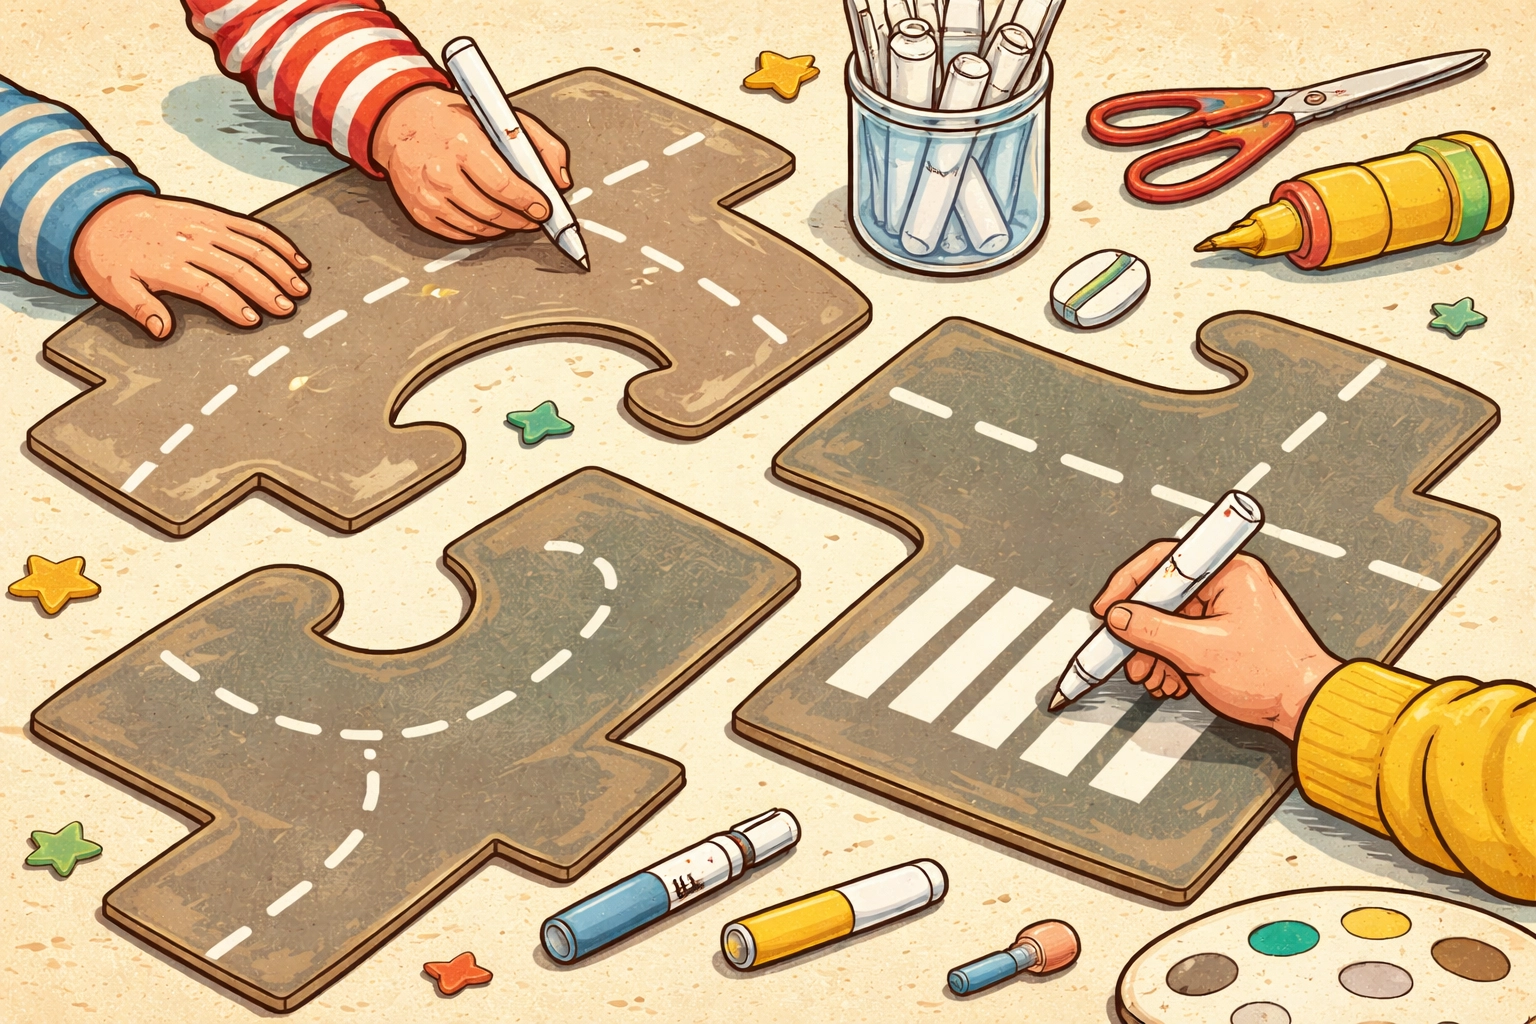
Step 7: Let Kids Add Road Markings
Here's where your little ones take over. Hand them white paint pens or white markers and let them draw road lines down the center of each piece.
You can guide them on what road markings look like:
- Dashed center lines for regular roads
- Solid lines for road edges
- Crosswalk stripes at intersections
- Arrows for turn lanes
Don't stress about perfection. Wobbly lines add character, and kids feel genuine ownership over roads they decorated themselves.
Step 8: Add Fun Details
Once the basic road markings are done, encourage kids to add extras:
- Parking spaces along the edges
- Speed limit signs (drawn right on the cardboard)
- Puddles or potholes
- Grass or flower doodles in the corners
These personal touches turn a simple toy into something special.
Tips for Long-Lasting Road Pieces
Store flat. Stack your pieces in a shallow box or basket. Bending weakens the cardboard over time.
Build your collection gradually. You don't need to make 50 pieces in one sitting. Start with 15–20, then add more as your kids' road systems grow more ambitious.
Laminate for durability. If you have access to a laminator or wide packing tape, covering the pieces extends their lifespan significantly: especially helpful for younger kids who are rougher on toys.
Create themed expansions. Once you've got the basics down, consider adding pieces with gas stations, parking lots, or roundabouts. Each new batch keeps the toy feeling fresh.
Why This Project Works So Well
Unlike single-use crafts that end up in the recycling bin within a week, cardboard road puzzles have real staying power. Kids return to them repeatedly because the possibilities change every time. Today's layout might be a small neighborhood loop; tomorrow it's a sprawling highway system spanning the entire living room floor.
The project also sneaks in some genuine learning. Spatial reasoning kicks in as kids figure out which pieces connect. Early math concepts appear when they count pieces or measure distances. And collaborative play happens naturally when siblings or friends build together.
For more hands-on projects that keep little ones engaged, check out our kids crafts collection for ideas that go beyond the ordinary.
Frequently Asked Questions
What age is this project best suited for?
Kids ages 3–8 tend to enjoy playing with these road pieces the most. However, the cutting portion should always be handled by an adult or older teen due to the sharp tools involved.
How many pieces should I make for a good starter set?
Around 15–20 pieces typically gives kids enough options to build interesting layouts without overwhelming your crafting session. You can always add more later.
Can I use cereal boxes instead of shipping boxes?
Cereal box cardboard tends to be thinner and floppier, which makes pieces less durable. Shipping boxes or similarly sturdy cardboard holds up much better during play.
How do I make the pieces interlock like a real puzzle?
Cut small rounded tabs into some edges and matching indents into others. When pieces connect, the tabs fit into the indents, holding everything together.
What if I don't have paint pens?
White crayons, correction fluid, or even small strips of white tape work as alternatives for road markings. Get creative with what you have on hand.
How do I store the pieces when not in use?
Stack them flat in a shoebox, basket, or large zip-top bag. Keeping them flat prevents warping and extends their usable life.
Can kids help with any part of the cutting?
Safety scissors can handle very thin cardboard, but most shipping box cardboard requires adult cutting tools. Kids can trace templates and handle all the decorating.
How long do these pieces typically last?
With reasonable care, cardboard road pieces can last several months to a year. Laminating or covering with clear packing tape significantly extends durability.
What size works best for Hot Wheels or Matchbox cars?
Six-inch squares with two-inch-wide roads accommodate most standard toy cars comfortably. Larger vehicles might need eight-inch squares.
Can I make themed pieces like a racetrack or city streets?
Absolutely. Once you've mastered the basics, add specialty pieces like pit stops, finish lines, bridges, or downtown intersections to expand the play possibilities.


