


DIY lacing cards are simple threading activities where kids pass string through holes punched around a cut-out shape. You can make them at home in about 15-20 minutes using cardstock, a hole punch, and yarn or shoelaces: typically for under $10 total. These quiet, screen-free activities help develop fine motor skills, hand-eye coordination, and concentration, making them a go-to busy activity for kids roughly ages 3 to 7.
The concept is wonderfully straightforward: punch holes around a fun shape, add some string, and let little hands get to work weaving in and out. It's the kind of project that keeps kids engaged while you catch your breath, prep dinner, or just enjoy a few minutes of relative calm.
Let's walk through exactly how to make these at home.
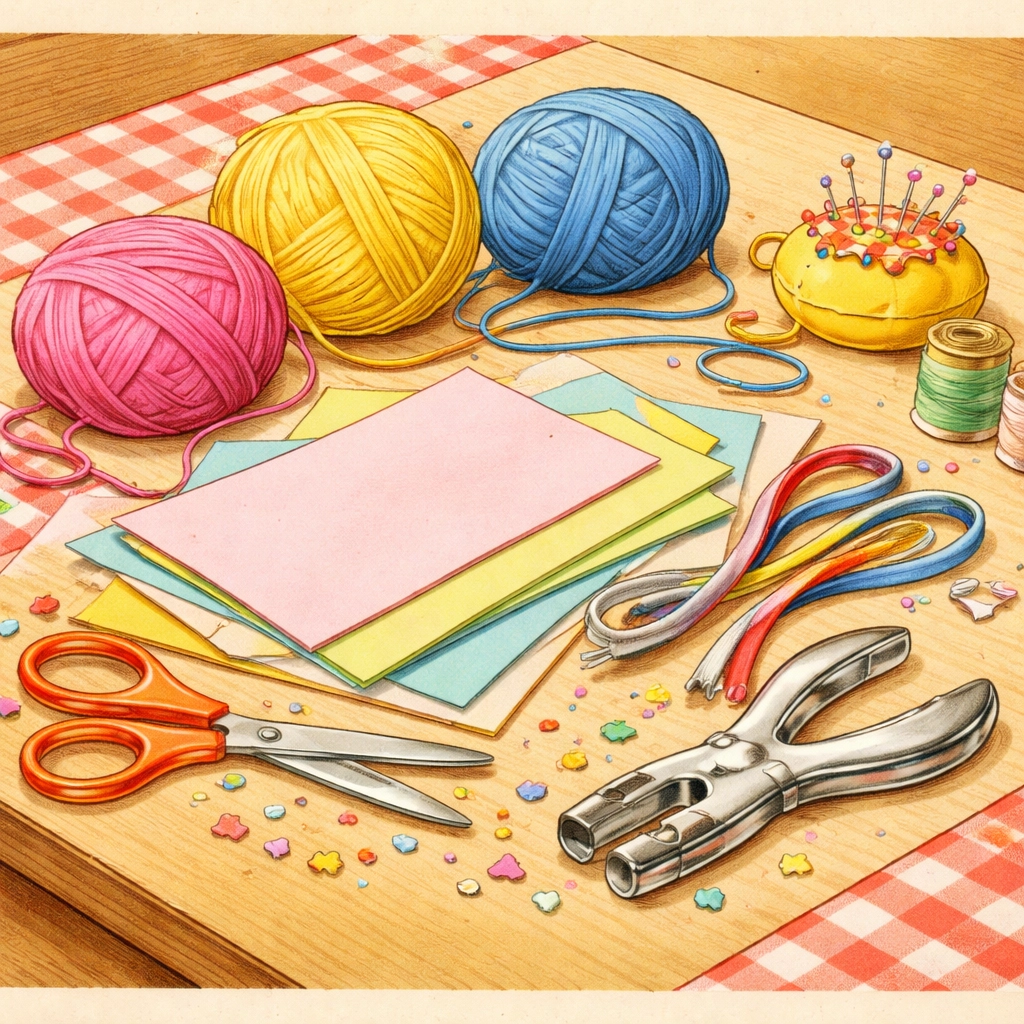
What You'll Need: Materials List (Under $10)
One of the nicest things about lacing cards is that you probably have most of the supplies already. Here's a quick breakdown:
| Material | Purpose | Estimated Cost |
|---|---|---|
| Cardstock or cereal boxes | Sturdy base for the card | $0–$3 |
| Scissors | Cutting out shapes | Already own |
| Hole punch | Creating threading holes | $1–$3 |
| Yarn, shoelaces, or ribbon | Lacing material | $1–$3 |
| Plastic yarn needle or tape | Makes threading easier | $1–$2 |
| Optional: Laminating sheets | Extra durability | $2–$4 |
| Crayons or markers | Decorating (optional) | Already own |
Total estimated cost: $3–$10, depending on what you have on hand.
You can absolutely use recycled materials like old greeting cards, foam sheets from the dollar store, or even clean takeout container lids. Get creative with what's already in your craft bin.
Age Range: Who Are Lacing Cards Good For?
Lacing cards tend to work well for a fairly wide age range, though the experience differs by developmental stage:
- Ages 2–3: May need significant help and might enjoy simply poking the string through a few holes. Keep expectations relaxed.
- Ages 3–5: This is often the sweet spot. Kids can typically manage the threading motion with some guidance and feel a genuine sense of accomplishment.
- Ages 5–7: Older kids can usually handle more complex patterns, smaller holes, and may enjoy creating their own card designs.
- Ages 7+: Some kids still enjoy lacing as a calming activity, especially if you introduce more intricate designs or sewing-style patterns.
The key is matching the complexity to your child's current skill level. Larger holes and thicker laces work better for younger kids, while older children might appreciate finer materials and more detailed shapes.
Time Estimate
- Making the cards: 15–20 minutes per card (faster once you get the hang of it)
- Kids using the cards: Varies wildly: anywhere from 5 minutes to 30+ minutes depending on interest and age
If you're making a batch for a busy bin or travel kit, set aside about an hour to create 3–5 cards at once.
Step-by-Step: How to Make DIY Lacing Cards
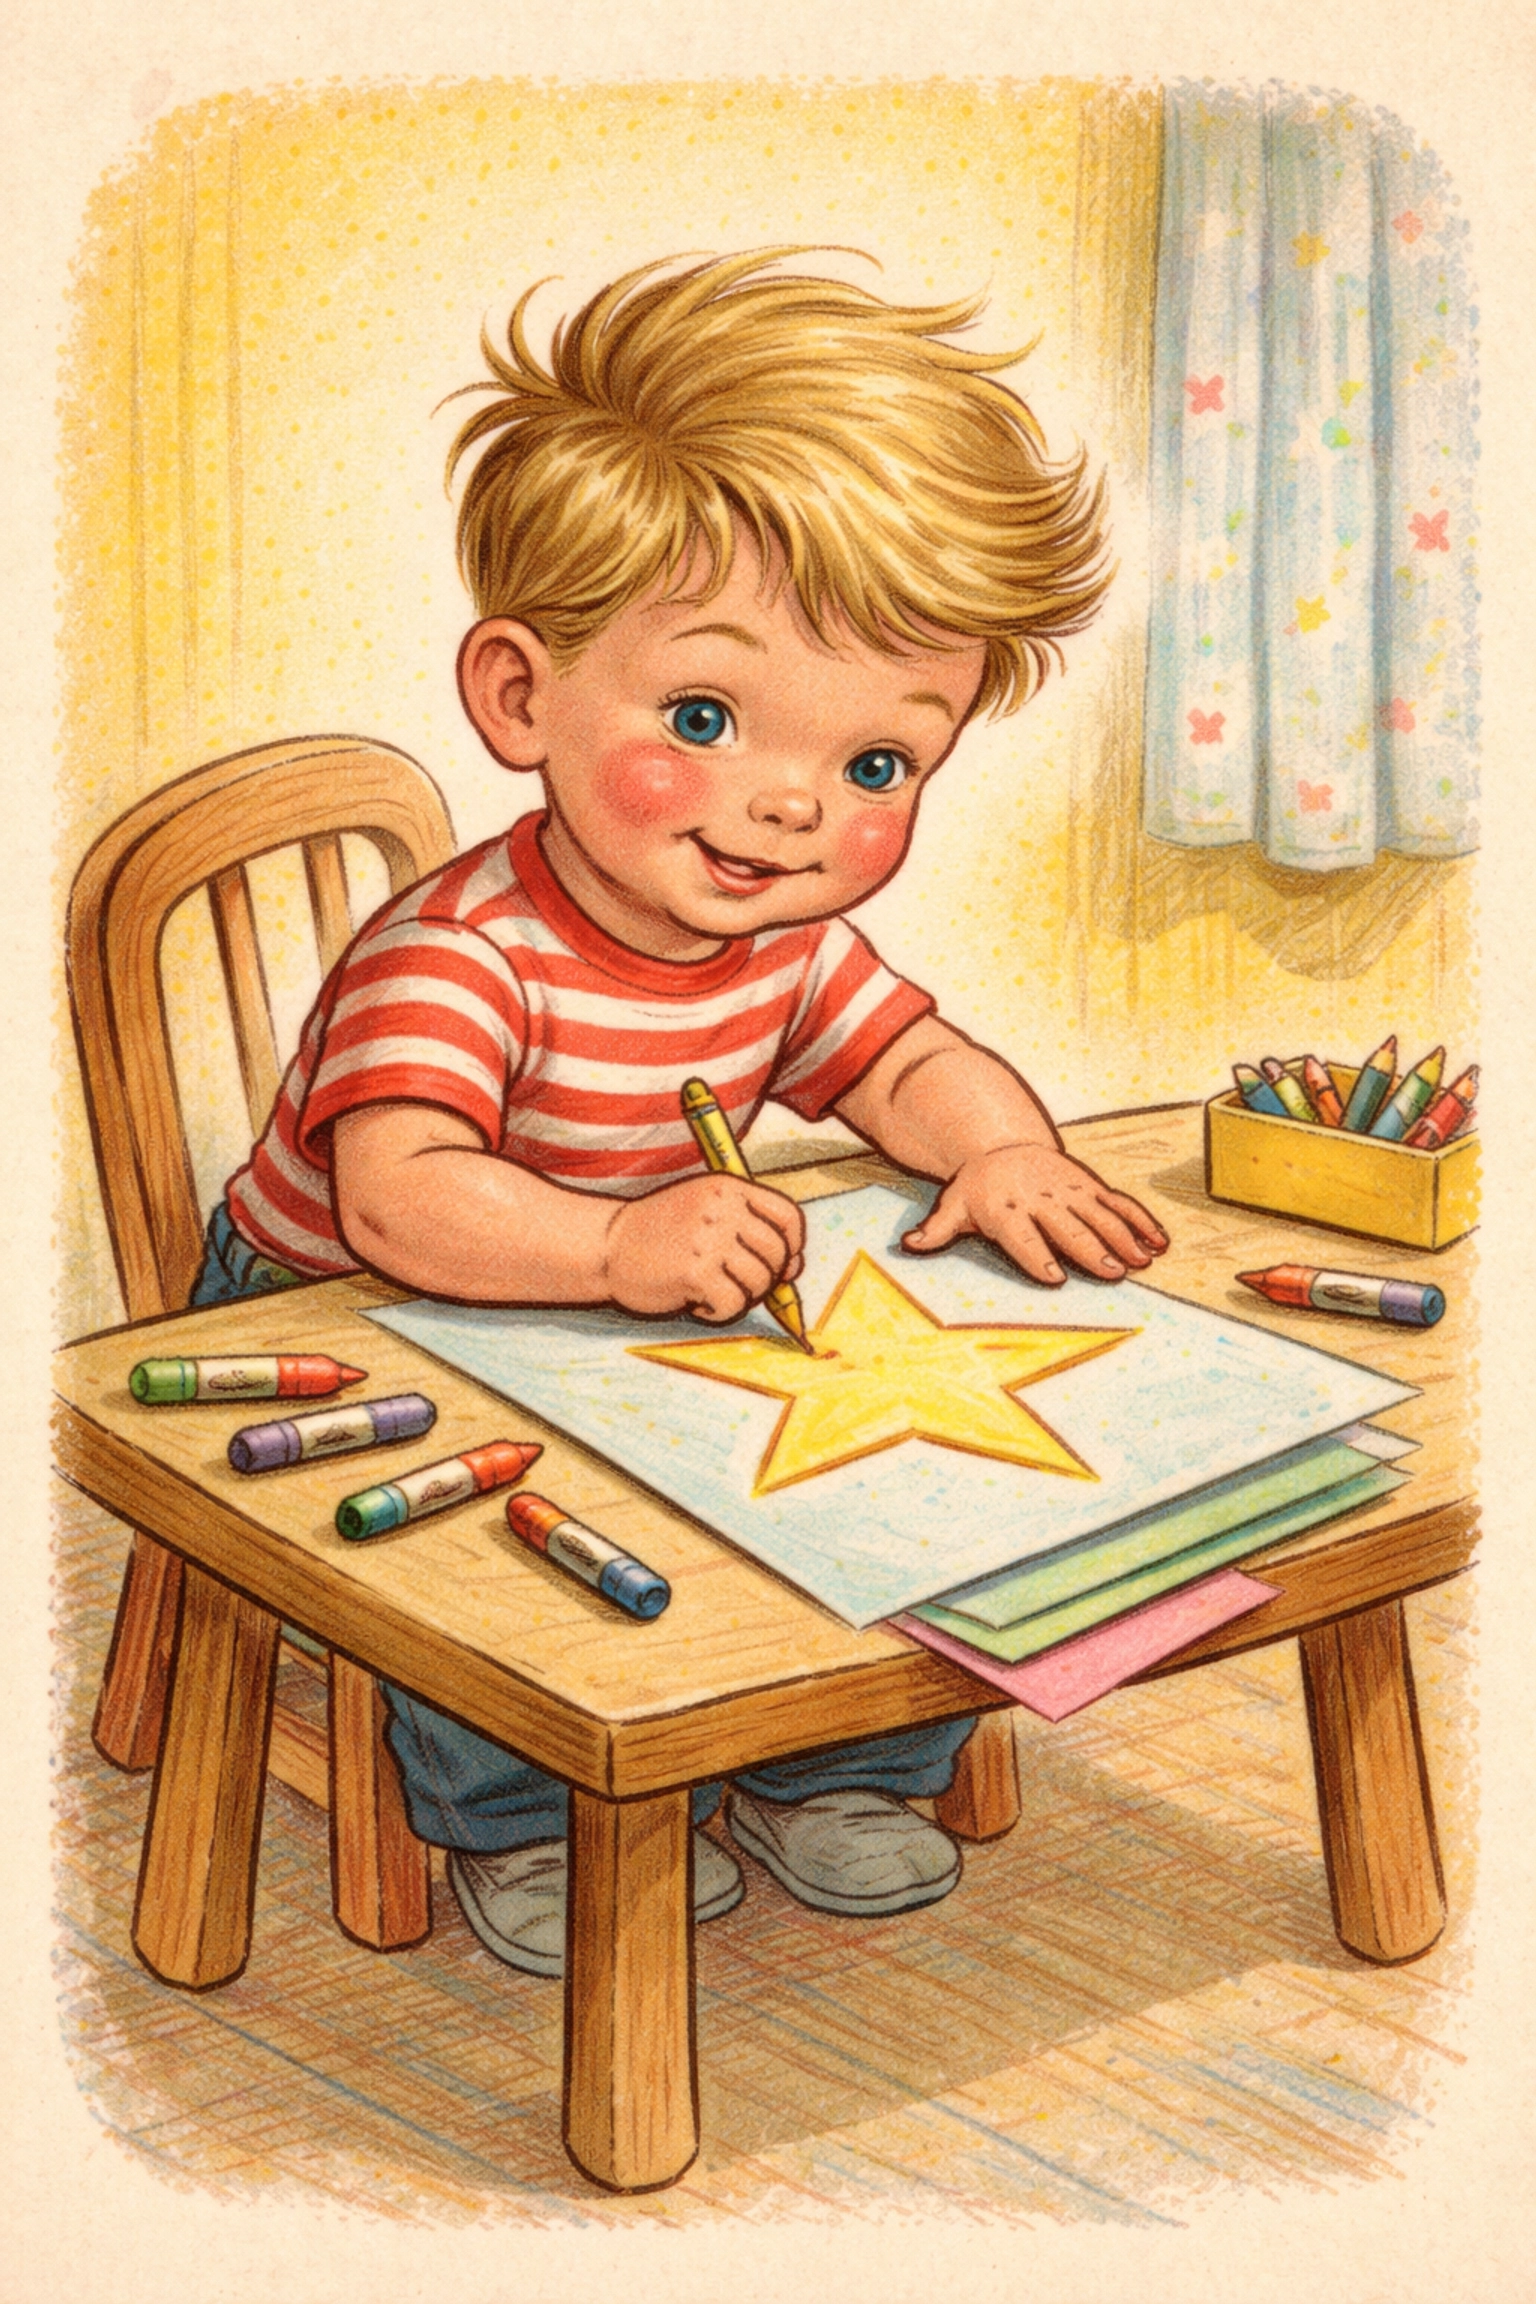
Step 1: Choose or Create Your Design
Start by deciding what shapes you want. Simple options work especially well for beginners:
- Basic shapes (hearts, stars, circles, squares)
- Animals (fish, cats, butterflies)
- Seasonal items (leaves, pumpkins, snowflakes)
- Letters or numbers for educational practice
You can draw shapes freehand, trace cookie cutters, or print free templates from the internet. If your child is old enough, let them help pick the designs: they're often more invested in lacing something they chose themselves.
Step 2: Prepare Your Base Material
For durability, you'll want something sturdier than regular printer paper. Good options include:
- Cardstock: The go-to choice. Sturdy enough to hold up to repeated use.
- Cereal boxes: Free, readily available, and surprisingly durable. Glue your design onto the printed side.
- Foam sheets: Available at most dollar stores. Easy to punch and very kid-friendly.
- Laminated paper: If you have a laminator, this creates cards that can last for months.
If you're using recycled cardboard, consider gluing two pieces together and letting them dry under a heavy book for extra stiffness.
Step 3: Cut Out the Shape
Using scissors, carefully cut around your design. Leave a small border around the edge: you'll need room for the holes without the cardstock tearing into thin slivers.
For younger crafters, an adult should handle this step. Older kids can often manage safety scissors for simpler shapes.
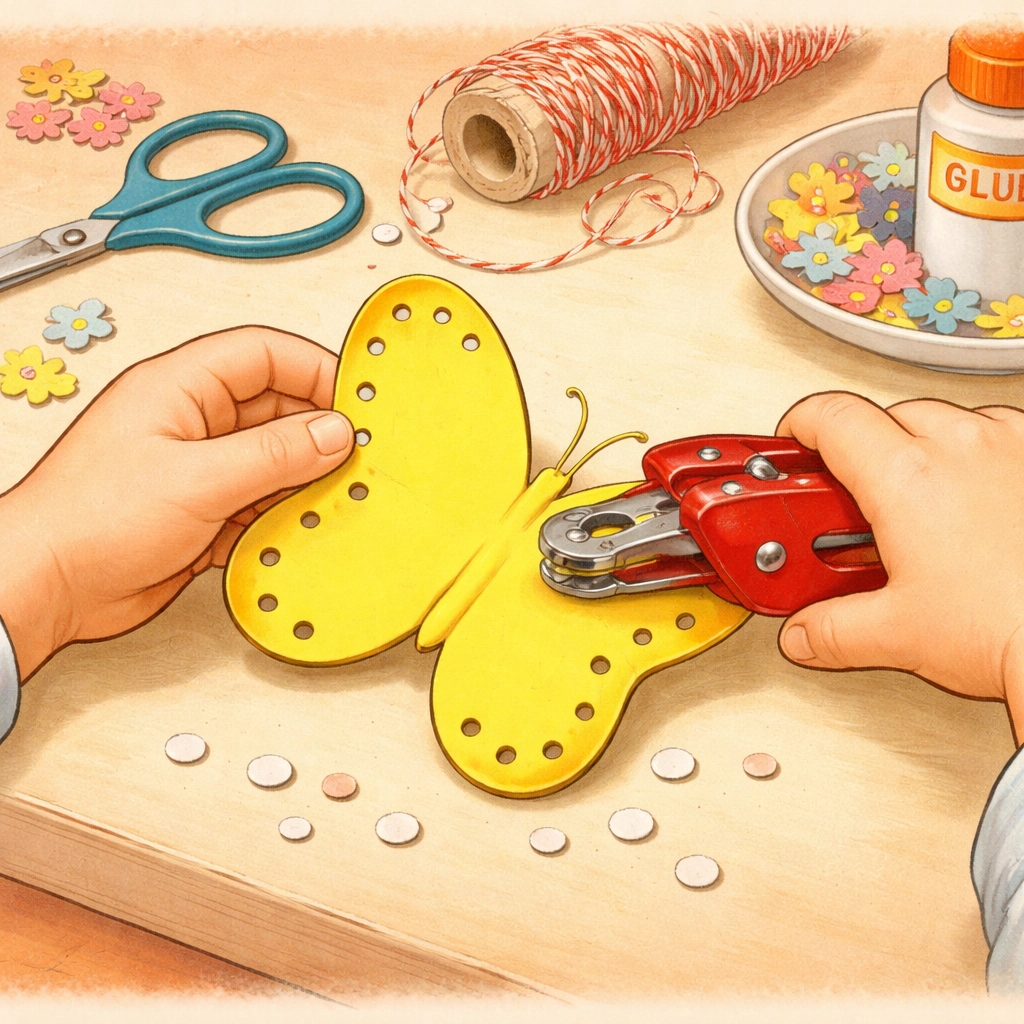
Step 4: Punch the Holes
This is where the magic happens. Using a standard hole punch, create holes around the perimeter of your shape. A few tips:
- Space holes evenly: About half an inch to one inch apart works well for most ages.
- Larger holes for younger kids: They're easier to thread.
- Edge placement: Keep holes close enough to the edge for easy access, but not so close the cardstock tears.
For very detailed shapes or interior holes, you might need a single-hole punch or even a sharp needle (adult-supervised, of course).
Step 5: Prepare Your Lacing Material
Cut a piece of yarn, ribbon, or use an old shoelace: about 24–36 inches works well for most card sizes. Then:
- Tie a knot at one end to prevent the string from pulling through completely.
- Stiffen the threading end by either wrapping it with tape (creating a makeshift needle) or threading it through a plastic yarn needle.
Shoelaces are particularly great for beginners because they already have stiff tips and don't fray.
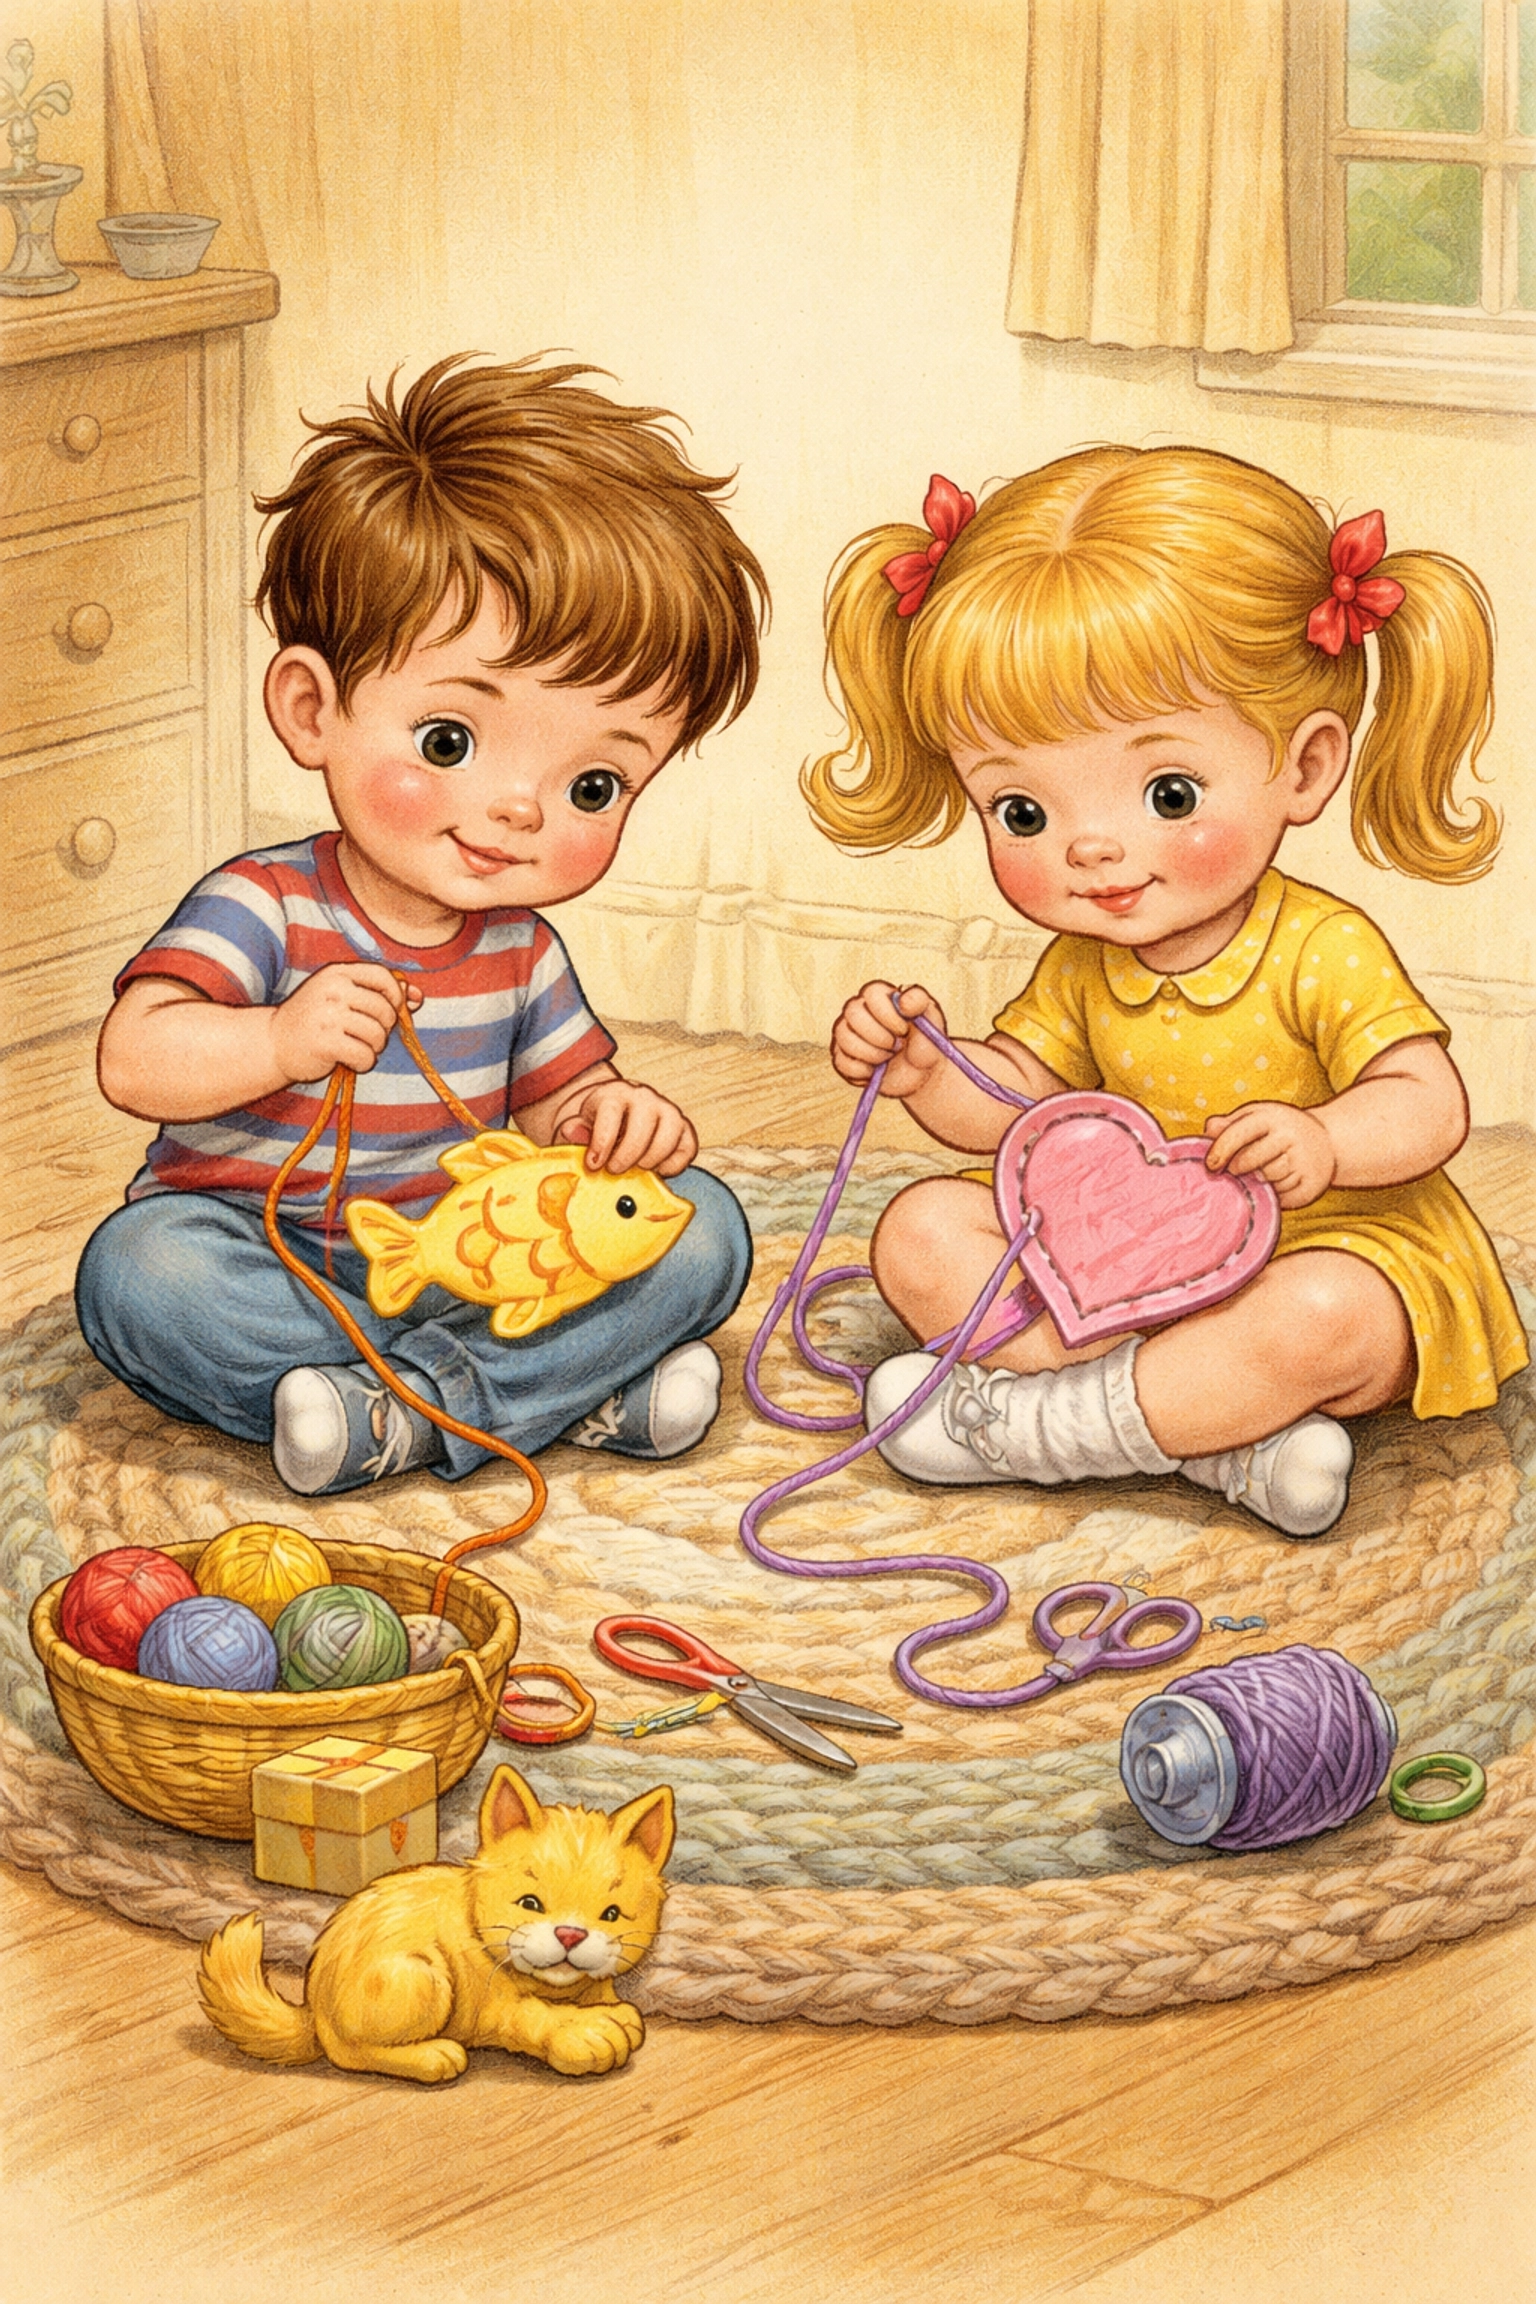
Step 6: Introduce the Activity to Your Child
Show your child how to push the string through one hole, pull it to the other side, then find the next hole. You might demonstrate a simple in-and-out pattern first.
Some kids naturally figure out their own patterns, while others prefer following a specific path. There's no wrong way to lace: the process itself builds those fine motor skills, regardless of the final look.
Tips for Success
- Start simple: Begin with larger shapes, bigger holes, and thicker laces. You can always level up later.
- Make it educational: Write letters or numbers near each hole for added learning opportunities.
- Create a lacing card bin: Store completed cards in a small container for grab-and-go quiet time.
- Travel-friendly: Lacing cards are lightweight and mess-free: perfect for road trips, waiting rooms, or restaurant waits.
- Rotate designs: Keep things fresh by swapping out seasonal shapes or introducing new themes.
For more hands-on projects that keep little ones busy, check out our kids crafts collection for additional ideas.
Frequently Asked Questions
What age is appropriate for lacing cards?
Most children begin enjoying lacing cards around age 3, though some 2-year-olds may show interest with assistance. Kids typically continue finding them engaging through age 6 or 7, especially with increasingly complex designs.
What can I use instead of yarn for lacing?
Shoelaces work wonderfully (the plastic tips make threading easy), as do ribbon, embroidery floss, or even pipe cleaners for added stiffness. Avoid very thin thread for young children: it's harder to grip.
How do I make lacing cards more durable?
Laminating your cards before punching holes significantly extends their lifespan. Alternatively, gluing designs onto foam sheets or doubling up cardboard provides extra sturdiness.
Can lacing cards be educational?
Definitely. You can add letters for alphabet practice, numbers for counting, or shapes for geometry recognition. Some parents create matching games where kids lace specific patterns to complete a task.
How many holes should a lacing card have?
For beginners, 8–12 holes is usually manageable. Older or more experienced kids can handle 15–20+ holes on larger, more detailed designs.
What if my child gets frustrated with lacing?
Try larger holes, thicker laces, or simpler shapes. Sometimes using a shoelace instead of yarn makes all the difference. Keep sessions short and pressure-free: the goal is enjoyment, not perfection.
Are there benefits to lacing cards beyond fine motor skills?
Yes! Lacing also supports hand-eye coordination, concentration, patience, and bilateral coordination (using both hands together). Many kids find the repetitive motion calming and satisfying.
Can I make lacing cards from recycled materials?
Absolutely. Cereal boxes, greeting cards, clean takeout containers, and cardboard packaging all work well. It's a great way to repurpose materials you'd otherwise toss.
References
- DIY lacing card tutorials and material suggestions
- Definition and purpose of lacing card activities
- Fine motor skill development through threading activities
- Educational customization ideas for lacing cards


