


To make a DIY paper plate mask, cut eye holes in a paper plate, attach a craft-stick handle or elastic string, and let your child decorate it as their favorite animal, monster, or character. This craft typically takes about 15–30 minutes, costs under $10 in supplies, and works well for kids ages 3 and up with varying levels of adult help. It's one of those satisfying projects where the materials are probably already in your kitchen drawer, and the creative possibilities are practically endless.
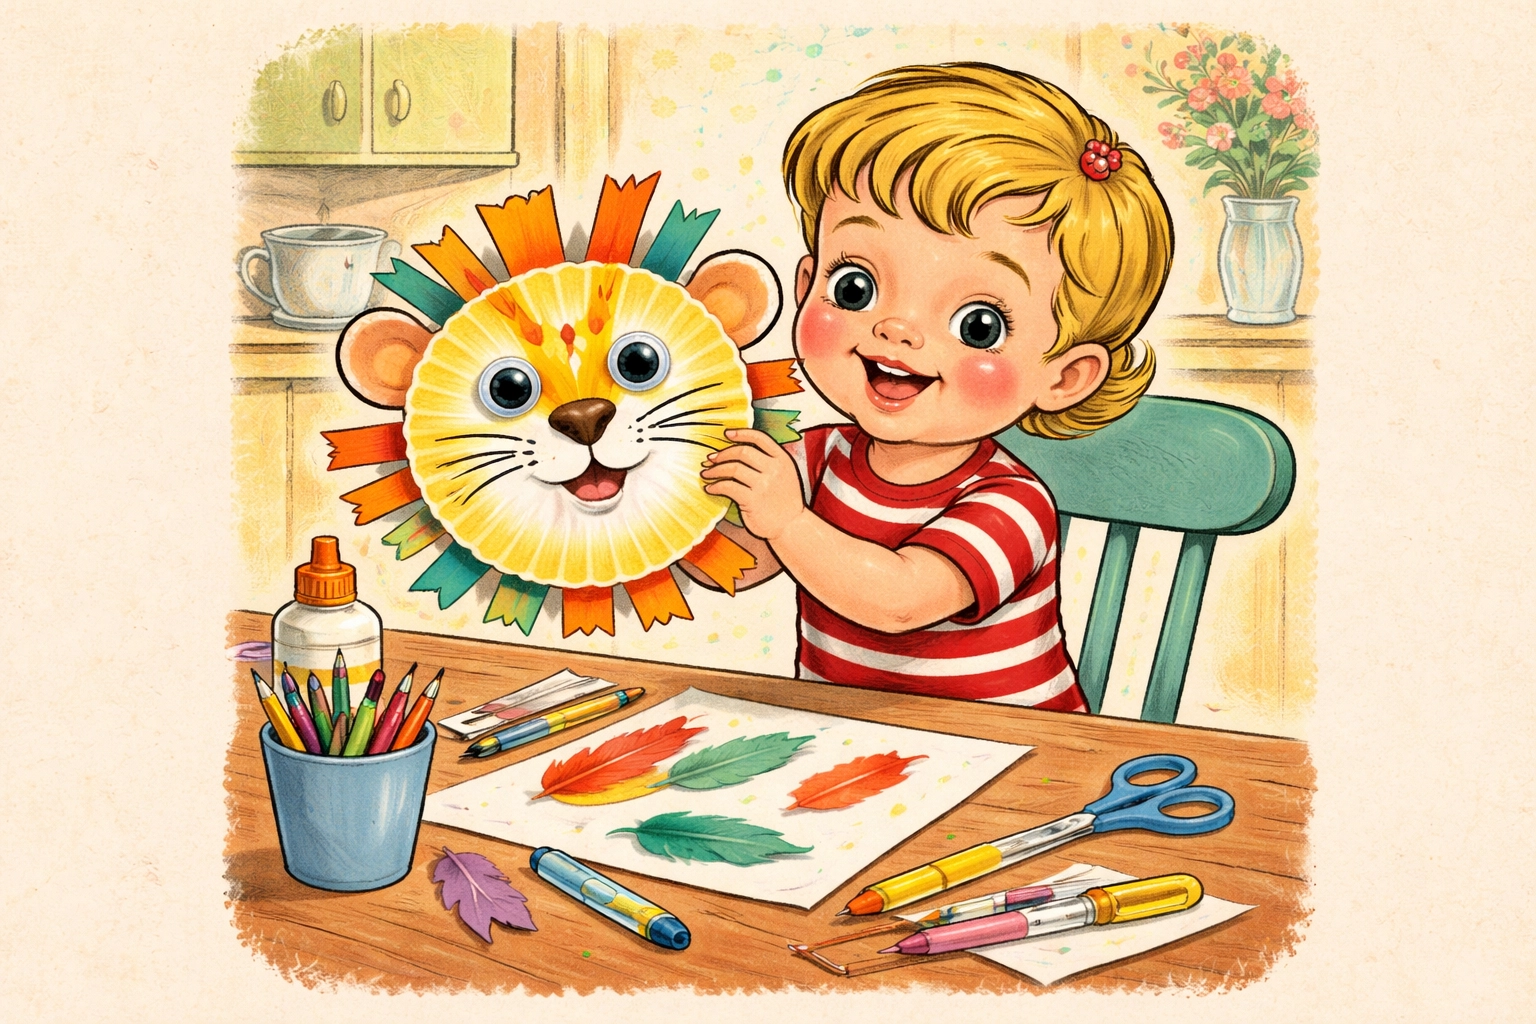
Paper plate masks have been a childhood staple for generations: and for good reason. They're inexpensive, customizable, and provide that magical moment when a kid holds up their creation and suddenly becomes a lion, a robot, or a googly-eyed monster. Whether you're planning a rainy afternoon activity, prepping for a birthday party, or just need 20 minutes of creative focus time, this project delivers.
What You'll Need: Materials & Cost Breakdown
One of the nicest things about paper plate masks is that you likely have most supplies on hand. Here's a quick rundown:
| Material | Estimated Cost | Notes |
|---|---|---|
| Paper plates (standard white) | $1–$2 for a pack | Sturdy plates work better than flimsy ones |
| Scissors | Already owned | Kid-safe scissors for older children |
| Markers, crayons, or paint | $1–$4 | Tempera or acrylic paint works great |
| Craft sticks (popsicle sticks) | $1–$2 for a pack | For handheld masks |
| Elastic string or yarn | $1–$2 | For wearable masks |
| Glue (stick or tacky glue) | $1–$2 | Hot glue for adult use only |
| Decorations (optional) | $1–$3 | Feathers, pompoms, sequins, glitter, cotton balls |
Total estimated cost: $5–$10 (and often less if you raid your craft drawer first)
Age Range & Time Estimate
Ages 3–5: Little ones can paint, color, and glue decorations with supervision. Adults should handle cutting, especially the eye holes. Expect about 20–30 minutes of focused crafting.
Ages 6–8: Kids in this range can usually cut basic shapes themselves and may want to tackle more detailed designs. Plan for 15–25 minutes.
Ages 9+: Older children often enjoy the challenge of creating realistic animal features or elaborate character masks. They might spend 30 minutes or more perfecting details.
Step-by-Step Instructions
Step 1: Choose Your Mask Style
Before cutting anything, decide what kind of mask you're making. This helps determine the shape:
- Full-face mask: Uses the entire plate with eye holes cut out
- Half-face mask: Cut the plate in half horizontally, leaving the nose and mouth exposed
- Handheld mask: Any shape with a craft stick attached to one side
Have your child pick an animal, monster, superhero, or character theme. Popular choices include cats, owls, lions, butterflies, dinosaurs, and silly monsters with multiple eyes.
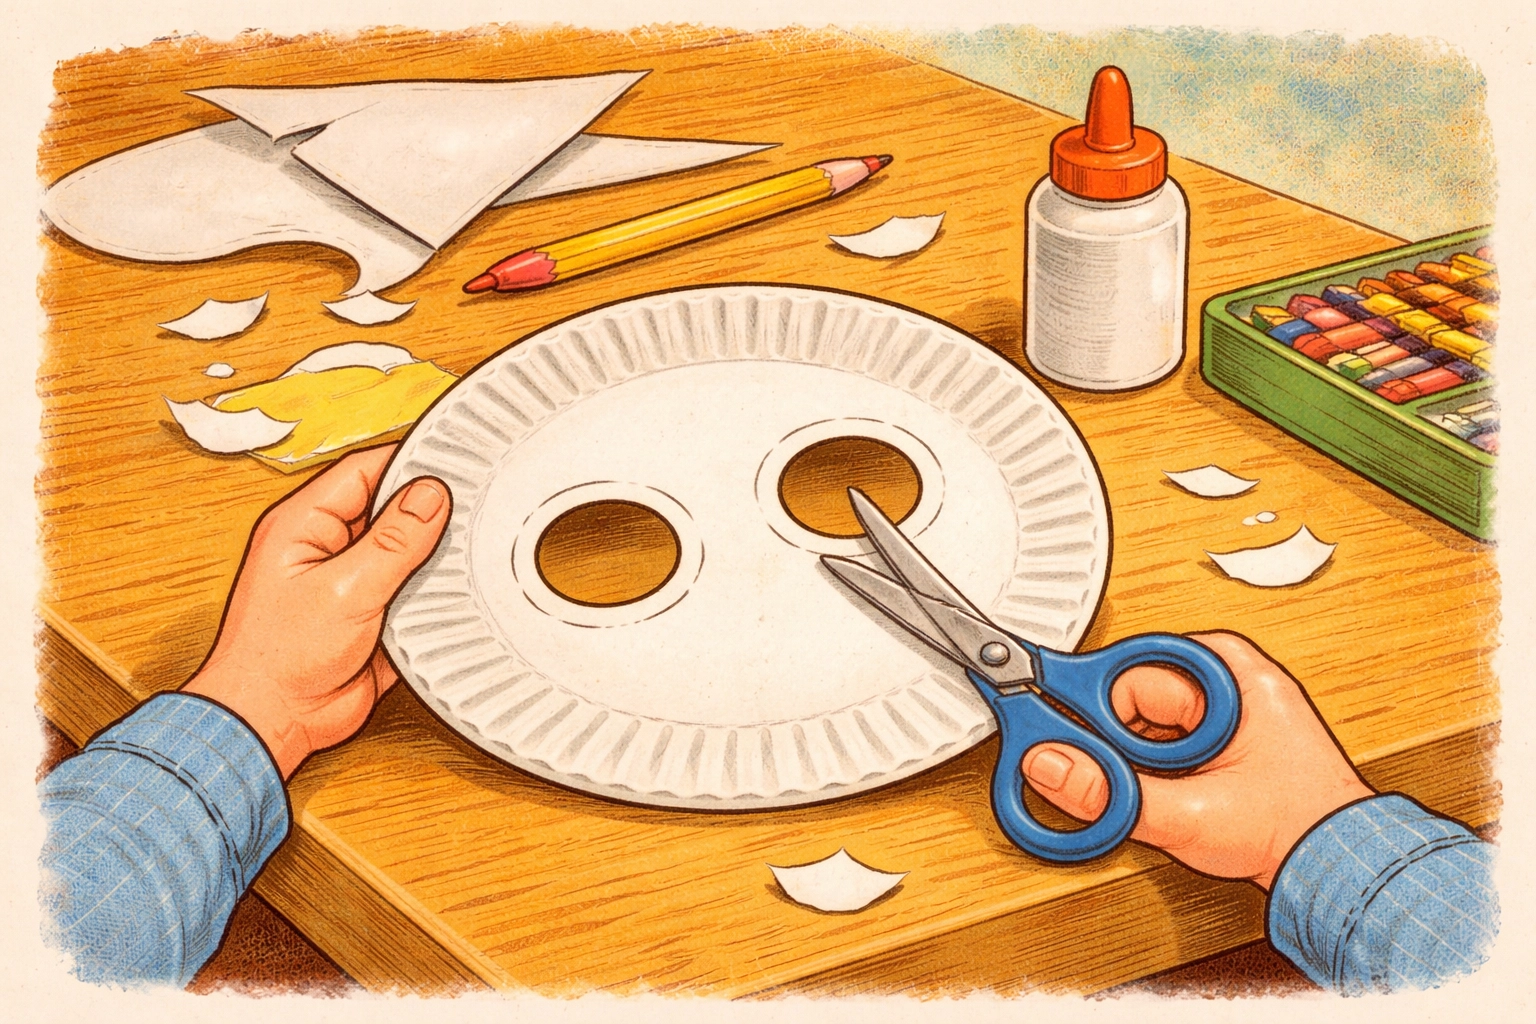
Step 2: Mark and Cut the Eye Holes
This is the trickiest part, so adults should handle it for younger kids.
- Hold the plate up to your child's face (without touching their eyes) and lightly mark where the eyes are with a pencil
- Set the plate down and draw two circles or ovals where the marks are
- Cut out the eye holes using scissors or a utility knife
Pro tip: Make the eye holes generously sized. Nothing ruins mask fun faster than a kid who can't see where they're going. Aim for holes about the size of a quarter or larger.
Step 3: Shape the Mask (Optional)
Depending on your design, you might want to:
- Cut the bottom half off for a half-face mask
- Trim the edges into a cat-ear shape or crown points
- Cut a small triangle at the bottom for a nose opening
For animal masks, you can also cut ear shapes from the leftover plate pieces and glue them to the top.
Step 4: Paint or Color the Base
Now the fun really begins! Cover your workspace with newspaper or a plastic tablecloth, then let your child paint or color the mask.
- For solid colors: Tempera or acrylic paint covers well in one coat
- For texture: Try sponge painting or dabbing with a crumpled paper towel
- For quick projects: Markers and crayons work just fine and dry instantly
Let the paint dry completely before moving to the next step: otherwise decorations will slide right off.
Step 5: Add Decorations and Details
This is where personalities shine through. Set out your embellishments and let kids go wild:
- Feathers make great bird plumage or monster hair
- Pompoms work as noses, cheeks, or antennae tips
- Cotton balls create fluffy sheep, clouds, or beards
- Yarn pieces become hair, whiskers, or manes
- Sequins and glitter add sparkle (fair warning: glitter travels)
- Construction paper cutouts can form ears, beaks, teeth, or horns
Use tacky glue or glue sticks for most decorations. Hot glue guns work faster but should only be used by adults.
Step 6: Attach the Handle or Strap
You've got two main options here:
For a handheld mask:
Tape or glue a craft stick vertically to the back of one side. Reinforce with extra tape if needed: kids tend to wave these around enthusiastically.
For a wearable mask:
- Punch a hole on each side of the mask, near the edges
- Cut a piece of elastic string about 10–12 inches long
- Thread each end through a hole and tie secure knots
If you don't have elastic, regular yarn or string works too: just tie it in a bow at the back of the head so you can adjust the fit.
Step 7: Let It Dry and Play!
Give everything about 10–15 minutes to dry fully, then hand it over for imaginative play. Masks pair wonderfully with dress-up clothes, puppet shows, or homemade plays.
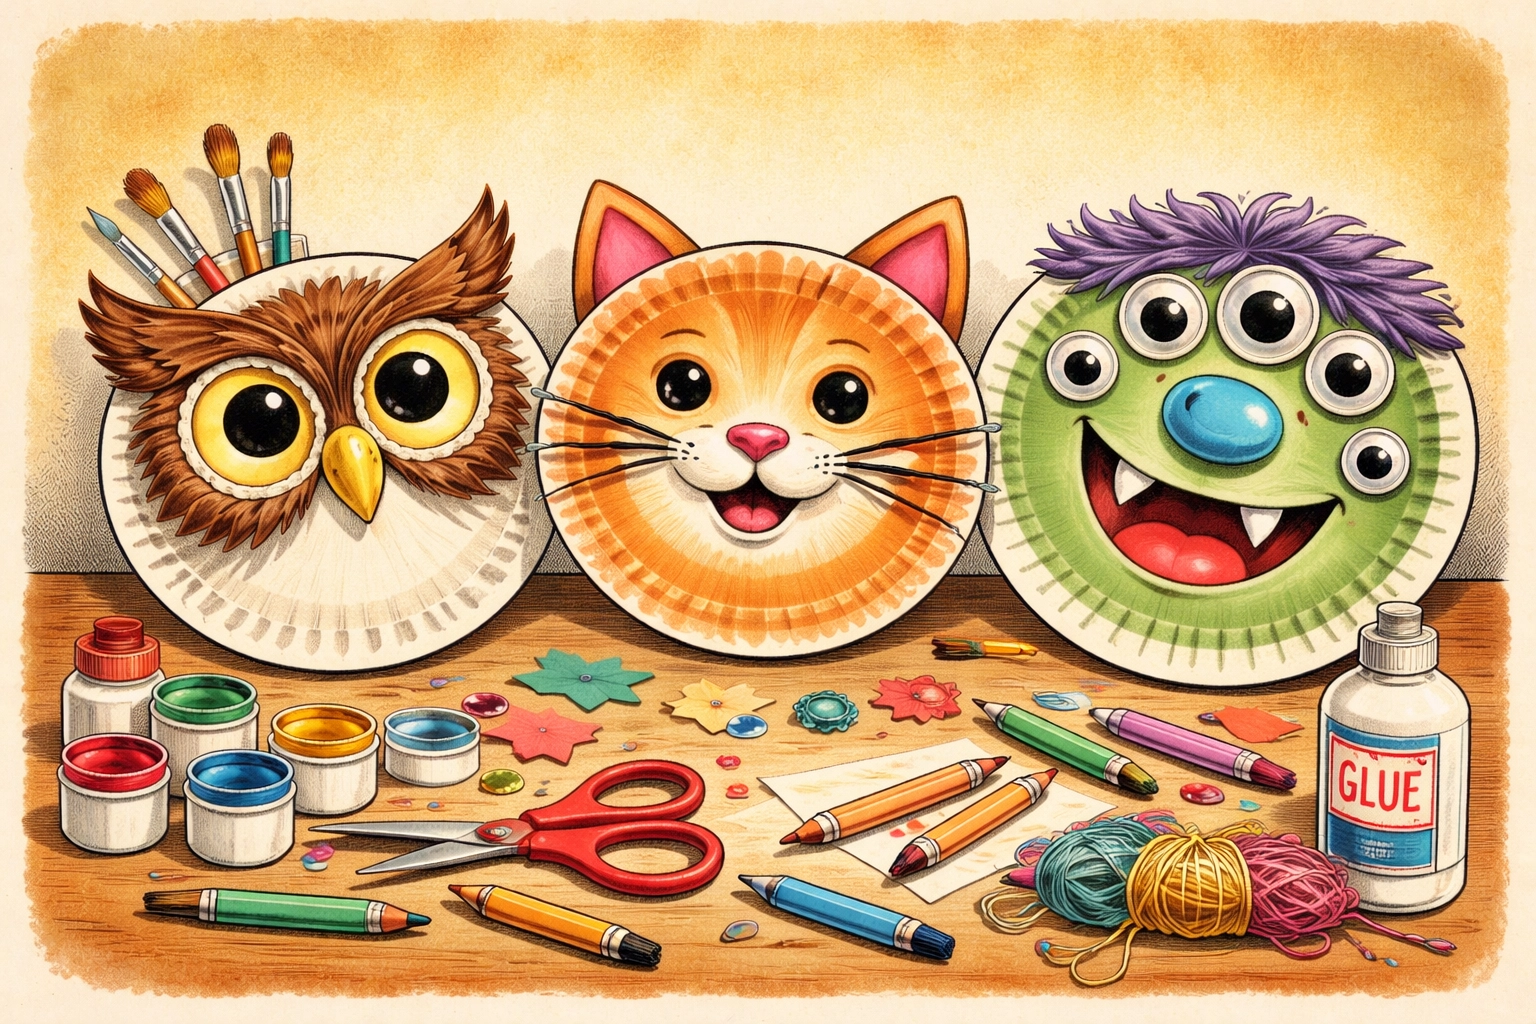
Design Ideas to Try
Need some inspiration? Here are a few crowd-pleasers:
- Owl: Paint the plate brown, add big yellow circle eyes around the eye holes, and glue feathers around the edges
- Lion: Paint it orange or yellow, glue yarn pieces around the rim for a mane, and add triangle ears
- Monster: Go wild with multiple eyes (draw extras with markers), crooked teeth cut from white paper, and antenna made from pipe cleaners
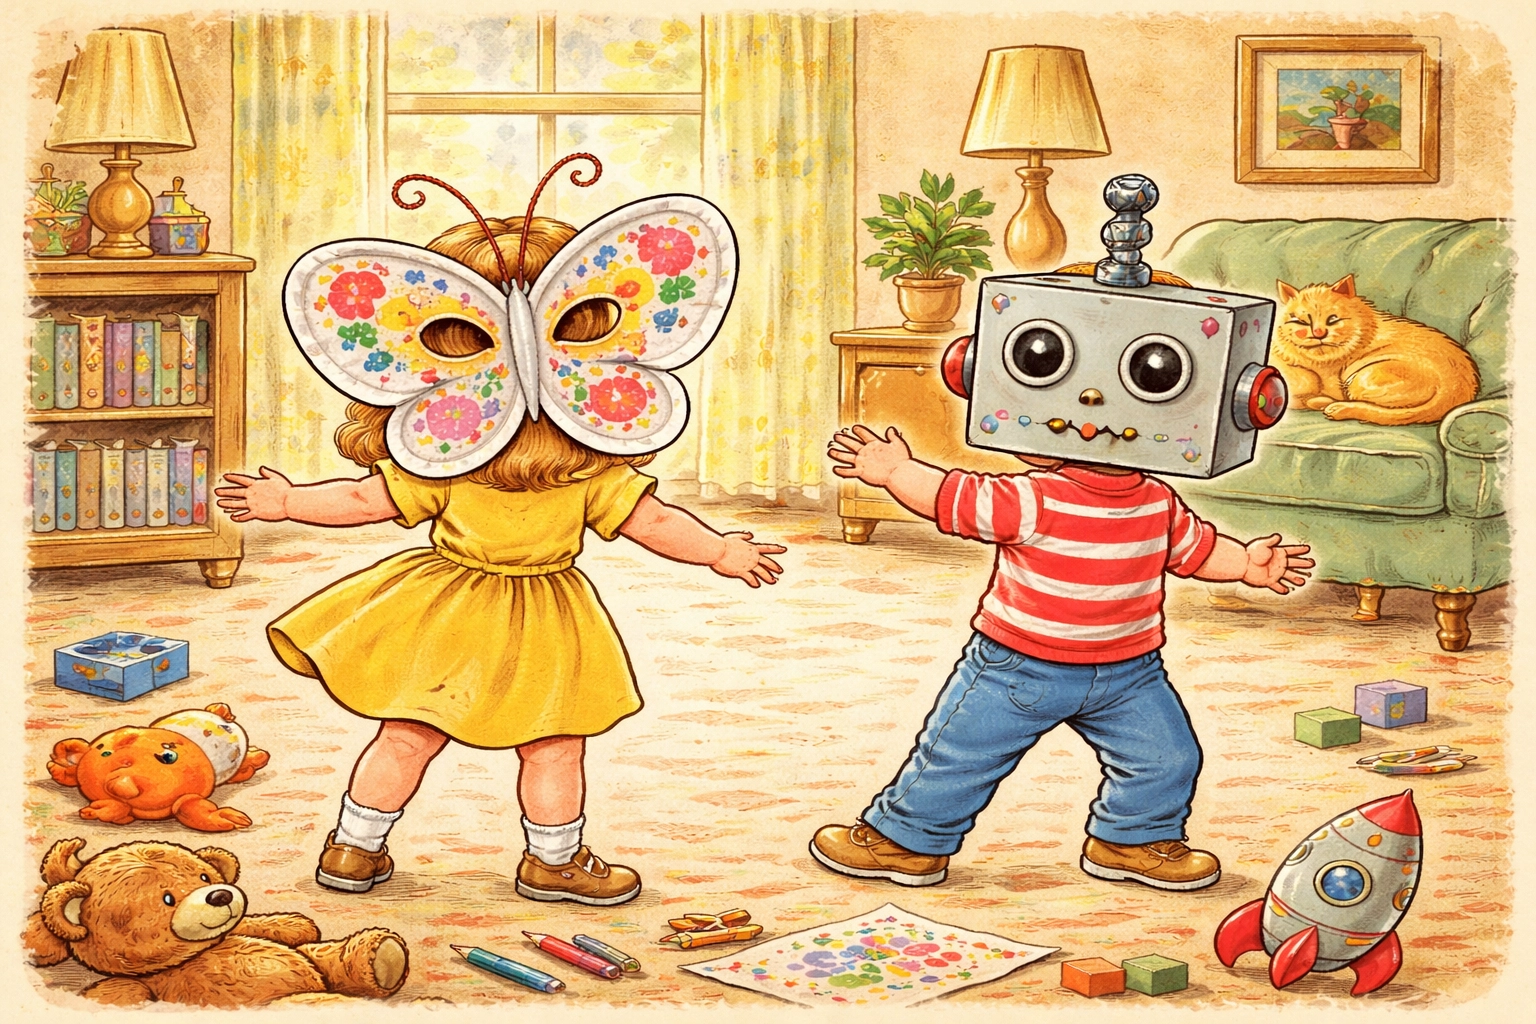
- Butterfly: Cut the plate in half, paint symmetrical wing patterns, and add pipe cleaner antennae
- Robot: Cover with aluminum foil, add geometric shapes, and use bottle caps for details
Helpful Tips for Success
- Trace eye holes for consistency: If you're making masks for a group, trace the eye holes from your first finished mask onto the others using a pencil
- Reinforce craft stick handles: A strip of tape on both sides of the stick helps it stay attached longer
- Work in stages: For elaborate masks, paint one day and decorate the next: it keeps the project from feeling overwhelming
- Keep the bottom edge smooth: Round off any sharp corners near the cheeks to prevent scratches during play
Frequently Asked Questions
What age is appropriate for paper plate masks?
Kids as young as 3 can enjoy decorating masks with supervision, while children ages 6 and up can often handle most steps independently. Adults should manage cutting for younger crafters.
How do I make eye holes without a utility knife?
Fold the plate gently at the eye location and make a small snip with scissors to create a starting point. Then unfold and cut around your marked circle.
Can I use colored paper plates instead of white ones?
Colored plates can save a painting step and work well for simple designs. However, paint and markers may show up differently on colored surfaces.
How do I keep decorations from falling off?
Tacky glue or craft glue holds better than regular glue sticks for heavier items like pompoms and feathers. Allow plenty of drying time before play.
What's the easiest mask for toddlers to make?
A simple monster face works great: there's no "wrong" way to make a monster. Let them scribble colors, add googly eyes, and glue on random shapes.
How can I make the mask more comfortable to wear?
Use soft elastic string rather than yarn, and make sure eye holes are large enough. You can also glue a small strip of felt along the inside edge where it touches the forehead.
Can paper plate masks be used for Halloween costumes?
They can work well for casual costumes or classroom parties. For trick-or-treating, just ensure the eye holes provide good visibility in low light.
How do I store finished masks?
Stack them carefully with tissue paper between each one, or hang them on hooks by their elastic straps to prevent crushing.
Ready for more hands-on projects? Check out our Kids Crafts section for dozens of budget-friendly activities the whole family can enjoy together.


