


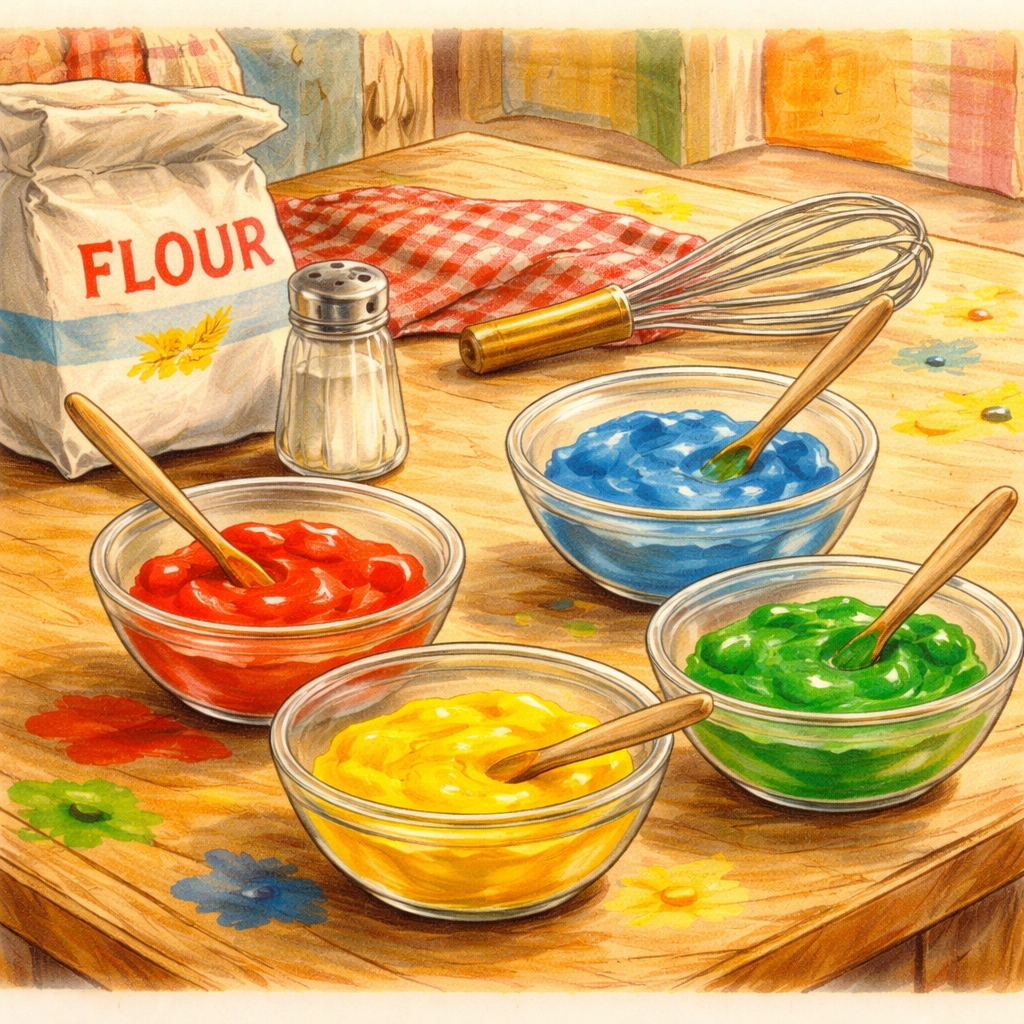
Edible finger paint is made by combining flour and water into a paste, then adding food coloring for vibrant hues. This simple kitchen project creates a paint that's safe for little ones who tend to taste-test their art supplies, because let's be honest, toddlers will absolutely lick their fingers mid-masterpiece.
The beauty of homemade edible finger paint is that you likely have everything you need in your pantry right now. No special trip to the craft store, no mystery ingredients, and no panic when a paint-covered thumb inevitably ends up in someone's mouth. It's the kind of low-stress, high-reward activity that makes rainy afternoons feel a little more magical.
What You'll Need: Materials & Cost Breakdown
One of the nicest things about this project is how budget-friendly it is. You're looking at well under $10 for supplies, and most families already have these items on hand.
| Material | Approximate Cost | Notes |
|---|---|---|
| All-purpose flour | $0.50 | ½ cup needed |
| Water | Free | About 1-2 cups total |
| Salt | $0.10 | Just a pinch |
| Food coloring | $3-4 | Gel or liquid both work |
| Small bowls or containers | $0 (use what you have) | One per color |
| Whisk or spoon | $0 | For mixing |
Total estimated cost: Under $5
If you want to get fancy, liquid watercolors can replace food coloring for more vibrant results, but standard food coloring from the baking aisle works wonderfully.
Age Range: Who Can Enjoy This Activity?
Recommended ages: 6 months to 6 years (and honestly, older kids often want in on the fun too)
Here's a quick breakdown by developmental stage:
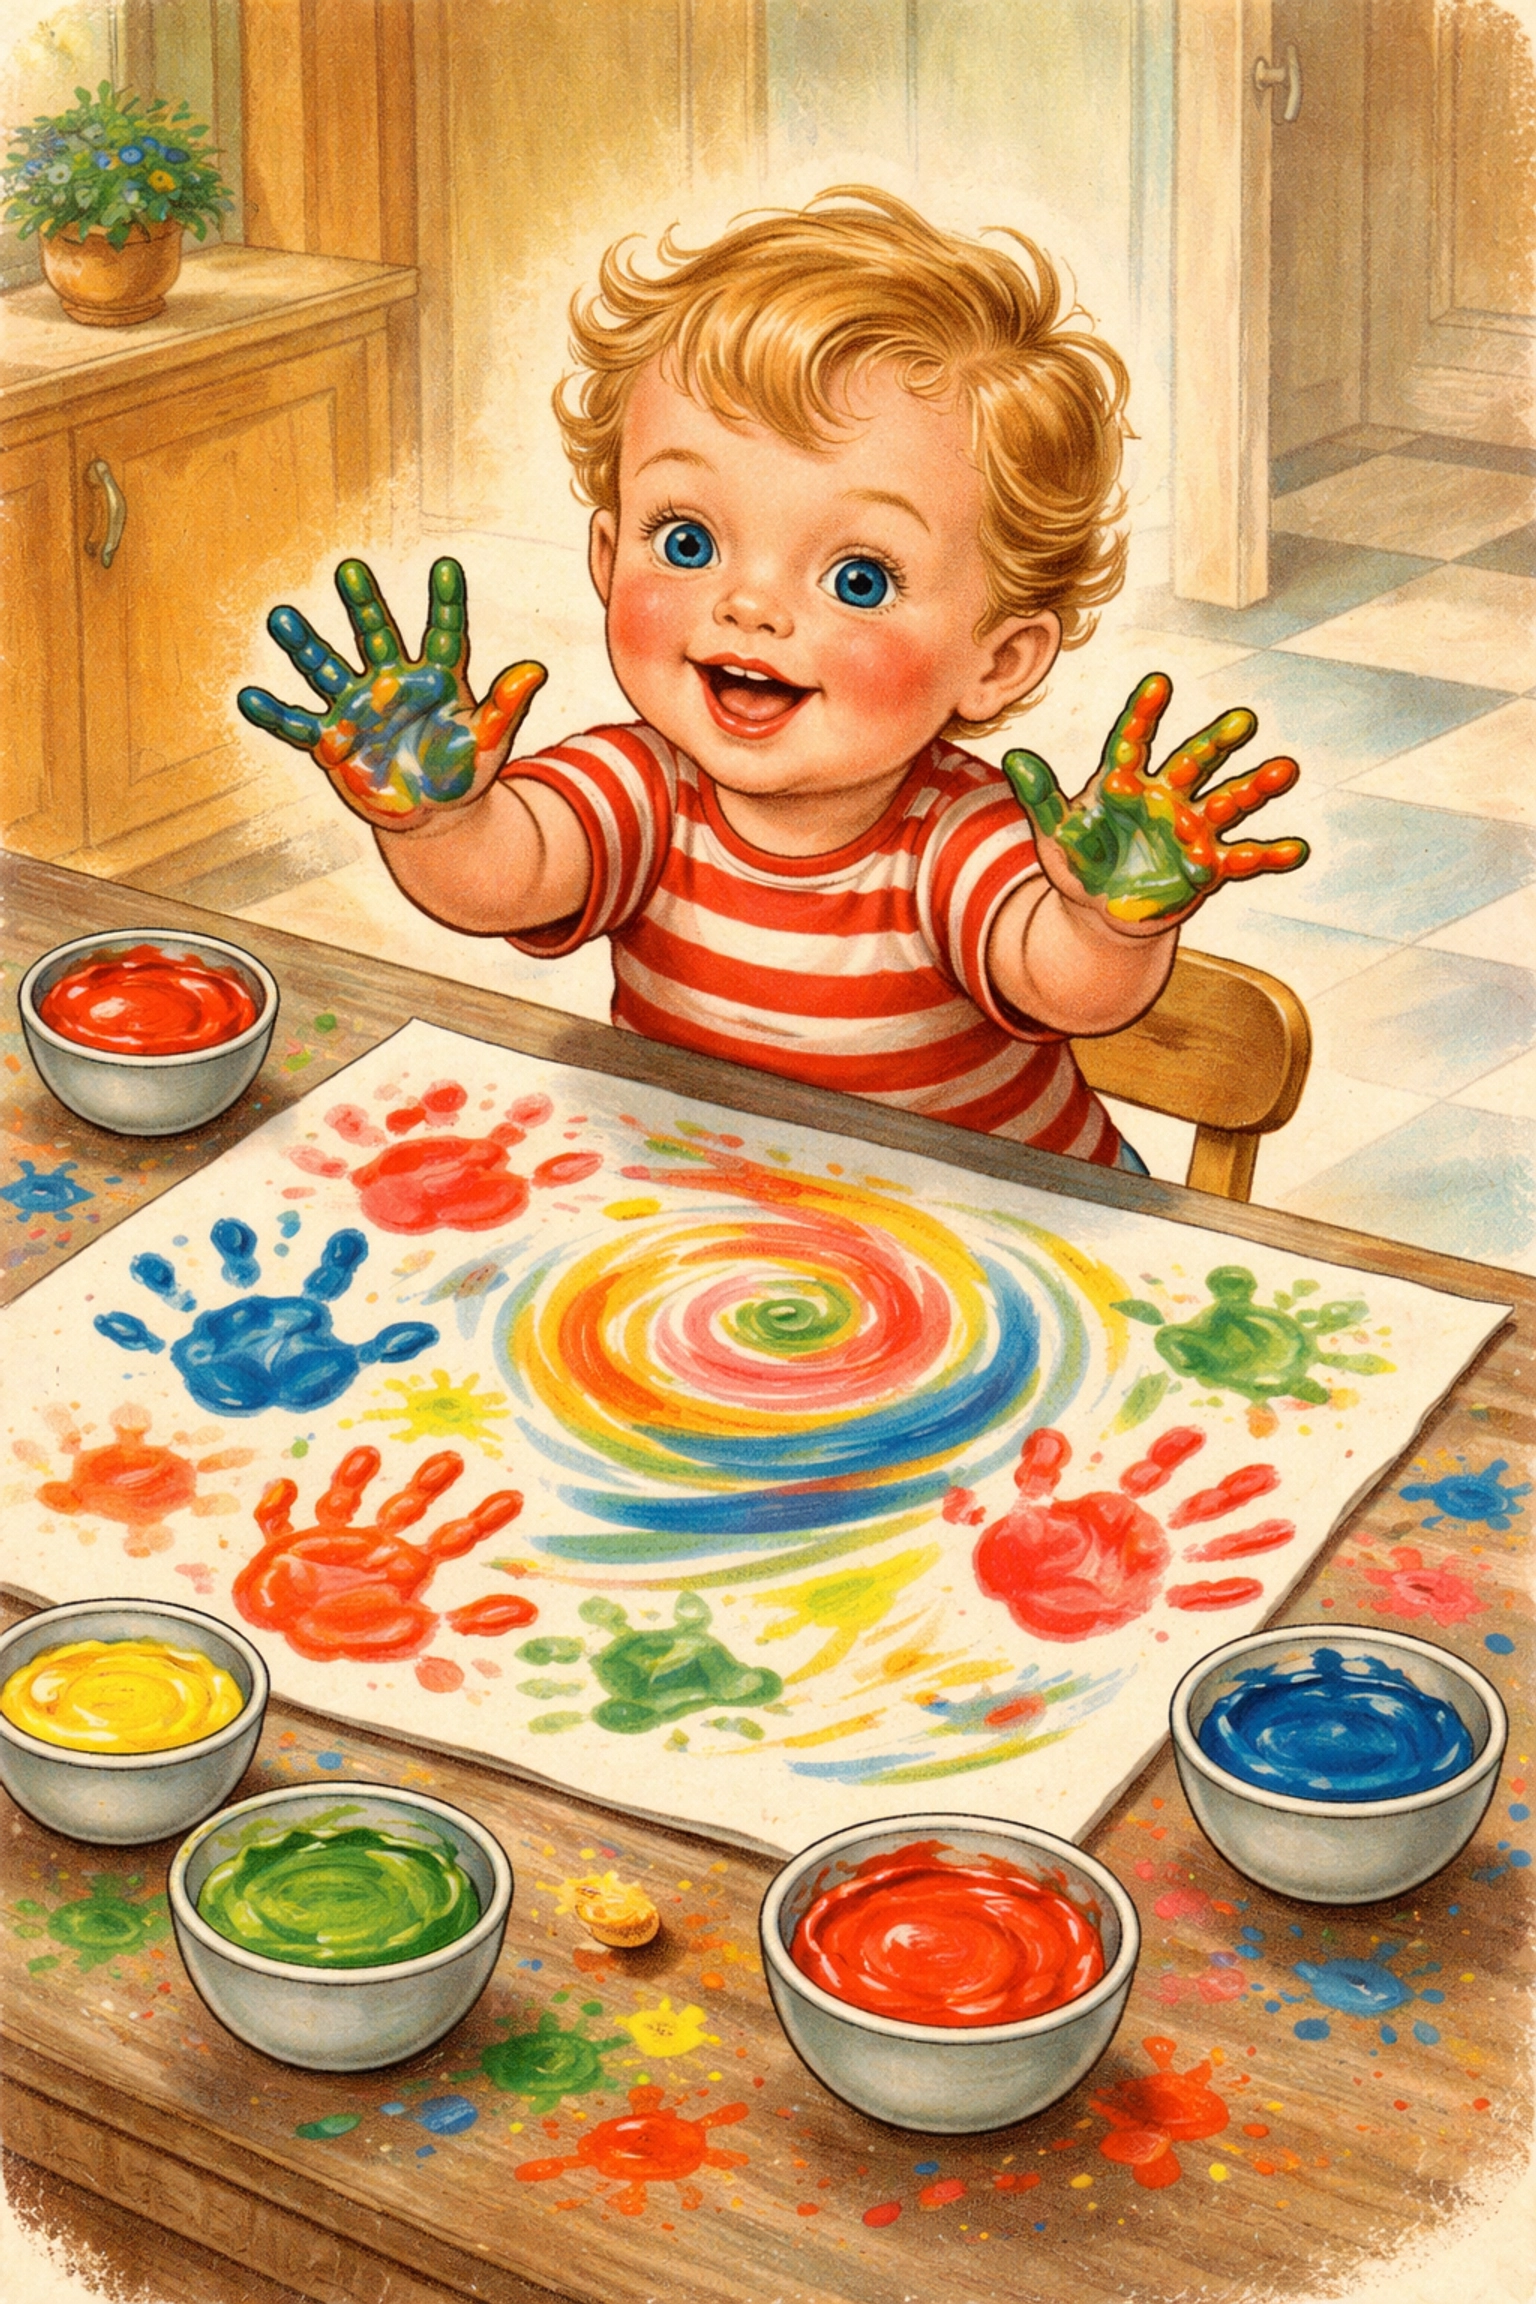
- 6-18 months: This is primarily a sensory exploration activity. Babies will squish, smear, and yes, taste. Keep paint portions small and supervision close.
- 18 months to 3 years: Toddlers start making intentional marks and experimenting with color mixing. Expect glorious messes.
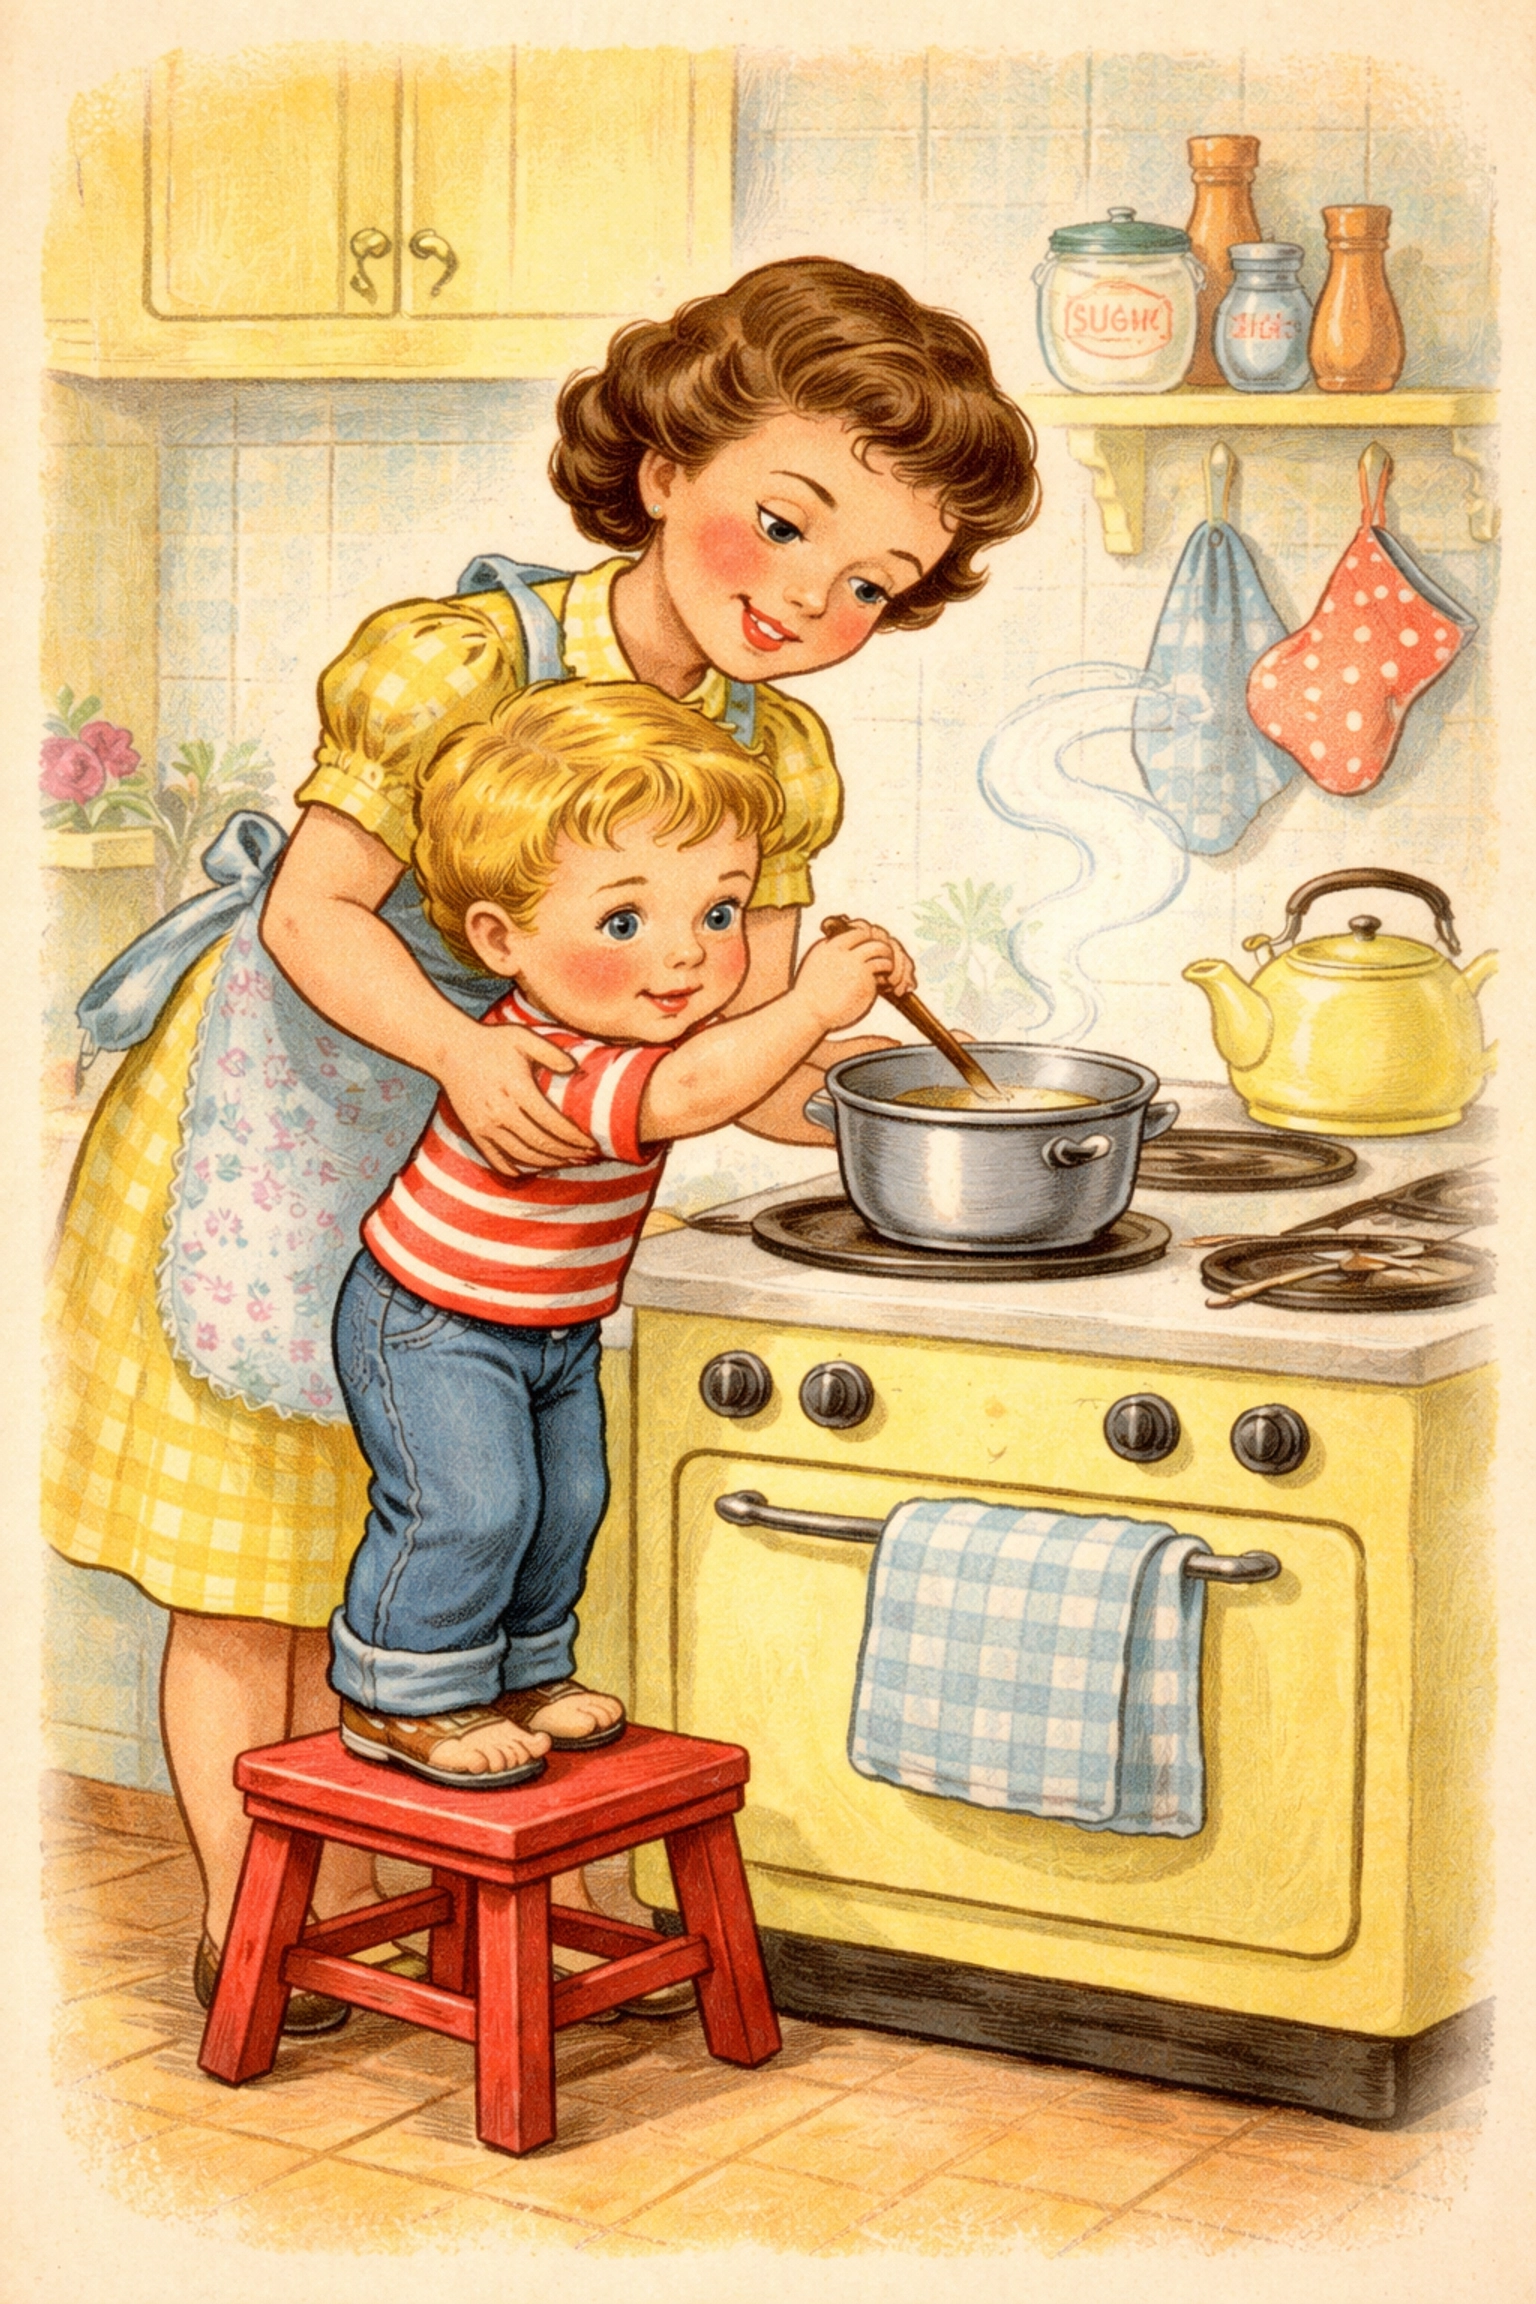
- 3-6 years: Preschoolers can help with the cooking process (with supervision) and create more purposeful artwork.
The edible nature of this paint makes it particularly well-suited for babies and toddlers in that "everything goes in my mouth" phase. It won't taste great: the salt helps discourage snacking: but it won't cause harm either.
Time Estimate
| Phase | Time |
|---|---|
| Prep & cooking | 10-15 minutes |
| Cooling | 15-20 minutes |
| Painting time | As long as interest lasts! |
Total active time: About 30 minutes from start to painting
Step-by-Step: Classic Flour-Based Edible Finger Paint
This stovetop method creates a smooth, custard-like paint that's easy for little fingers to work with.
Step 1: Combine Your Base Ingredients
Add ½ cup of all-purpose flour, 1 cup of water, and a pinch of salt to a medium saucepan. The salt serves two purposes: it helps preserve the paint and makes it taste unpleasant enough that kids generally lose interest in eating it after one experimental lick.
Step 2: Heat and Whisk
Place the saucepan over medium heat and whisk constantly. This is important: step away for a moment and you'll end up with lumpy paste. Keep stirring until the mixture thickens into a paste-like consistency, usually around 3-5 minutes.
Step 3: Adjust the Texture
Remove the pan from heat. The paste will likely be quite thick at this point. Slowly whisk in cold water, a few tablespoons at a time, until you reach a consistency similar to custard or pudding.
- Thicker paint creates textured, dimensional artwork
- Thinner paint behaves more like watercolors
There's no wrong answer here: experiment to see what your kids prefer.
Step 4: Cool the Mixture
This step is easy to rush but genuinely important. Let the paint cool to room temperature before little hands dive in. Hot paint and eager toddlers are not a good combination. Set it aside for 15-20 minutes, or speed things up by placing bowls in the refrigerator.
Step 5: Add Color
Divide your cooled paint base into small bowls: one for each color you want to create. Add a few drops of food coloring to each bowl and stir well. Start with less color than you think you need; you can always add more.
Step 6: Set Up Your Painting Station
Lay out large sheets of paper (butcher paper or finger paint paper work well), secure them with tape if needed, and let the creativity flow. Pro tip: putting a plastic tablecloth or old shower curtain under the painting area makes cleanup significantly easier.
Alternative Recipes Worth Trying
Yogurt Paint (No Cooking Required)
For the simplest possible edible paint, mix 1 teaspoon of plain yogurt with 2-3 drops of food coloring. That's it. This version is particularly good for babies just starting sensory play, though it does need to be used immediately and can't be stored.
Cornstarch Version
Mix 1 cup cornstarch, 2 cups cold water, 3 tablespoons sugar, and ½ teaspoon salt in a saucepan. Heat over medium while stirring until it reaches a custard-like consistency. This creates a slightly glossier finish than the flour version.
Storage Tips
Homemade edible finger paint stores surprisingly well. Transfer any unused paint to covered containers and refrigerate. The flour-based version can keep for 2-3 weeks when properly stored: sometimes even longer.
Before your next painting session, give the paint a good stir. It may separate slightly or develop a skin on top, both of which are normal and easily fixed.
Frequently Asked Questions
Is edible finger paint actually safe to eat?
It's safe in the sense that the ingredients won't harm your child if ingested in small amounts. However, it's not meant to be a snack: the salt and flour mixture won't taste good, and most kids quickly learn that lesson themselves.
Can I use natural food coloring instead?
Absolutely. Beet powder, turmeric, spinach powder, and blueberry juice can all create natural colors, though they tend to be less vibrant than commercial food coloring.
Will food coloring stain my child's skin?
It can temporarily tint skin, especially with darker colors like red or blue. The staining typically fades within a day or two and washes off faster with soap and warm water.
What's the ideal paper for finger painting?
Thicker paper works better since it won't tear when wet. Finger paint paper, cardstock, or butcher paper are all good options. Regular printer paper tends to get soggy and fall apart.
Can I make this without cooking?
Yes! The yogurt method requires no heat at all. You can also try mixing cornstarch with cold water for a simple, uncooked option, though the texture differs from the cooked version.
How do I get paint out of clothes?
Treat stains promptly with cold water and dish soap. Most food coloring washes out of fabric fairly easily if you catch it before it sets. When in doubt, dress kids in clothes you don't mind getting messy.
Can older kids help make the paint?
Kids aged 4 and up can often help with measuring ingredients and stirring (with adult supervision near the stove). It's a great way to sneak in some kitchen skills and math practice.
Why did my paint turn out lumpy?
Lumps usually happen when the heat is too high or whisking isn't constant enough. If you end up with lumps, try straining the mixture through a fine mesh sieve, or simply embrace the texture: kids rarely mind.
Looking for more hands-on activities to try with your little ones? Check out our kids crafts collection for projects that keep small hands busy and curious minds engaged.


