


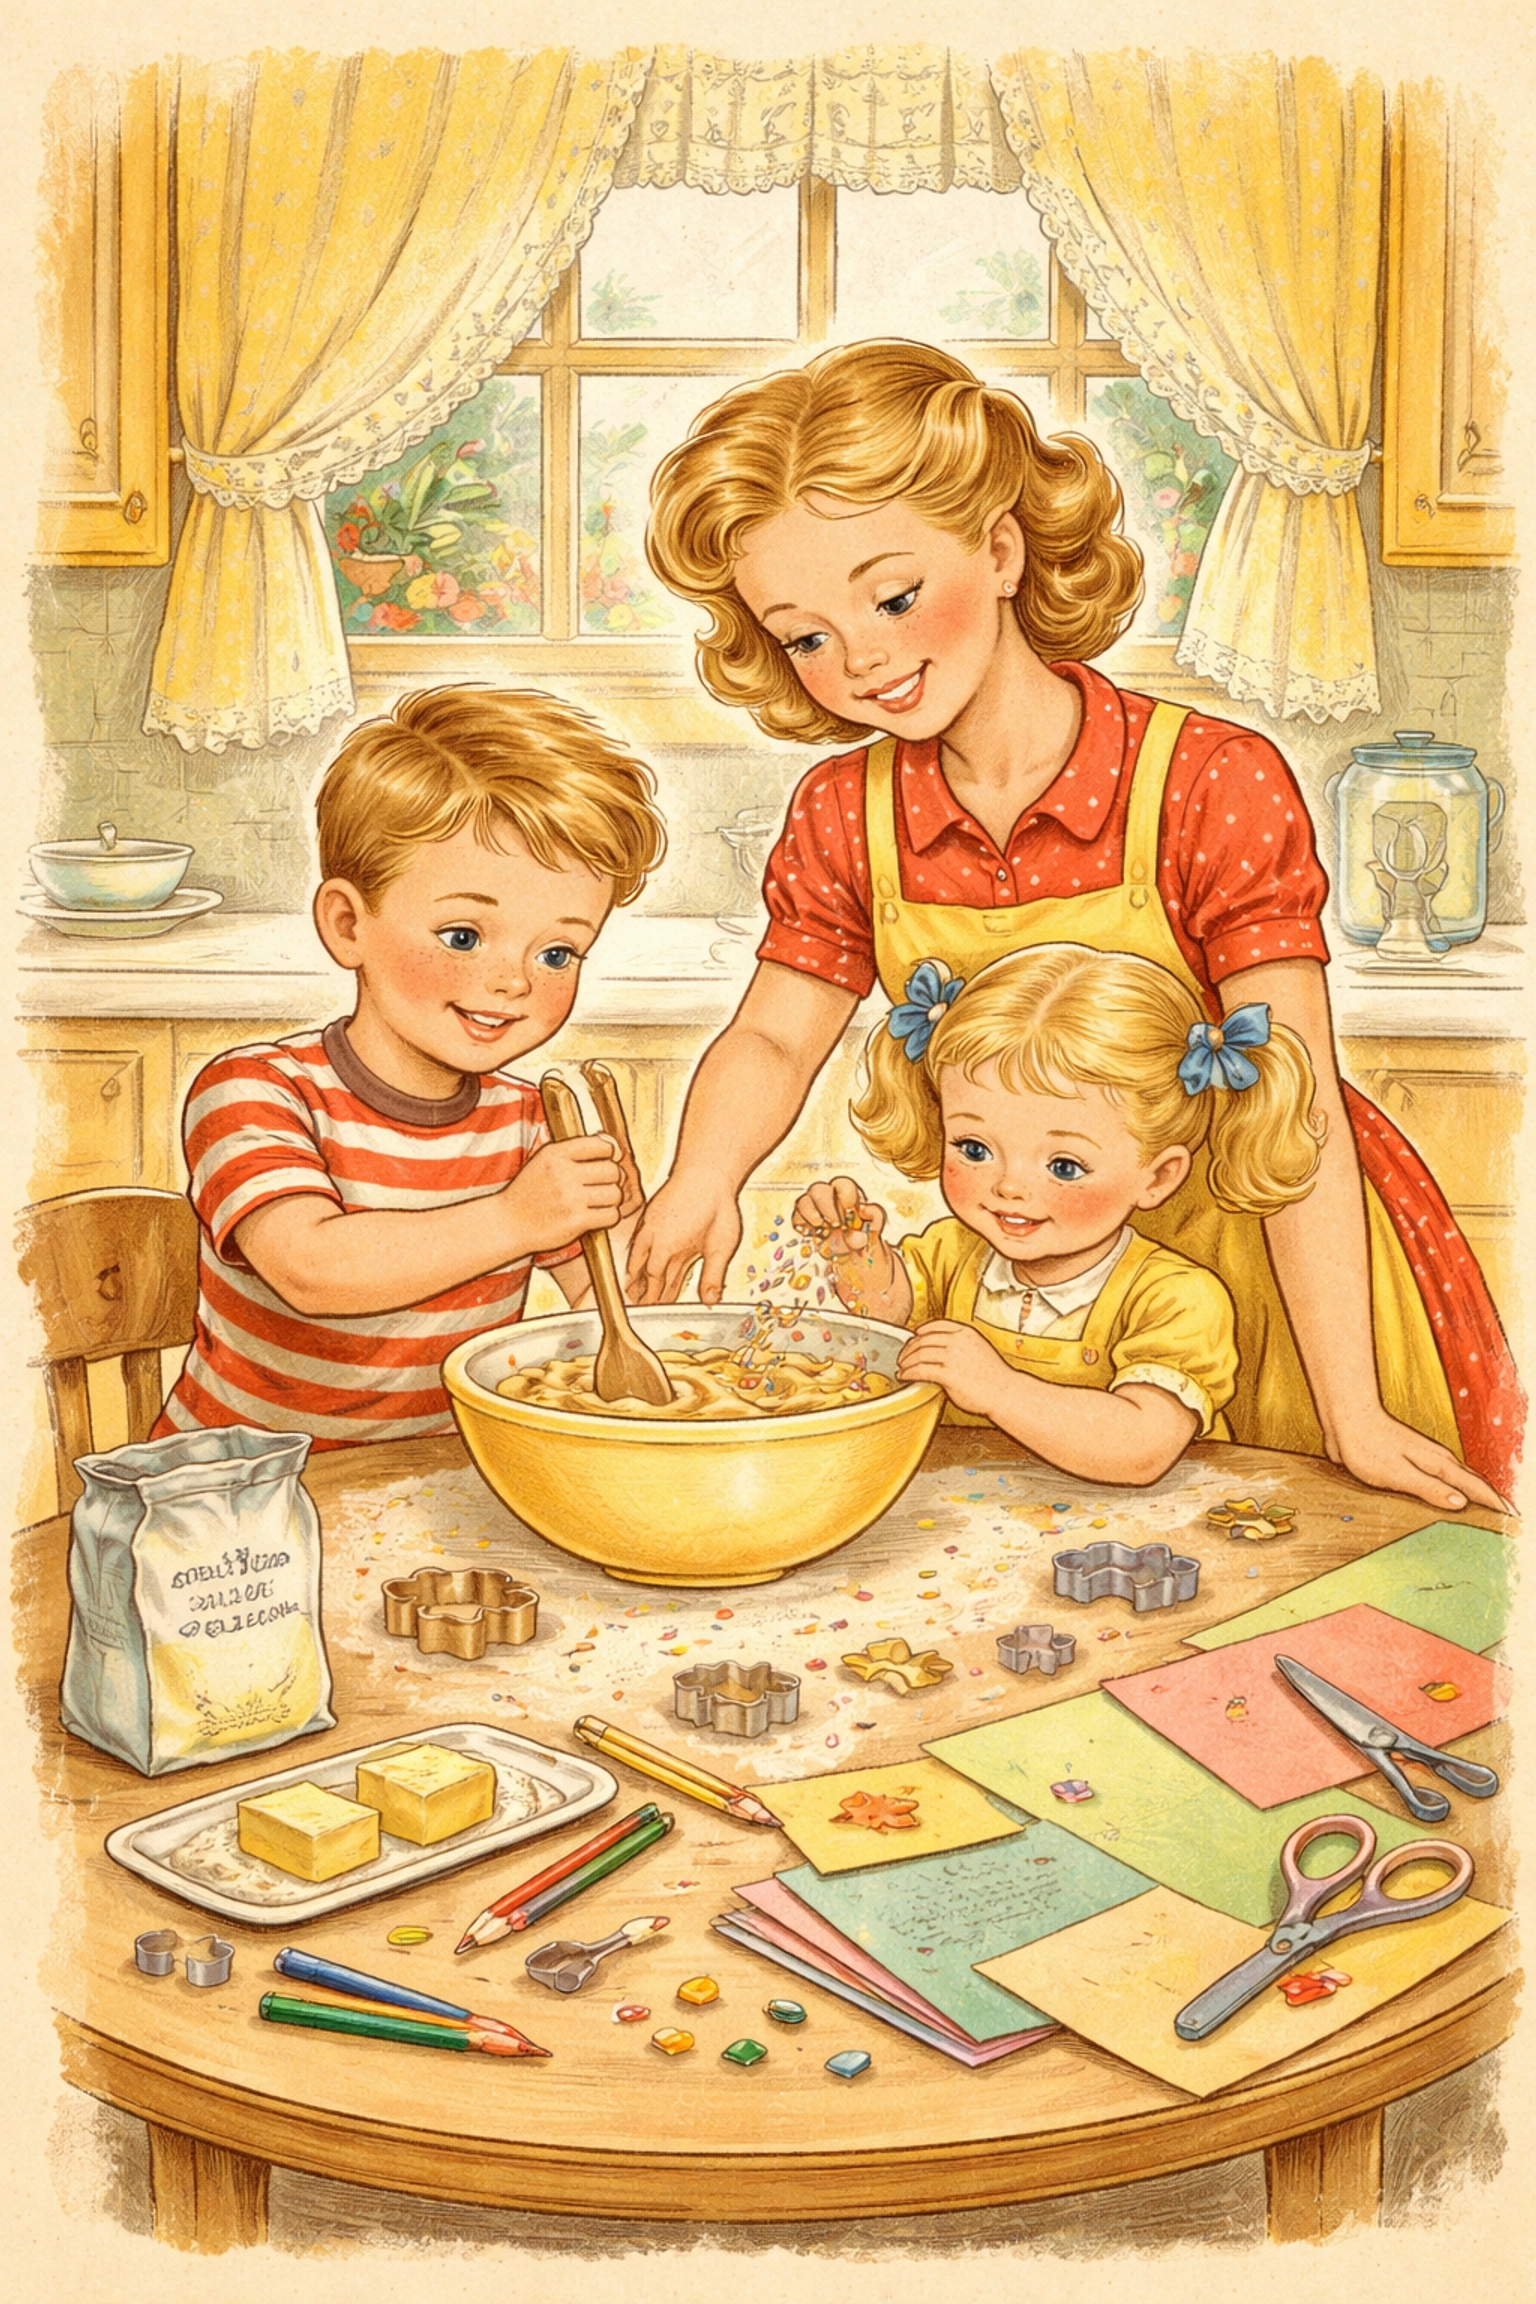
Flour and water glue is made by mixing equal parts all-purpose flour and water until smooth, creating a paste-like consistency similar to melted ice cream or pancake batter. This homemade adhesive works wonderfully for paper crafts, collages, and papier-mâché projects: and it typically costs less than a dollar to make. Even better, it's taste-safe for curious toddlers who might sneak a lick mid-craft.
This simple kitchen-counter project has been a go-to for crafty families for generations. There's something satisfying about whipping up your own art supplies from pantry staples, and kids tend to get extra invested when they've made the glue themselves. Let's get into it.
What You'll Need: Materials List (Under $10 Total)
| Material | Estimated Cost | Notes |
|---|---|---|
| All-purpose flour | $0.50 | About 1 cup needed |
| Water | Free | Tap water works great |
| Table salt | $0.10 | Optional: helps preserve the glue |
| Mixing bowl | $0 | Use what you have |
| Whisk, fork, or spoon | $0 | For mixing |
| Airtight container | $0 | For storage |
| Construction paper or newspaper | $1-3 | For art projects |
| Paintbrushes | $2-4 | Foam brushes work well too |
Total estimated cost: Around $4-8, depending on what you already have at home.
Age Range: Who Can Enjoy This Activity?
Best for ages 2 and up, with varying levels of independence:
- Toddlers (2-3 years): Can help pour, stir, and apply glue with supervision. The taste-safe recipe makes this age group a great fit since little ones often explore with their mouths.
- Preschoolers (4-5 years): Can measure ingredients with guidance and handle most steps. They'll love the sensory experience of mixing and spreading.
- School-age kids (6-10 years): Can typically make the glue independently and tackle more complex art projects like papier-mâché sculptures.
- Older kids and teens: May enjoy experimenting with the cooked method for stronger projects or leading younger siblings through the process.
Time Estimate
| Step | Time |
|---|---|
| Making the glue | 5-10 minutes |
| Art project time | 20-45 minutes |
| Drying time | 2-24 hours (varies by project thickness) |
Active time with kids: About 30 minutes to an hour, depending on how elaborate you get.
Step-by-Step: How to Make Flour and Water Glue
Step 1: Gather Your Ingredients
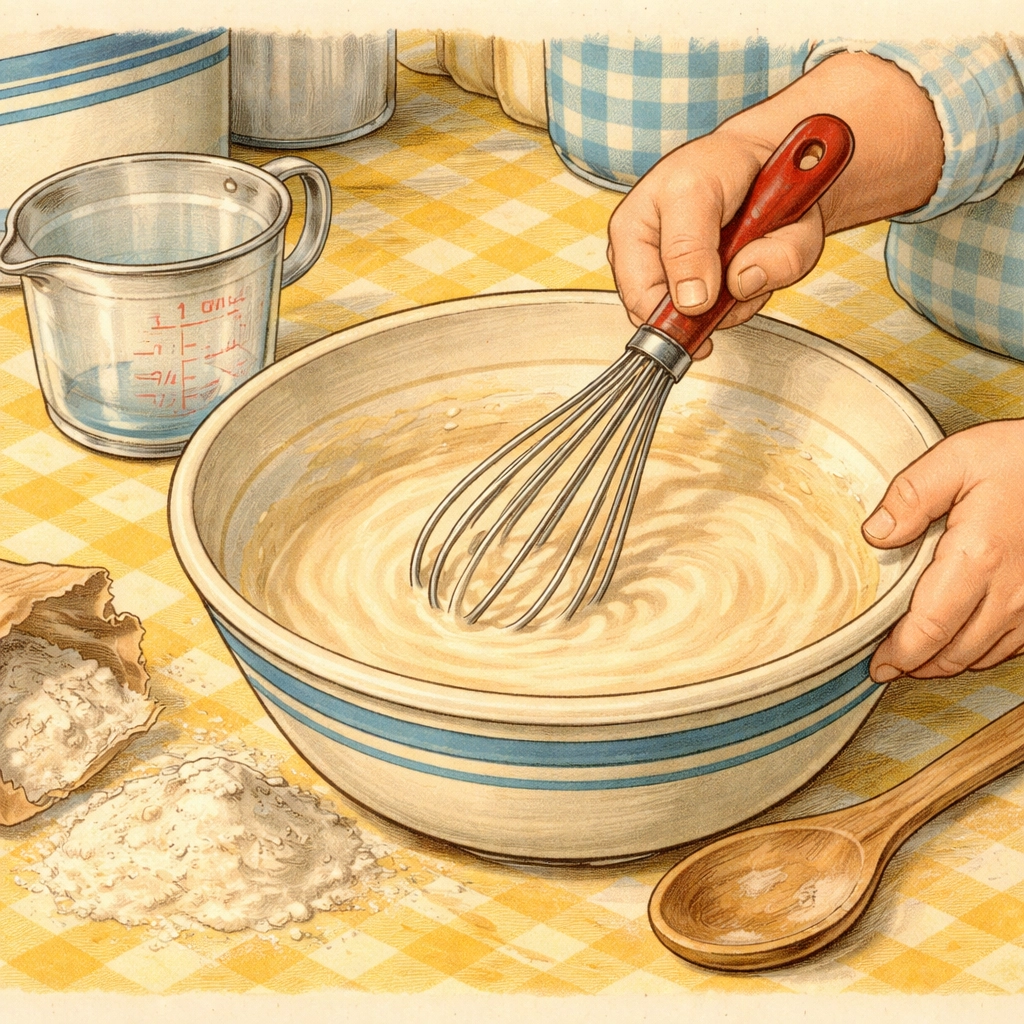
Pull out a mixing bowl, measuring cups, and a whisk or fork. You'll need about 1 cup of all-purpose flour and roughly 1 cup of water to start. Having a pinch of salt handy is helpful if you want to extend the glue's shelf life.
Step 2: Add Flour to the Bowl
Measure out 1 cup of flour and dump it into your mixing bowl. Let kids do the scooping and pouring: a little mess is part of the fun.
Step 3: Slowly Add Water
Here's where patience pays off. Pour the water in gradually, stirring as you go. Start with about half the water and mix thoroughly before adding more. The goal is a smooth consistency without lumps.
Pro tip: If lumps form, a whisk works better than a spoon for breaking them up. Kids with developing fine motor skills can practice their whisking technique here.
Step 4: Adjust the Consistency
Your glue should look like pancake batter or melted ice cream: thick enough to stick but thin enough to spread easily with a brush. Add water by the tablespoon if it's too thick, or sprinkle in more flour if it's too runny.
Step 5: Add Salt (Optional)
Stir in a pinch or two of table salt. This step helps preserve your glue, which is especially useful in humid climates or if you're planning to store it for a few days.
Step 6: Start Creating!
Your glue is ready to use. Grab some brushes, paper, and whatever collage materials you have on hand: torn newspaper strips, tissue paper, fabric scraps, dried leaves, or cut-up magazines all work well.
Art Project Ideas Using Flour and Water Glue
Now that you've got your homemade adhesive, here are some ways to put it to work:
Paper Collages
Brush glue onto construction paper and layer on torn tissue paper, magazine cutouts, or fabric scraps. The slightly textured finish adds character to the artwork.
Classic Papier-Mâché
Dip newspaper strips into your glue mixture and layer them over a balloon, cardboard form, or crumpled newspaper base. Build up 3-4 layers, letting each dry before adding the next. Once fully dry, paint and decorate.
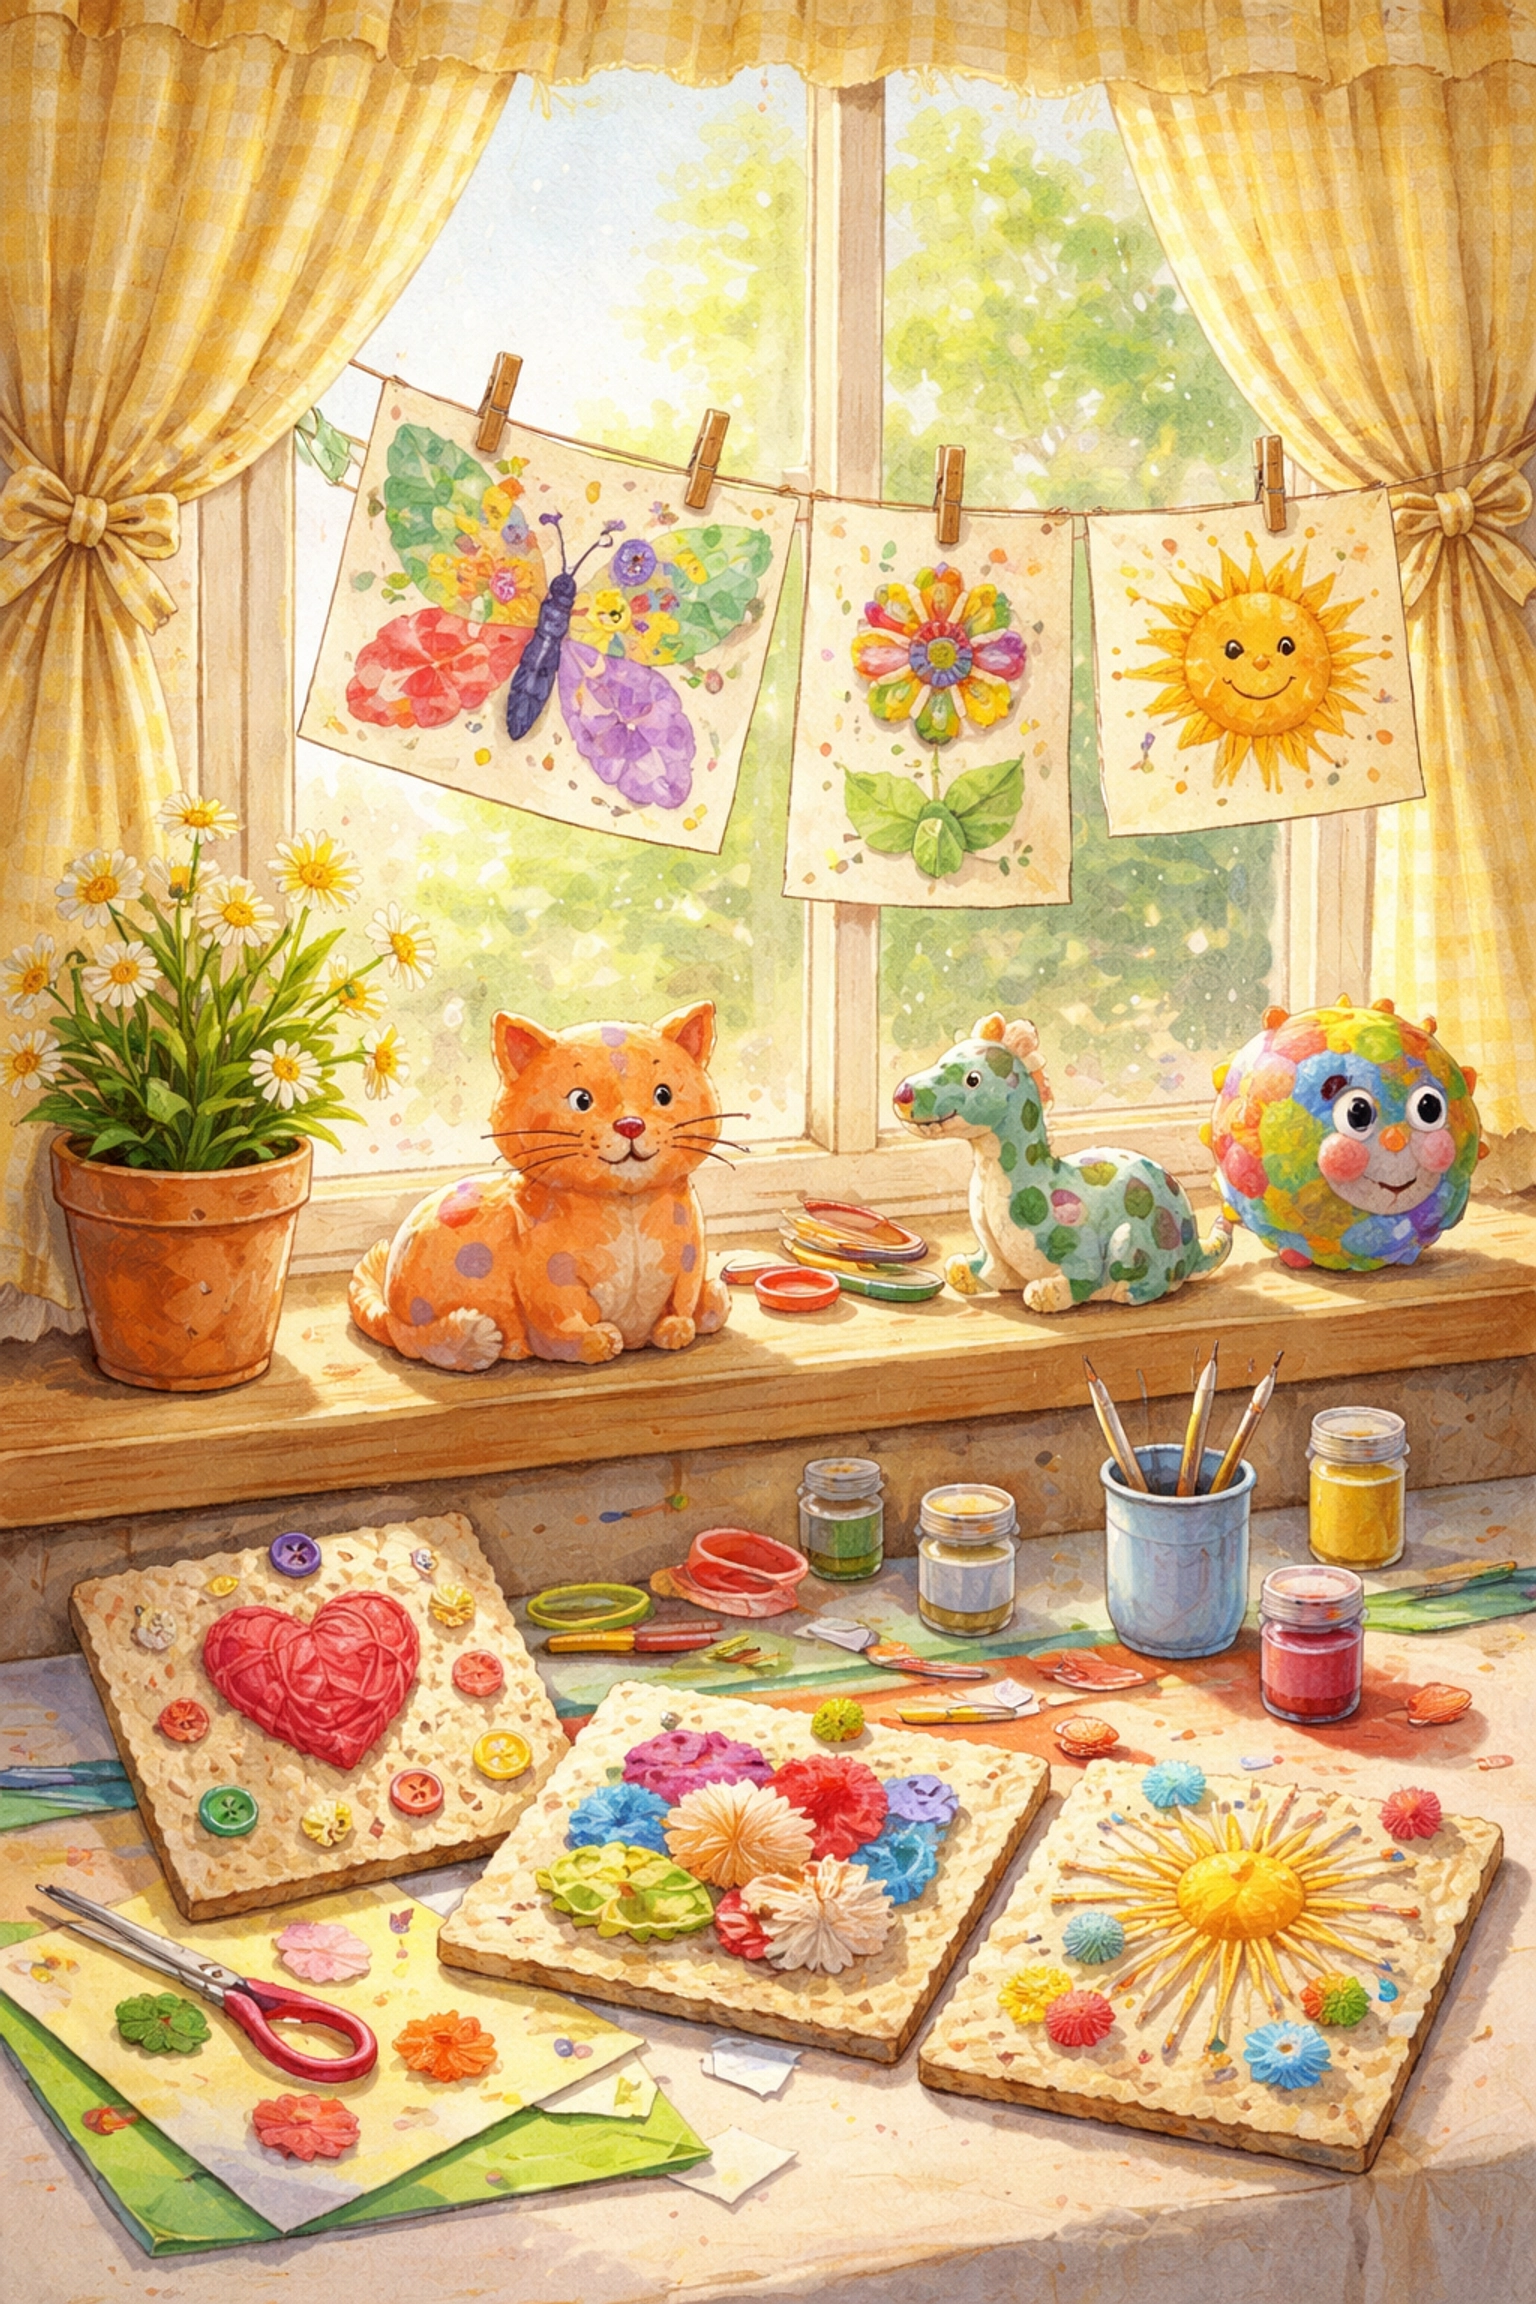
Texture Boards
Create sensory art by gluing different materials: sand, rice, dried pasta, buttons, yarn: onto cardboard. Great for younger kids exploring textures.
Nature Collages
After a backyard walk, glue down collected treasures like leaves, flower petals, or small twigs. The flour paste holds lightweight natural materials surprisingly well.
Tips for Success
Work on a protected surface. Lay down newspaper, a plastic tablecloth, or an old shower curtain. Flour paste washes out easily, but prevention beats cleanup.
Use wide brushes for little hands. Foam brushes or chunky paintbrushes are easier for small kids to grip and control.
Expect longer drying times. Flour-based glue takes longer to dry than store-bought adhesive. Plan for overnight drying on thicker projects.
Embrace imperfection. The finish may look slightly uneven compared to white school glue: that's part of the handmade charm.
Store properly. Keep leftover glue in an airtight container in the refrigerator for up to 3 days. Stir before using again, and add a splash of water if it's thickened.
Stronger Glue: The Cooked Method
For projects that need extra durability: like papier-mâché piñatas or masks: try the cooked version:
- Boil 4 cups of water in a pot.
- In a separate bowl, whisk together 1 cup flour and 1 cup warm water until smooth.
- Slowly pour the flour mixture into the boiling water, stirring constantly.
- Continue stirring for about 2 minutes until it thickens.
- Remove from heat and let it cool before using.
This method creates a stronger bond and smoother finish, though it requires adult supervision around the stove.
Frequently Asked Questions
Is flour and water glue safe if my toddler eats it?
The basic recipe uses only flour, water, and salt: all food-safe ingredients. While it's not meant to be eaten, a taste or two during crafting is generally harmless. Keep an eye on kids with gluten sensitivities, though.
How long does homemade flour glue last?
Stored in an airtight container in the refrigerator, flour paste typically keeps for up to 3 days. If it develops an off smell or mold, toss it and make a fresh batch.
Can I use whole wheat flour instead of all-purpose?
You can, though the texture may be slightly grainier. All-purpose flour tends to create a smoother paste that spreads more evenly.
Why is my glue lumpy?
Lumps usually form when water is added too quickly. Next time, pour water in gradually while whisking constantly. You can also strain out lumps through a fine mesh sieve.
Does flour glue work on fabric?
It can hold lightweight fabric for craft projects, but it may stiffen the material and could wash out. For permanent fabric glue needs, a commercial option might work better.
How do I get flour glue out of clothes?
Rinse the area with cold water as soon as possible, then launder as usual. Flour paste typically comes out easily before it fully dries.
Can I add color to the glue?
Absolutely. Stir in a few drops of food coloring or liquid watercolors for tinted glue that adds an extra visual element to projects.
What's the difference between the no-cook and cooked methods?
The no-cook method is faster and easier: great for spontaneous crafting with kids. The cooked method produces a stronger, smoother paste that's better suited for structural projects like papier-mâché.
Will flour glue attract bugs?
Because it's food-based, it could potentially attract pests if left out. Store finished art projects indoors and refrigerate leftover glue promptly.
Looking for more hands-on activities to try with your kids? Check out our kids crafts collection for more budget-friendly projects the whole family can enjoy together.
References:
- Basic flour and water paste recipes and ratios
- Storage and preservation guidelines for homemade adhesives
- Age-appropriate craft activity recommendations


