


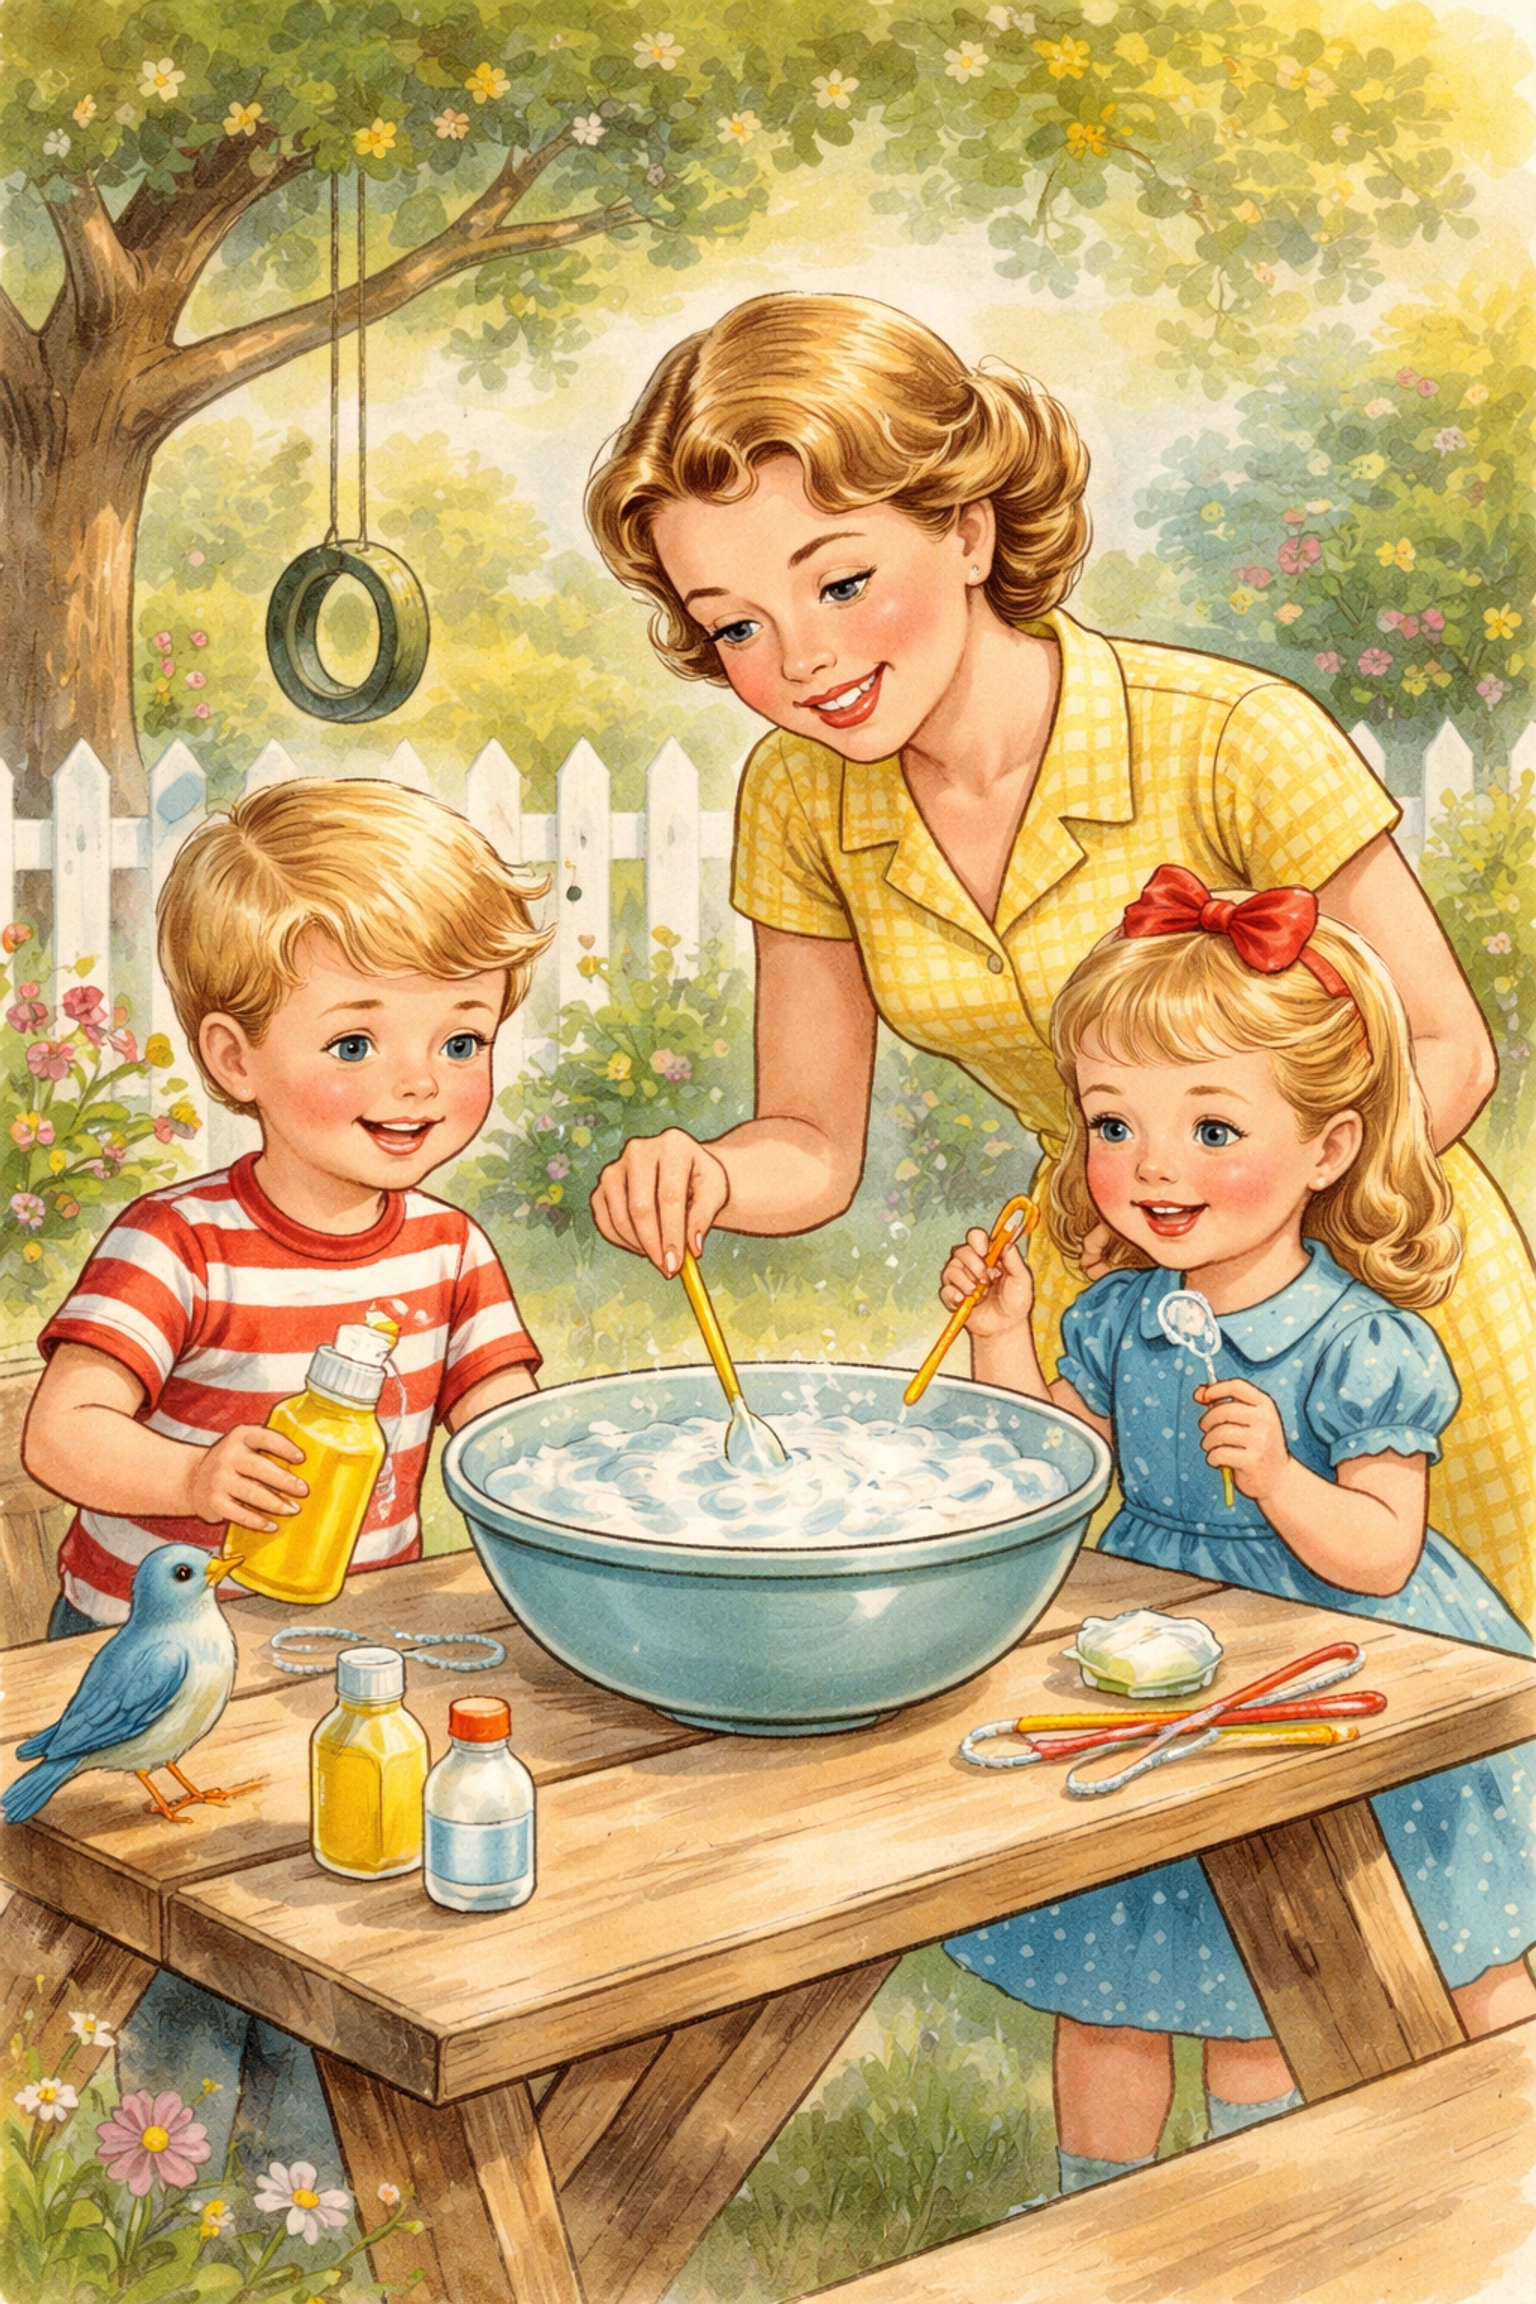
Giant outdoor bubbles are made by mixing dish soap, water, and a thickening agent like sugar or corn starch, then using a simple DIY wand made from sticks and string. The whole project costs under $10, takes about 15 minutes to prep, and creates bubbles big enough to swallow your kids whole (well, almost).
This is one of those magical outdoor activities that looks impossibly fancy but is ridiculously simple. Your little ones will think you've unlocked some kind of sorcery, and honestly? Let them believe it.
Quick Reference Guide
| Detail | Information |
|---|---|
| Best Ages | 3–10 years old |
| Total Cost | Under $10 |
| Prep Time | 10–15 minutes |
| Wait Time | 2 hours minimum (overnight is better) |
| Active Play Time | 30–60 minutes |
| Difficulty | Easy |
Materials Needed
| Item | Amount | Notes |
|---|---|---|
| Warm water | 4 cups | Tap water works fine |
| Blue Dawn dish soap | ½ cup | Blue formula tends to work best |
| Granulated sugar | ½ cup | Helps strengthen bubbles |
| Corn starch (optional) | ¼ cup | For extra-durable bubbles |
| Wooden dowels or sticks | 2 | About 12–18 inches long |
| Cotton string or yarn | 4–6 feet | Avoid synthetic materials |
| Shallow container | 1 | Wide enough for the wand |
Why Homemade Bubble Solution Works Better
Store-bought bubble solution is fine for regular bubble wands, but it tends to pop too quickly for giant bubbles. The secret to those enormous, floating, rainbow-streaked bubbles you see in parks? A homemade solution with added thickeners.
Sugar and corn starch help create a stretchy, flexible bubble film that can expand to enormous sizes without immediately bursting. Think of it like adding gluten to bread dough: it gives the mixture structure and elasticity.
The Giant Bubble Recipe
This recipe is kid-friendly and uses ingredients you likely have in your kitchen right now.
Basic Recipe (Great for Beginners)
Ingredients:
- 4 cups warm water
- ½ cup blue Dawn dish soap
- ½ cup granulated sugar
Steps:
- Pour warm water into a large bowl or pitcher
- Add the sugar and whisk gently until completely dissolved (no gritty bits remaining)
- Slowly pour in the dish soap
- Stir gently: you want to avoid creating foam
- Cover and let sit for at least 2 hours
Upgraded Recipe (For Maximum Bubble Power)
For bubbles that can stretch across your entire backyard, add ¼ cup of corn starch to the basic recipe. Mix the corn starch with a small amount of water first to create a slurry, then add it to your solution. This version benefits from sitting overnight.
Pro tip: The longer your solution rests, the better your bubbles will perform. Patience pays off here.
How to Make a DIY Giant Bubble Wand
You could buy a fancy bubble wand, but making one is half the fun: and it takes about five minutes.
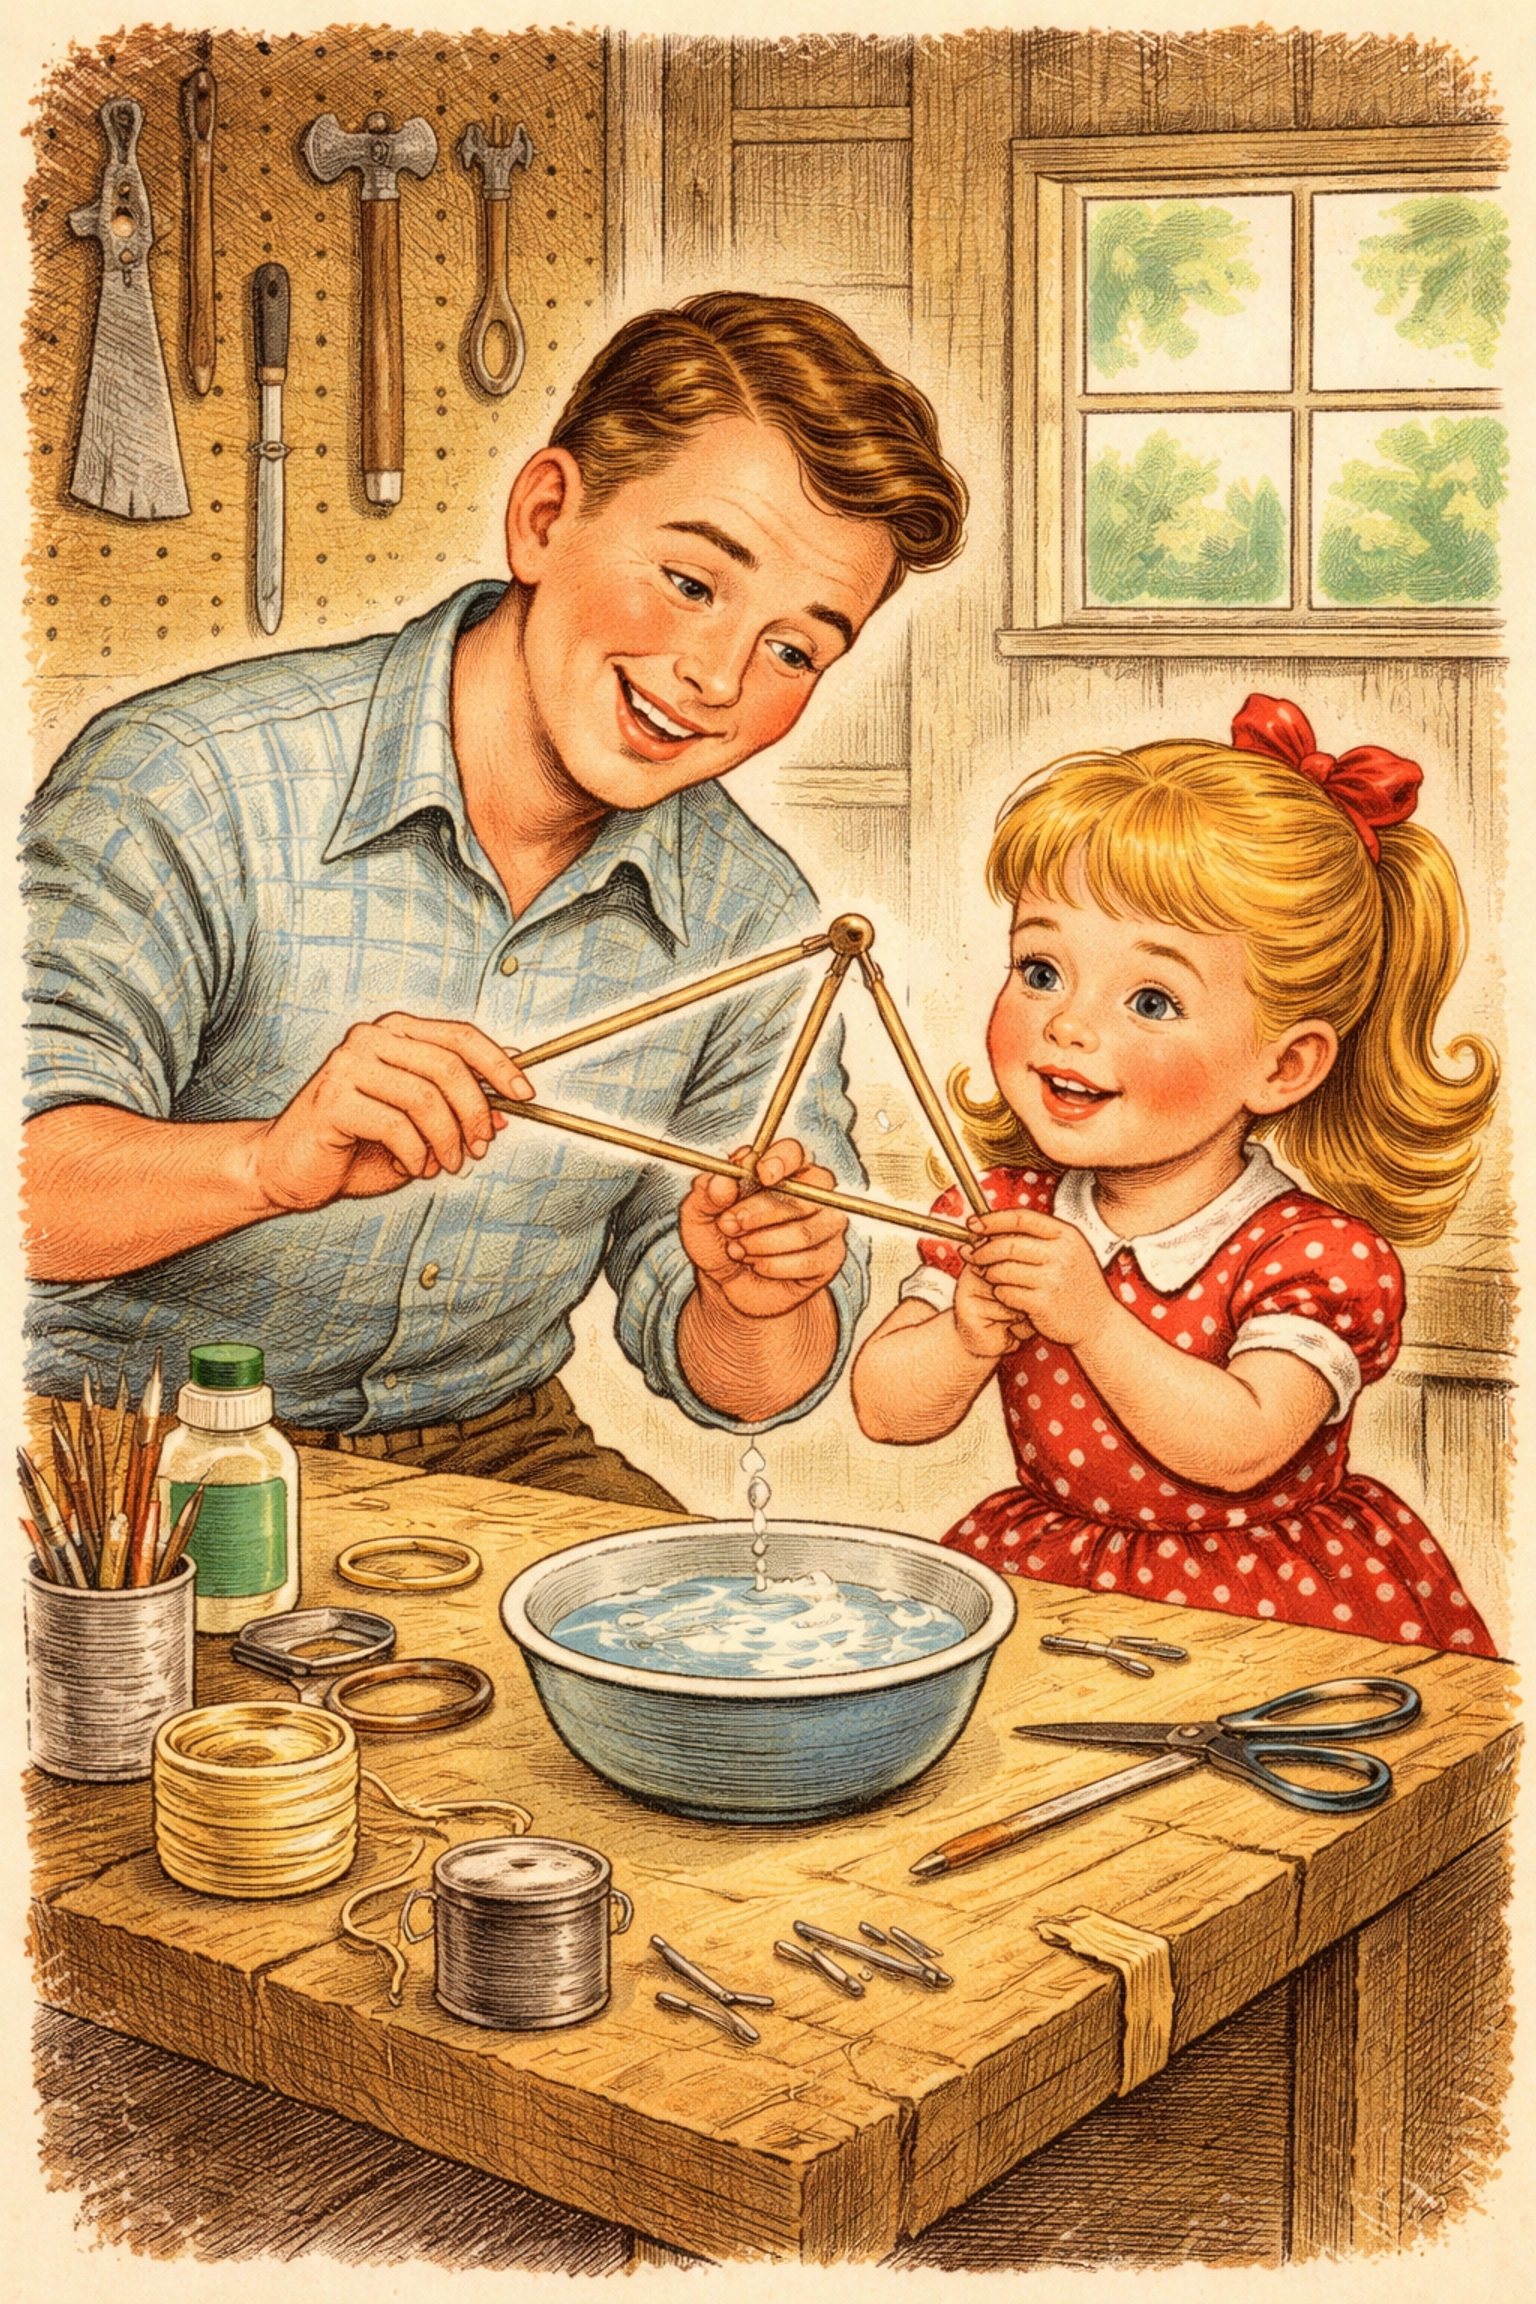
Simple String Wand Method
What you need:
- 2 wooden dowels or sturdy sticks (12–18 inches long)
- 4–6 feet of cotton string or yarn
- Scissors
Instructions:
- Cut your string to about 4–6 feet in length
- Thread one end of the string through one dowel and tie a secure knot
- Thread the other end through the second dowel and tie another knot
- You should now have a loop of string connecting both sticks
- For extra bubble-making power, add a shorter piece of string (about 2 feet) tied between the same two points: this creates a triangle shape that holds more solution
The triangle design is the classic "giant bubble wand" shape you've probably seen bubble artists use. It catches more solution and releases bigger bubbles.
Alternative: Wire Hanger Wand
If you have old wire coat hangers, bend one into a large circular or oval loop with a handle. Wrap the wire portion in yarn or fabric strips to help it hold more bubble solution.
Step-by-Step: Making Giant Bubbles
Now for the main event. Here's how to actually create those spectacular bubbles.
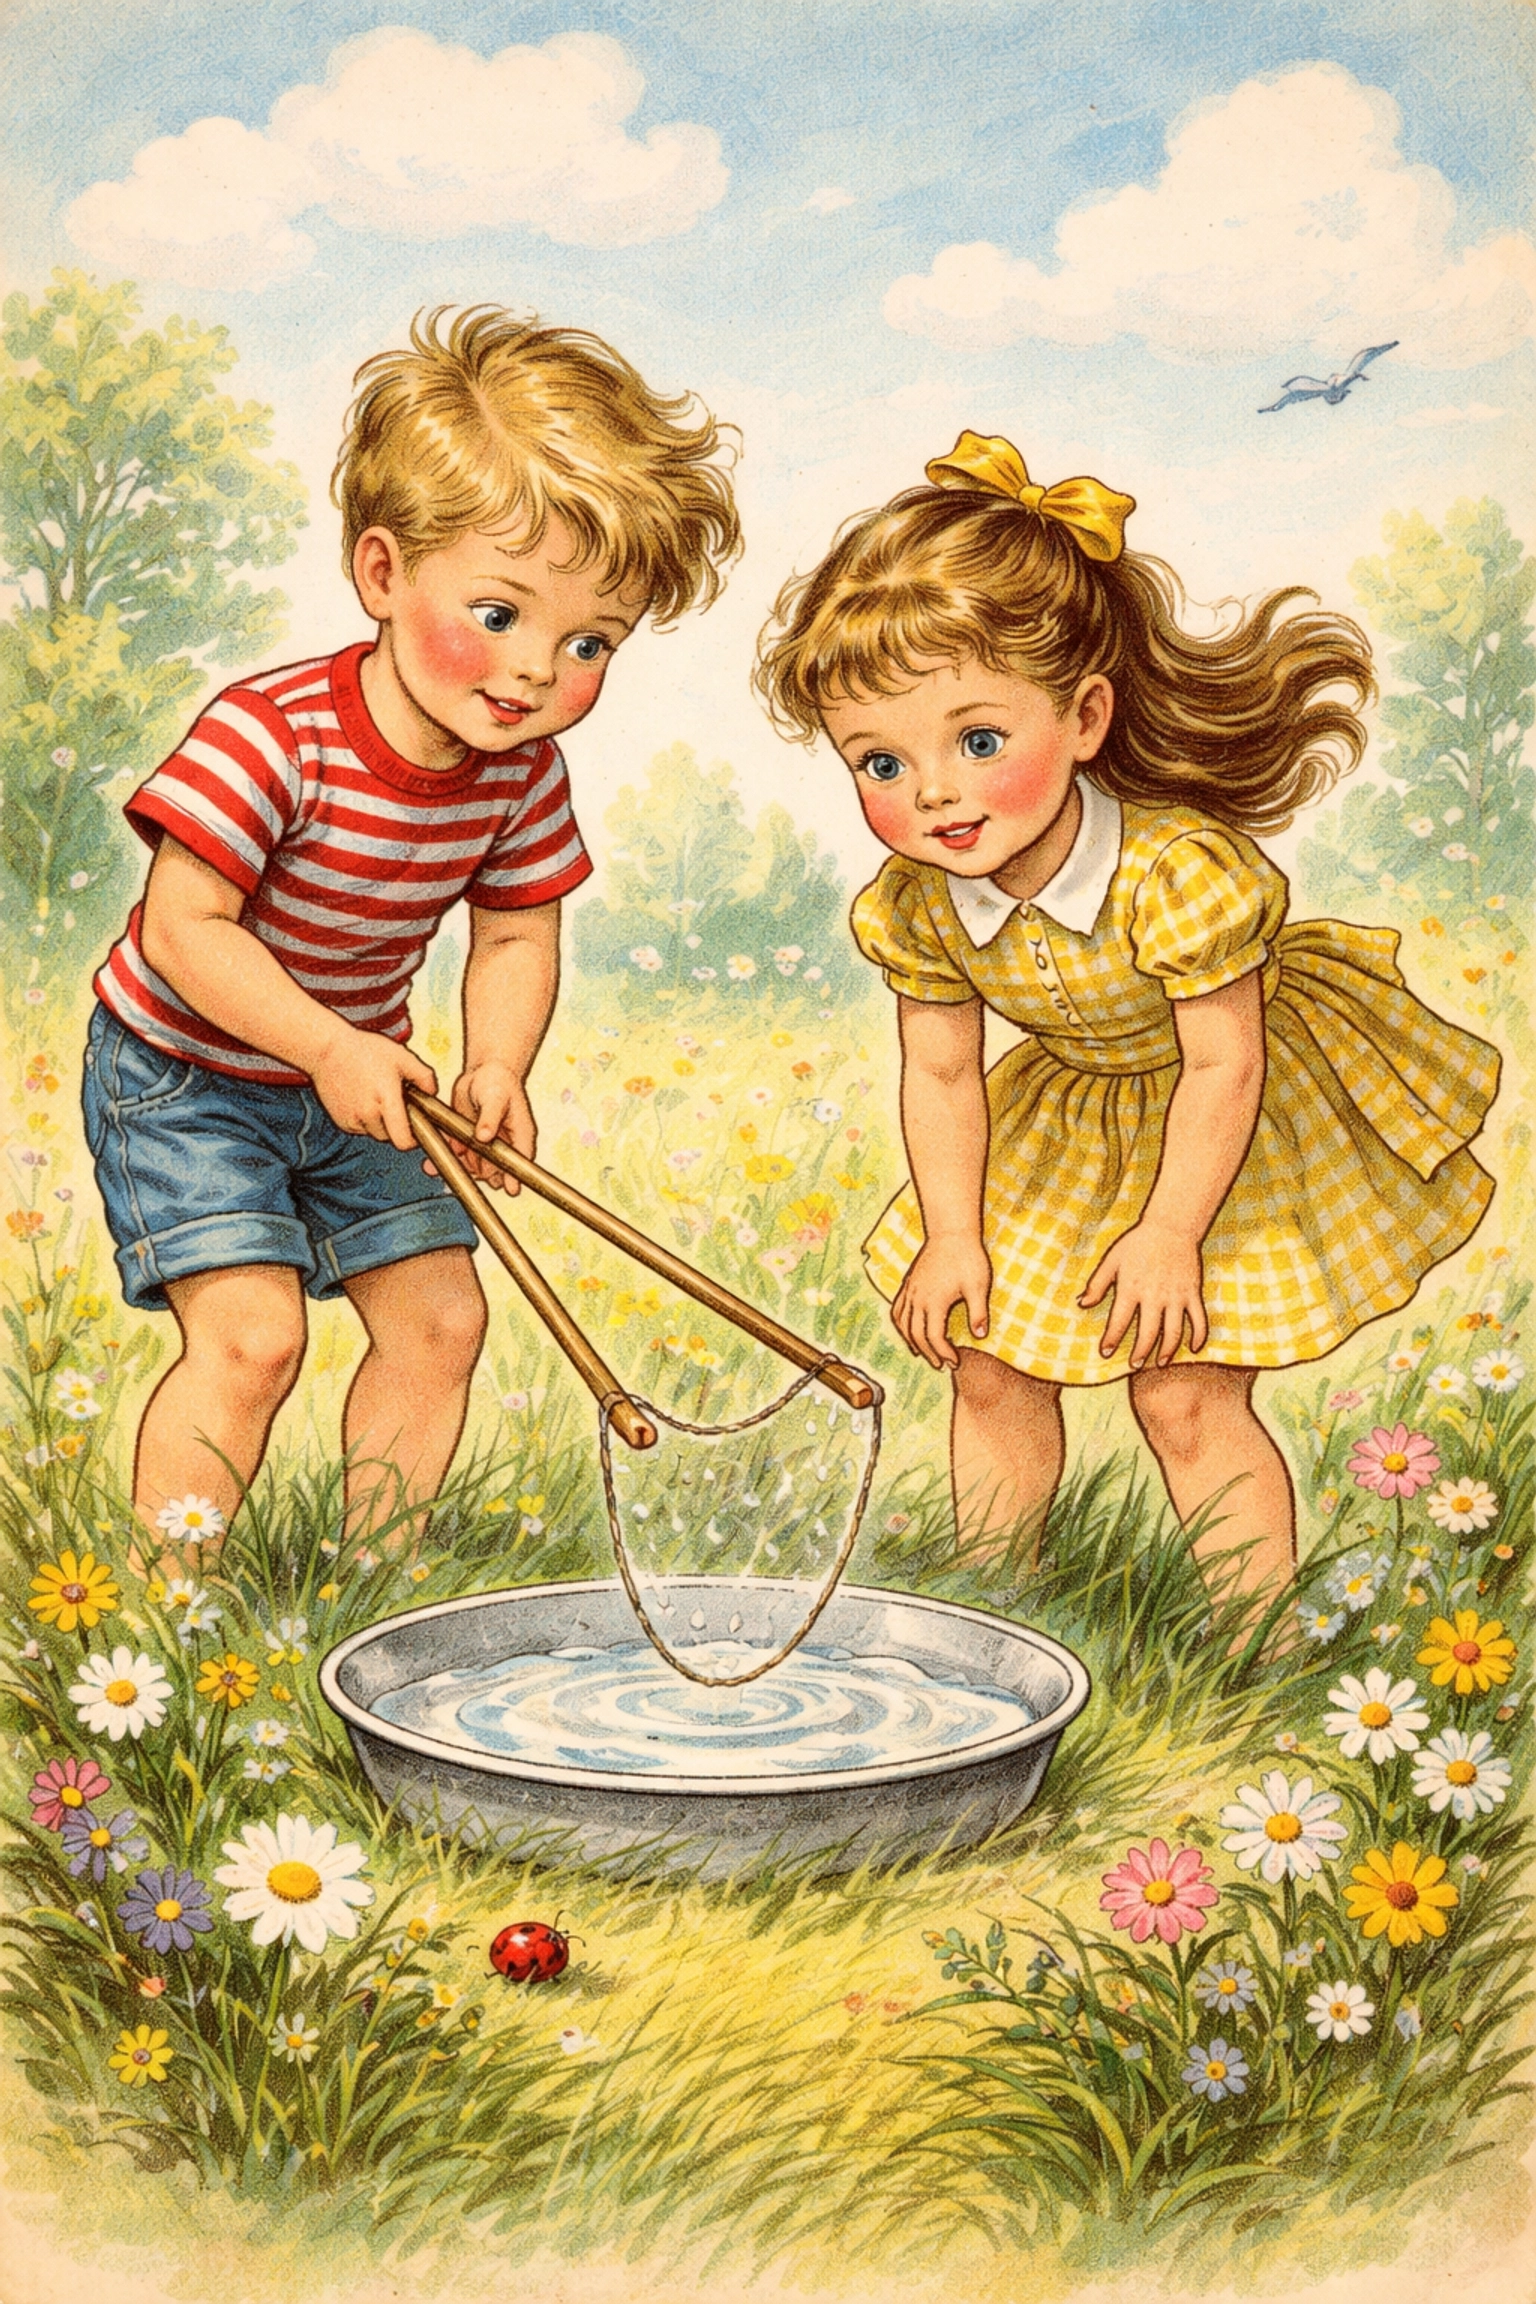
Step 1: Set Up Your Station
Pour your bubble solution into a shallow, wide container: a baking dish, storage bin lid, or even a pie plate works well. You need something wide enough to dip your entire wand into.
Step 2: Dip the Wand
Hold both sticks together and submerge the string completely in the solution. Let it soak for a few seconds to absorb plenty of liquid.
Step 3: Lift and Open
Slowly lift the wand out of the solution, keeping the sticks together. Once clear of the container, gently spread the sticks apart to open the string into a triangle or rectangular shape.
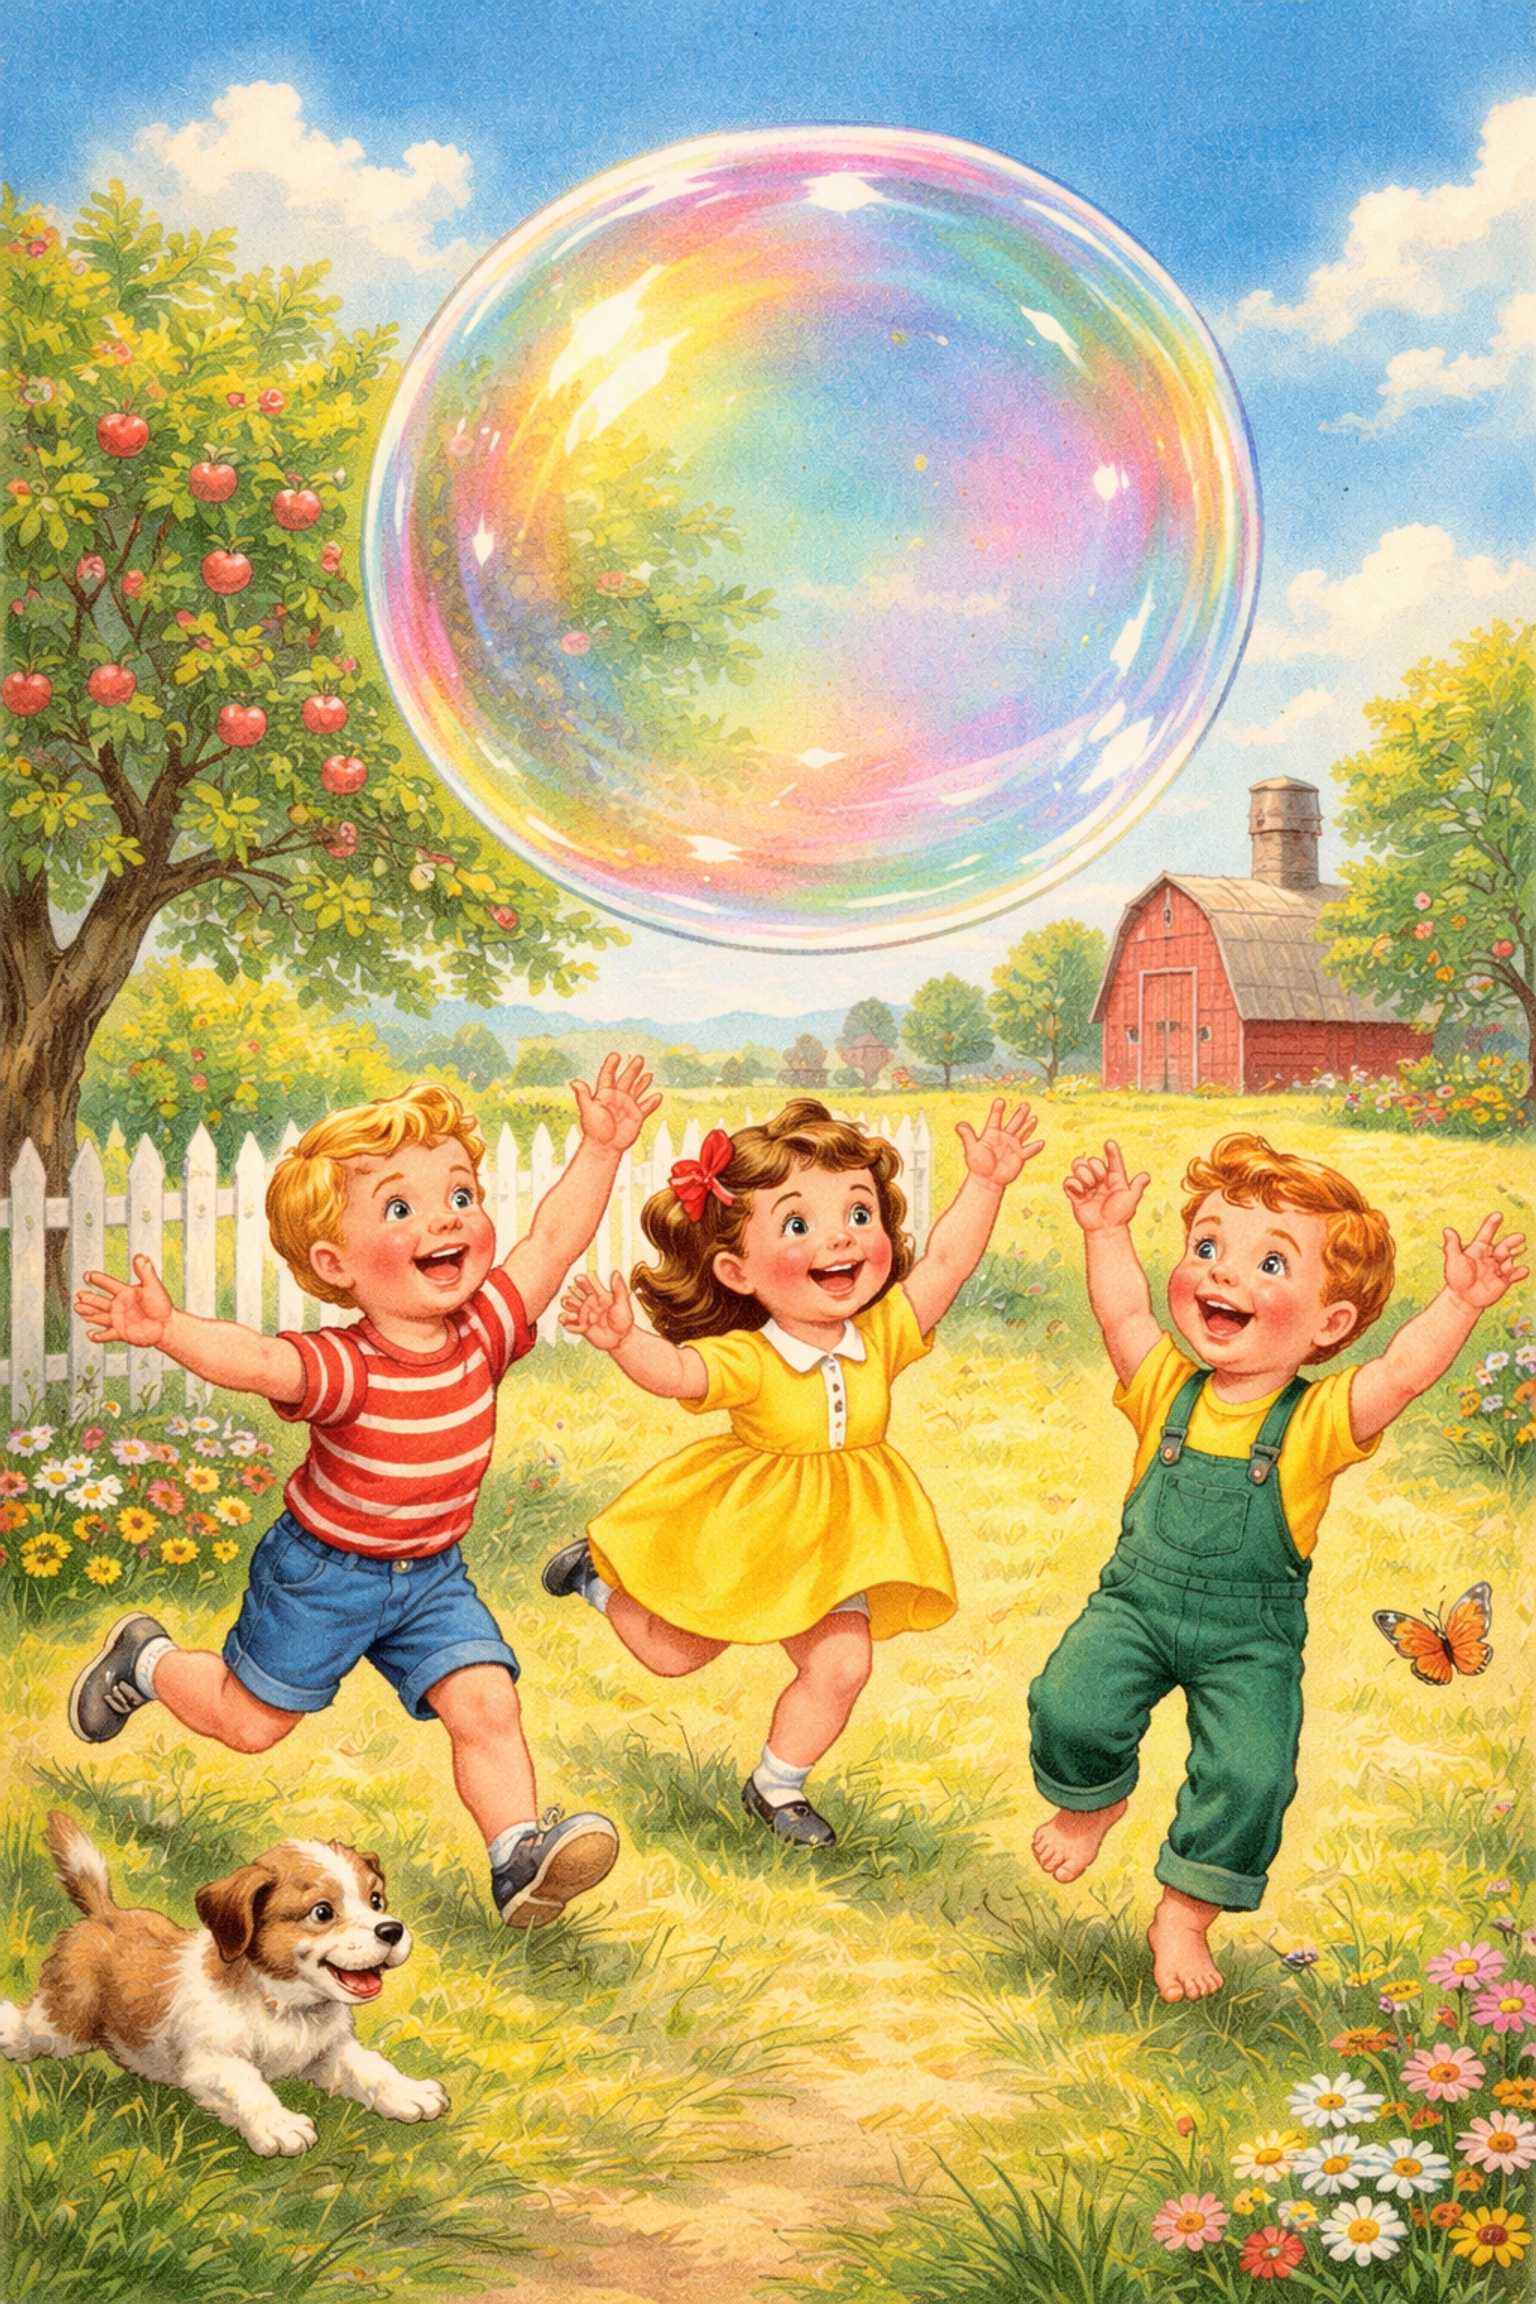
Step 4: Catch the Wind
Here's where the magic happens. Either walk backward slowly or let a gentle breeze fill your bubble film. You'll see it start to billow and stretch.
Step 5: Close and Release
When your bubble reaches the size you want, bring the sticks back together to close off the bubble and release it into the air.
Step 6: Watch It Fly
Stand back and enjoy the show. These bubbles can float for quite a while before popping, especially on humid days.
Tips for Bubble-Making Success
Choose the right weather. Calm, humid days are ideal. Wind can be helpful for filling bubbles, but too much wind pops them instantly. Early morning or late afternoon tends to work better than midday.
Go slow. Fast movements create smaller bubbles or pop them before they form. Slow, smooth motions are the key.
Avoid foam. When mixing and stirring your solution, work gently. Foam on top of your solution can interfere with bubble formation.
Re-dip frequently. Don't try to squeeze multiple bubbles from one dip. Dip your wand fresh each time for best results.
Wet your hands. If you want to catch or touch bubbles without popping them, wet your hands with bubble solution first.
What to Do When Bubbles Won't Form
If your bubbles keep popping immediately, try these fixes:
- Let the solution rest longer. Sometimes it just needs more time.
- Add more soap. Your ratio might be slightly off.
- Check the humidity. Very dry days make bubble-making harder.
- Switch soaps. Not all dish soaps are created equal: blue Dawn is the fan favorite for a reason.
Frequently Asked Questions
Why do my giant bubbles keep popping right away?
The most common reasons are dry weather, solution that hasn't rested long enough, or moving too quickly. Try waiting for a more humid day and letting your solution sit overnight before using it.
Can I use any dish soap for giant bubbles?
Most dish soaps can work, but blue Dawn dish soap tends to produce the best results. It has a specific formula that creates stronger, more flexible bubble films.
How long does homemade bubble solution last?
Stored in an airtight container, your solution can last for several weeks. Give it a gentle stir before each use, as ingredients may settle over time.
Is this activity safe for toddlers?
With supervision, kids as young as 3 can participate. They might need help with the wand technique, but they'll love chasing and popping the bubbles. Just remind them not to drink the solution.
What's the best time of day for giant bubbles?
Early morning and late afternoon tend to work well because humidity is often higher and winds are calmer. Avoid the hottest, driest part of the day.
Can I make giant bubbles indoors?
It's possible in a large space with hard floors, but outdoor spaces are much better suited for this activity. Bubble solution can make floors slippery.
Why does the solution need to rest before using?
Resting allows the ingredients to fully combine and stabilize. The polymers in the soap need time to bond with the water and thickeners, creating a more elastic bubble film.
How big can homemade giant bubbles get?
With the right conditions and technique, you can create bubbles several feet long: some bubble enthusiasts have made bubbles over 20 feet in length!
Looking for more hands-on outdoor fun? Check out our kids crafts collection for more family-friendly projects that get everyone outside and creating together.
References:
- DIY bubble solution recipes and techniques from bubble enthusiast communities
- Testing conducted with standard household ingredients


