


You can make soft, squishy homemade playdough with kids in about 10 to 15 minutes using simple kitchen staples like flour, salt, and cream of tartar. The whole project typically costs under $5, and the resulting dough often lasts for months when stored properly. It's a fantastic sensory activity that doubles as a mini science lesson, and honestly, the homemade stuff tends to feel better than the store-bought version.
Whether you're looking for a rainy-day activity or want to stock up on custom colors for creative play, this recipe is a family favorite for good reason. Let's get into it.
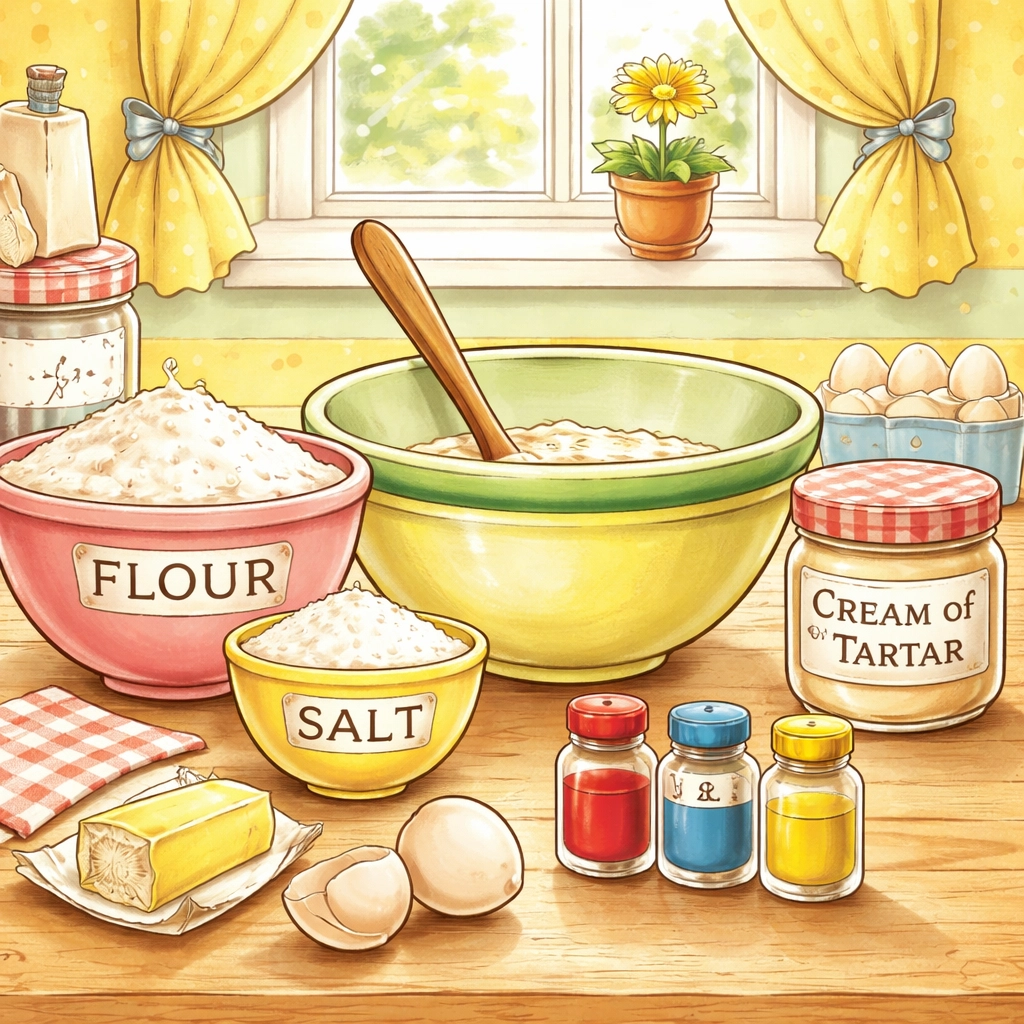
What You'll Need: Materials & Cost Breakdown
One of the best parts about homemade playdough? You probably have most of these ingredients sitting in your pantry right now. Here's what you'll need:
| Material | Quantity | Estimated Cost |
|---|---|---|
| All-purpose flour | 2 cups | $0.50 |
| Table salt | ¾ cup | $0.25 |
| Cream of tartar | 4 teaspoons | $1.50 |
| Lukewarm water | 2 cups | Free |
| Vegetable oil | 2 tablespoons | $0.20 |
| Food coloring (optional) | A few drops per color | $2.00 |
| Total | Under $5 |
Optional add-ins:
- Glitter (for sparkle lovers)
- Essential oils like lavender or peppermint (for calming scents)
- Kool-Aid packets (for color AND scent in one)
Even if you need to purchase cream of tartar, your total should stay well under $10. The cream of tartar is the secret ingredient that gives the dough its signature smooth, stretchy texture, so it's worth grabbing if you don't have any on hand.
Age Range: Who Can Join In?
This project works well across a wide age range, though kids will participate differently depending on their developmental stage.
Ages 2-3 (Toddlers):
Toddlers can help dump pre-measured ingredients into the pot and do some initial stirring. They'll especially enjoy the kneading and playing portions. Adult supervision is essential during the cooking step.
Ages 4-6 (Preschoolers):
This age group can handle more measuring (with guidance), stirring on low heat with a long spoon, and kneading the cooled dough. They often love choosing and mixing colors.
Ages 7+ (School-Age):
Older kids can typically manage most steps with light supervision, including the stovetop cooking. This is also a great opportunity to discuss simple kitchen science, like why heat transforms the mixture.
Enjoyment level: Pretty much universal. Even teenagers and adults find something satisfying about squishing warm, freshly made playdough.
Time Estimate
| Step | Time |
|---|---|
| Gathering materials | 2-3 minutes |
| Mixing ingredients | 3-5 minutes |
| Cooking on stovetop | 3-5 minutes |
| Cooling | 5 minutes |
| Kneading | 2-3 minutes |
| Total active time | 10-15 minutes |
The cooling time can feel like an eternity for eager little hands, so having a quick distraction ready (like setting up the play area) helps a lot.
Step-by-Step Instructions
Step 1: Mix the Dry Ingredients
Grab a large pot or saucepan and add your flour, salt, and cream of tartar. Give everything a good stir with a wooden spoon or whisk until combined. This is a great task for younger kids, they can practice their stirring skills without any risk.
Why the salt? It acts as a natural preservative, which is why homemade playdough can last for months instead of days.
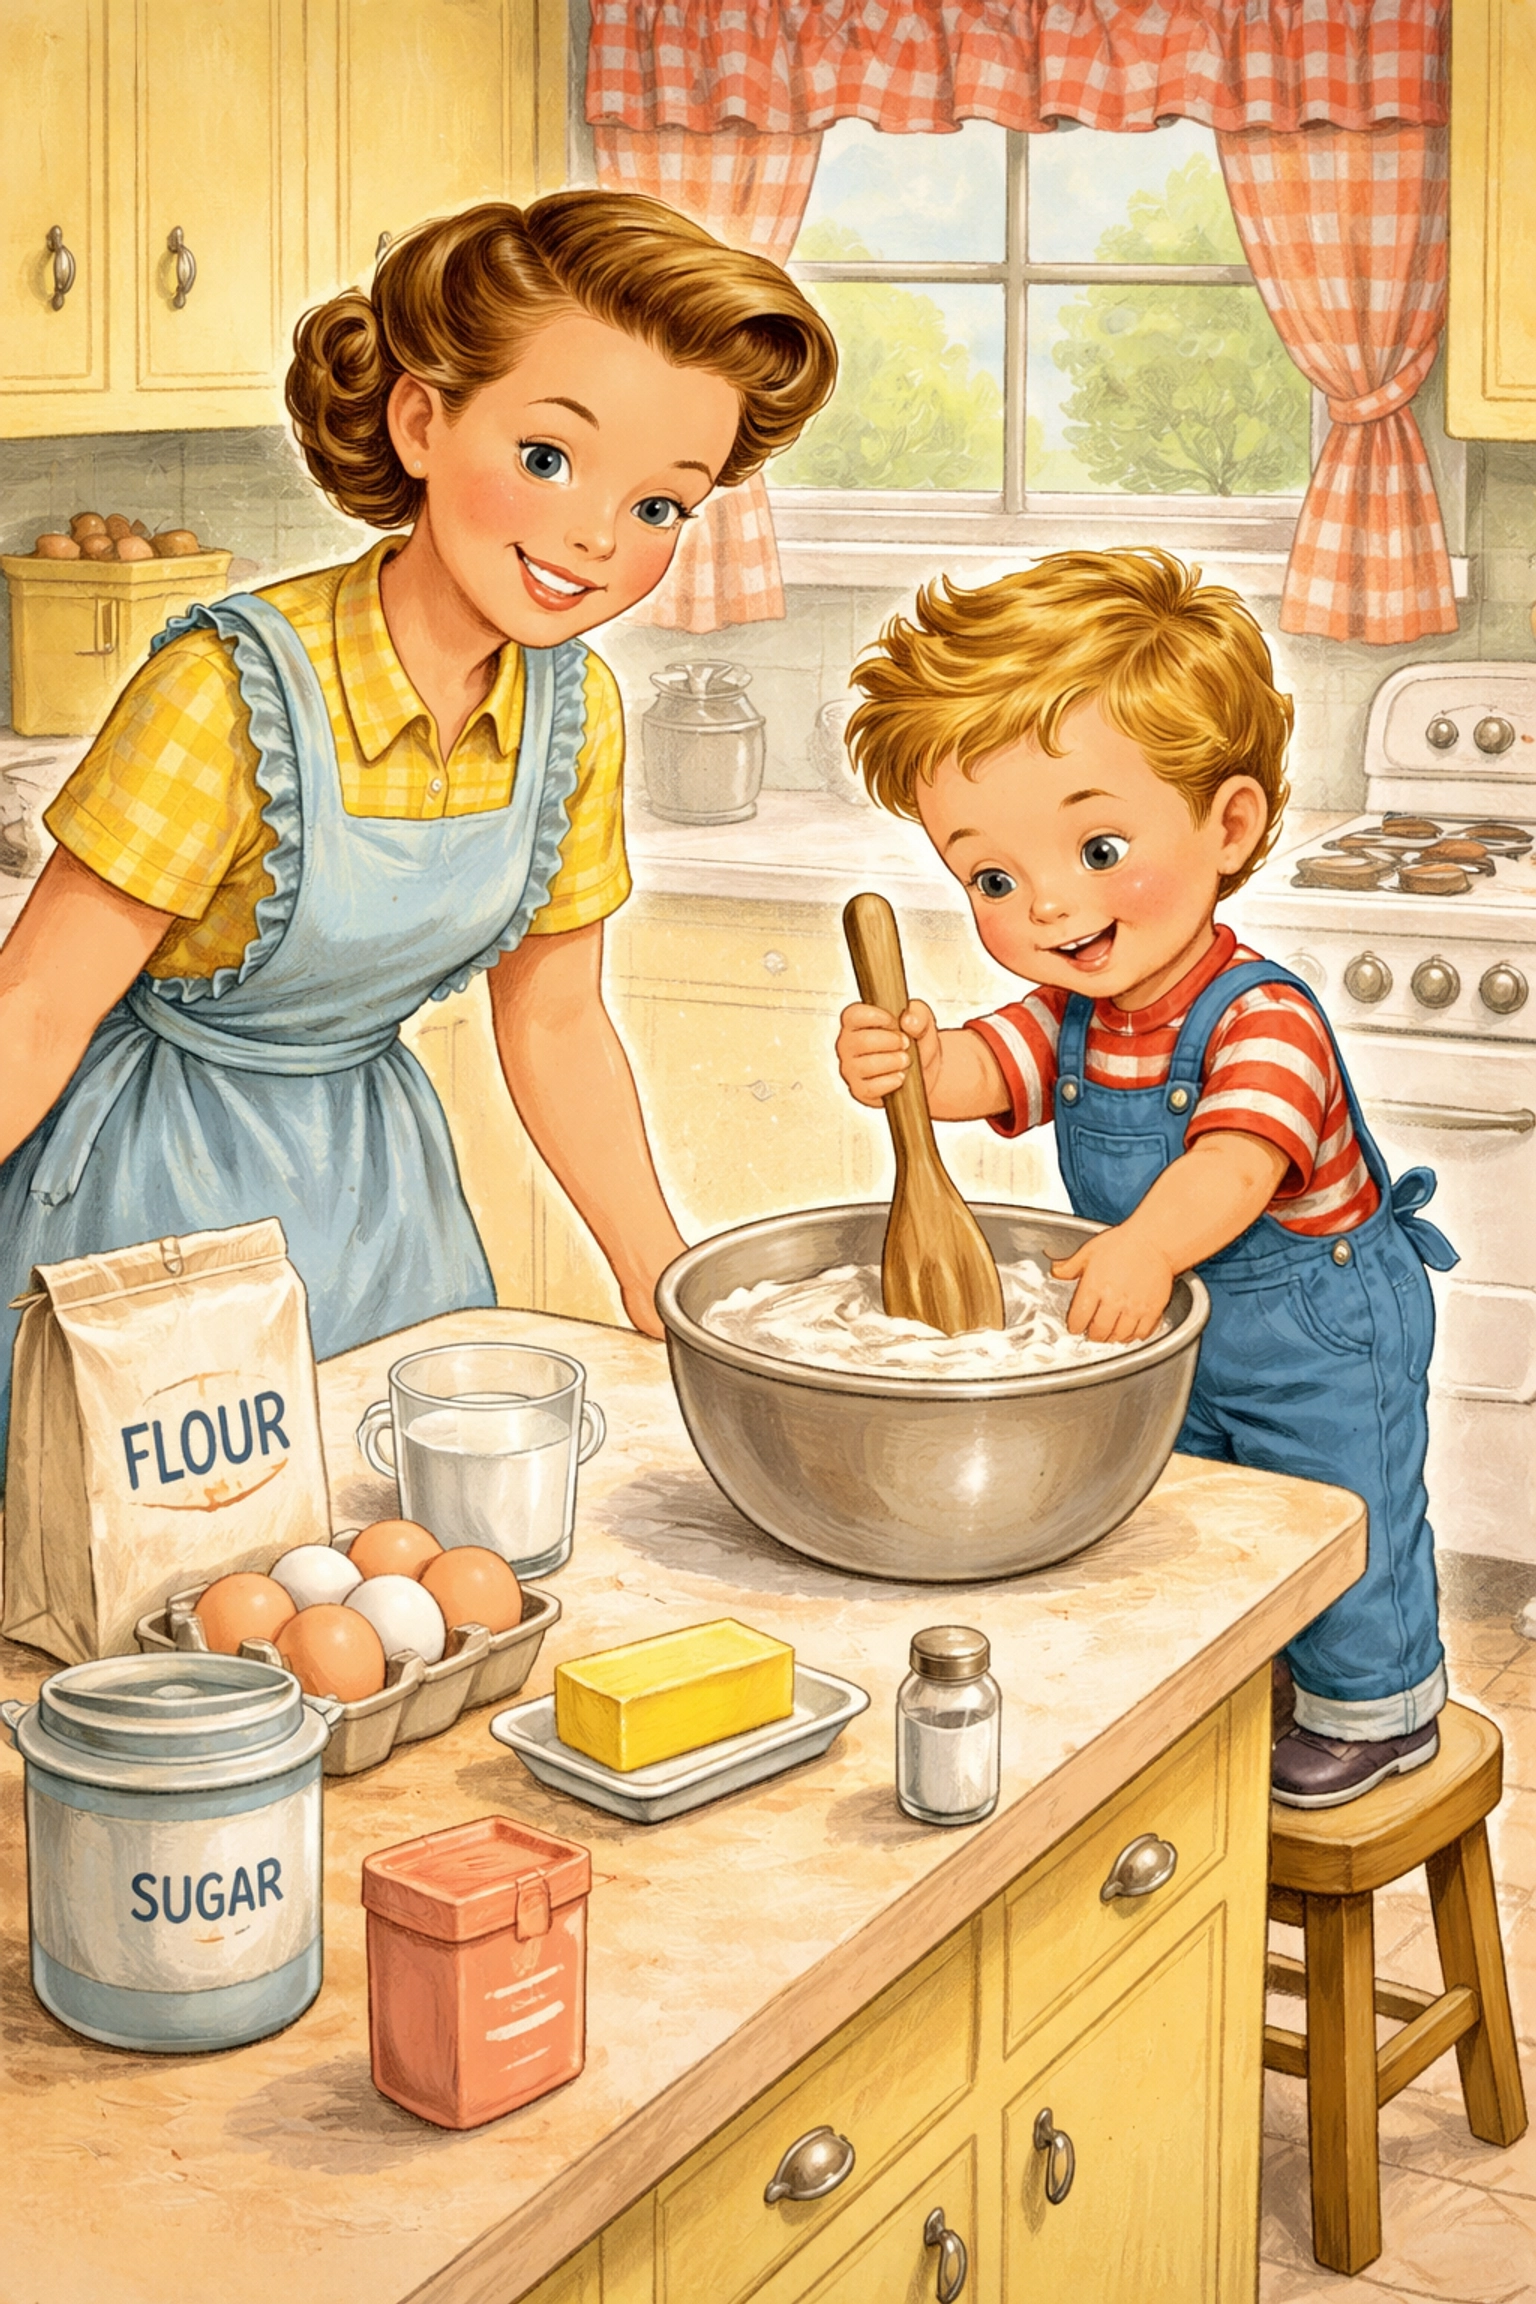
Step 2: Add the Wet Ingredients
Pour in the lukewarm water and vegetable oil. Stir everything together until you have a lumpy, somewhat liquidy mixture. Don't worry if it looks strange at this point, that's completely normal.
Pro tip: If you're making a single color, add your food coloring to the pot now (about 10-15 drops for vibrant color). This distributes the color evenly during cooking.
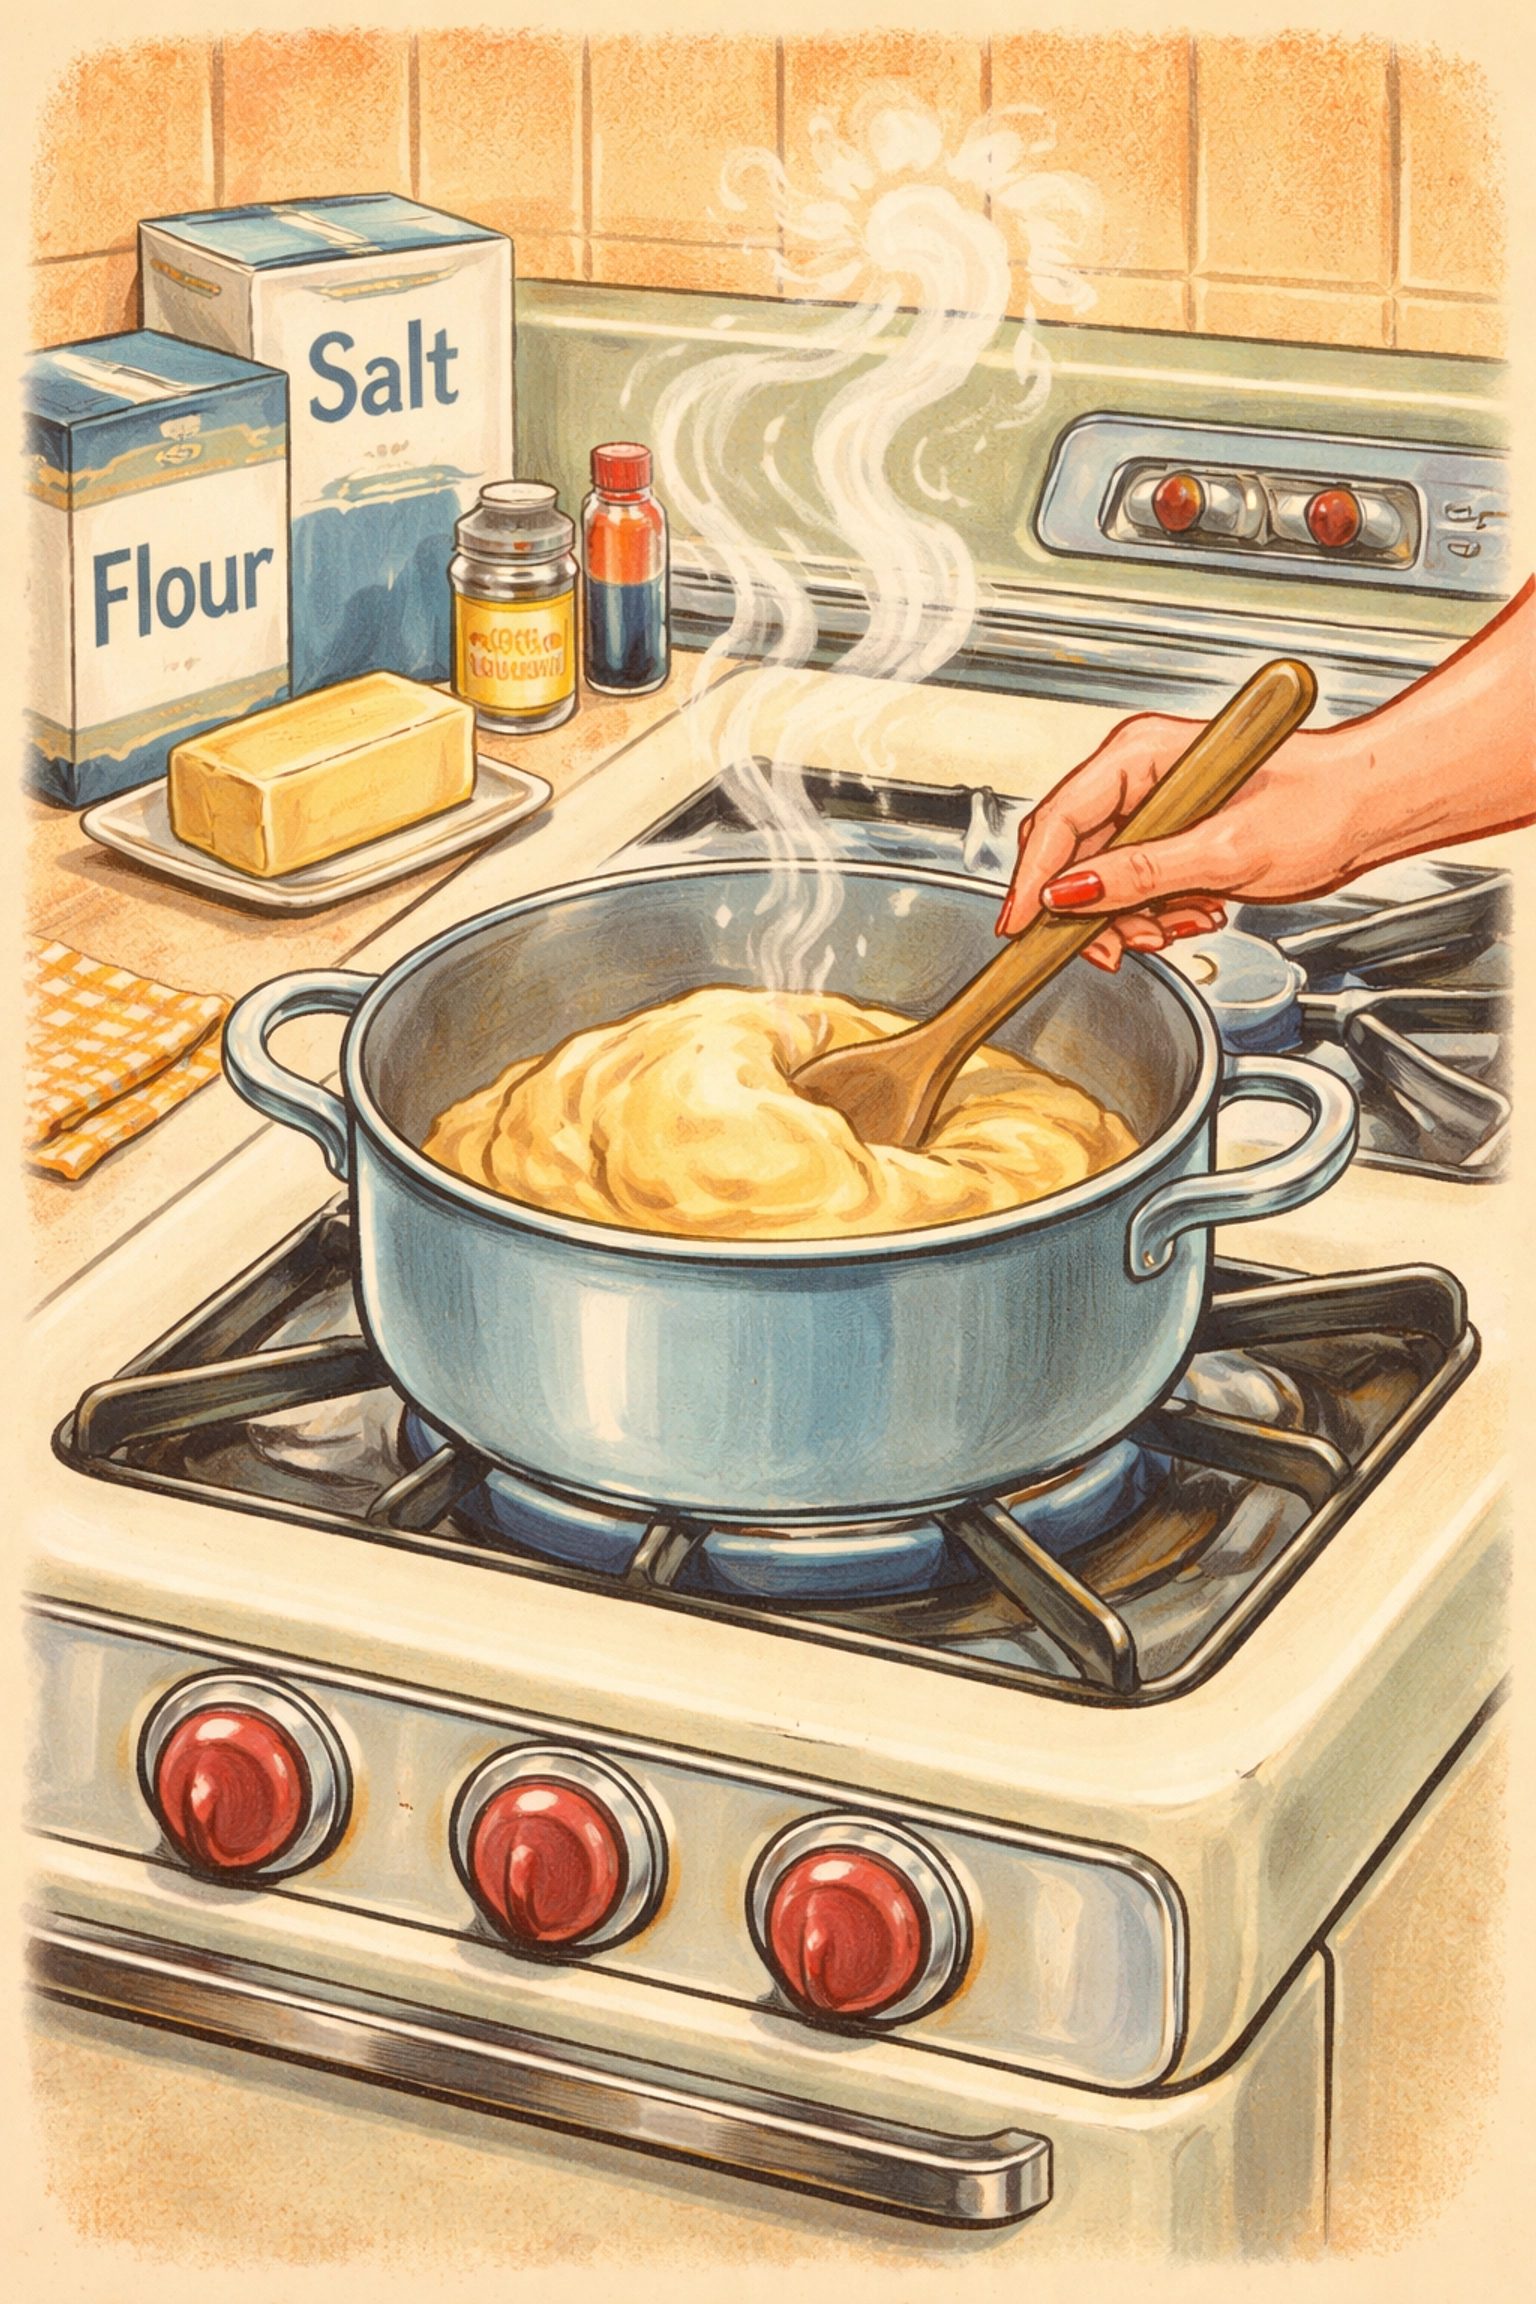
Step 3: Cook Over Medium Heat
Place your pot on the stove over medium heat. Stir continuously, and I mean continuously, for about 3 to 5 minutes. You'll notice the mixture start to thicken and pull away from the sides of the pot.
Keep stirring until the dough forms a ball and looks slightly glossy. It might seem like nothing is happening at first, then suddenly everything comes together. That's the magic of cream of tartar working with the heat.
Safety note: This step requires adult supervision. The pot and dough get hot, so keep little hands at a safe distance while they watch the transformation.
Step 4: Cool the Dough
Remove the pot from heat and transfer the dough ball onto a clean surface or cutting board. Let it cool for about 5 minutes, it should be warm but not hot to the touch.
Temperature test: Press a finger gently into the dough. If it's comfortable for adult hands, it's probably safe for kids to handle.
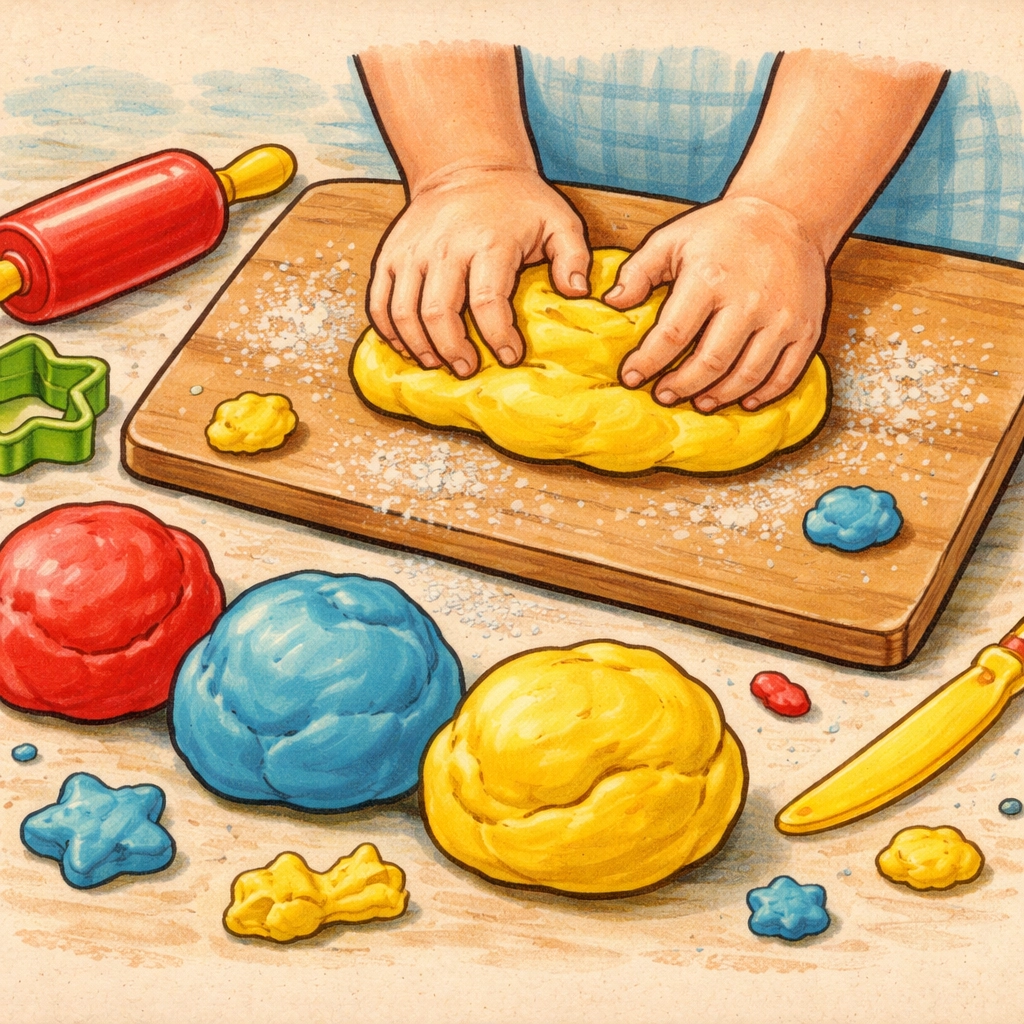
Step 5: Knead Until Smooth
Once cooled enough to handle, knead the dough for 2-3 minutes. This step smooths out any remaining lumps and develops that classic playdough texture. Kids usually love this part, it's basically acceptable food playing.
If the dough feels sticky, sprinkle a tiny bit of flour on your hands. If it's too dry or crumbly (rare, but it happens), add a few drops of water and keep kneading.
Step 6: Add Colors (Alternative Method)
If you're making multiple colors from one batch, divide your finished dough into portions after kneading. Here's a mess-free trick: place each portion in a separate zip-lock bag, add 5-8 drops of food coloring, seal the bag, and let kids squish the color through from outside the bag.
This method keeps hands stain-free and gives kids a satisfying sensory experience. Once the color is distributed, remove the dough and do a final quick knead.
Tips for Success
Start with primary colors: Red, blue, and yellow give you the most flexibility. Kids can mix portions together later to discover secondary colors, hello, mini science lesson.
Don't skip the cream of tartar: You can make playdough without it, but the texture tends to be grainier and the dough doesn't last as long. It's worth the small investment.
Use gel food coloring for brighter results: Liquid food coloring works fine, but gel colors produce more vibrant shades without adding extra moisture.
Consider themed scents: A few drops of peppermint extract turns regular playdough into a holiday activity. Lavender essential oil creates a calming sensory experience.
How to Store Homemade Playdough
Proper storage is the difference between playdough that lasts a weekend and playdough that lasts months.
- Store in airtight containers or sealed zip-lock bags
- Keep at room temperature (no need to refrigerate)
- If the surface dries slightly, knead in a drop or two of water
When stored correctly, homemade playdough typically stays soft and pliable for 2-3 months. You'll know it's time to make a fresh batch when the dough becomes crumbly or develops an off smell.
For more hands-on kitchen projects with kids, check out our guide on how to make a DIY kitchen scrap regrow garden, another under-$10 activity that keeps giving.
Frequently Asked Questions
Is homemade playdough safe if my toddler eats it?
While homemade playdough isn't toxic, it's also not meant to be eaten. The high salt content makes it taste unpleasant, which usually discourages repeat taste-testing. If your child swallows a small amount, they should be fine, but offer water and watch for any signs of stomach upset.
Can I make playdough without cream of tartar?
Yes, though the texture differs slightly. Substitute with 2 tablespoons of lemon juice or 1 tablespoon of white vinegar. The dough may not be quite as smooth, but it's a workable alternative.
Why did my playdough turn out sticky?
This usually means the dough needed a bit more cooking time. Return it to the pot and stir over medium heat for another minute or two. You can also knead in small amounts of flour until the stickiness resolves.
Can I use natural dyes instead of food coloring?
Absolutely. Turmeric creates yellow, beet juice makes pink, and spirulina powder produces green. Natural dyes tend to be more muted than artificial colors, which some families actually prefer.
How do I get playdough out of carpet or fabric?
Let the playdough dry completely, then scrape off as much as possible. Vacuum the residue, then treat any remaining stain with a mixture of dish soap and warm water.
Can I make playdough in the microwave?
Some recipes exist for microwave playdough, but the stovetop method generally produces more consistent results. The microwave can create hot spots that make the texture uneven.
Why does my playdough smell weird after a few weeks?
If the dough develops an unpleasant odor, it's likely time to replace it. Adding too much water during play, or storing with wet hands, can introduce bacteria. A few drops of essential oil can extend freshness, but when in doubt, make a fresh batch.
Can I add texture to the playdough?
Yes! Mix in rice, dried beans, or sand for different sensory experiences. Just note that textured playdough may not store as well and works better as a single-session activity.
References
- The Best Playdough Recipe – I Can Teach My Child
- Homemade Play Dough – Taste of Home
- Easy Homemade Playdough – Kids Activities Blog
- Cooked Playdough Tutorial – Happy Hooligans


