


Leaf rubbing art is a simple process where you place leaves under paper and rub over them with the flat side of a crayon to reveal their shapes, veins, and textures. It's one of those crafts that feels a bit like magic: kids press down, move the crayon, and suddenly a leaf appears on the paper without any drawing skill required. The whole activity typically takes about 15-30 minutes and costs practically nothing if you already have crayons at home.
This is a fantastic way to connect kids with nature while sneaking in some fine motor practice and a little botany lesson. Plus, it works for a wide age range, from toddlers who just want to scribble to older kids who might get really into creating layered masterpieces.
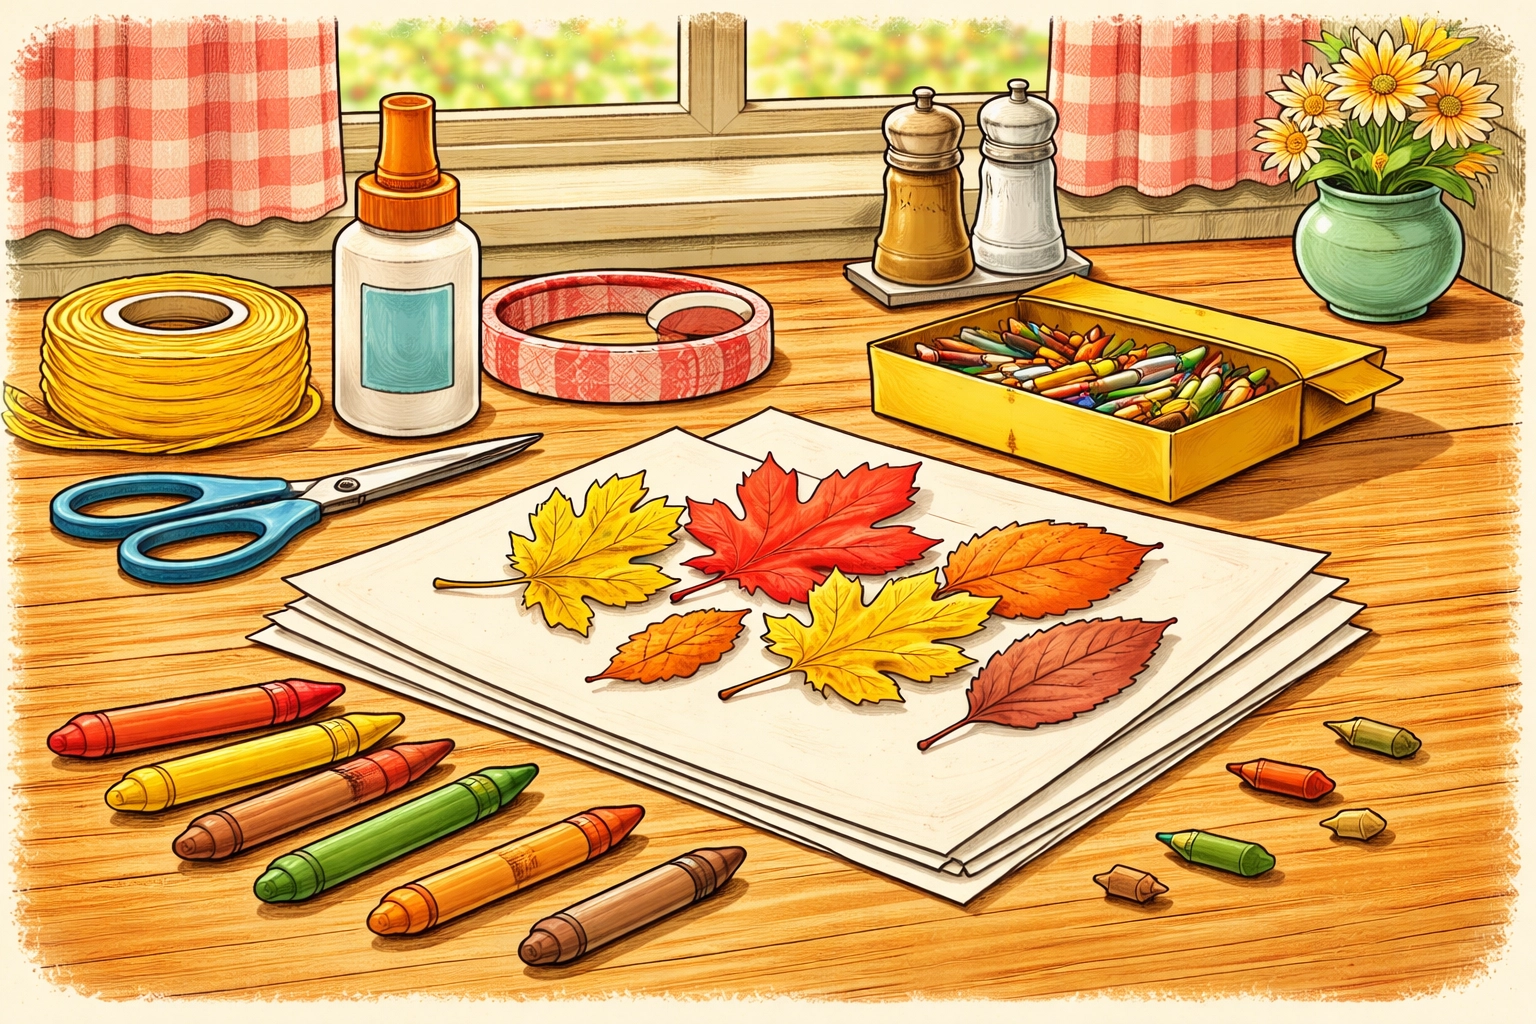
What You'll Need
Here's the good news: you likely have most of these supplies already. If not, you can gather everything for well under $10.
| Material | Estimated Cost | Notes |
|---|---|---|
| Plain white paper | $0-3 | Printer paper works great; thinner paper tends to show more detail |
| Crayons | $0-4 | Wrappers removed; you probably have some in a junk drawer |
| Fresh leaves | Free | Collect from your yard or a neighborhood walk |
| Flat surface | Free | Table, clipboard, or hardcover book |
| Tape (optional) | $0-2 | Masking or washi tape helps secure paper for younger kids |
Total estimated cost: $0-10 (often free with supplies on hand)
Age Recommendations
Toddlers (Ages 2-3): They can absolutely participate, though expect more scribbling than precise rubbings. The sensory experience of feeling the bumpy leaf under the paper is often the highlight for this age group. You'll likely need to hold the paper steady for them or tape it down securely.
Preschoolers (Ages 3-5): This is a sweet spot for leaf rubbing. Kids this age usually have enough hand control to create recognizable impressions and tend to get genuinely excited when the leaf pattern "magically" appears. Some guidance on crayon pressure helps.
School-Age Kids (Ages 6+): Older children often take this activity in creative directions: experimenting with color combinations, creating patterns, or turning their rubbings into greeting cards or bookmarks. You can pretty much hand them supplies and let them explore independently.
Time Estimate
- Setup: 5-10 minutes (gathering leaves and prepping crayons)
- Activity: 15-30 minutes (or longer if kids are really into it)
- Cleanup: 5 minutes
How to Make Leaf Rubbing Art: Step-by-Step
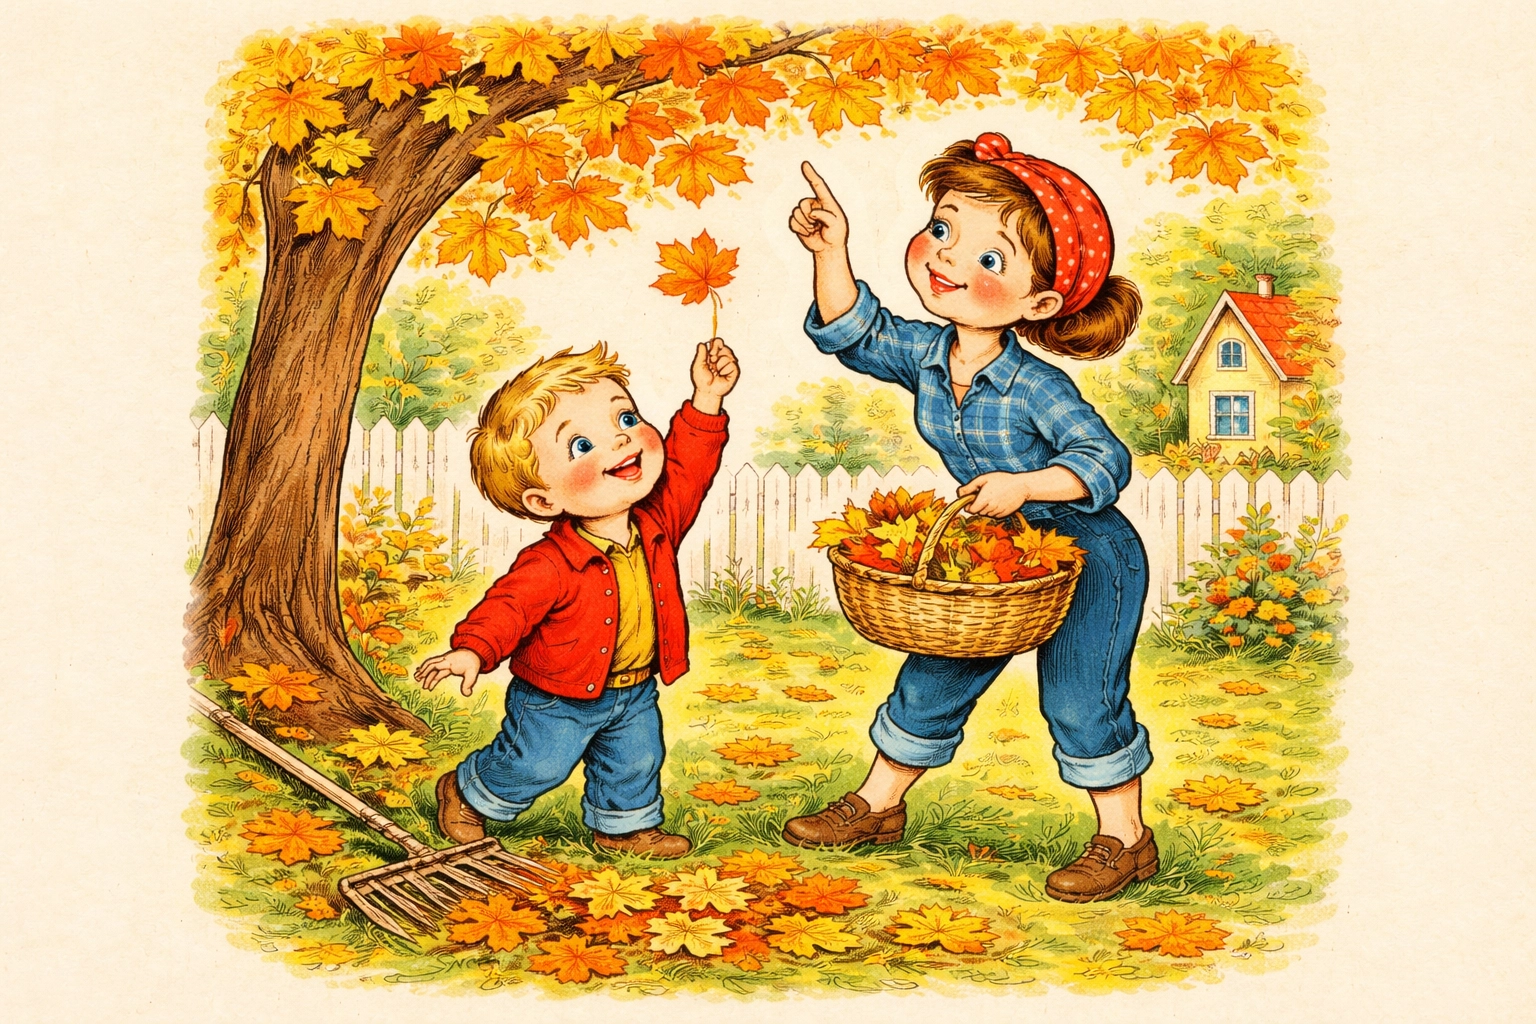
Step 1: Go on a Leaf Hunt
Head outside with your kids and collect a variety of leaves. Look for different shapes, sizes, and textures. Leaves with prominent veins tend to create the most interesting rubbings: think maple, oak, or elm leaves. Ferns can also produce beautiful, detailed patterns.
Pro tip: Fresher leaves generally work better than dried ones. Dried leaves can crumble under pressure, while fresh leaves maintain their structure and show more detail.
Step 2: Prep Your Crayons
This step makes a surprising difference. Peel the paper wrapper off your crayons so you can use the flat side rather than the tip. If the wrappers are being stubborn, try soaking the crayons in warm water for about 30-60 minutes first: the paper should slide right off after that.
Using the flat side of the crayon creates broader, more even coverage and reveals the leaf texture much more clearly than using the pointed tip.
Step 3: Set Up Your Workspace
Place your leaves on a flat, hard surface like a table or clipboard. Arrange them vein-side up (the bumpy side) for the most texture. Then lay your paper directly on top of the leaves.
For younger kids, consider taping the corners of the paper down with masking tape or washi tape. This prevents the frustrating paper-shifting situation that can quickly derail a toddler's enthusiasm.
Step 4: Start Rubbing
Here's where the magic happens. Hold the crayon on its side and rub it back and forth across the paper where the leaf is positioned underneath. Apply medium pressure: too light and nothing shows up, too hard and you might tear the paper or crush the leaf.
Encourage kids to feel around for the leaf edges with their free hand so they know where to color. The leaf's outline, veins, and texture should start appearing within the first few strokes.

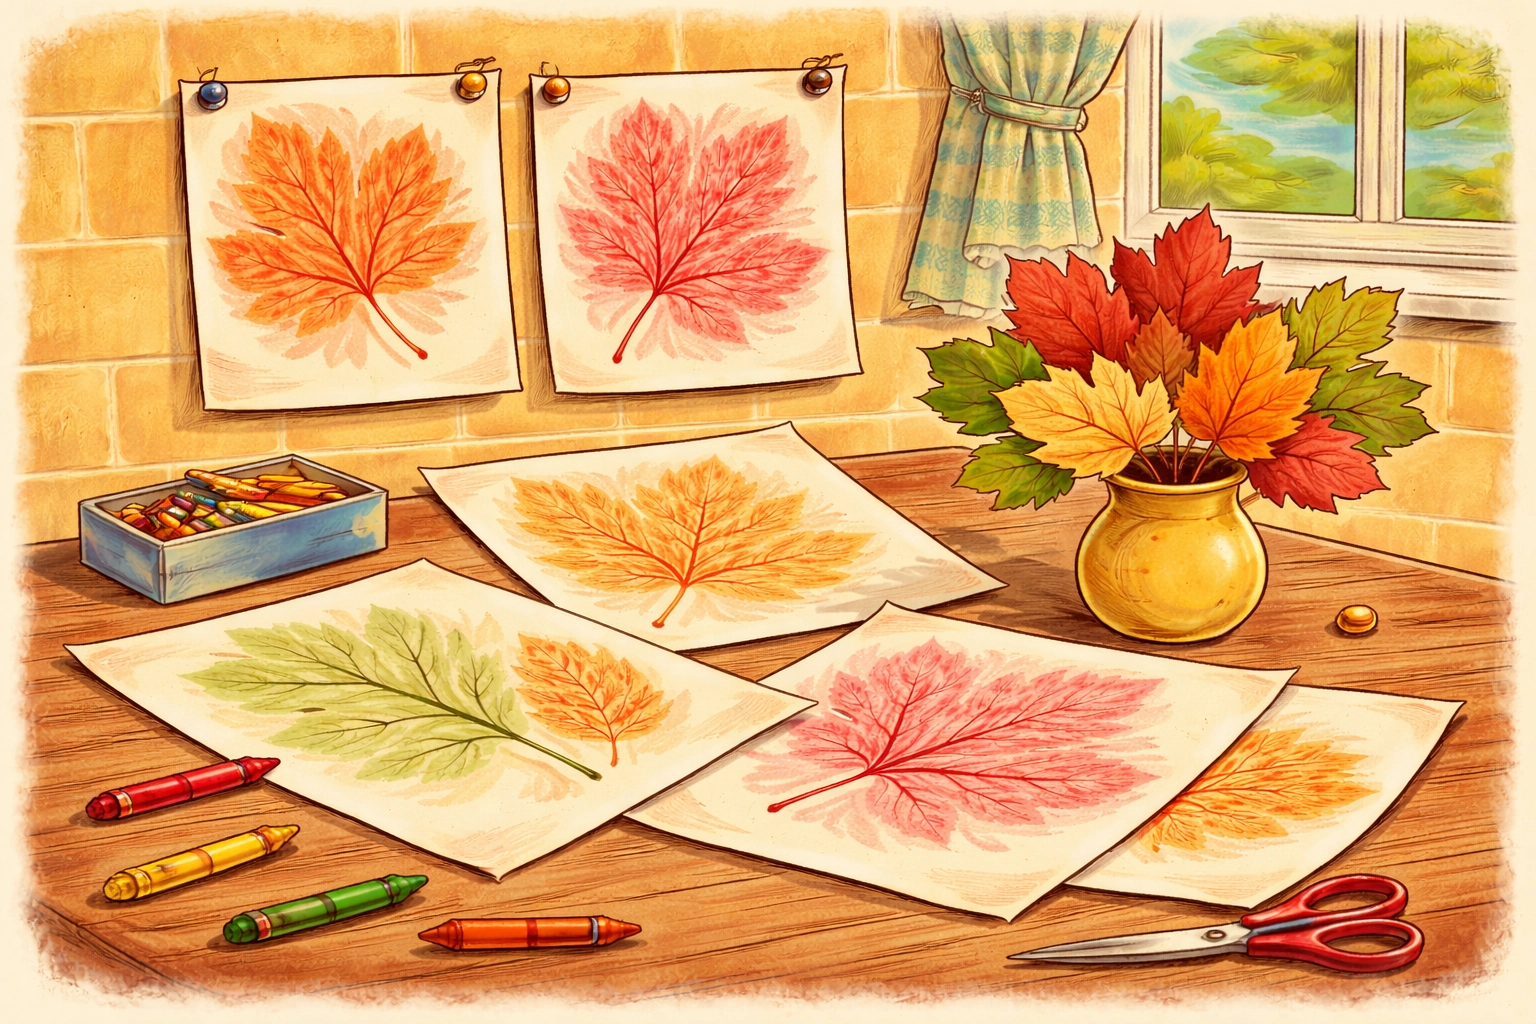
Step 5: Experiment with Colors and Layers
Once kids get the basic technique down, encourage them to play around:
- Layer different colors over the same leaf for a multi-toned effect
- Use fall colors like oranges, reds, and yellows for seasonal art
- Try overlapping leaves to create a forest-like composition
- Slide the leaf slightly between rubbings to create repeated patterns
Step 6: Display or Use Your Creations
Leaf rubbings make lovely:
- Greeting cards or thank-you notes
- Bookmarks (laminate them for durability)
- Wall art in simple frames
- Nature journal pages
- Wrapping paper for small gifts
Helpful Tips for Success
Choose the right paper thickness. Thinner paper (like standard printer paper) usually shows more detail than thick cardstock. However, very thin paper can tear more easily, so find a middle ground based on your child's age and crayon pressure.
Work on a hard surface. Soft surfaces like carpet or couch cushions won't give you the resistance needed to pick up the leaf texture. A table, hardcover book, or clipboard works well.
Demonstrate first. Especially for younger kids, showing them how to hold the crayon sideways and use medium pressure sets them up for success before they dive in.
Embrace imperfection. Process art is about the experience, not the outcome. Some rubbings will look amazing; others will be mostly scribbles. Both are valid.
Extension Ideas for More Fun
If your kids are loving this activity and want to keep going, here are some ways to extend the learning:
- Leaf identification: Use a field guide or app to identify the trees your leaves came from
- Symmetry exploration: Fold paper in half, place the leaf on one side, and create a mirror-image rubbing on the other
- Texture comparisons: Try rubbing other flat objects (coins, textured placemats, bark) and compare results
- Seasonal collection: Create rubbings throughout the year to document how leaves change
For more nature-based activities you can do with kids, check out our kids crafts section for additional project ideas.
Frequently Asked Questions
Why isn't my leaf rubbing showing up?
The most common reasons are: the crayon tip is being used instead of the flat side, the paper is too thick, or not enough pressure is being applied. Try flipping to a thinner piece of paper and using more pressure with the crayon held sideways.
Can I use markers instead of crayons?
Markers don't work as well for traditional rubbings because they don't pick up texture the same way. However, you could do a "negative space" version by tracing around leaves with markers instead.
What's the ideal leaf for rubbing?
Leaves with pronounced veins and a flat structure tend to work well. Maple, oak, elm, and fern leaves are popular choices. Very thick, waxy leaves or ones that are curled may not produce clear results.
How do I keep leaves fresh for this activity?
If you're not using leaves right away, store them between the pages of a heavy book or in a sealed plastic bag in the refrigerator. They should stay usable for a few days.
Can toddlers really do this activity?
Toddlers can definitely participate, though their results will look different from older kids' work. Focus on the sensory experience: feeling the leaf bumps, choosing colors, and making marks. Tape the paper down securely and expect more abstract outcomes.
What if my child gets frustrated?
Some kids find it tricky at first. Try demonstrating again, switching to a leaf with more prominent veins, or doing a rubbing together with your hands guiding theirs. Sometimes taking a break and coming back to it helps too.
Is this activity messy?
It's relatively low-mess compared to paint projects. The main cleanup is putting away crayons and recycling or composting used leaves. You might get some crayon marks on the table if paper shifts, so consider putting newspaper underneath.
Can we do leaf rubbings in winter?
You can use preserved leaves from fall, or try evergreen needles and small branches. Some families also collect leaves in autumn and press them in books specifically for winter craft projects.
References:
- Various educational craft resources on leaf rubbing techniques
- Process art and nature craft guides for children


