


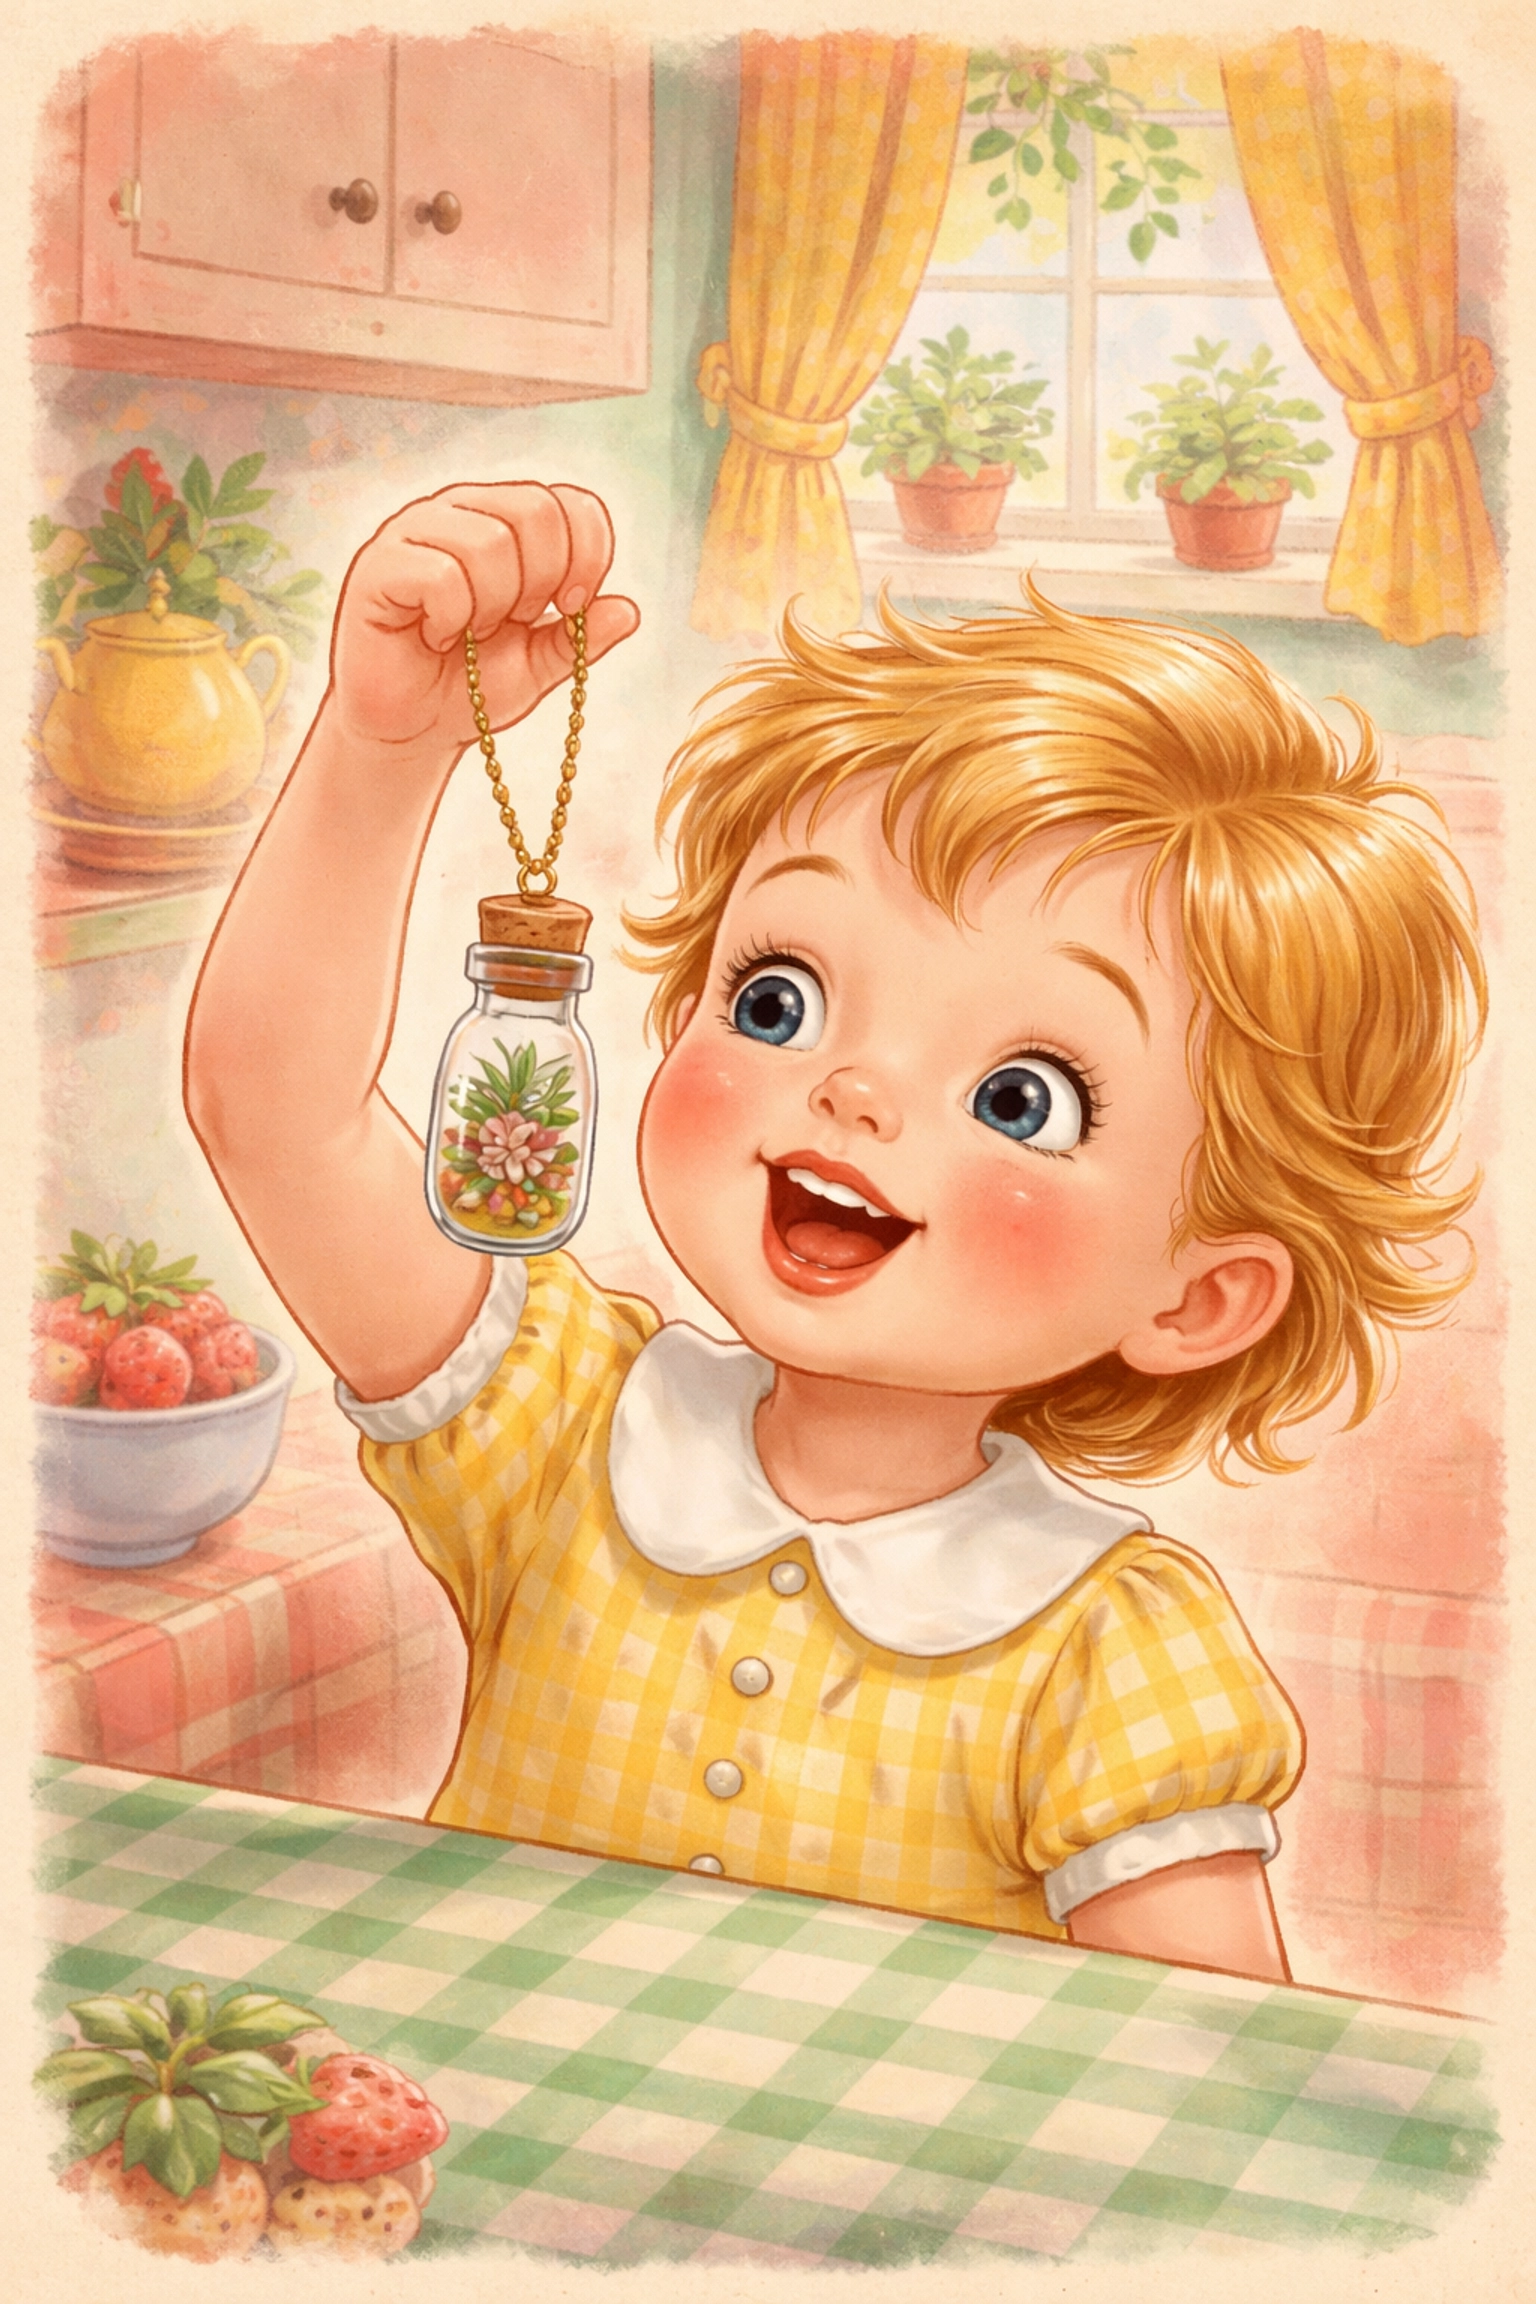
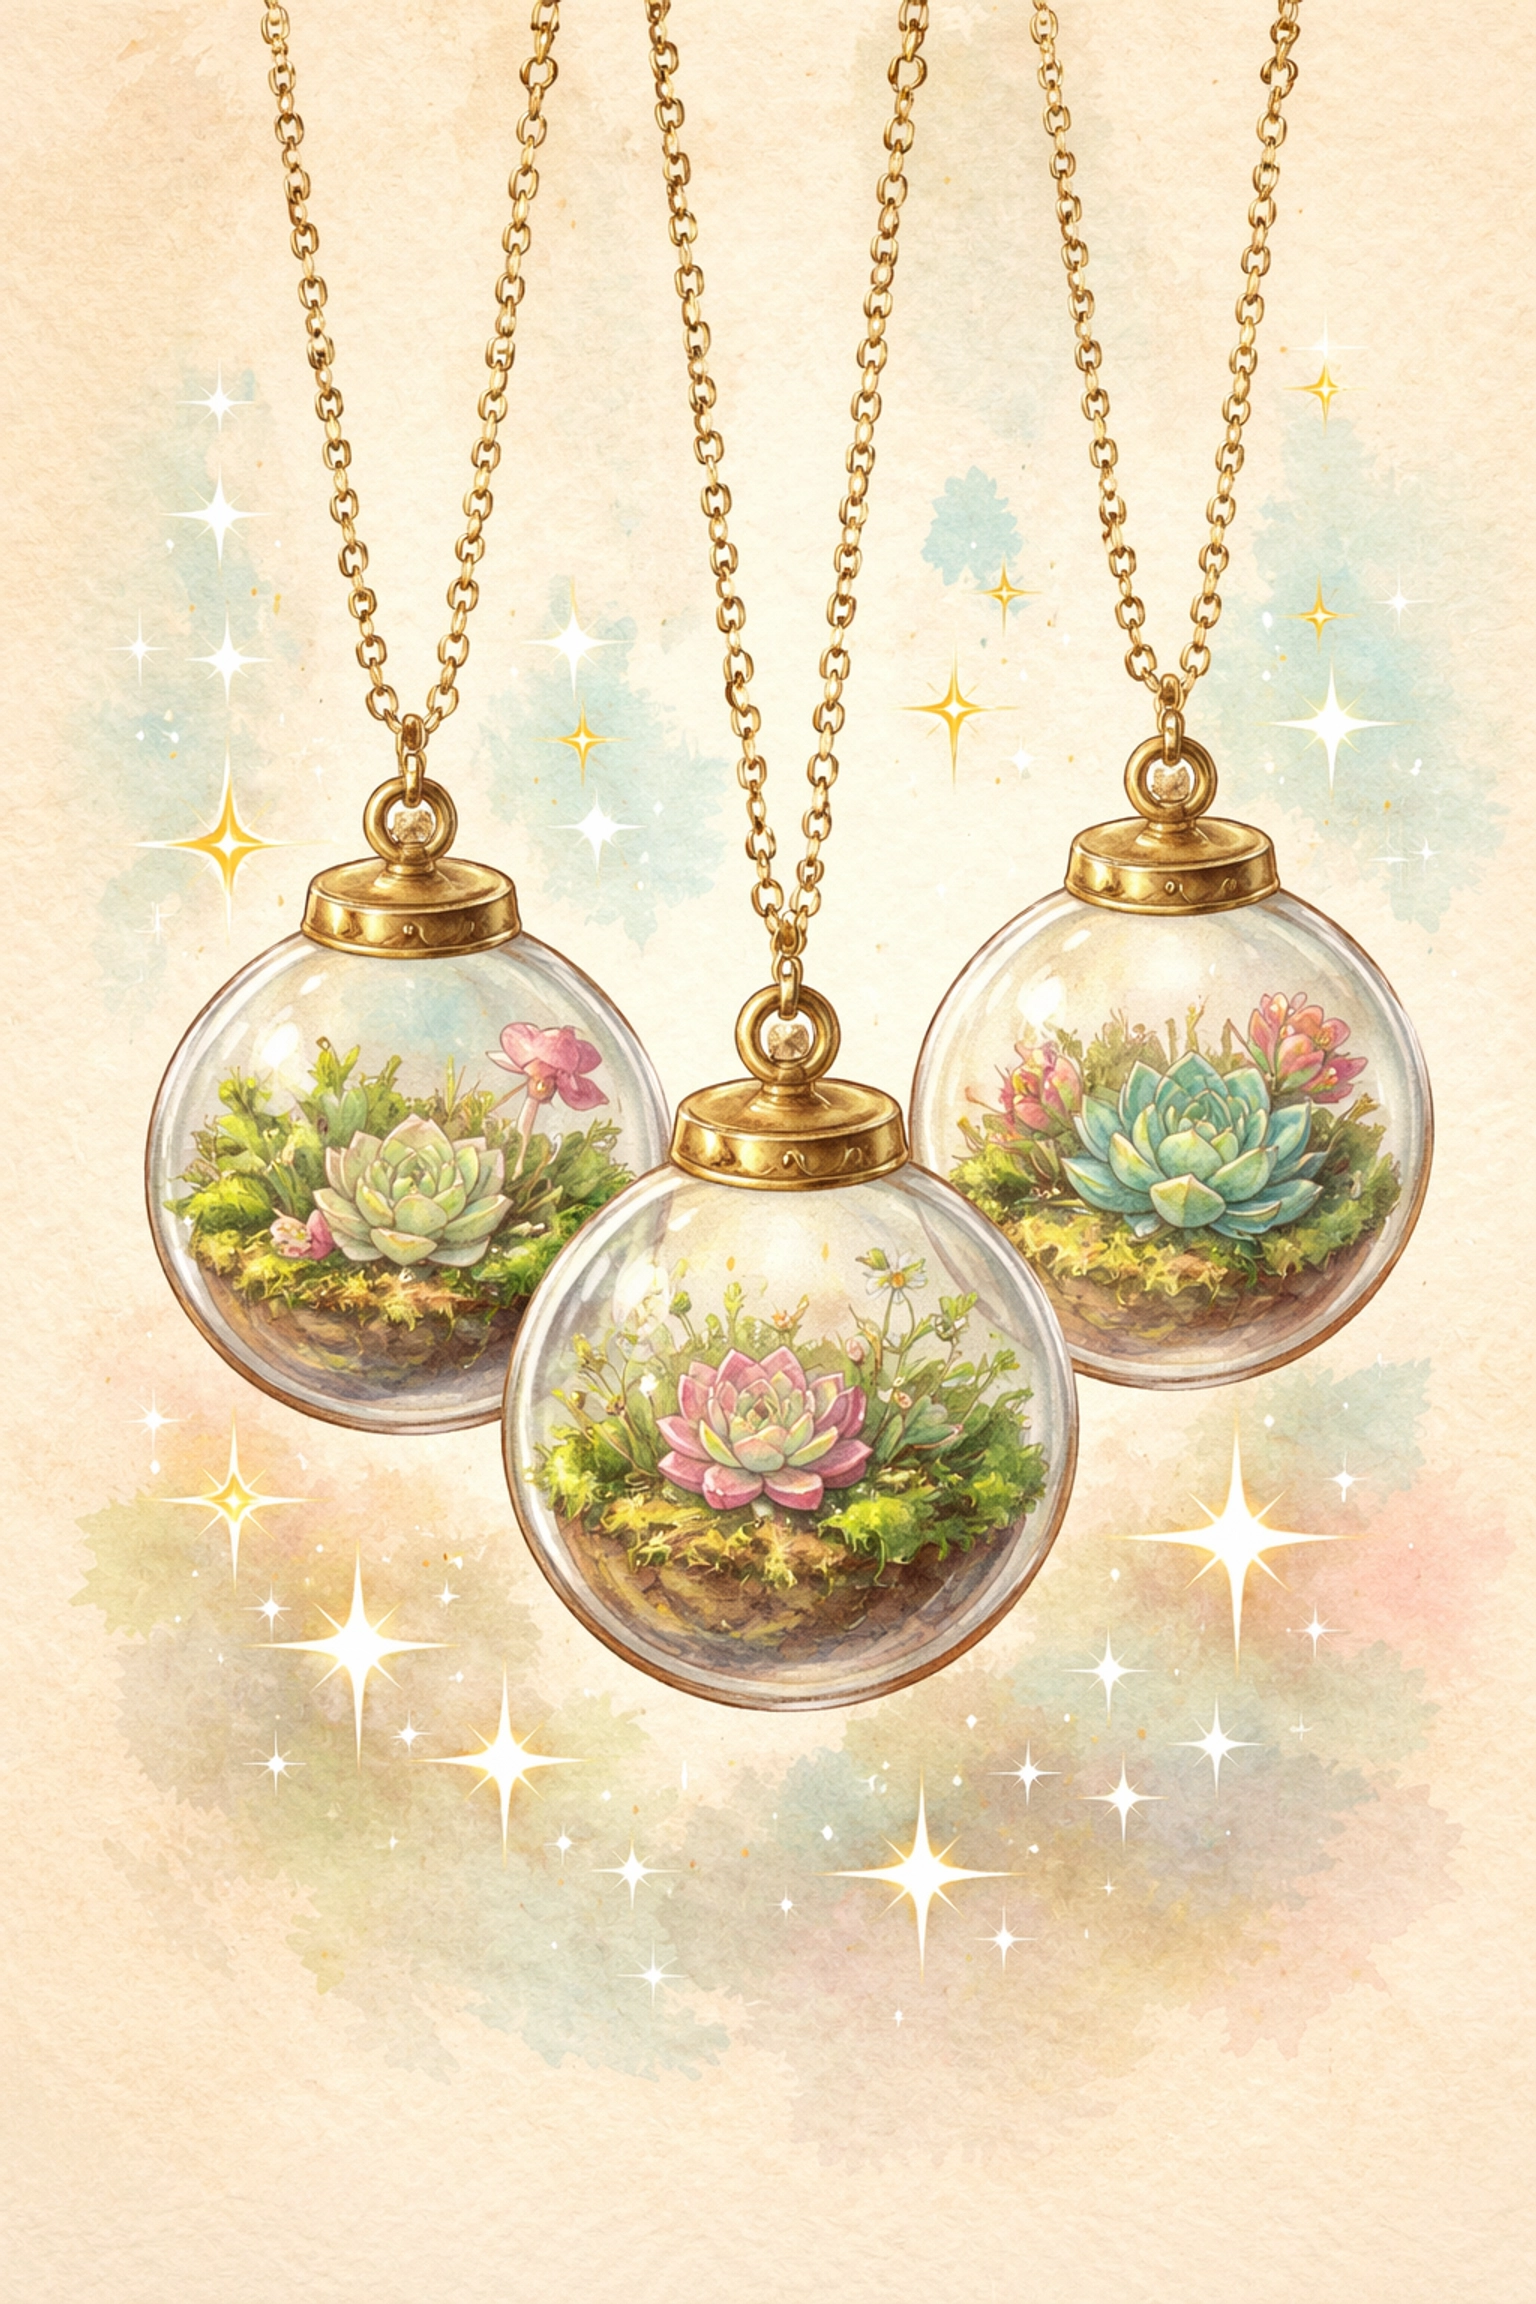
Living jewelry combines tiny succulent cuttings and soft moss inside small glass vials or pendants, creating wearable mini gardens that kids absolutely adore. It's part science project, part fashion statement, and 100% magical. The best part? You can make these adorable plant necklaces for under $10, and the whole family can join in on the fun.
Think of it as a terrarium you can wear around your neck. How cool is that?
These little living accessories make fantastic gifts, party favors, or just a fun Saturday afternoon project. And when your tiny succulent outgrows its glass home, you simply pot it up and watch it thrive. It's the gift that keeps on growing!
Why Kids Go Absolutely Bonkers for Living Jewelry
There's something downright enchanting about wearing a tiny garden. Kids get to play scientist, artist, and jewelry designer all at once. They learn about plant propagation, layering materials for drainage, and the gentle care that living things need, all while making something they can proudly show off at school.
Plus, let's be honest: telling your friends "I'm wearing a plant" never gets old.
What You'll Need (All for Under $10!)
Here's the good news, this project won't break the bank. Most of these supplies can be found at craft stores, dollar stores, or even raided from around your house.
For the Pendant:
- Small glass vial or bottle charm with cork stopper (look for ones about 1-2 inches tall with a hook or loop at the top)
- Ball chain, cord, or ribbon for wearing
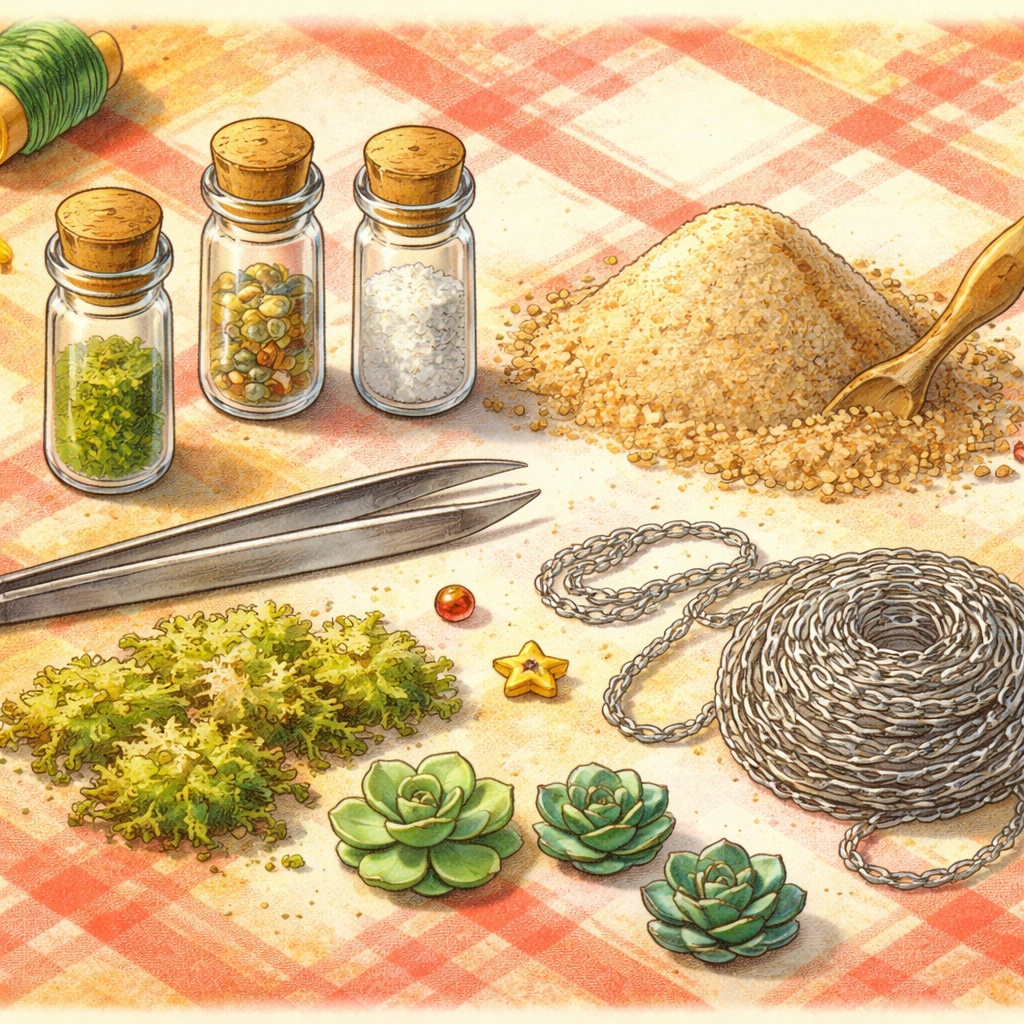
For the Layers:
- A pinch of sand or tiny pebbles
- Water-storing crystals (optional but helpful)
- Succulent or cactus soil
- Small bits of moss (reindeer moss or sphagnum moss work great)
For the Plants:
- Tiny succulent cuttings or rosettes (more on this below!)
Tools:
- Tweezers
- Small funnel (or a piece of rolled paper)
- Toothpick for nudging things into place
Budget Breakdown:
- Glass vials with chains: $3-5 for a pack
- Small bag of succulent soil: $2-3
- Moss: $2 (or free from your yard!)
- Succulent cuttings: Free if you have succulents at home, or $2-3 for a small plant
Total: Around $7-10 for multiple pendants!
Step-by-Step: Building Your Living Jewelry
Alright, friends, roll up those sleeves and let's get crafting!
Step 1: Prep Your Succulent Cuttings (Do This a Few Days Ahead!)
Here's where a little patience pays off big time. About 3-5 days before your jewelry-making session, snip tiny rosettes from a healthy succulent plant. You want pieces about the size of your pinky fingernail, itty bitty babies.
Gently remove the lower leaves so you have a small rosette sitting on a short bare stem. Then set these cuttings aside in a dry spot (not in soil, not in water, just chilling on a paper towel).
Why the wait? The cut end needs to "callus over," which means it dries and forms a little protective seal. This prevents rot when you plant it. Science is neat!
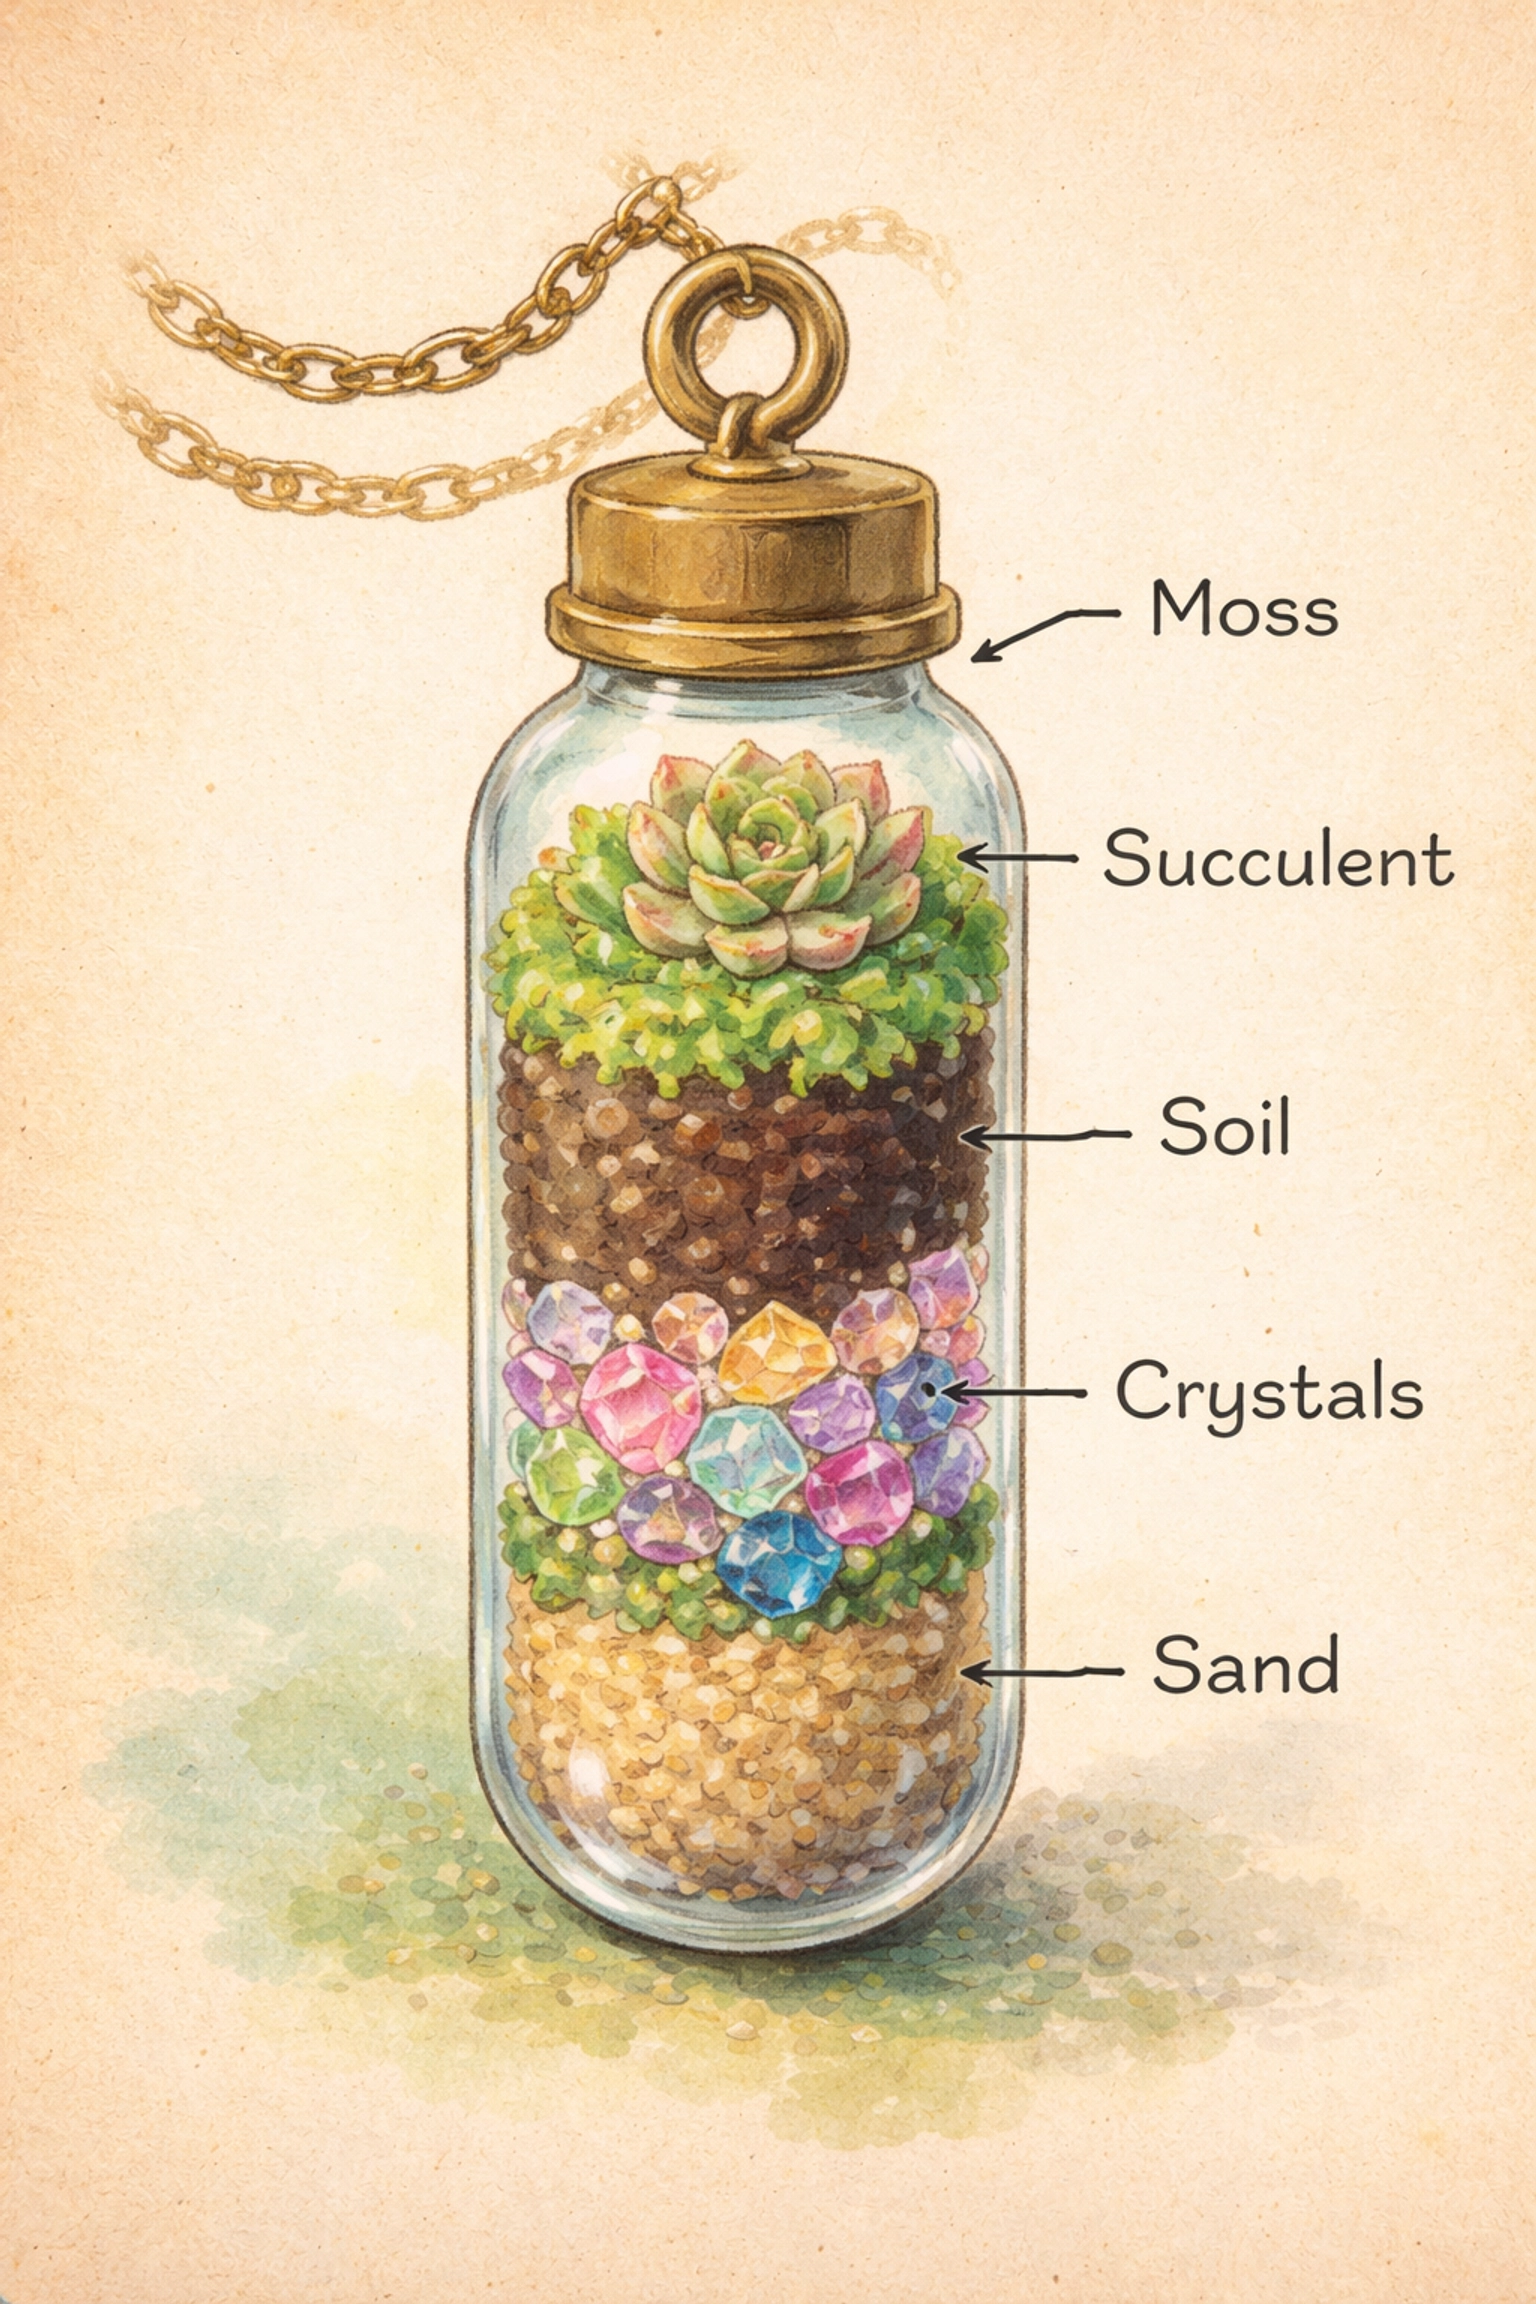
Step 2: Create Your Layers
Now for the fun part, building a tiny world inside that glass vial!
Layer 1: Sand or Pebbles
Using your funnel, add a thin layer of sand or tiny pebbles to the bottom of your vial. This helps with drainage so your little plant doesn't get soggy feet.
Layer 2: Water-Storing Crystals (Optional)
If you have water-storing crystals, sprinkle just a few on top of the sand. These will hold moisture and release it slowly. Not required, but they add a cool look and help keep things hydrated.
Layer 3: Succulent Soil
Add a small scoop of succulent soil. You want the total depth of all your layers to be about three-quarters of the way up your vial, leaving room for the plant and cork!
Layer 4: Moss
Top everything off with a fluffy little layer of moss. This is your plant's cozy bed and makes the whole thing look like a fairy garden.
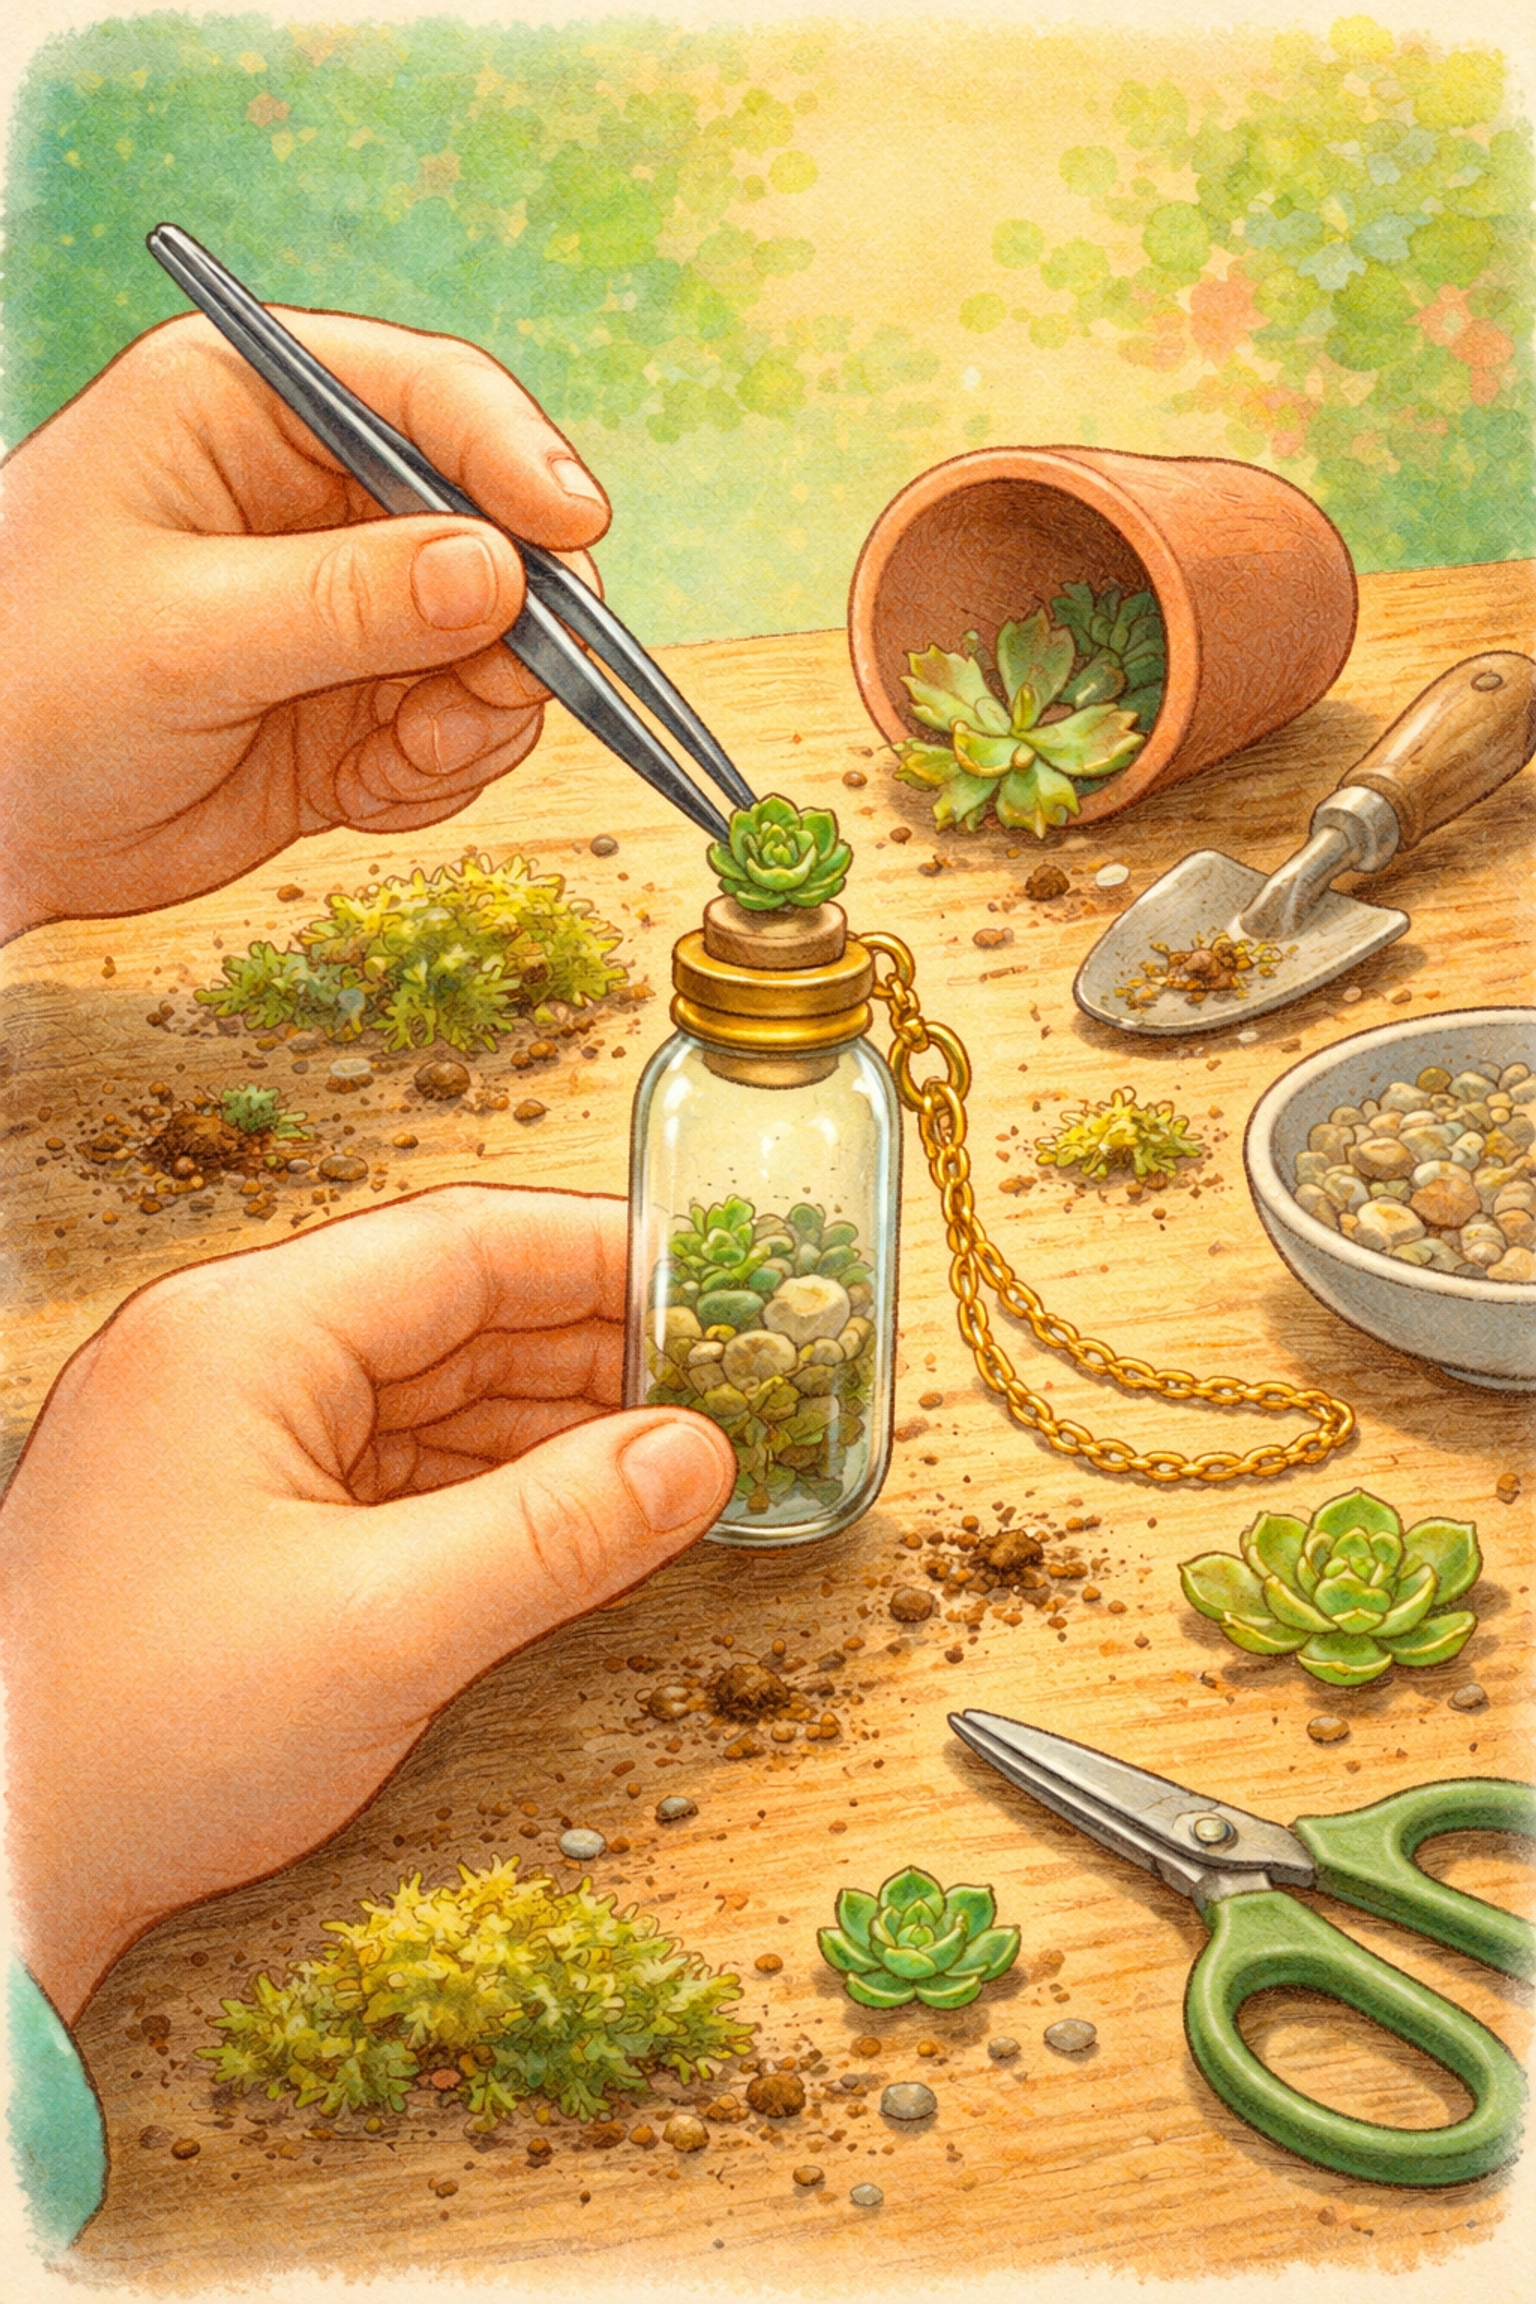
Step 3: Plant Your Tiny Succulent
Here's where the tweezers become your best friend.
Gently pick up your callused succulent cutting with the tweezers. Carefully poke the stem down through the moss layer and into the soil beneath. You want the rosette sitting pretty on top of the moss, with its stem anchored below.
If your cutting is being stubborn, use a toothpick to make a small hole first, then nestle the stem inside.
Pro Tip: Some crafters use a tiny dab of floral adhesive to help secure the succulent to the moss. This is totally optional, the plant will root on its own over time!
Step 4: Cork It and Chain It
Once your succulent is snug and happy, gently press the cork back into the vial. Don't force it, you want a seal, but you also want to be able to open it for misting later.
Thread your chain, cord, or ribbon through the loop at the top, and voilà, you've got living jewelry!
Caring for Your Wearable Garden
These tiny treasures need just a little TLC to stay happy:
Misting: Every few days, pop the cork and give your plant the tiniest mist of water. We're talking a light spritz, not a soaking. Succulents are desert plants, so less is more.
Light: When you're not wearing your pendant, set it somewhere it can catch some indirect sunlight. A windowsill is perfect.
Know When to Graduate: Here's the honest truth, living jewelry isn't meant to last forever in that tiny vial. After a few weeks to a couple months, your succulent will want more space. When it starts looking crowded or leggy, carefully remove it and pot it up in a small container. Then you can start fresh with a new cutting!
Think of it as the circle of plant life. Your jewelry becomes a full-grown succulent, and you get to make new jewelry. Win-win!
Design Ideas to Try
Once you've mastered the basic pendant, get creative!
- Matching Sets: Make a necklace and earrings using smaller vials
- Gift Jars: Use slightly larger vessels for gifts (still wearable on a longer chain!)
- Color Themes: Try different colored sand layers, or moss varieties for different looks
- Seasonal Vibes: Add tiny decorative elements like miniature pinecones for fall
A Word of Caution: Skip the rings. Trust us, succulents on rings get knocked around and won't survive your kiddo's active lifestyle. Pendants and earrings are the way to go!
If your family loves miniature garden projects, you might also enjoy our guide on how to make a DIY mini greenhouse from plastic bottles, another budget-friendly project that brings the magic of growing things to life!
Frequently Asked Questions
How long will my living jewelry last?
With proper care, your succulent can thrive in its tiny home for several weeks to a couple of months. Eventually, it will need to be transplanted to a larger pot to continue growing.
Can I use any type of succulent?
Stick to the tiniest varieties! Sempervivum (hen and chicks), tiny Echeveria rosettes, and Sedum cuttings work beautifully. Avoid anything that grows quickly or gets large.
What if my succulent dies in the vial?
No worries, it happens! Simply remove the old cutting, refresh the moss and soil if needed, and pop in a new callused cutting. It's all part of the learning process.
Is this safe for kids to wear?
Absolutely! Just supervise younger children, as the glass vials are small and the cork could be a choking hazard for very little ones. For tiny kids, make it a display piece instead of wearable jewelry.
Can I use fake succulents instead?
You could, but where's the fun in that? The whole magic is watching something alive hang around your neck!
Do I need special soil?
Succulent or cactus soil works best because it drains well. Regular potting soil holds too much moisture and can cause rot.
Where can I find tiny glass vials?
Craft stores, online retailers, and even some dollar stores carry them in the jewelry-making section. Search for "bottle charm pendants" or "glass vial necklaces."
Can this be a party activity?
Yes! Pre-prep your succulent cuttings a week ahead, set up stations with all the materials, and let kids assemble their own. It makes a fantastic birthday party craft or scout troop project.
How often should I mist my living jewelry?
Once every 3-5 days is usually plenty. Check the moss: if it feels completely dry, give it a light mist. If it still feels slightly damp, wait another day or two.
Now get out there and start crafting, friends! There's nothing quite like wearing a tiny piece of nature around your neck: and watching your kids' faces light up when they realize they made something truly alive and beautiful.
Happy growing! 🌱


