


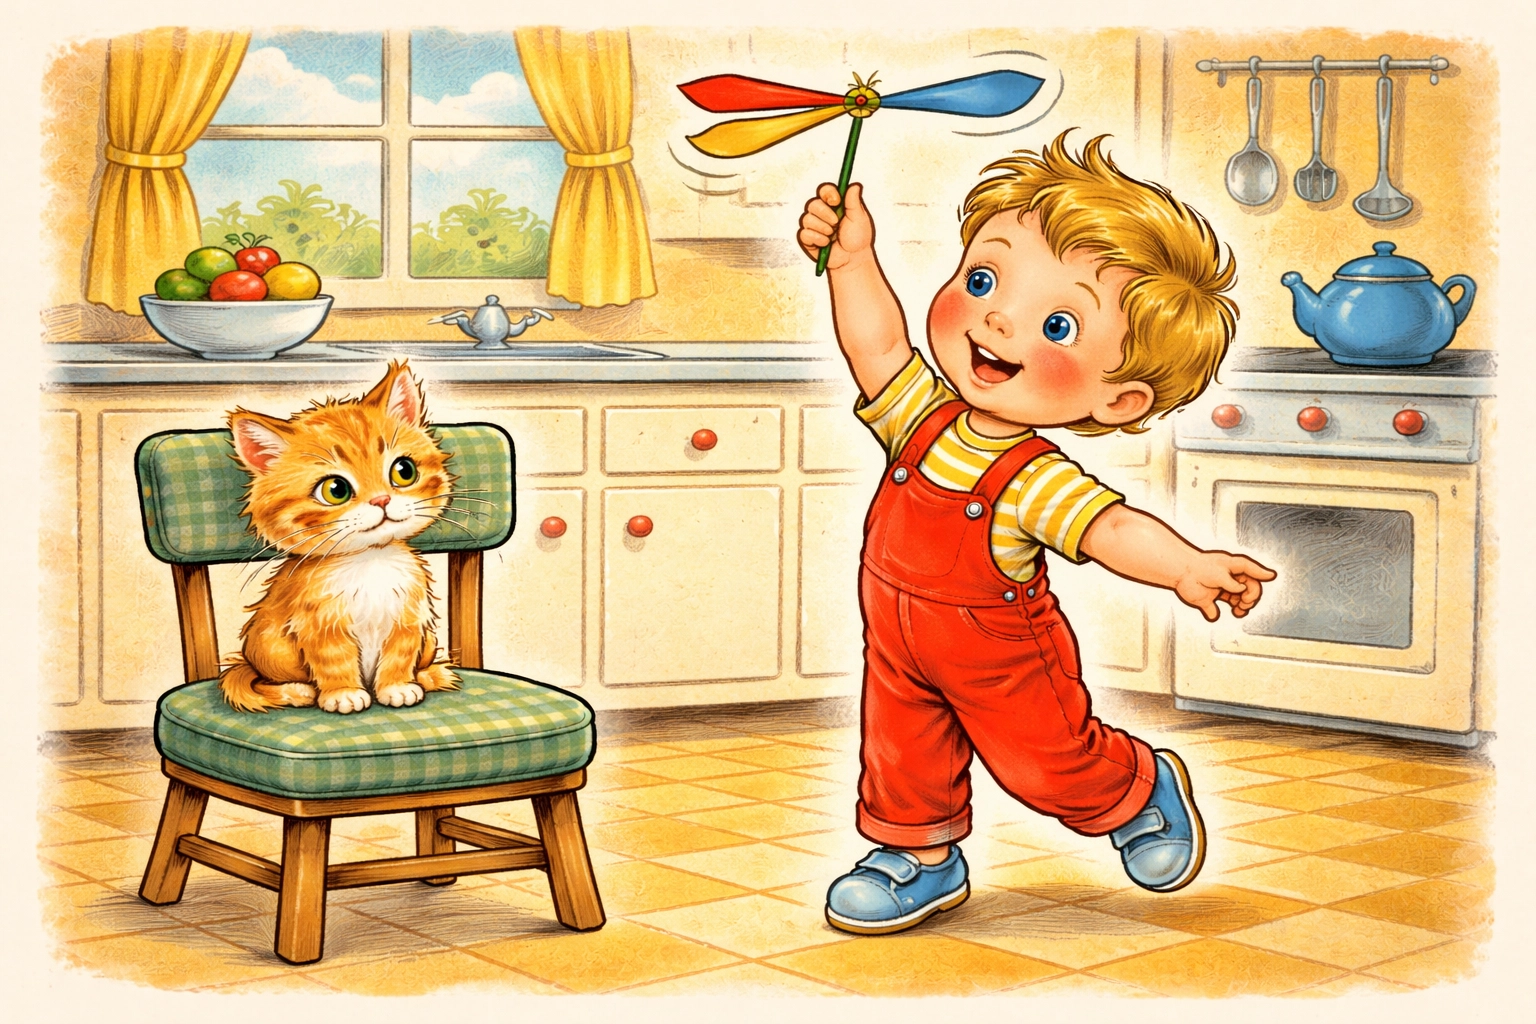
Paper helicopter spinners are one of the easiest STEM crafts you can make with kids, just a single sheet of paper, a few snips with scissors, and a paper clip or two. When dropped from above your head, these little whirlybirds spin gracefully to the ground, demonstrating the same principles of lift and drag that keep real helicopters in the air. The whole project takes about 10 minutes, costs practically nothing, and opens up endless opportunities for hands-on science experiments.
Quick Facts
| Detail | Info |
|---|---|
| Best Ages | 4–10 years (with varying levels of help) |
| Skill Level | Beginner |
| Time to Complete | 10–15 minutes per helicopter |
| Mess Factor | Very low |
| Adult Involvement | Light supervision for scissors |
What You'll Need
Good news: you likely have everything sitting in a junk drawer right now.
| Material | Quantity | Estimated Cost |
|---|---|---|
| Paper (copy paper, cardstock, or construction paper) | 1 sheet per helicopter | Often free |
| Scissors | 1 pair | $1–$3 |
| Paper clips | 1–3 per helicopter | $1 for a box |
| Ruler (optional) | 1 | $1 |
| Pencil or pen | 1 | Often free |
| Crayons or markers (optional, for decorating) | As desired | $2–$4 |
Total estimated cost: Under $5 (and often $0 if you raid your craft supplies)
Age Recommendations
Ages 4–5: Little ones can help with folding and decorating, but an adult should handle the cutting. They'll get the biggest kick out of the dropping and chasing part.
Ages 6–8: Kids in this range can typically manage the cutting with safety scissors and follow along with most of the folding steps. Great age for experimenting with different designs.
Ages 9–10: Older kids can work more independently and really dig into the science side, testing variables, recording results, and designing their own helicopter variations.
Step-by-Step Instructions
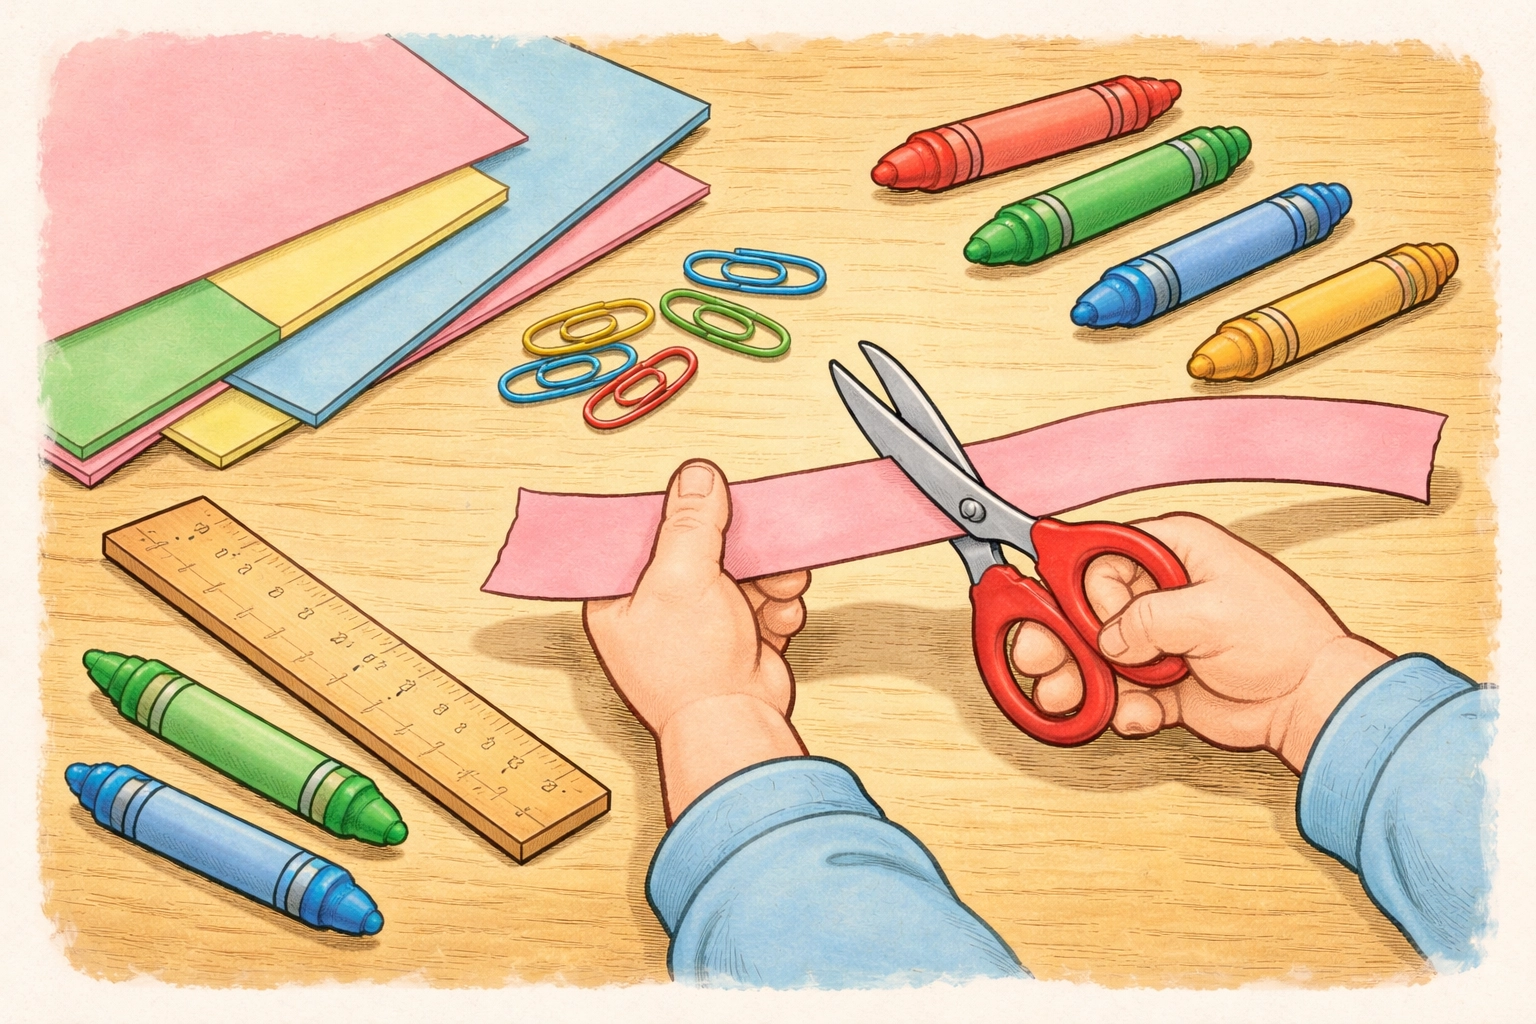
Step 1: Cut Your Paper Strip
Start with a rectangular strip of paper. A good starting size is about 2 inches wide by 8 inches long, though you can experiment with different dimensions later.
If you're using a full sheet of copy paper, simply measure and cut a strip from the longer side. Cardstock works well too and tends to spin a bit more smoothly, but regular printer paper does the job just fine.
Step 2: Make the Blade Cuts
About halfway down the length of your strip, make a cut from each side toward the center. These cuts should go about ⅔ of the way across the paper, leaving a small uncut section in the middle (about ½ inch).
This creates two "wings" or blades at the top of your helicopter that will catch the air as it falls.
Step 3: Create the Body Folds
Below your blade cuts, you'll have a solid section of paper. Make two small cuts (about 1 inch each) from the bottom, one on each side, going upward.
Now fold these side flaps inward toward each other, overlapping them slightly. This creates the narrow body of your helicopter and adds a bit of structure.
Step 4: Fold the Blades
Here's where the magic happens. Take your two top blades and fold them in opposite directions: one toward you and one away from you. These angled blades are what catch the air and create that satisfying spin.
The blades should stick out roughly perpendicular to the body, though you can adjust the angle to change how your helicopter performs.
Step 5: Add Weight to the Bottom
Slide one or two paper clips onto the bottom of your helicopter's body. This weight is important: it keeps the helicopter falling bottom-first so the blades can do their spinning work.
No paper clips? A small piece of tape folded over the bottom works in a pinch, or try a tiny binder clip.
Step 6: Test Flight Time
Stand on a chair (with adult supervision for younger kids), hold your helicopter high above your head by the weighted bottom, and let go.
Watch it spin! If it's working correctly, the helicopter should rotate as it falls, descending much more slowly than a plain piece of paper would.
Step 7: Decorate and Personalize
Once your basic helicopter is spinning nicely, break out the crayons, markers, or stickers. Kids can add stripes, dots, faces, or patterns to their blades. Just keep decorations relatively light so they don't throw off the balance.
The Science Behind the Spin
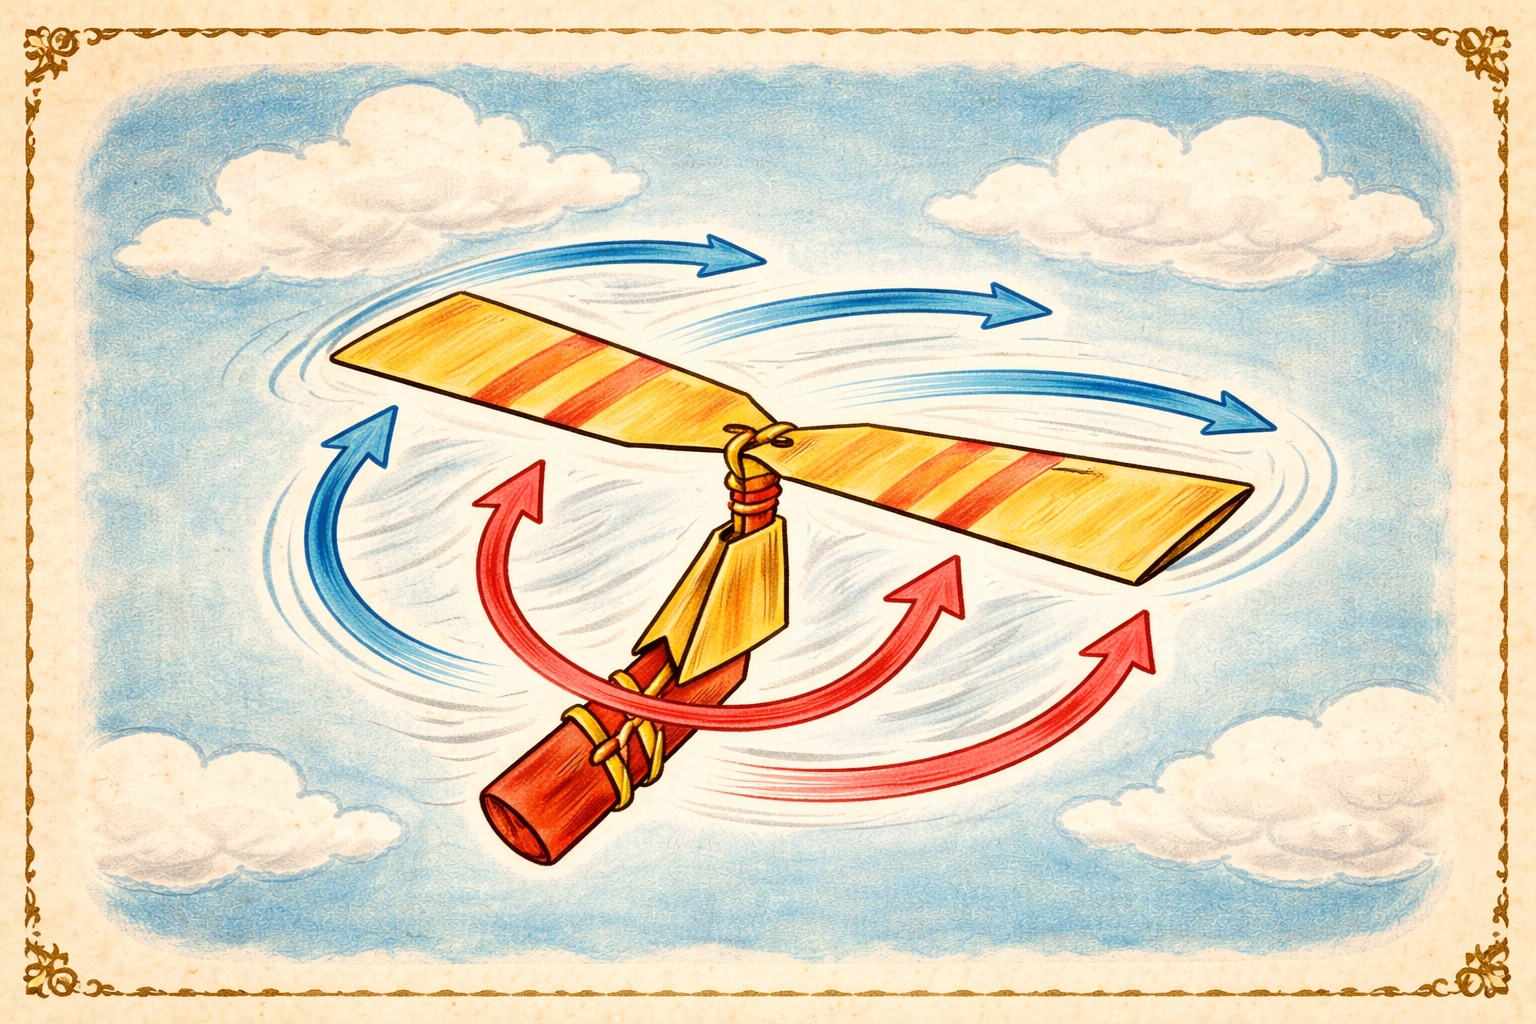
So why does a simple piece of paper suddenly become a tiny aircraft? It all comes down to lift and drag: the same forces that keep real helicopters and airplanes flying.
As your paper helicopter falls, air rushes upward against the angled blades. Because the blades are tilted in opposite directions, the air pushes each blade sideways in a different direction. These opposing forces create rotation, which slows the helicopter's descent and makes it flutter gracefully to the ground instead of plummeting like a rock.
This is a fantastic (and super accessible) way to introduce kids to basic physics concepts without any complicated explanations. They can see the science happening right in front of them.
Fun Experiments to Try
Once you've mastered the basic helicopter, try these variations to explore how different factors affect flight:
Change the blade length: Make the blades longer or shorter. How does this change the spin speed or descent rate?
Adjust the weight: Add more paper clips or remove them entirely. What happens?
Try different paper types: Construction paper, cardstock, newspaper, tissue paper: each material behaves differently.
Vary the blade angle: Fold the blades at sharper or gentler angles. Does a steeper angle spin faster?
Drop from different heights: Stand on a step stool versus a chair versus the top of the stairs. Does height affect how the helicopter behaves?
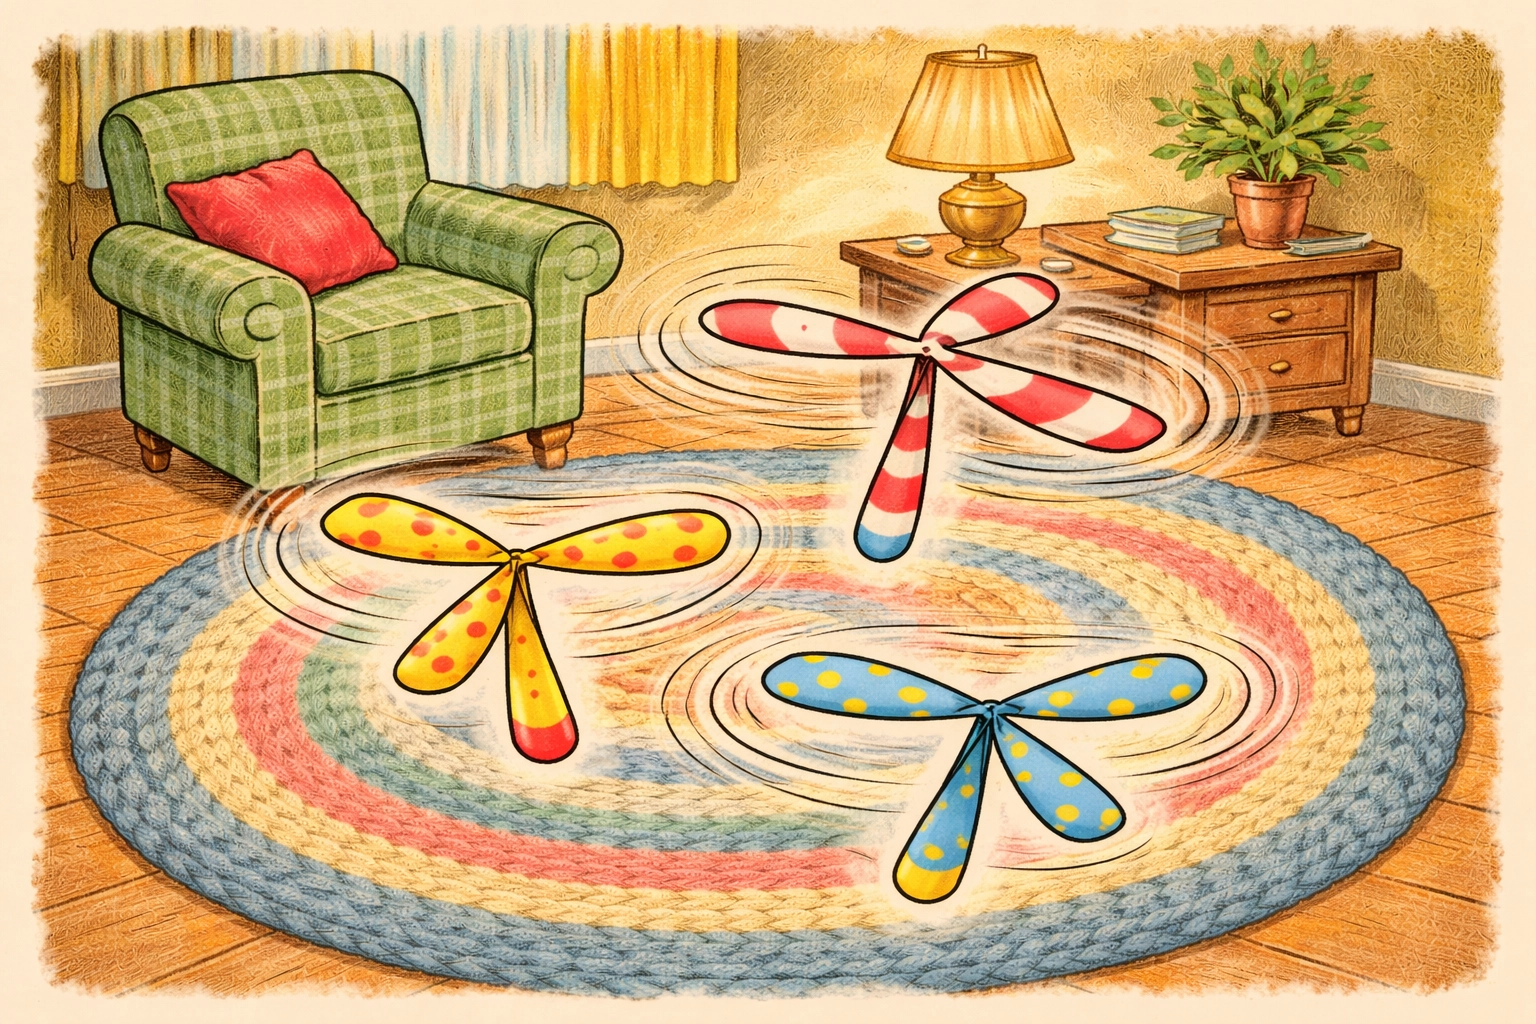
Race your helicopters: Make several with different designs and drop them simultaneously to see which lands last.
For more hands-on STEM fun, check out our collection of kids crafts for projects that combine creativity with learning.
Frequently Asked Questions
Why isn't my paper helicopter spinning?
The most common culprits are blades that aren't bent far enough apart, not enough weight on the bottom, or blades that are folded in the same direction instead of opposite directions. Double-check that your blades angle away from each other and add another paper clip if needed.
What age is this craft appropriate for?
Kids as young as 4 can enjoy paper helicopters with adult help for cutting and folding. Children around 6–8 can often manage most steps independently, and older kids can explore the science experiments and design variations on their own.
Can I use construction paper instead of regular paper?
Yes! Construction paper works well and comes in fun colors. It's slightly heavier than copy paper, so you may need to adjust your paper clip weight accordingly.
How high should I drop the helicopter from?
Higher is generally better for seeing the full spinning effect. Standing on a sturdy chair or dropping from a staircase landing (with supervision) gives the helicopter more time to spin before landing.
Why does the helicopter spin instead of just falling straight down?
The angled blades catch the air as the helicopter falls. Because the blades point in opposite directions, air pushes them in opposite horizontal directions, creating rotation. This is similar to how real helicopter rotors work.
Can I make a bigger helicopter?
Definitely! Try scaling up your paper strip to 3 or 4 inches wide by 10 or 12 inches long. You may need to add more weight to compensate for the larger surface area.
What if I don't have paper clips?
Small binder clips, tape folded over the bottom, or even a penny taped in place can work as weight alternatives.
Is this a good rainy day activity?
It's ideal for indoor play. You don't need much space: just enough room to drop and retrieve your helicopters. A hallway or living room works great.
Can kids decorate the helicopters?
Absolutely! Crayons, markers, and stickers all work well. Just try to keep decorations lightweight and balanced so they don't affect flight performance too much.
Paper helicopter spinners are one of those beautifully simple projects that punch way above their weight in terms of fun and learning. With just a few household supplies and a few minutes of crafting, you've got a hands-on physics lesson that kids actually want to repeat over and over again.


