


To make story-starter dice, you'll draw simple pictures on the faces of cardboard cubes, then take turns rolling them to spark imaginative family stories. It's a low-cost craft that doubles as a reusable storytelling game: and you can likely make it with materials you already have at home.
This project works well for family game nights, rainy afternoons, or anytime you want to encourage creative thinking without screens. The dice become a prompt generator that helps kids (and adults) break through the "I don't know what to say" barrier and jump straight into silly, surprising stories.
Quick Project Overview
Before you gather supplies, here's what to expect:
Age Range:
- Building the dice: Recommended for ages 5–7 with some adult help for cutting and gluing. Children ages 3–4 can participate by coloring or placing stickers if an adult handles the construction.
- Playing with the dice: Enjoyable for ages 3–10 (and honestly, older kids and adults tend to have fun too).
Time to Complete: Plan for roughly 20–30 minutes to make one set of dice. Your time may vary depending on how detailed the drawings are and how many dice you make.
Budget: This project can cost as little as $0 if you use cereal boxes and markers you already own. If you need to purchase a few supplies, expect to spend up to $2.
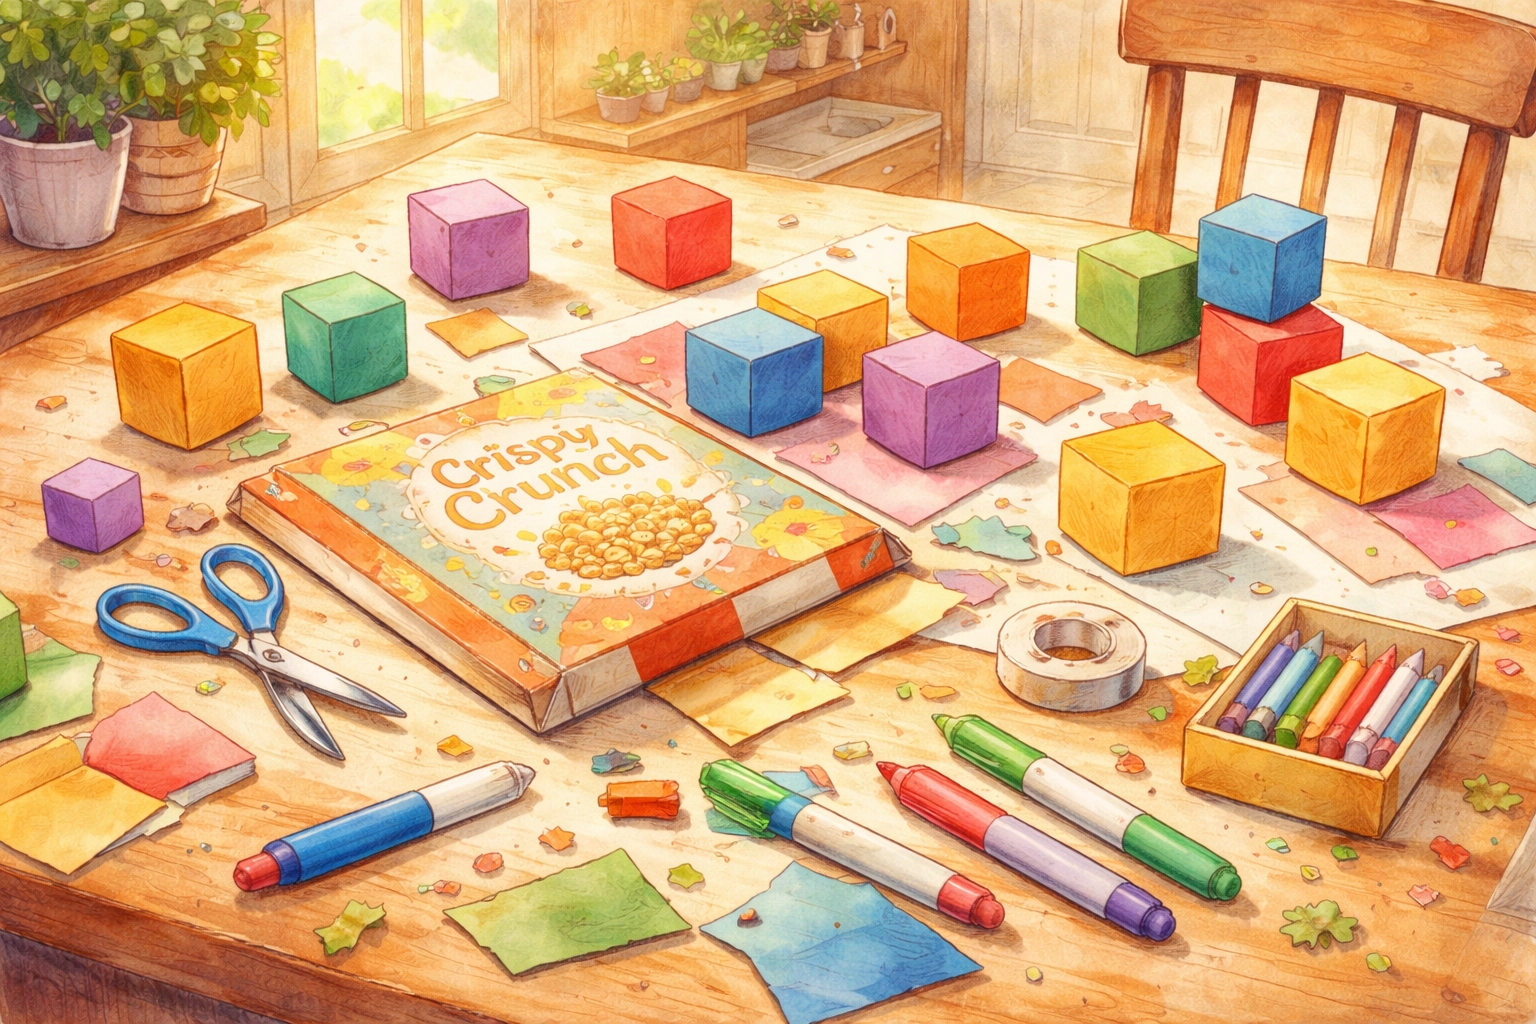
Materials List
Here's what you'll need, along with estimated costs:
| Material | Notes | Estimated Cost |
|---|---|---|
| Cardboard (cereal box, cracker box, or similar) | One box can make 2–3 dice | $0 (recycled) |
| Scissors | Child-safe or adult scissors | $0 (household item) |
| Glue stick or white glue | For assembling the cube | $0–$1 |
| Markers, crayons, or colored pencils | For drawing icons on each face | $0–$1 |
| Ruler (optional) | Helps with measuring squares | $0 (household item) |
| Pencil | For tracing and sketching | $0 (household item) |
Total estimated cost: $0–$2
If you don't have cardboard boxes handy, you could also use thick cardstock or construction paper, though cardboard tends to hold up better over time.
Step-by-Step Instructions
Step 1: Create Your Cube Template
Start by cutting a flat template that will fold into a cube shape. The classic template looks like a cross or "T" shape with six connected squares and small tabs for gluing.
To make your own template:
- Decide on your square size. Squares that are about 2 inches by 2 inches work well for small hands, but you can go larger (3 inches) if you want more drawing space.
- On the inside of a flattened cereal box (the plain brown side), draw four squares in a vertical line, touching edge to edge.
- Add one square to the left of the second square from the top and one square to the right of the same square. This creates your cross shape.
- Draw small rectangular tabs (about ½ inch wide) on the edges that will need to connect to other squares when folded.
If measuring feels tedious, you can find free printable cube templates online and trace them onto your cardboard.
Step 2: Cut Out the Template
Using scissors, carefully cut along the outer edges of your template, including the tabs. This step works best with adult supervision for younger children, as cutting cardboard can require some hand strength.
Take your time here: neater cuts tend to result in a cube that folds together more cleanly.
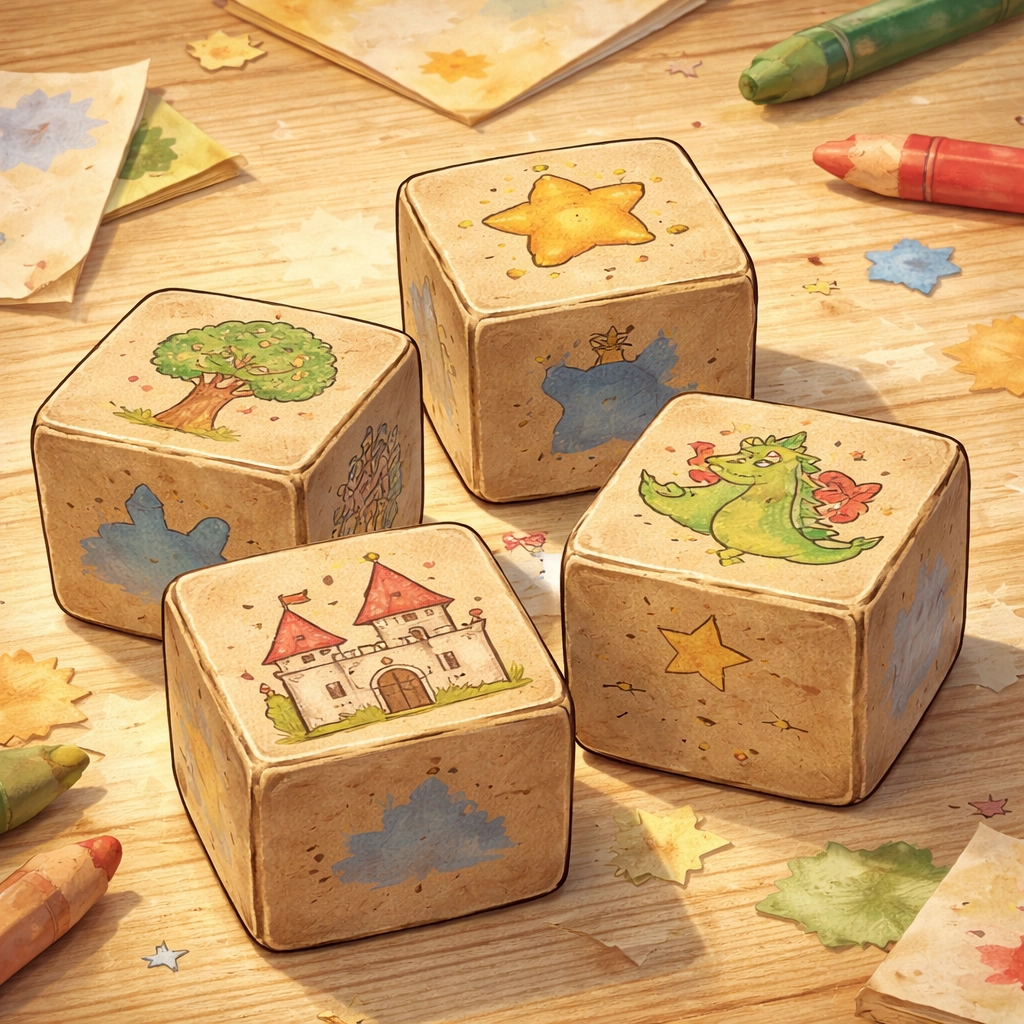
Step 3: Draw Your Story Icons
This is where the creativity happens. On each of the six square faces, draw a simple picture that could appear in a story. Keep the drawings basic: stick figures and simple shapes work great.
Ideas for what to draw:
- Characters: A princess, robot, pirate, dog, dragon, grandma
- Places: Castle, forest, beach, spaceship, kitchen, cave
- Objects: Key, treasure chest, magic wand, pizza, umbrella, book
- Weather/mood: Sun, storm cloud, rainbow, moon, snowflake
- Actions: Running figure, sleeping, flying, eating, dancing
You might consider making themed dice. For example:
- One die with only characters
- One die with only settings or places
- One die with only objects or problems
This way, when you roll multiple dice, you get a character, a place, and a thing to weave together.
Tip for younger kids (ages 3–4): An adult can draw the icons while the child chooses what pictures to include, or the child can add stickers instead of drawing.
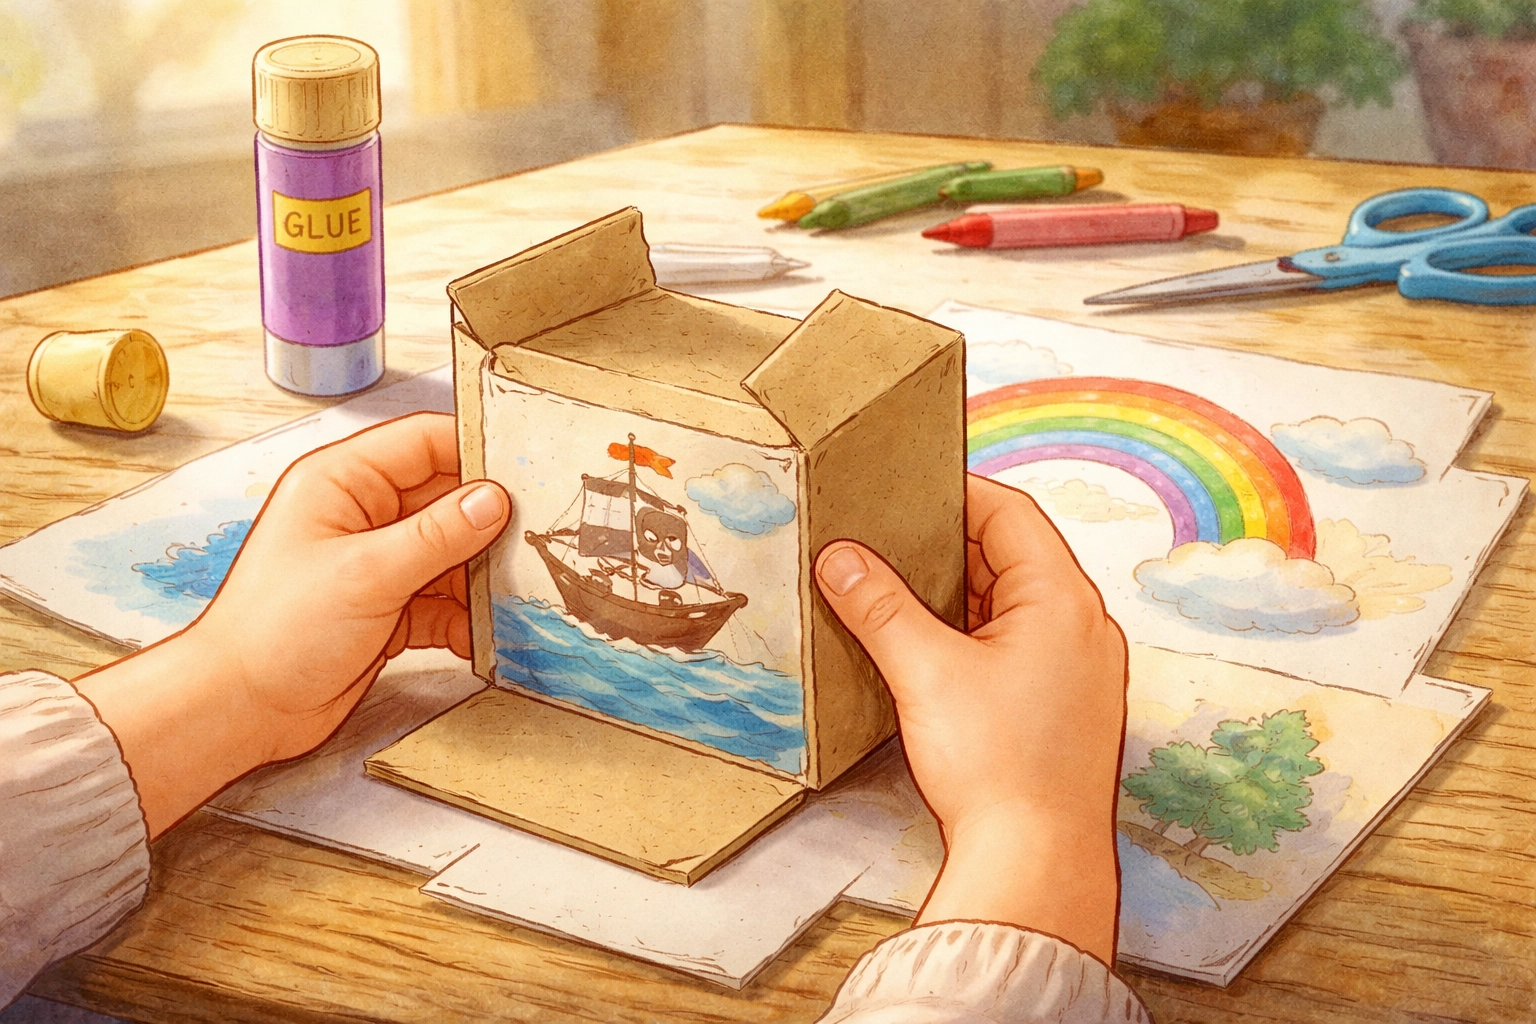
Step 4: Fold Along the Lines
Once your drawings are complete, fold along each line where the squares meet. Fold the tabs inward as well. Crease each fold firmly with your fingernail or the edge of a ruler to get clean, sharp edges.
Do a "dry run" first: fold everything into cube shape without glue to make sure the pieces line up correctly. Adjust if needed.
Step 5: Glue and Assemble
Apply glue to each tab, then fold your template into a cube shape. Press the tabs against the inside of the adjacent square and hold for a few seconds until the glue starts to set.
Work one tab at a time rather than trying to glue everything at once. If you're using white glue instead of a glue stick, you may need to hold each connection a bit longer or use a small piece of tape to secure it while drying.
Let the finished cube sit for a few minutes before playing to make sure everything is secure.
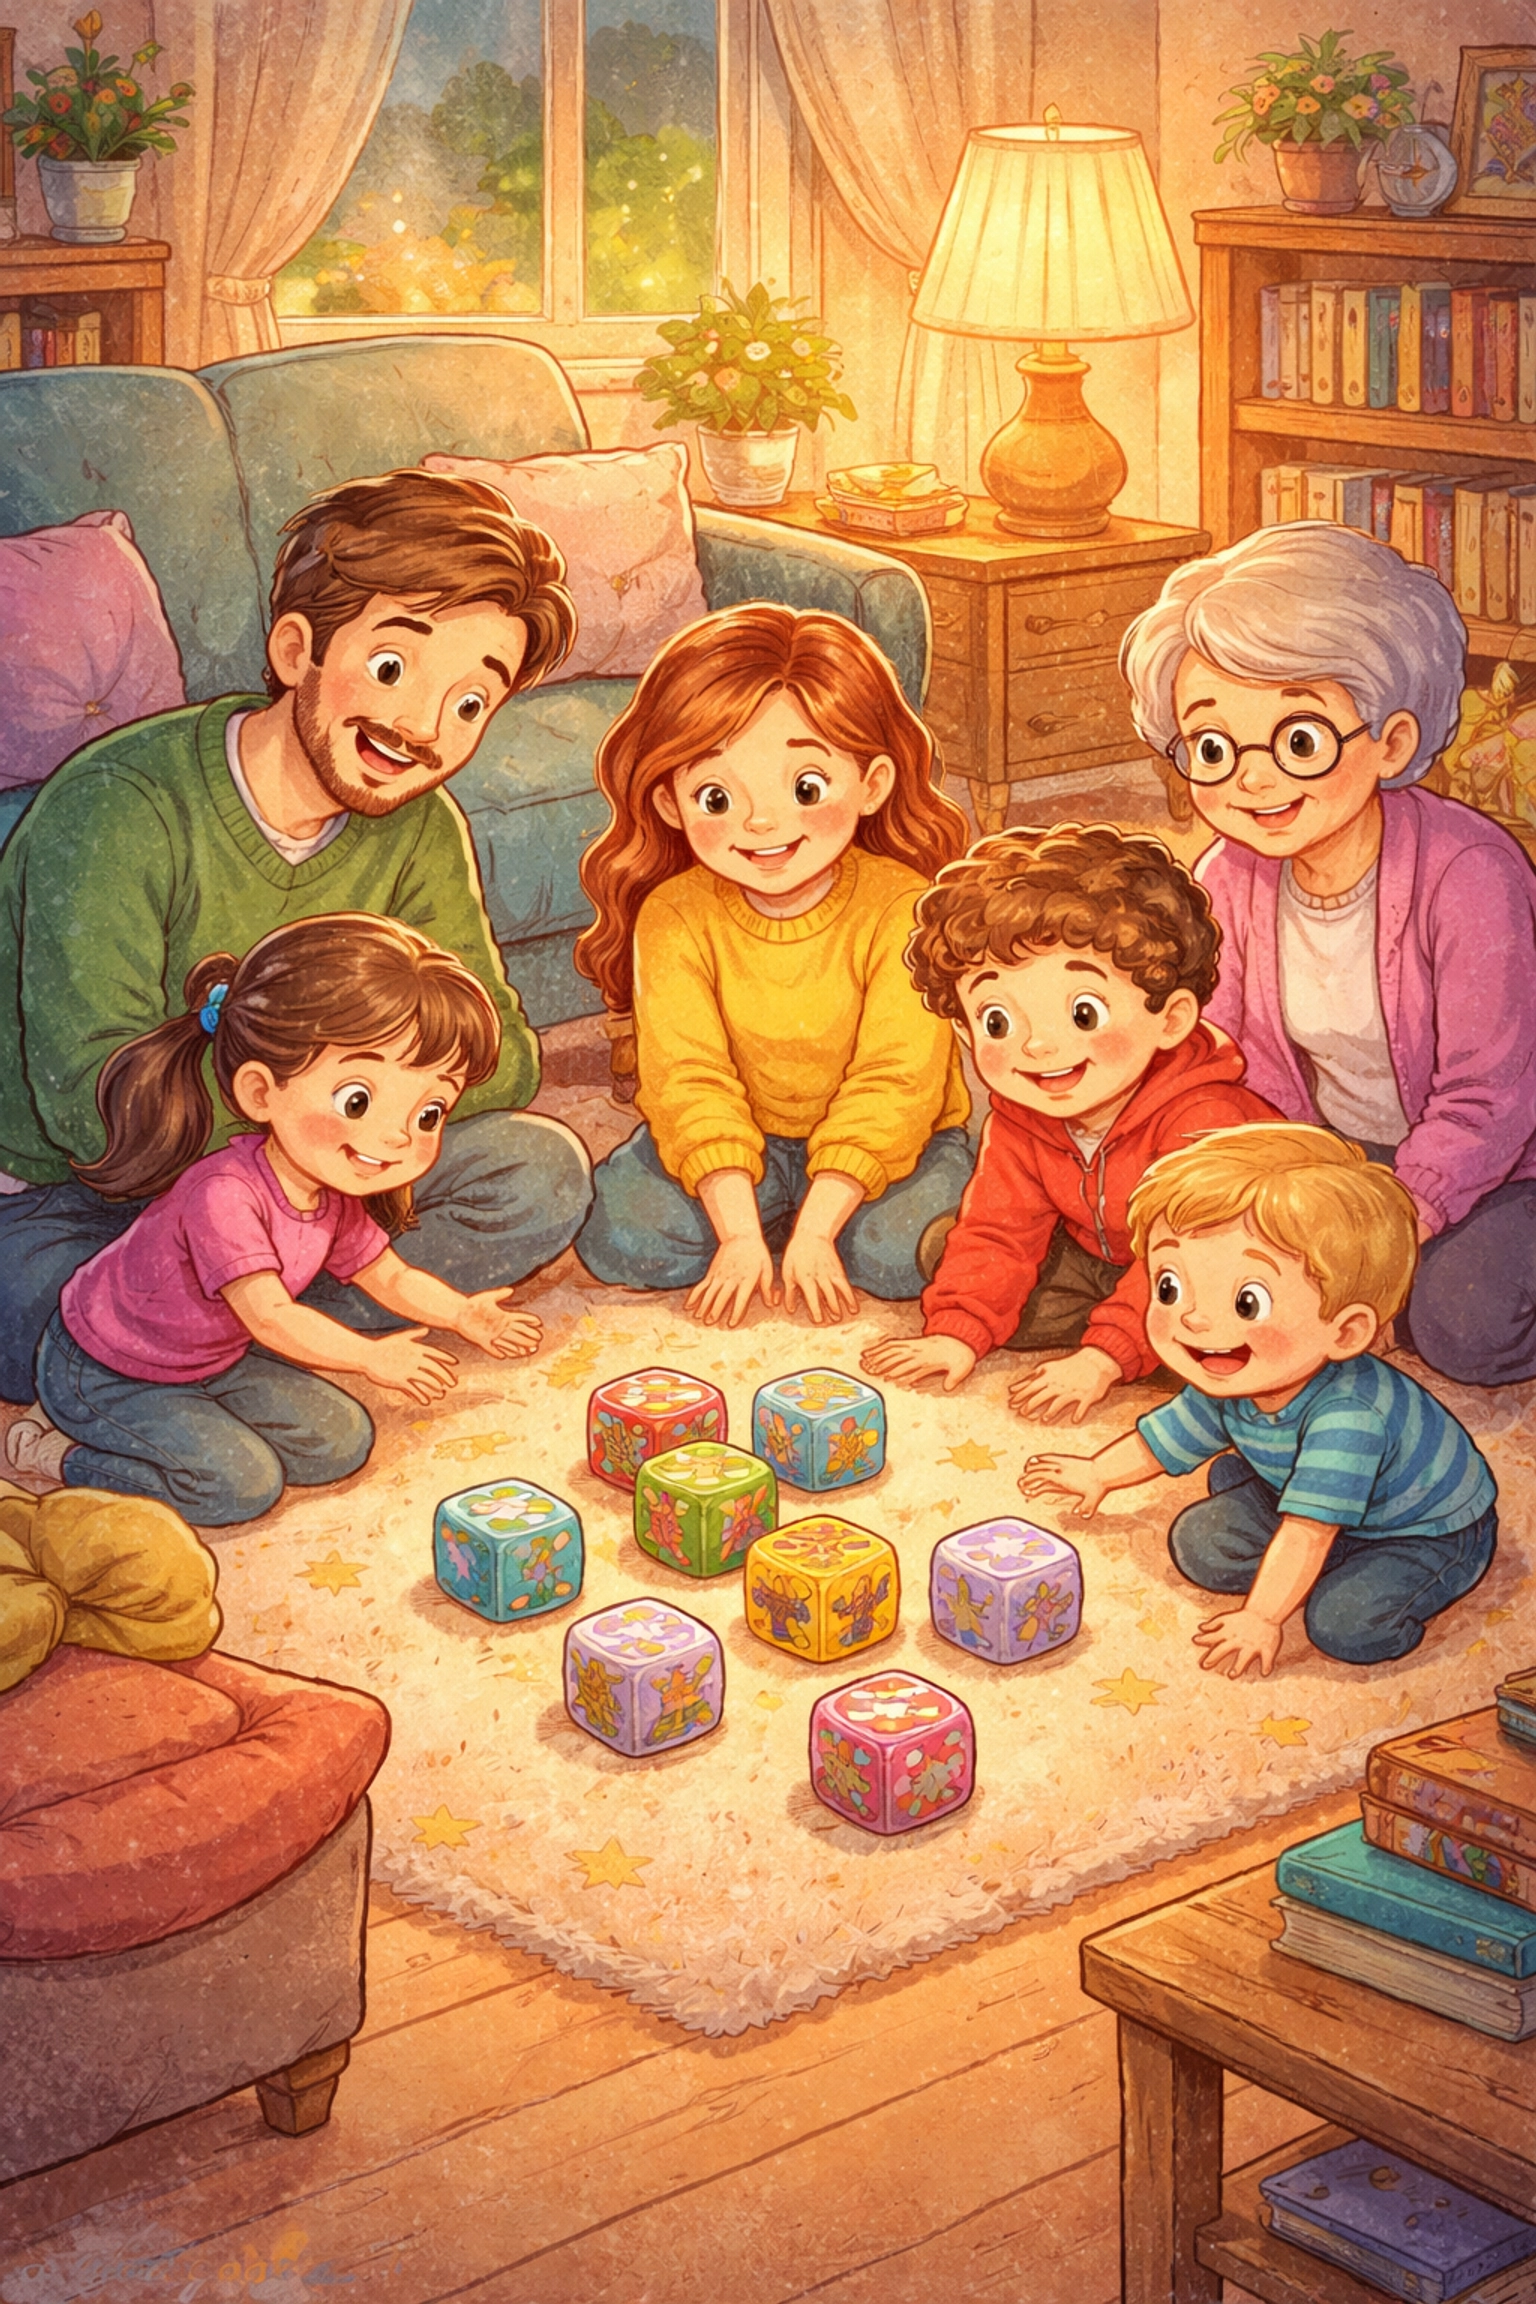
How to Play Story-Starter Dice
Once you have at least one die (or better yet, two or three), gather your family and get ready to tell some ridiculous tales.
Basic Gameplay
- Sit in a circle or around a table where you can all see the dice.
- The first player rolls a die and looks at the picture facing up.
- Start a story using that image. For example, if you roll a dragon, you might say: "Once upon a time, a very sleepy dragon lived in a cave made of pillows…"
- Pass the die to the next player. They roll, get a new image, and continue the story by working that element in.
- Keep going around the circle as many times as you'd like, building on each other's ideas.
There's no winning or losing: the goal is to see where the story goes and laugh at the unexpected turns.
Variations to Try
- Speed round: Set a timer for 30 seconds per turn. Players have to add to the story quickly before time runs out.
- Solo play: A child can roll the dice alone and tell a story to a stuffed animal audience or record it for playback.
- Drawing extension: After the story ends, have everyone draw their favorite scene from the tale you created together.
- Multiple dice at once: Roll two or three dice simultaneously and try to include all the images in one story segment.
Tips for Success
- Start simple. Two or three dice with clear, easy-to-identify pictures are plenty for younger kids. You can add more dice or more complex images as they get comfortable.
- Embrace silliness. The best stories often come from unexpected combinations. A penguin riding a bicycle through a haunted house? Perfect.
- Store your dice in a small bag or box so they're easy to grab for car trips, waiting rooms, or quiet time at home.
- Make new dice anytime. If kids get tired of the current icons, creating a fresh set is a quick activity on its own.
Why This Activity Works
Story dice help children practice narrative thinking, vocabulary, and turn-taking without feeling like "learning." The randomness of the roll removes pressure: no one has to come up with a perfect idea because the dice decide the ingredients. Kids who might feel shy about making up stories often relax when they can blame the dice for the weird plot twists.
For more hands-on family projects that encourage creativity and learning, explore other activities on Tierney Family Farms.
FAQ
How many dice should we make for a good game?
Three to five dice is a great starting point. You can have one for characters, one for settings, one for objects, and one for a "problem" or action.
What should I use if I don't have wooden blocks for dice?
You can easily fold your own dice out of cardstock or even use old juice cartons cut into cubes. Taping paper over regular gaming dice also works in a pinch!
Is this activity good for kids who can't read yet?
Absolutely. Instead of writing words, draw simple pictures on the dice. Kids can "read" the pictures to tell their story, which is great for their imagination and vocabulary.
References
- Story cube assembly and gameplay instructions adapted from common DIY storytelling dice tutorials.
- Themed dice suggestions based on educational storytelling resources for early childhood.


