


The short answer: Grab some paint stir sticks (free at most hardware stores), coat them with chalkboard or acrylic paint, let your little ones decorate them, and label each marker with your plant names. The whole project takes about an hour of active time, costs next to nothing, and gives kids ownership over the garden they're helping grow.
DIY garden markers are one of those rare family gardening projects that hit every sweet spot: they're quick, budget-friendly, and actually useful. Plus, there's something magical about watching a five-year-old proudly point to their handmade "TOMATOS" sign (creative spelling included) weeks later when the first red fruits appear.
Let's dig into exactly how to make this happen with your crew.
Why DIY Garden Markers Make a Perfect Family Project
Before we grab the paint, here's why this craft deserves a spot on your summer activity list:
- Low barrier to entry. No special skills required. If your kid can hold a brush, they're qualified.
- Real-world purpose. Unlike some crafts that end up in a drawer, these markers go straight into the garden where kids see them every day.
- Learning opportunity. Reading plant names, understanding what grows where, and connecting the seed-to-table journey, all baked into one simple activity.
- Customizable for any age. Toddlers can slap on paint. Older kids can practice lettering. Teens can get artsy with designs.
This is one of those diy garden markers projects that grows with your family, year after year.
Materials You'll Need
Here's everything gathered in one place. Most of these items you probably already have lying around.
| Material | Quantity | Notes |
|---|---|---|
| Paint stir sticks | 10-20 | Free at hardware stores, just ask! |
| Chalkboard paint OR acrylic craft paint | 1-2 bottles | Any colors work; chalkboard paint allows re-labeling |
| Paintbrushes or foam brushes | 2-4 | Cheap disposable ones are fine |
| White chalk marker OR white acrylic paint | 1 | For writing plant names |
| Pencil | 1 | For sketching letters first (optional) |
| Newspaper or drop cloth | , | Protect your table! |
| Cup of water | 1 | For rinsing brushes |
| Paper towels | Several | For inevitable spills |
| Outdoor sealant spray (optional) | 1 can | Extends marker life through rain and sun |
Pro tip: If you're making this a repeat tradition, stock up on stir sticks during your next hardware store run. They're almost always free, and you can never have too many.
Step-by-Step Instructions
Step 1: Set Up Your Workspace
Lay down newspaper or a plastic tablecloth on your work surface. Paint sticks are messy business, especially with enthusiastic young artists involved. If the weather's nice, take this project outside, less cleanup, more fun.
Have all your materials within arm's reach before you call the kids over. Trust me on this one.
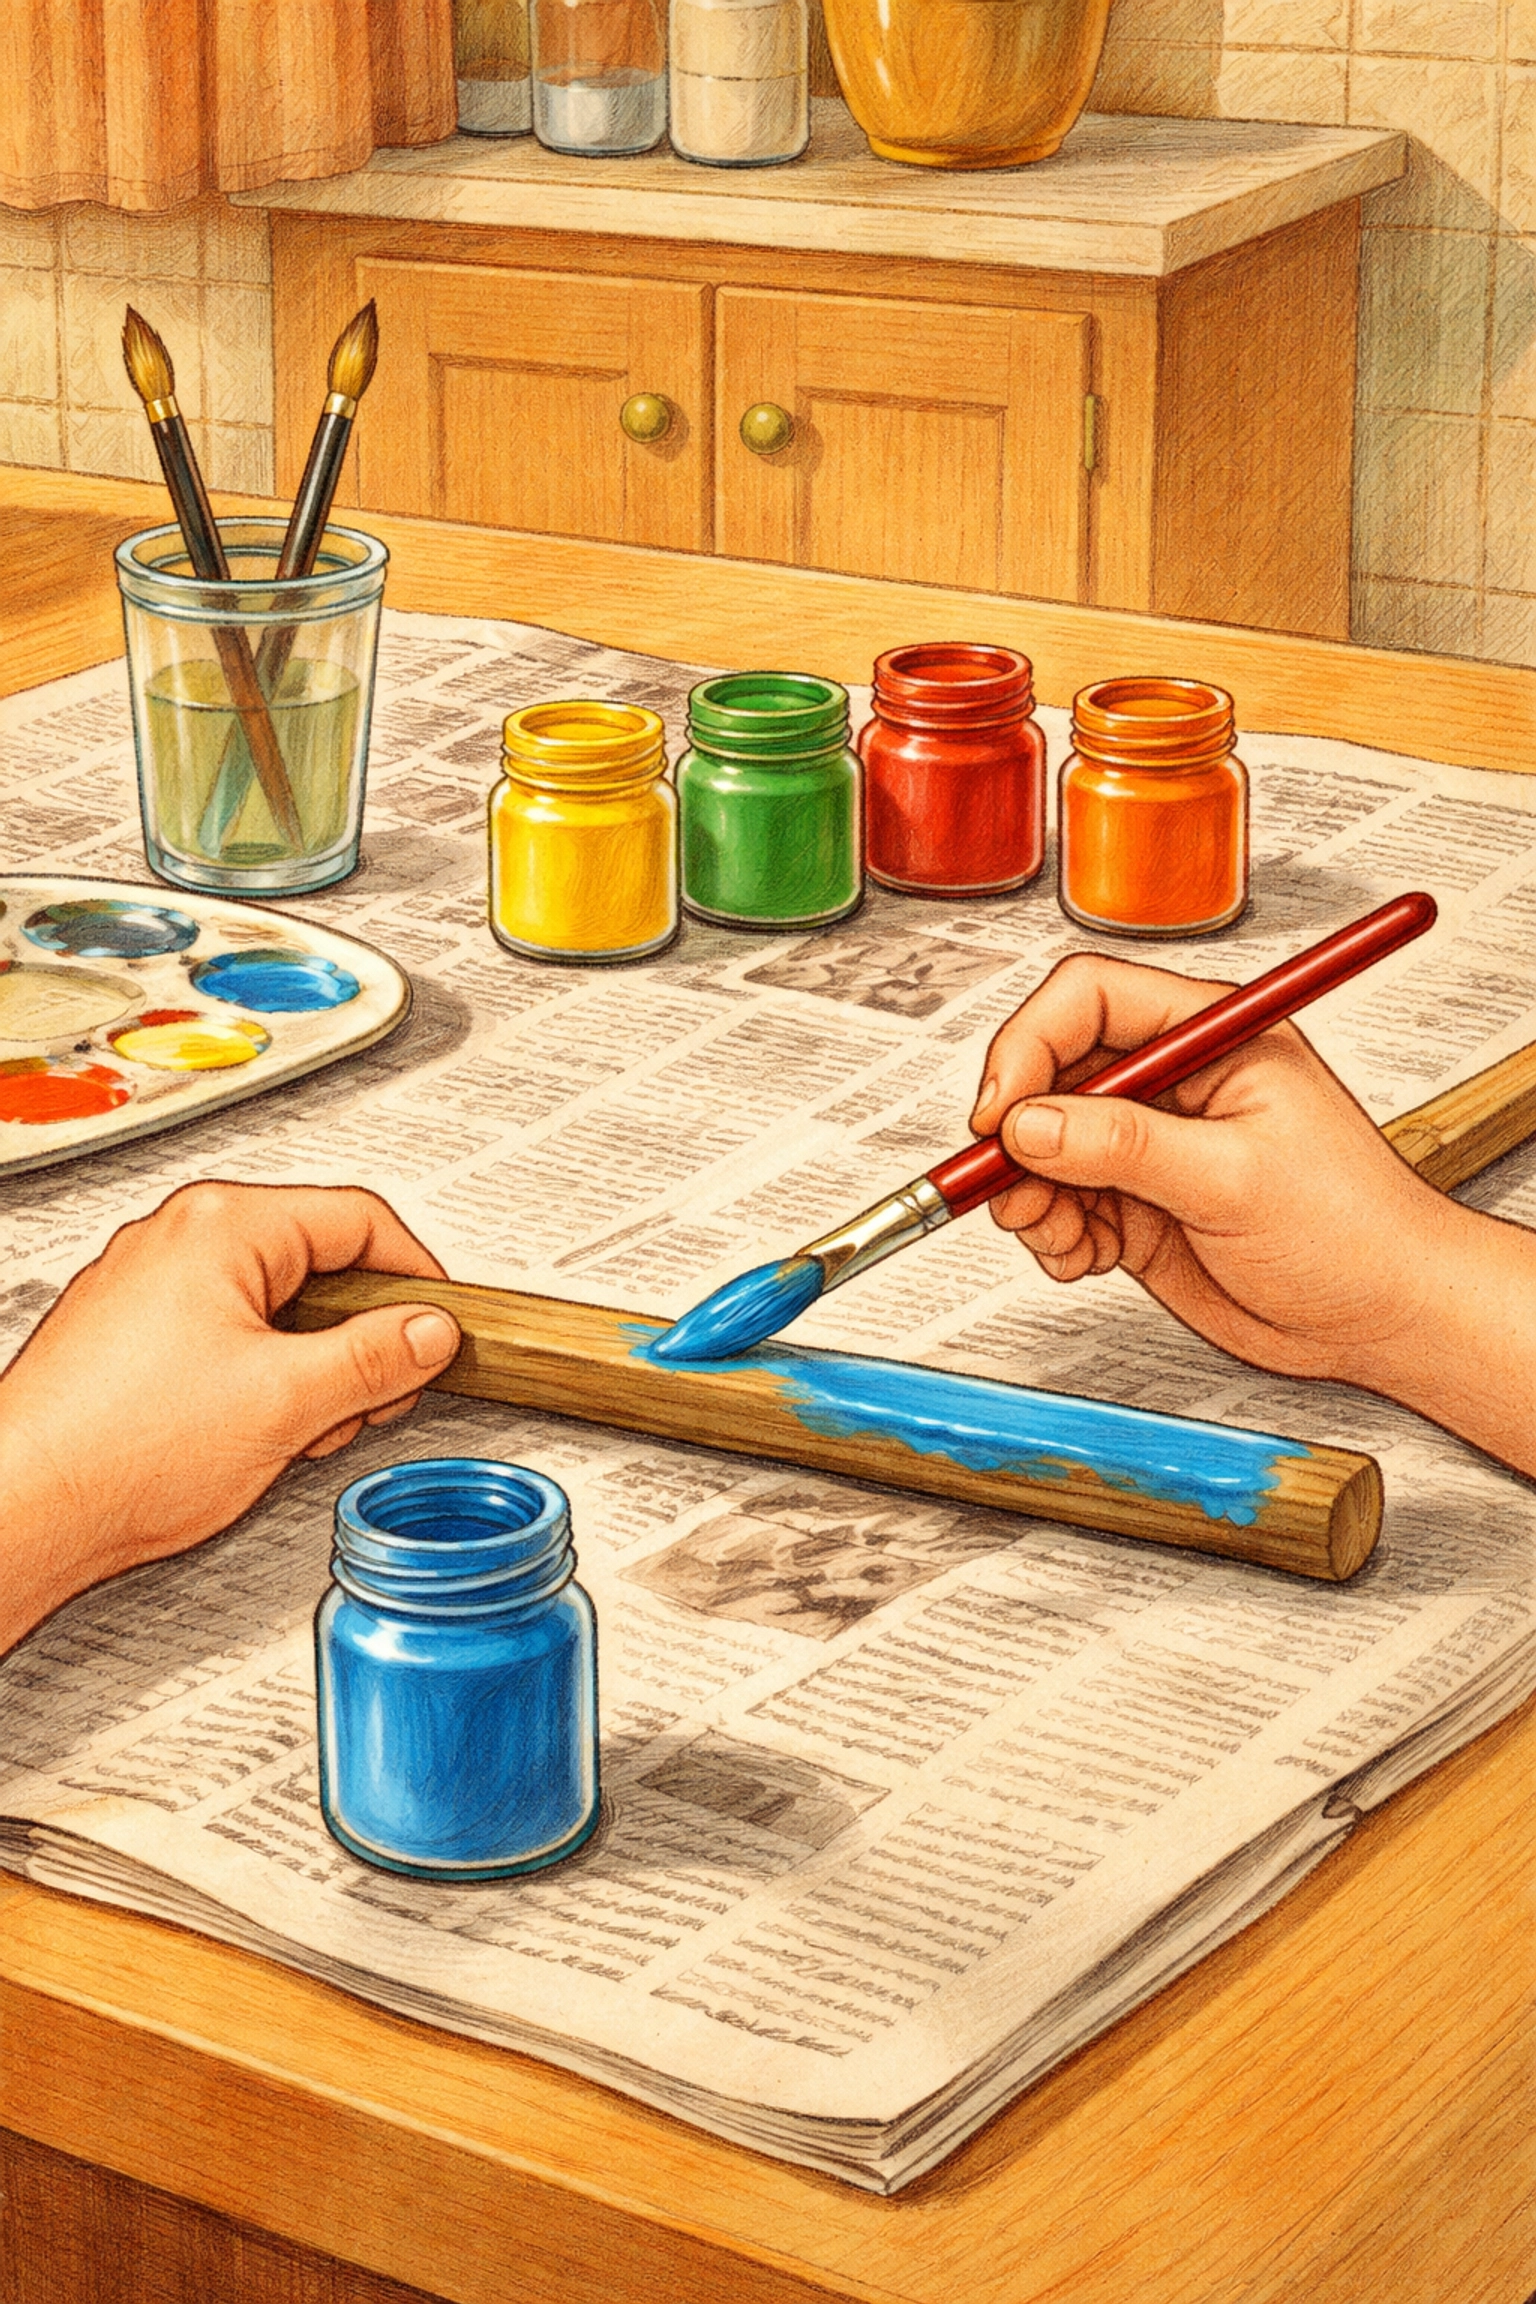
Step 2: Paint the Sticks
Let each child choose their colors. You can go classic (all black or green to blend with the garden) or rainbow (because why not?).
Paint from the narrow "handle" portion down to the bottom of each stick. You only need to coat one side, the back will be buried in soil anyway.
For chalkboard paint, apply one even coat and let dry for about 30 minutes. Acrylic paint dries faster, usually 15-20 minutes. A hair dryer on low heat speeds things up if patience is running thin.
Step 3: Add a Second Coat (If Needed)
Check coverage once the first coat dries. Chalkboard paint especially benefits from a second layer to get that smooth, writable surface. Let dry completely.
This is a great time for a snack break or to run around the yard burning off energy.
Step 4: Sketch the Letters
For kids who are still working on their handwriting, lightly pencil in guidelines or boxes where letters should go. This takes the pressure off and helps them visualize spacing.
Older kids can skip straight to painting if they're confident.
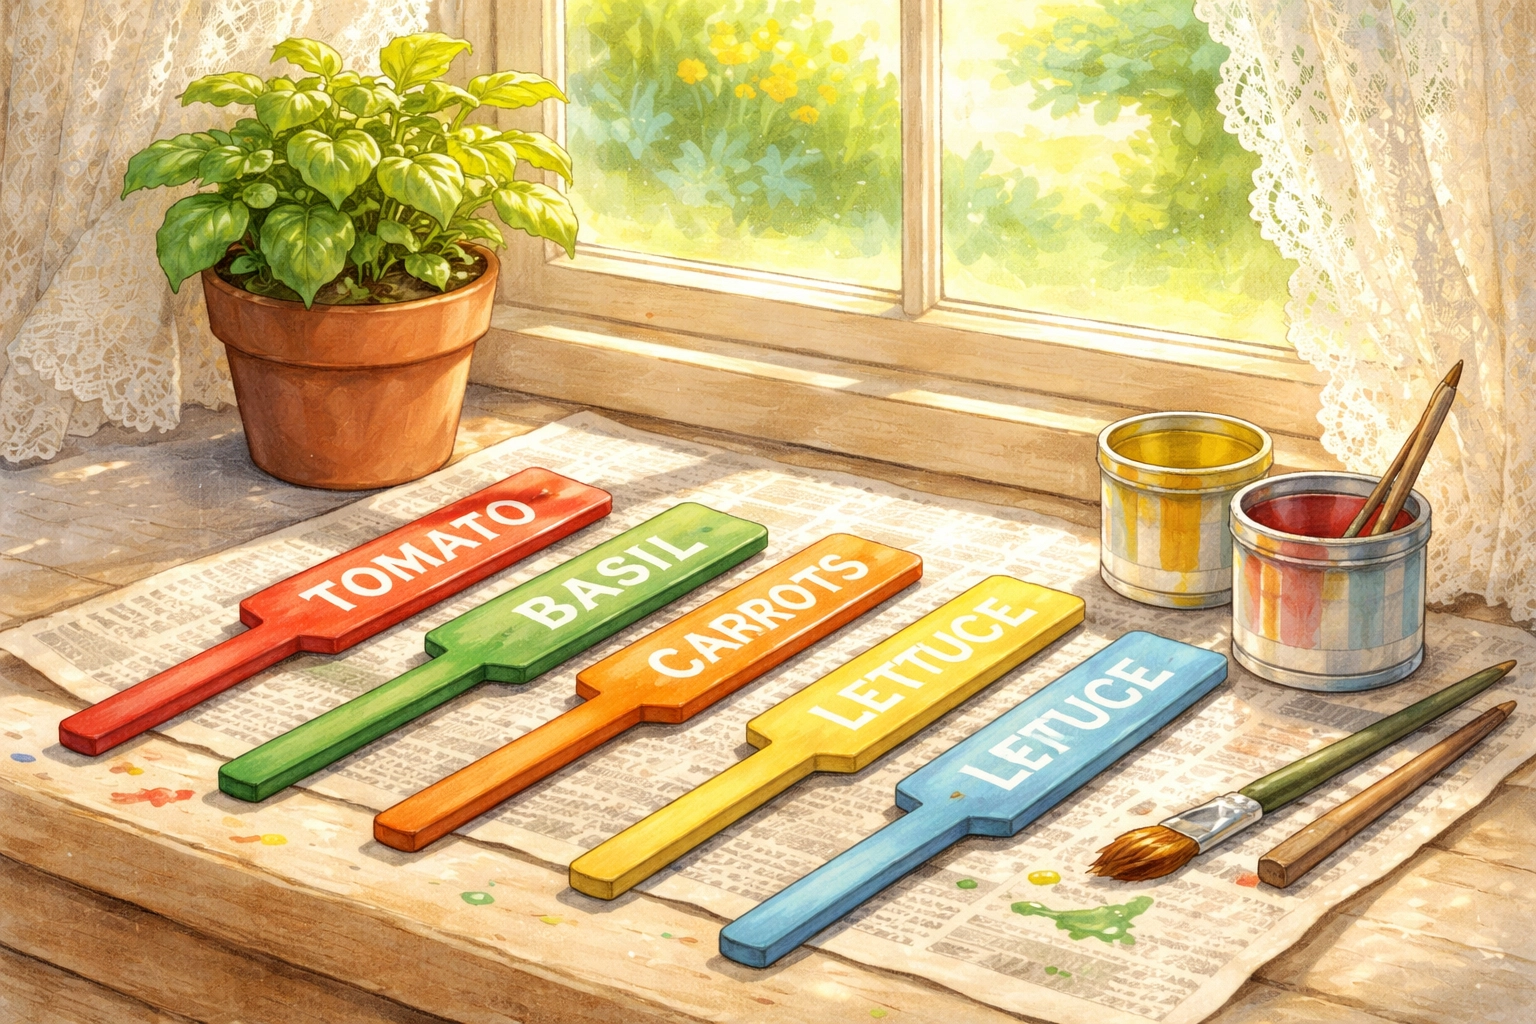
Step 5: Paint or Write Plant Names
Here's where the magic happens.
- With chalk markers: Simply write the plant name. The ink looks transparent at first but dries to bold white within a minute or two.
- With white acrylic paint: Use a thin brush and take it slow. Thin the paint slightly with water if it's too thick for fine lines.
Encourage creativity! Add small drawings, a tiny carrot next to "CARROTS," a sun, some dots around the border. These personal touches make the markers special.
Step 6: Let Everything Dry Completely
Give the markers at least an hour to fully cure. Overnight is even better if you're using a sealant.
Step 7: Seal for Durability (Optional but Recommended)
A quick coat of outdoor sealant or clear acrylic spray extends the life of your markers significantly. This step is best handled by adults in a well-ventilated area.
Once sealed and dry, your markers are ready to brave sun, rain, and the occasional curious critter.
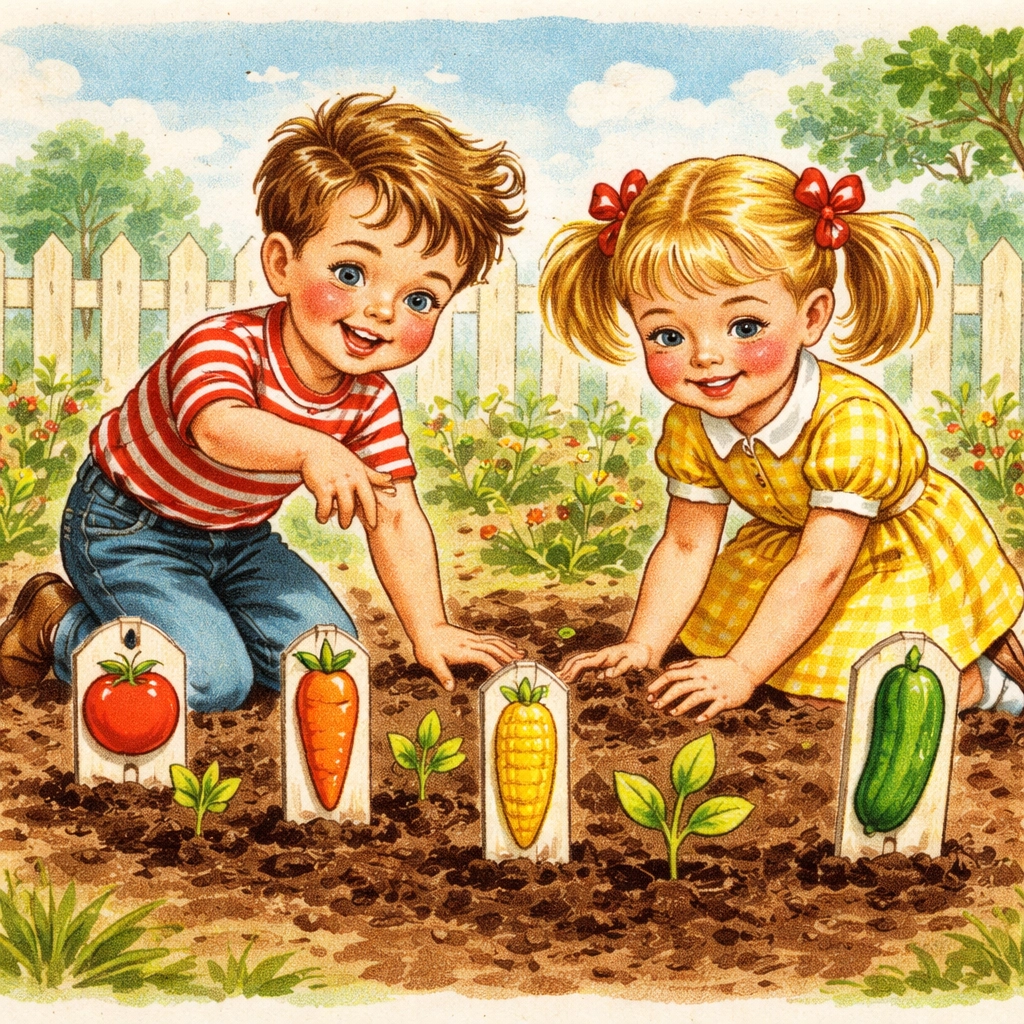
Step 8: Plant Your Markers!
Head to the garden with your crew and push each marker into the soil near its corresponding plant. The painted portion should stick up; the unpainted handle goes underground.
Stand back and admire your work. Maybe snap a photo for the family album.
Tips for Painting with Kids of Different Ages
Toddlers (ages 2-3): Let them focus on painting the base coat. Big brushstrokes, lots of color, zero expectations for neatness. You handle the lettering later.
Preschoolers (ages 4-5): They can attempt letters with guidance. Pencil outlines help tremendously. Embrace the wobbly charm.
Early elementary (ages 6-8): Give them independence! They can paint and letter their own markers. Offer stencils if they want cleaner results.
Older kids (ages 9+): Challenge them with artistic designs, different fonts, or themed markers (all herbs in one style, veggies in another).
Variations to Try
Once you've mastered the basic paint stick method, mix it up:
- Wooden spoons: Larger surface area for more detailed artwork. Find them at dollar stores.
- Popsicle sticks: Great for smaller container gardens or seed starting trays.
- Repurposed materials: Old wooden rulers, pieces of scrap wood, even thick twigs work beautifully.
The goal is getting kids invested in the garden. The method matters less than the memories.
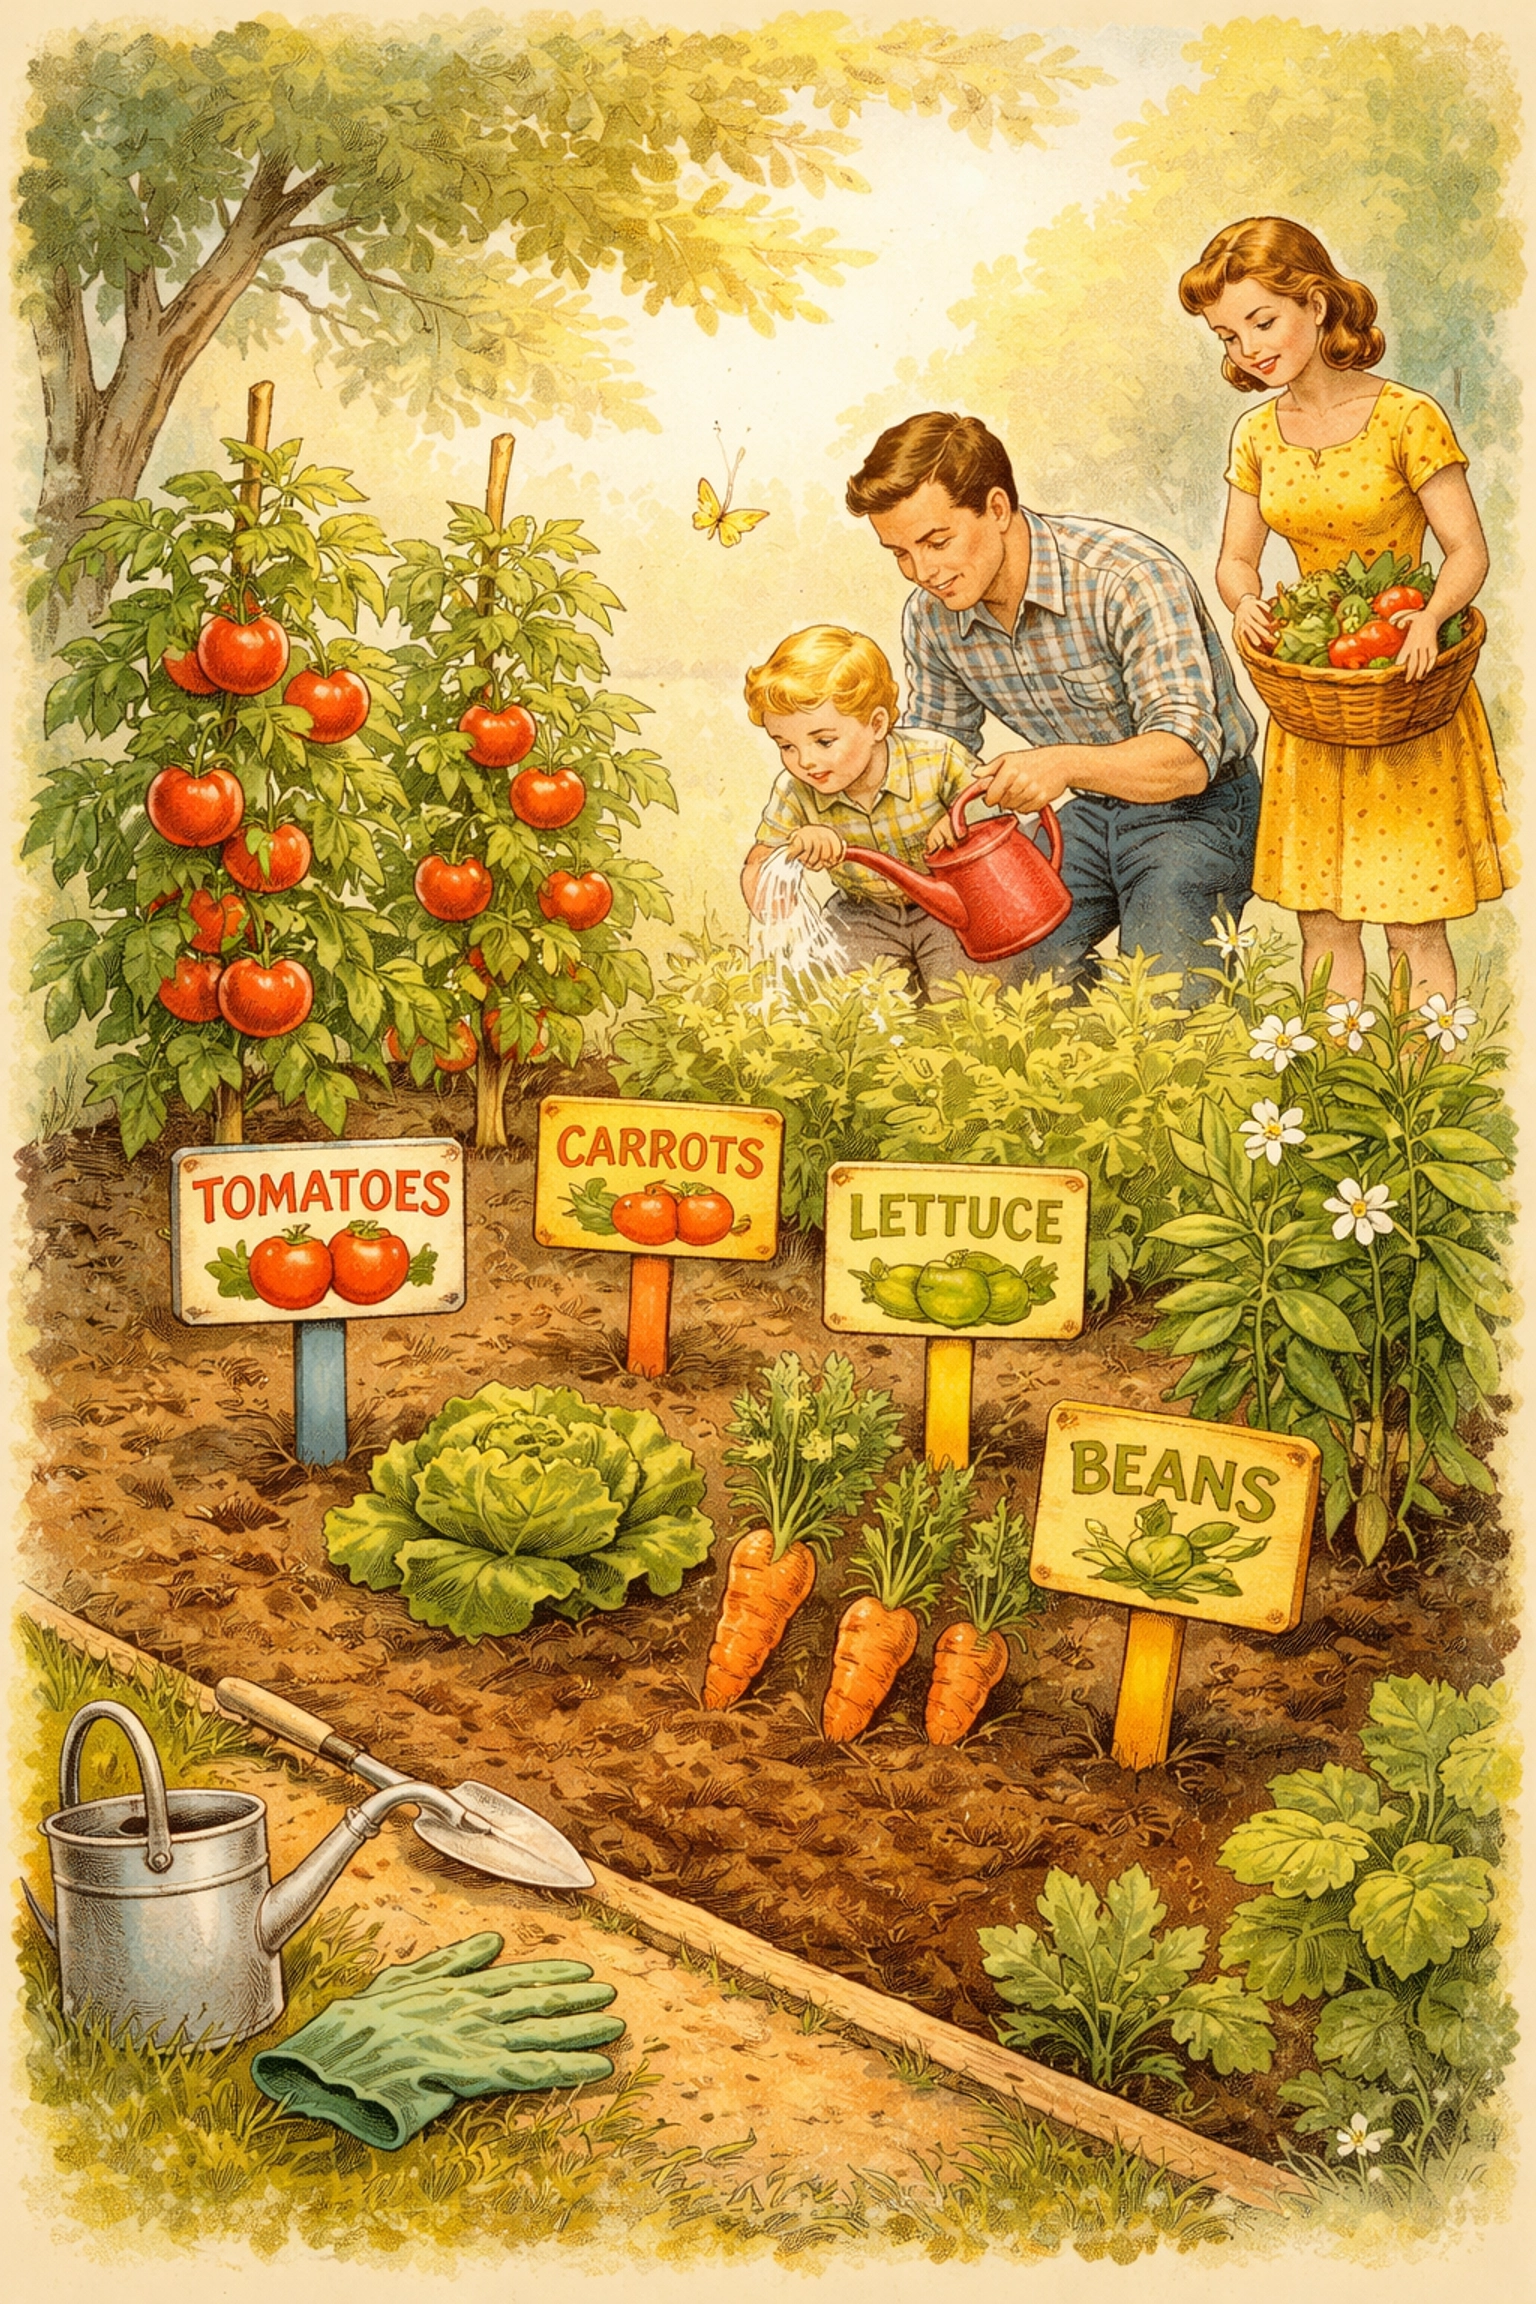
Connecting This Project to Your Garden
If you're growing vegetables with kids, these markers become teaching tools. Every watering session turns into a reading lesson. Every harvest connects back to that marker they made weeks ago.
Looking for more ways to get the whole family involved in the garden? Check out our post on how to make a DIY kitchen scrap regrow garden for under $10 with your kids, another budget-friendly project that keeps little hands busy and curious minds learning.
Frequently Asked Questions
What type of paint works best for outdoor garden markers?
Acrylic craft paint holds up well outdoors, especially when sealed with a clear protective spray. Chalkboard paint is another excellent option if you want to reuse markers for different plants each season.
How long do DIY garden markers last outside?
With a sealant, expect your markers to last one to three growing seasons. Unsealed markers may fade or peel after heavy rain and sun exposure but often survive at least one full season.
Can toddlers really help with this project?
Absolutely. Toddlers excel at the painting stage. Let them coat the sticks with color while you handle the lettering afterward. They get the sensory fun; you get legible labels.
What if my child's handwriting is hard to read?
Embrace it! The charm is in the imperfection. If you genuinely can't tell basil from beans, quietly add a small symbol or initial in the corner that only you understand.
Do I need to buy paint stir sticks?
Nope. Most hardware stores give them away for free. Just ask at the paint counter next time you're there.
How do I make the markers last longer?
Apply a coat of outdoor sealant or clear acrylic spray after the paint fully dries. This protects against moisture, UV rays, and general wear.
Can we reuse chalkboard-painted markers?
Yes! Wipe off the old chalk marker writing with a damp cloth, let dry, and relabel for your new plants. That's the beauty of chalkboard paint.
What age is best for this project?
Any age works with proper expectations. Kids as young as two can participate in painting, while school-age children can handle the entire project independently.
Happy planting from our family to yours! 🌱


