


Quick Answer: Pressing flowers with kids is simple, collect flat blooms, sandwich them between absorbent paper inside a heavy book, and wait 2-4 weeks. It's one of the best nature art for kids projects because it combines outdoor exploration, hands-on crafting, and a healthy dose of patience-building.
If you're looking for family gardening projects that don't require a green thumb or a big budget, flower pressing checks every box. Your kiddos get outside, learn about plants, and end up with gorgeous keepsakes they actually made themselves. Let's walk through exactly how to do it.
Why Flower Pressing Is Perfect for Kids
Before we dive into the how-to, let's talk about why this old-school craft deserves a spot on your family activity list.
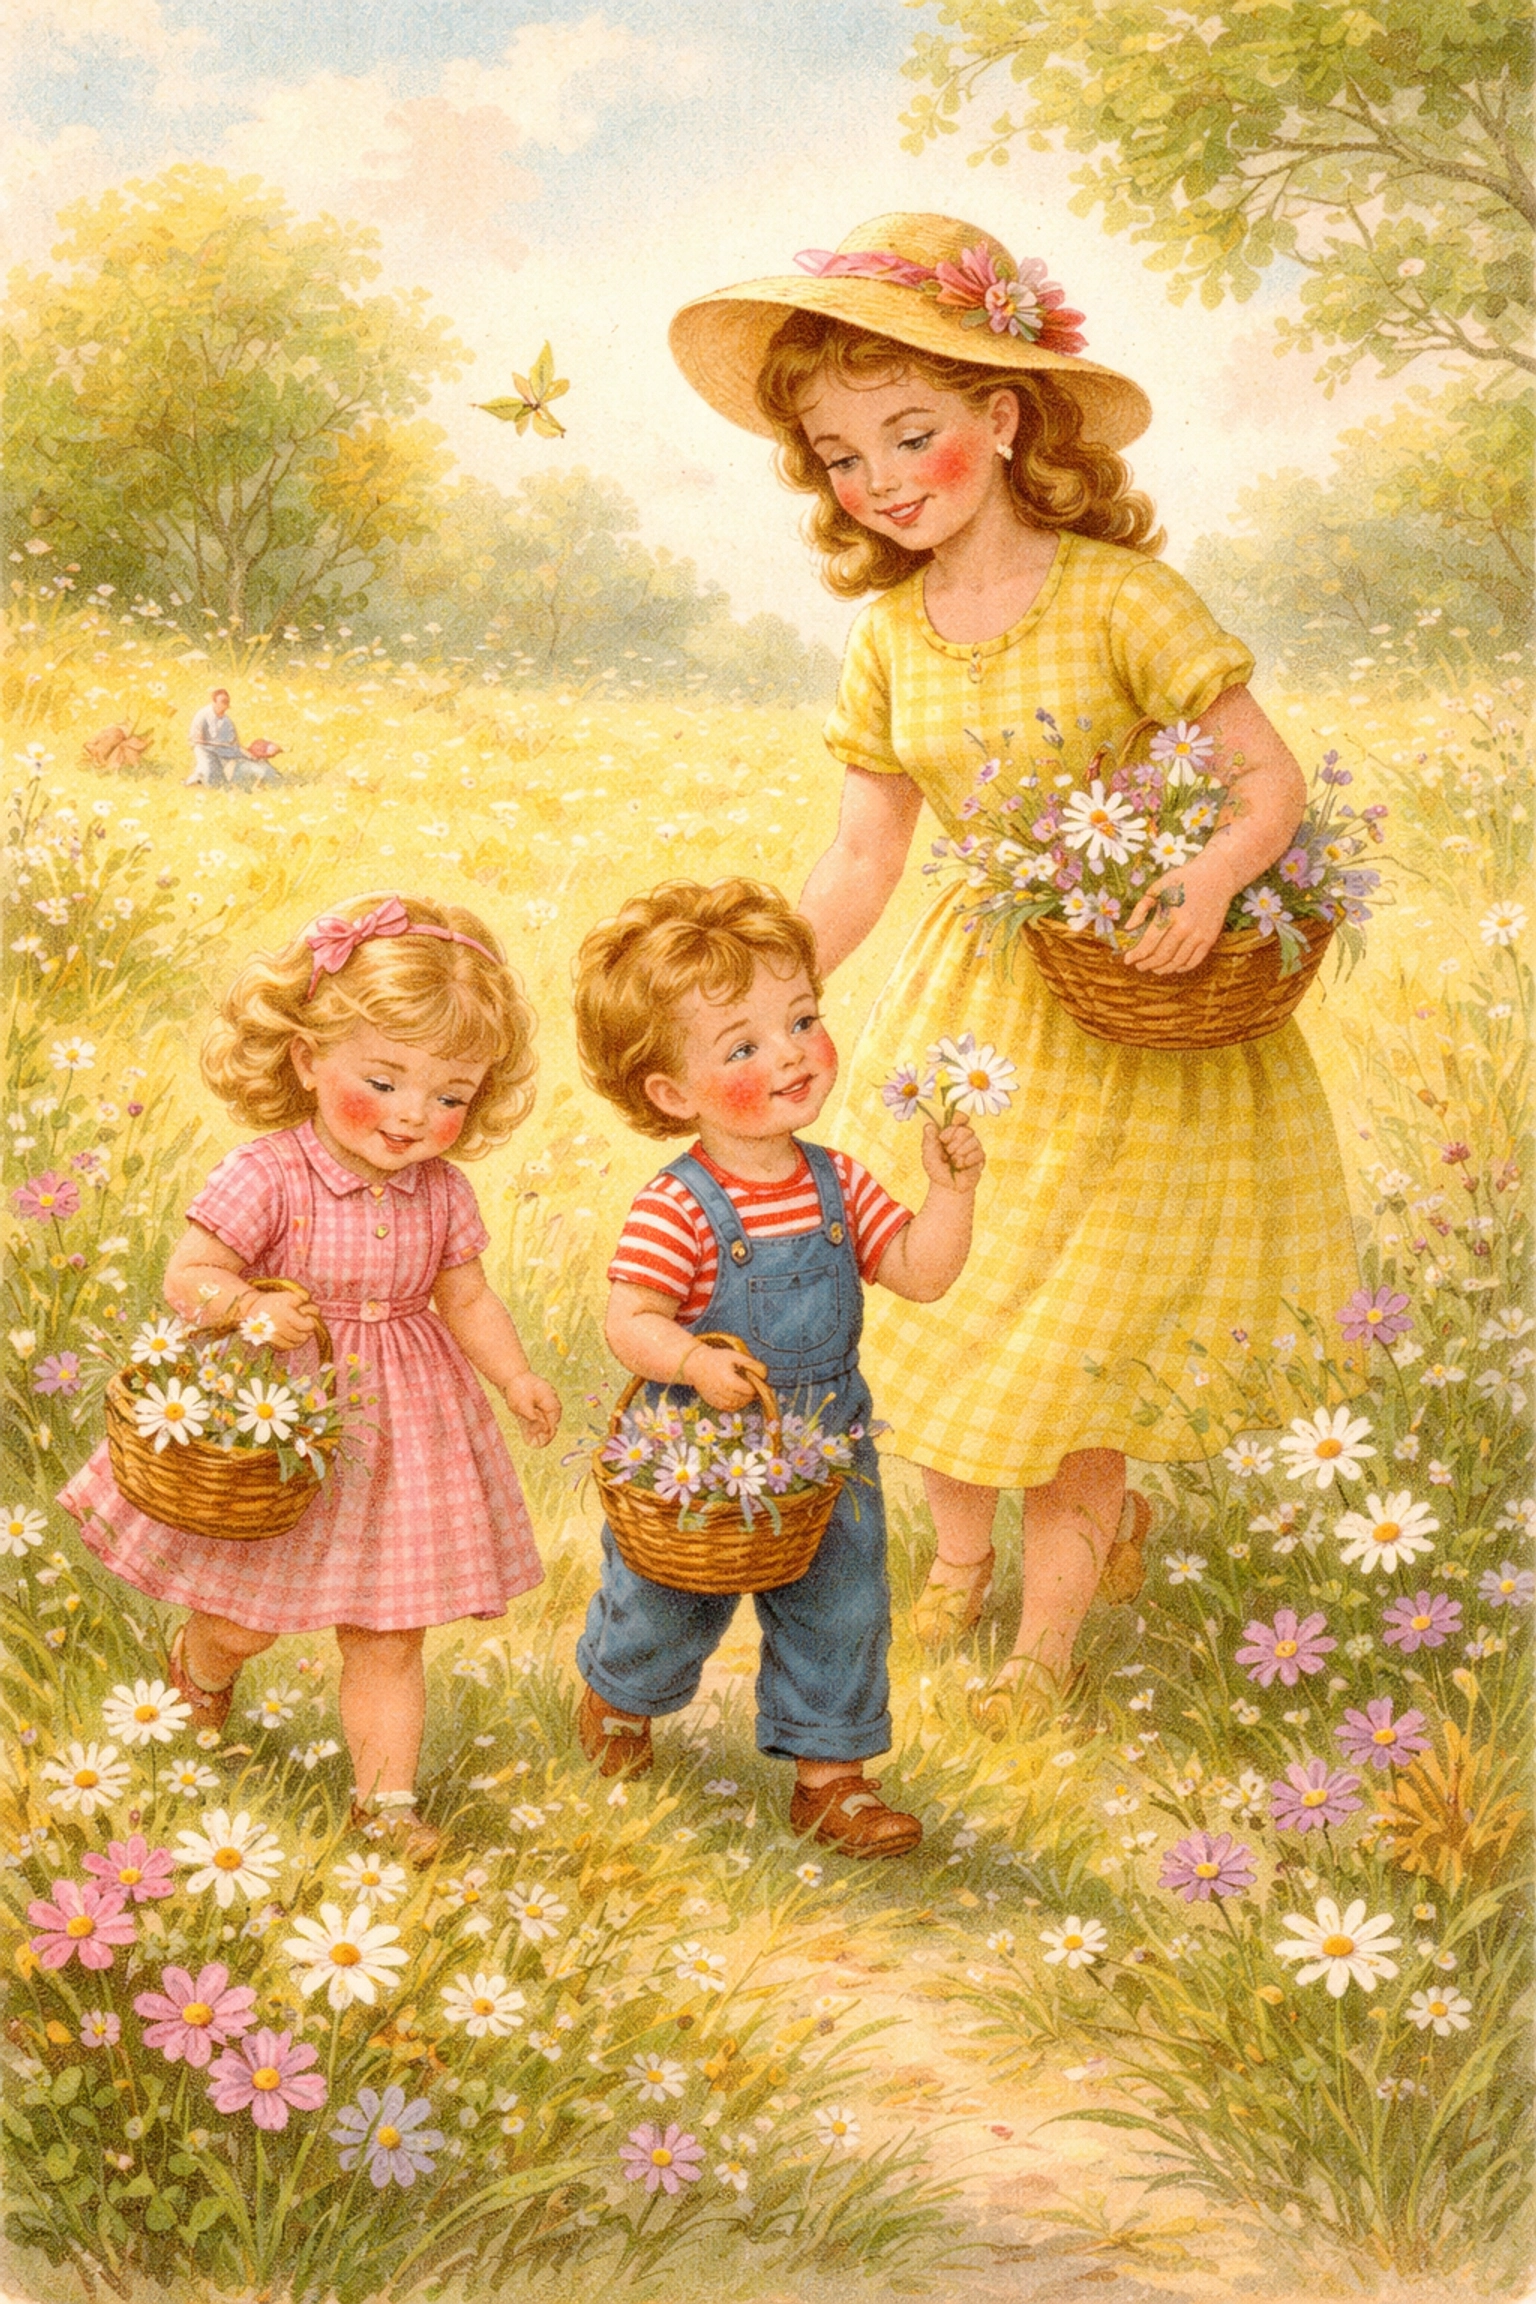
It gets kids outside. The first step is a nature walk to collect materials. That alone is a win.
It teaches patience. In a world of instant everything, waiting 2-4 weeks for flowers to dry is a gentle lesson in delayed gratification.
It sparks curiosity. Kids start noticing which flowers grow where, what colors appear in different seasons, and how petals change as they dry.
It's budget-friendly. You probably already have everything you need at home.
Materials You'll Need
Here's a quick rundown of supplies. Nothing fancy required.
| Material | Purpose | Notes |
|---|---|---|
| Fresh flowers and leaves | The stars of the show | Flat varieties work best |
| Heavy book(s) | Provides pressing weight | Old phone books are perfect |
| Parchment or blotting paper | Absorbs moisture | Newspaper works in a pinch |
| Plastic bags | Keeps flowers fresh during collection | Sealable sandwich bags |
| Additional weights | Extra pressure | Bricks, more books, etc. |
| Tweezers (optional) | Handling delicate dried flowers | For finishing projects |
Most families already have these items lying around, which makes this one of the most accessible nature art for kids activities out there.
Step-by-Step: How to Press Flowers with Kids
Step 1: Go on a Flower Hunt
Head outside with your little ones and some plastic bags. This is the fun part, exploring your backyard, a local park, or even the edges of your driveway where wildflowers pop up.
Pro tips for collecting:
- Pick flowers when they're completely dry (no morning dew or rain)
- Choose smaller, flatter blooms, they press much better than thick, bulky ones
- For roses or other larger flowers, pluck individual petals instead
- Grab several of the same flower to show different angles and stages of bloom
- Weeds are fair game! Dandelions, clover, and wild violets all press beautifully
Keep your treasures in sealed plastic bags away from direct sunlight until you're ready to press. This keeps them from wilting before their big moment.
A quick note on plant etiquette: This is a great time to chat with kids about which plants are okay to pick (weeds in your own yard) versus respecting neighbors' gardens and protected areas.
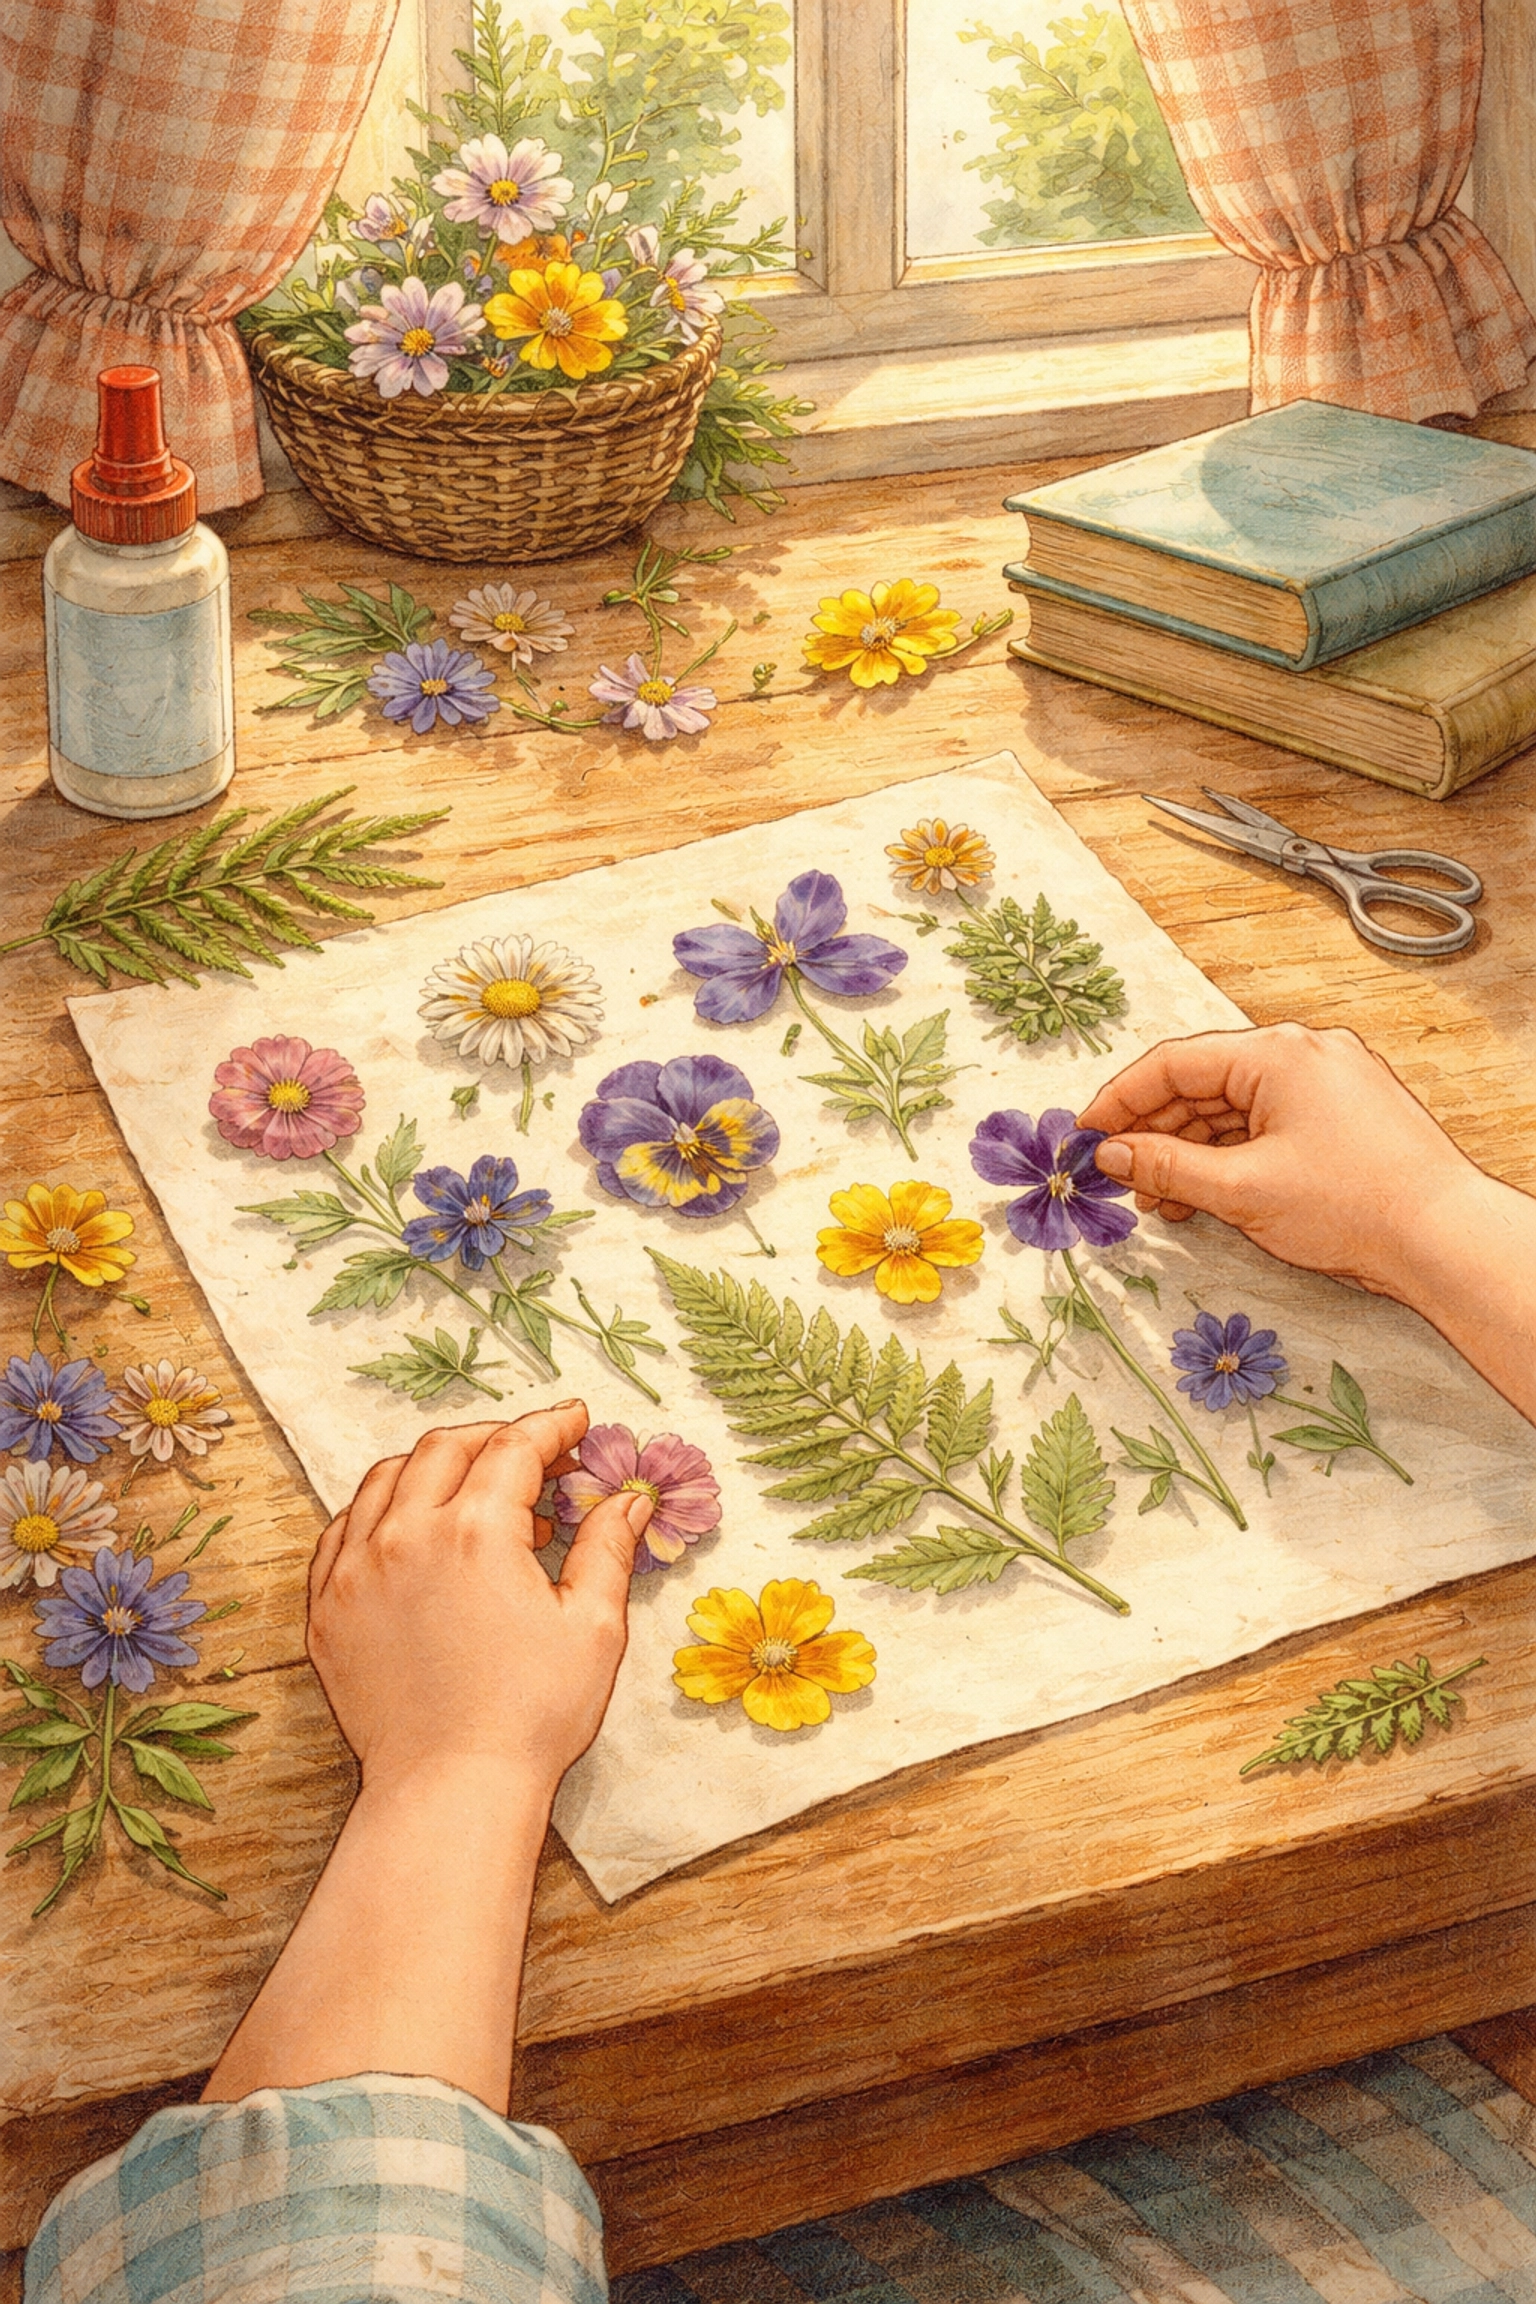
Step 2: Prepare Your Flowers for Pressing
Once you're back inside, it's time to set up your pressing station.
- Cut a piece of parchment paper large enough to fold in half
- Lay flowers on one half of the paper, leaving at least ¾ inch between each bloom
- Gently arrange petals and leaves exactly how you want them to look when dried
- Fold the other half of the paper over the top, creating a little flower sandwich
Why the spacing matters: Flowers that touch will stick together as they dry. Give each one breathing room.
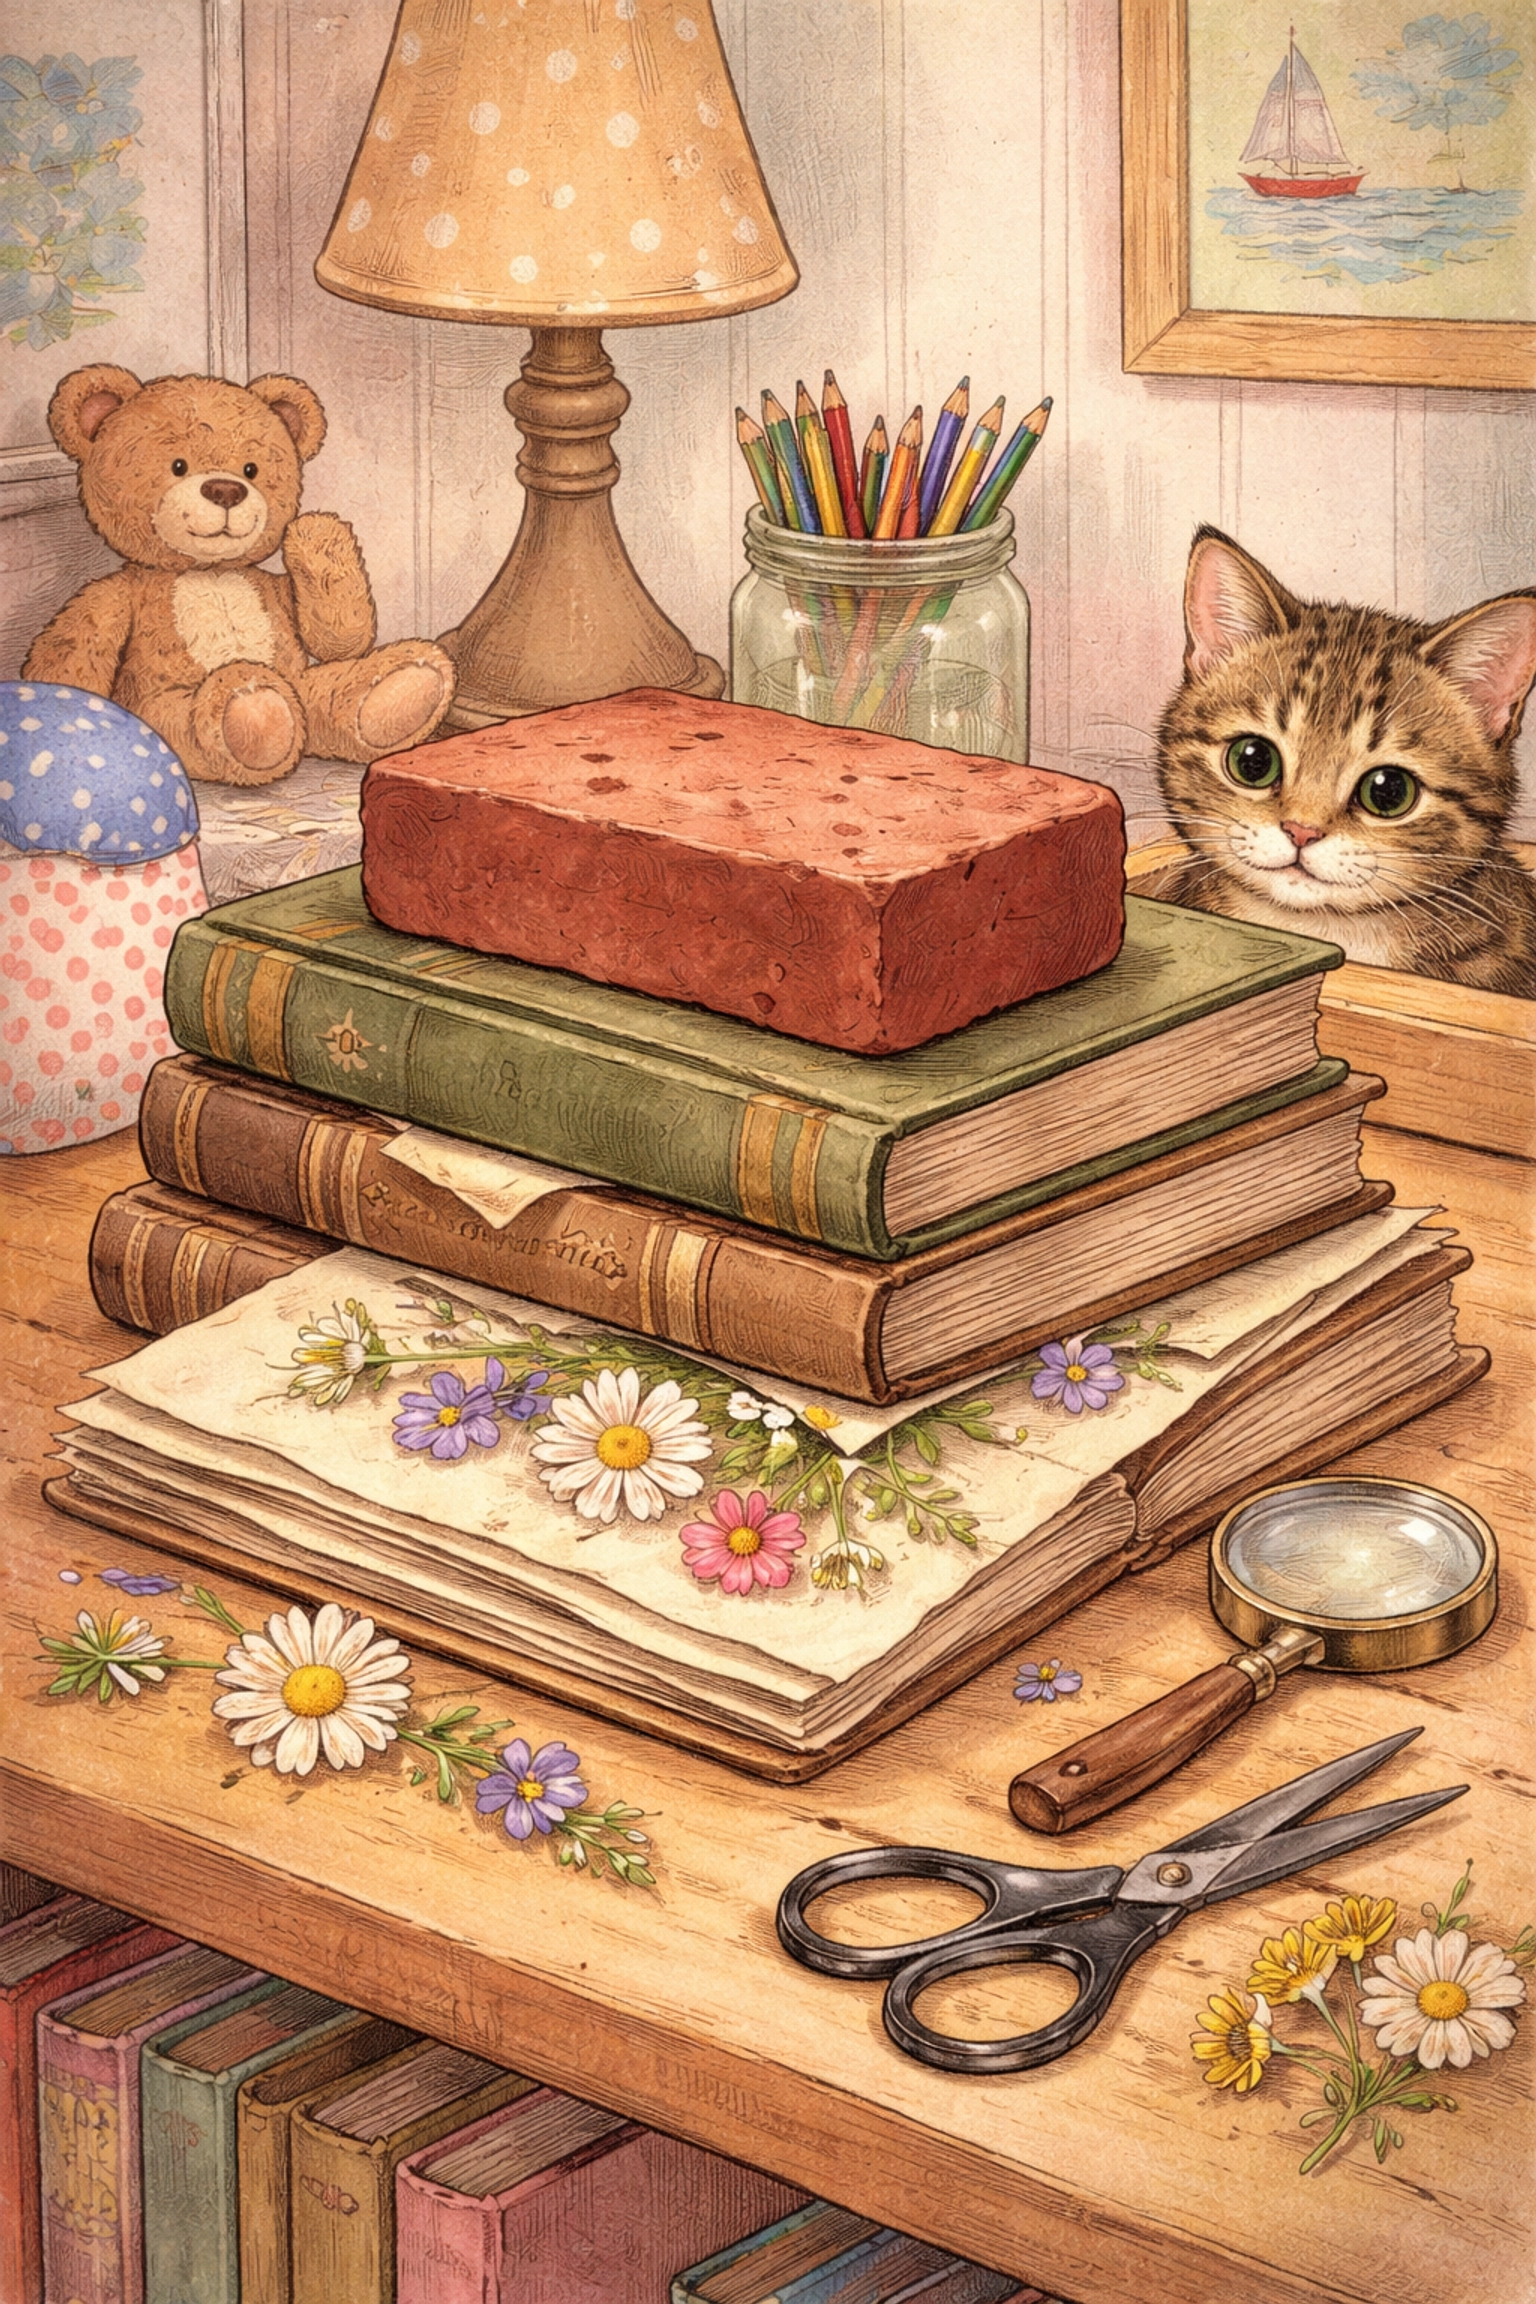
Step 3: Apply the Pressure
Now for the satisfying part.
- Open your heavy book to somewhere in the middle
- Place your parchment paper flower sandwich between the pages
- Close the book gently but firmly
- Stack additional books or a brick on top for extra weight
The goal is even, consistent pressure across all your flowers. The heavier the better, this is one time when more is more.
Step 4: Play the Waiting Game
Here's where patience comes in. Leave your flowers completely undisturbed for 2-4 weeks.
I know, I know. That feels like forever when you're five years old. But rushing this step leads to flowers that curl, mold, or fall apart.
During the wait:
- Check on them once a week (carefully!)
- If the paper feels damp, replace it with fresh parchment
- Keep the book in a dry spot away from humidity
Mark the calendar together so kids can count down the days. It builds anticipation and teaches them that good things take time.
Step 5: Reveal Your Pressed Treasures
When the waiting period is over, gather the family for the big unveil.
Open the book slowly. Peel back the parchment paper gently. And there they are, perfectly flat, beautifully preserved flowers.
Handle them carefully! Dried flowers are delicate. Tweezers help if little fingers are still developing their fine motor skills.

Creative Projects for Your Pressed Flowers
Now that you've got a collection of pressed blooms, put them to use. These family gardening projects extend the fun and give kids something to display or gift.
Nature Bookmarks
Sandwich pressed flowers between two pieces of clear contact paper. Trim to bookmark size. Done! These make sweet gifts for teachers, grandparents, or reading-obsessed siblings.
Framed Botanical Art
Arrange pressed flowers on cardstock, glue them down (apply glue to the paper first, let it get tacky, then gently press the flower on), and pop them in a frame. Instant wall art.
Greeting Cards
Glue a single pressed flower to the front of a blank card. Add a handwritten note inside. Homemade and heartfelt.
Nature Journals
If your family keeps nature journals, pressed flowers make fantastic additions. Glue them in alongside notes about where you found them and when.
Tips for Flower Pressing Success
A few extra pointers to make sure your first attempt goes smoothly:
- Flat is your friend. Pansies, violets, daisies, ferns, and clover are all beginner-friendly choices.
- Avoid thick centers. Flowers with bulky middles (like daffodils) don't press well unless you remove the back.
- Patience pays off. Two weeks minimum. Four is even better for thick petals.
- Humidity is the enemy. Store your pressing book somewhere dry.
- Collect more than you need. Not every flower will turn out perfectly, and that's okay.
For more hands-on family gardening projects, check out our guide on how to make a DIY kitchen scrap regrow garden with kids.
Frequently Asked Questions
What are the best flowers for pressing with kids?
Flat flowers with thin petals work best. Try pansies, violets, daisies, cosmos, ferns, and clover. Avoid thick, bulky blooms unless you're pressing individual petals.
How long does it take to press flowers?
Plan for 2-4 weeks. Thinner flowers dry faster, while thicker petals need the full four weeks.
Can you press flowers without a flower press?
Absolutely! Heavy books work perfectly. Stack several on top of each other for maximum pressure.
Why did my pressed flowers turn brown?
Browning usually happens when flowers contain too much moisture at the start or weren't pressed with enough weight. Pick dry flowers and pile on those books.
What age is flower pressing appropriate for?
Kids as young as 3 can help with collecting and arranging. The waiting period is actually great for teaching patience to preschoolers and older kids alike.
Can you press flowers from a bouquet?
Yes, but they press better when fresh. If the bouquet is a few days old, the petals may be too wilted to preserve well.
How do you store pressed flowers?
Keep them flat in a book or between sheets of parchment paper in a dry location. Humidity and direct sunlight will fade and damage them over time.
Do pressed flowers last forever?
With proper care, pressed flowers can last for years. Framing them behind glass helps protect against dust and moisture.
Happy pressing, families! 🌸


