


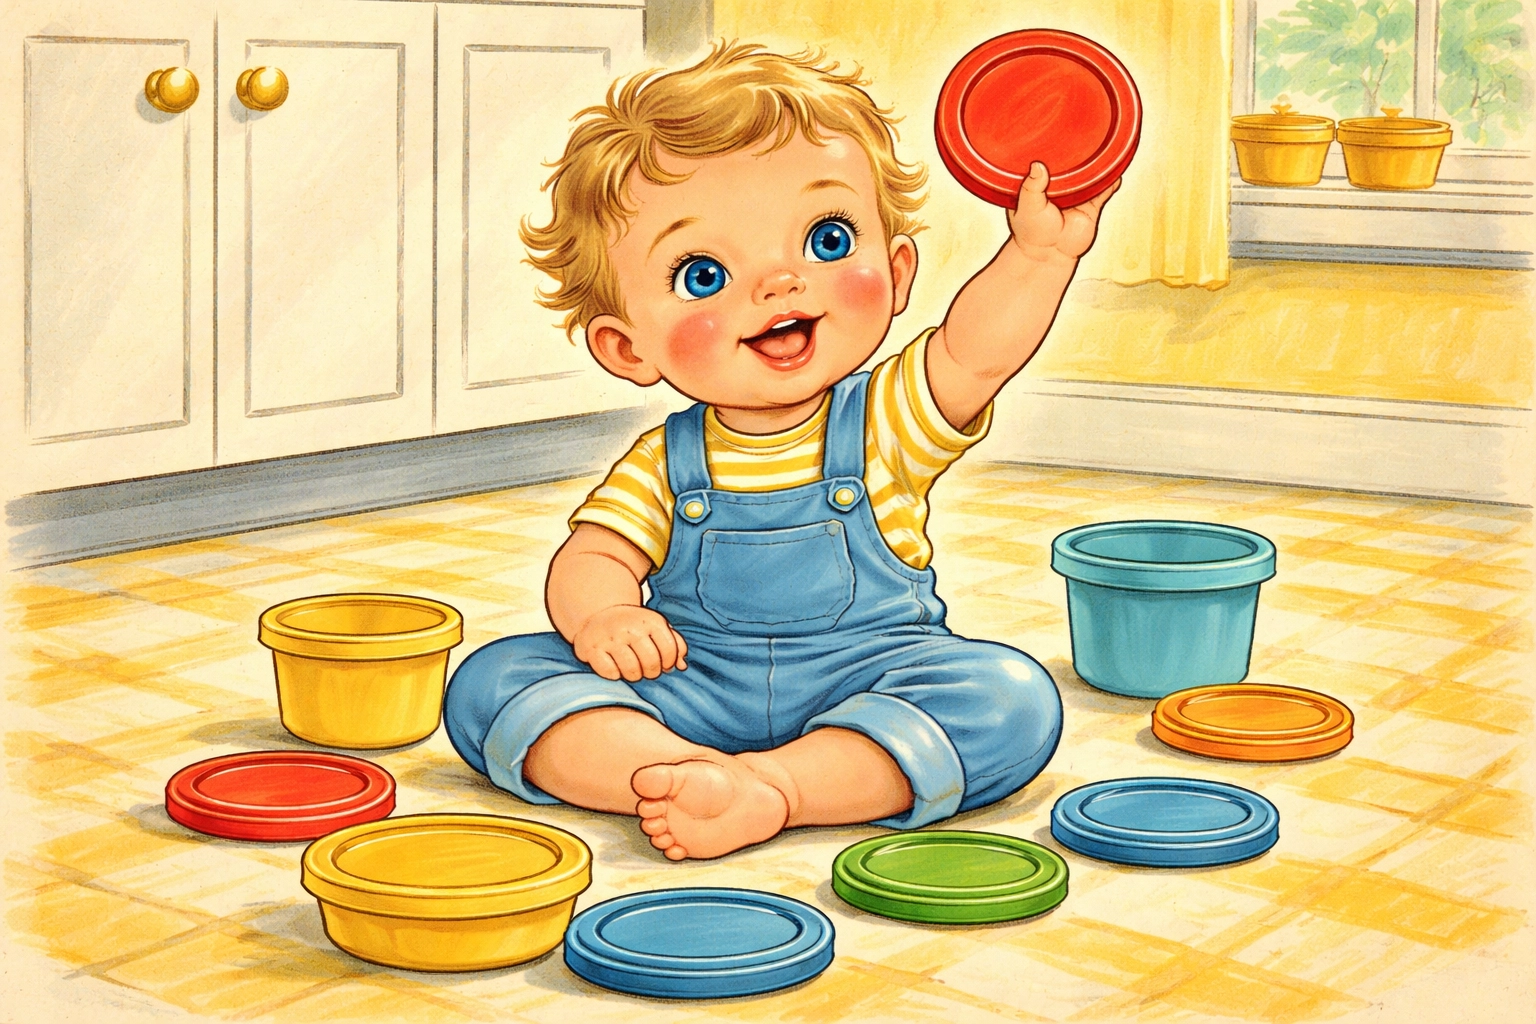
To set up a match-the-lid basket for kids, collect various containers with lids from around your kitchen, separate the lids from their bases, place everything in a basket or bin, and let your child work on matching each lid to its corresponding container. This simple activity builds fine motor skills, problem-solving abilities, and independent play habits using items you likely already have at home.
The match-the-lid basket is one of those quietly brilliant activities that parents tend to overlook. There's no glitter involved, no elaborate setup, and nothing to clean off the walls afterward. Yet kids often return to it again and again, sometimes spending 20 or 30 minutes completely absorbed in the satisfying challenge of finding the right fit.
Why a Match-the-Lid Basket Works So Well
Before we dive into the how-to, it helps to understand why this activity captures kids' attention so effectively.
It taps into natural curiosity. Young children are hardwired to figure out how things work together. Matching lids to containers scratches that itch in a way that feels like play rather than practice.
It builds real skills. Twisting lids, pressing snap-tops, and aligning edges all strengthen the small muscles in hands and fingers. These are the same muscles kids need for holding pencils, buttoning shirts, and tying shoes down the road.
It encourages independence. Once you set up the basket, your child can return to it whenever they want without needing your help. That sense of "I can do this myself" is powerful for developing confidence.
Materials You'll Need
Here's the good news: you probably won't need to buy anything for this project. Everything comes from containers you're already using (or recycling).
| Material | Quantity | Estimated Cost |
|---|---|---|
| Plastic containers with lids (various sizes) | 5-10 | Free (from kitchen) |
| Glass jars with screw lids (optional) | 2-3 | Free (from recycling) |
| Basket, bin, or large bowl | 1 | $0-$5 |
| Play mat or tray (optional) | 1 | $0-$3 |
Total estimated cost: Under $8 (often $0)
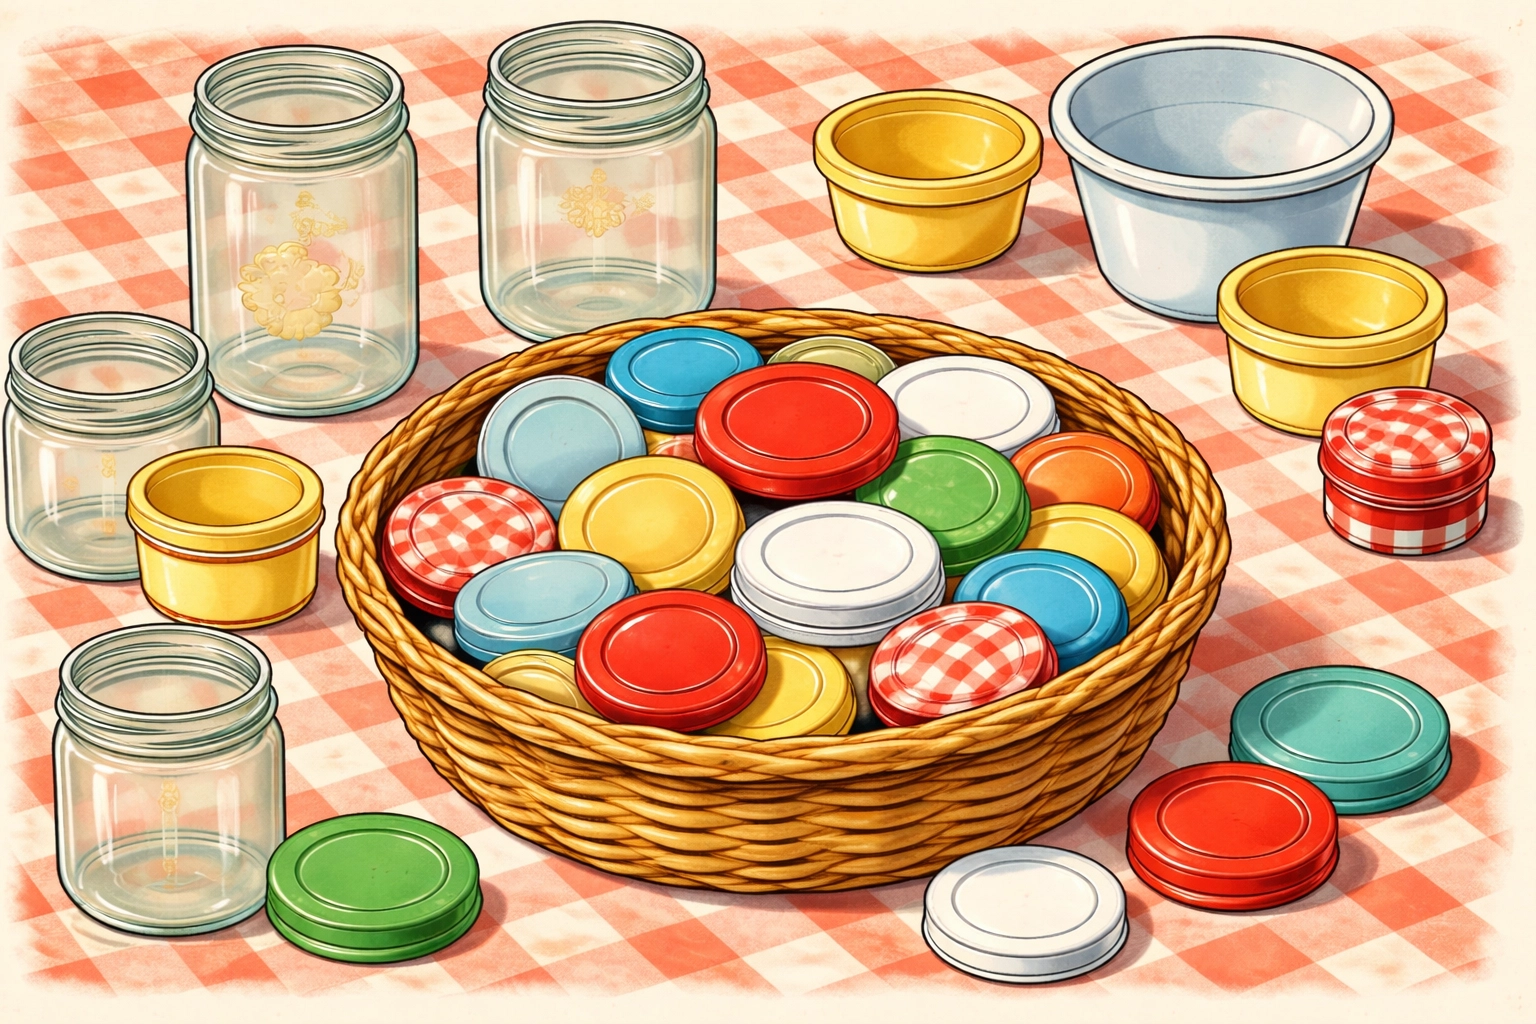
Container Ideas to Include
Look around your kitchen and recycling bin for variety:
- Plastic food storage containers (various sizes)
- Empty spice jars with twist lids
- Yogurt containers with snap lids
- Small mason jars or jam jars
- Sippy cup tops and bottles
- Travel containers from toiletries (cleaned)
- Pill organizers with flip lids
- Small tins with press-fit lids
The key is variety. Different sizes, shapes, colors, and closure types keep the activity interesting and appropriately challenging.
Recommended Age Range
Skill development: 12 months to 4 years
Peak enjoyment: 18 months to 3 years
Younger toddlers (around 12-18 months) often enjoy simply removing lids and exploring the containers. They may not successfully match many pairs yet, but they're building foundational skills.
Toddlers between 18 months and 3 years typically get the most out of this activity. They're old enough to understand the matching concept but still find it genuinely challenging and rewarding.
Older preschoolers (3-4 years) may breeze through a basic setup quickly. For them, you can increase difficulty by adding decoy lids or timing challenges.
Time Estimates
| Task | Time Needed |
|---|---|
| Gathering materials | 5-10 minutes |
| Setting up the basket | 2-3 minutes |
| Average play session | 10-30 minutes |
| Cleanup | 2 minutes |
One of the best features of this activity is that it can live on a shelf or in a corner, ready for your child to pull out whenever they want independent play time.
Step-by-Step Setup Instructions
Step 1: Raid Your Kitchen
Open your cabinets and start pulling out containers with lids. Don't worry about finding matching sets right away, just gather everything that looks promising.
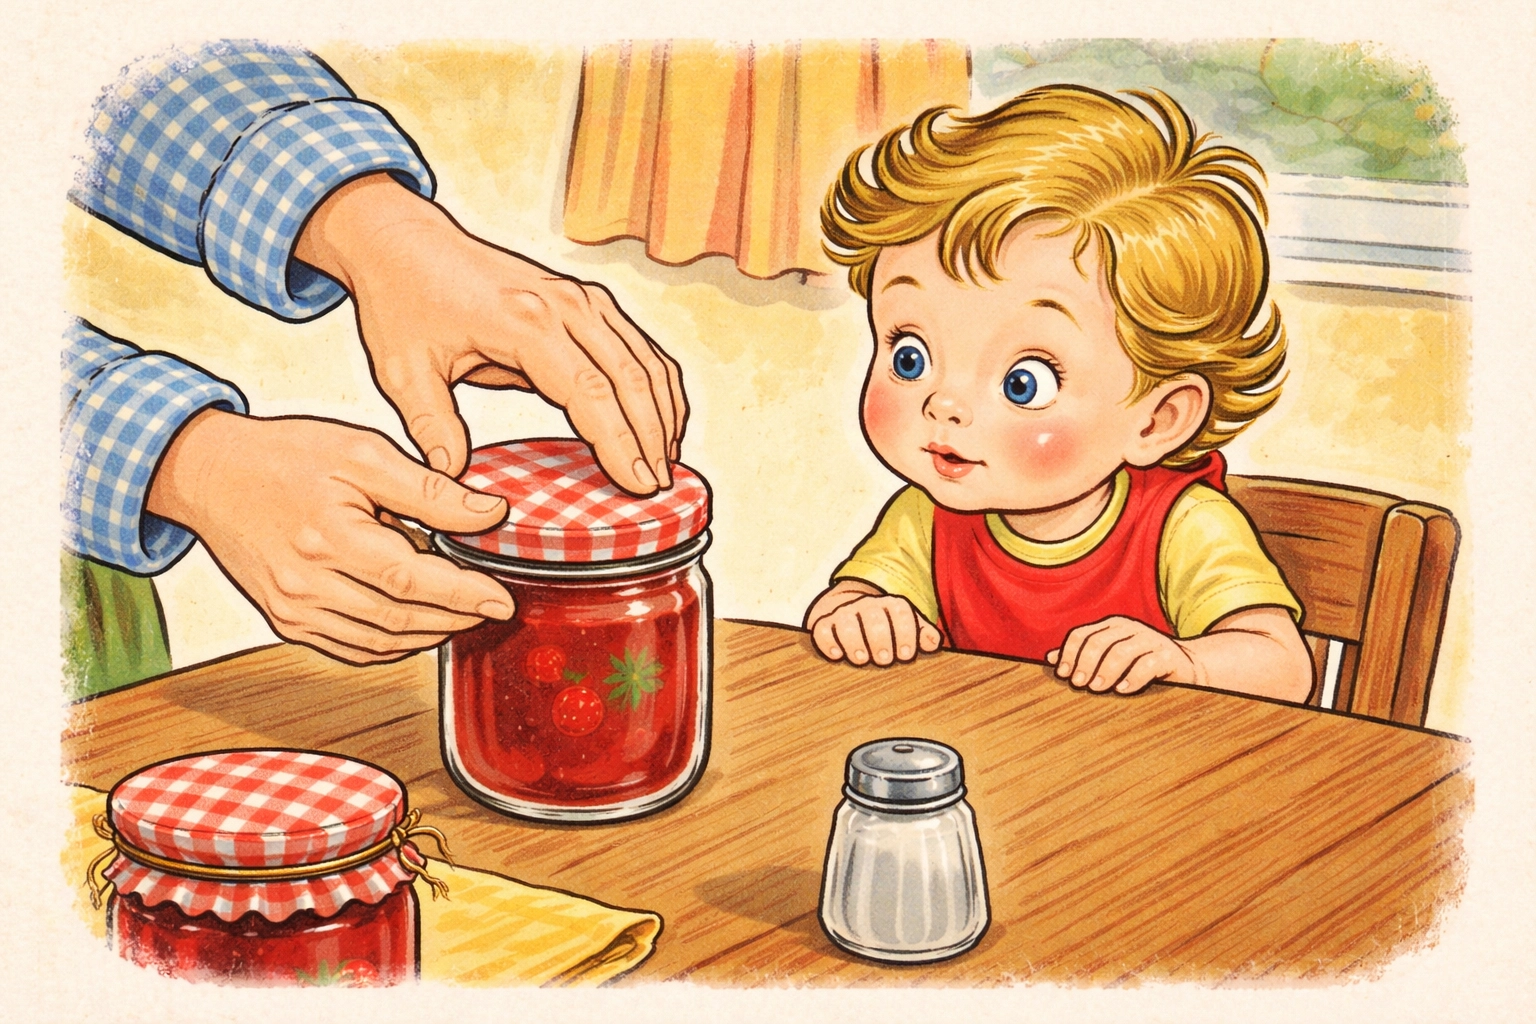
Pro tip: Check your recycling bin too. Clean jars from pasta sauce, peanut butter, or baby food work wonderfully and add variety you might not have in your regular container collection.
Step 2: Clean and Safety-Check Everything
Give all containers and lids a good wash, even if they look clean. Then do a quick safety check:
- Remove any containers with sharp edges or cracks
- Skip glass jars if your child tends to throw things
- Avoid containers that previously held anything toxic
- Check that screw lids don't have sharp threading
Step 3: Separate Lids from Containers
Take every lid off its container. This seems obvious, but the temptation is to keep a few together "just in case." Resist that urge, the whole point is for your child to figure out the matches.
Step 4: Arrange Your Basket
Place all the lids in your basket or bin. Then arrange the empty containers nearby. You have a few options for setup:
Option A: Everything together. Put containers and lids all jumbled in one large basket. This works well for older toddlers who enjoy sorting.
Option B: Separated setup. Keep lids in the basket and line up containers on a tray or play mat. This provides more visual clarity for younger children.
Option C: Discovery style. Scatter containers around a play area and hand your child the basket of lids to "deliver" to the right homes.
Step 5: Demonstrate First (Maybe)
Some kids dive right in without any introduction. Others benefit from watching you match one or two lids first.
If you demonstrate, start with the most obviously different pair, like a tiny spice jar lid and a large storage container. Talk through what you're doing: "Hmm, this lid is round and small. Which container looks like it might fit?"
Then step back and let your child take over. Resist the urge to correct mistakes immediately. Part of the learning happens when they try a lid that doesn't fit and have to problem-solve.
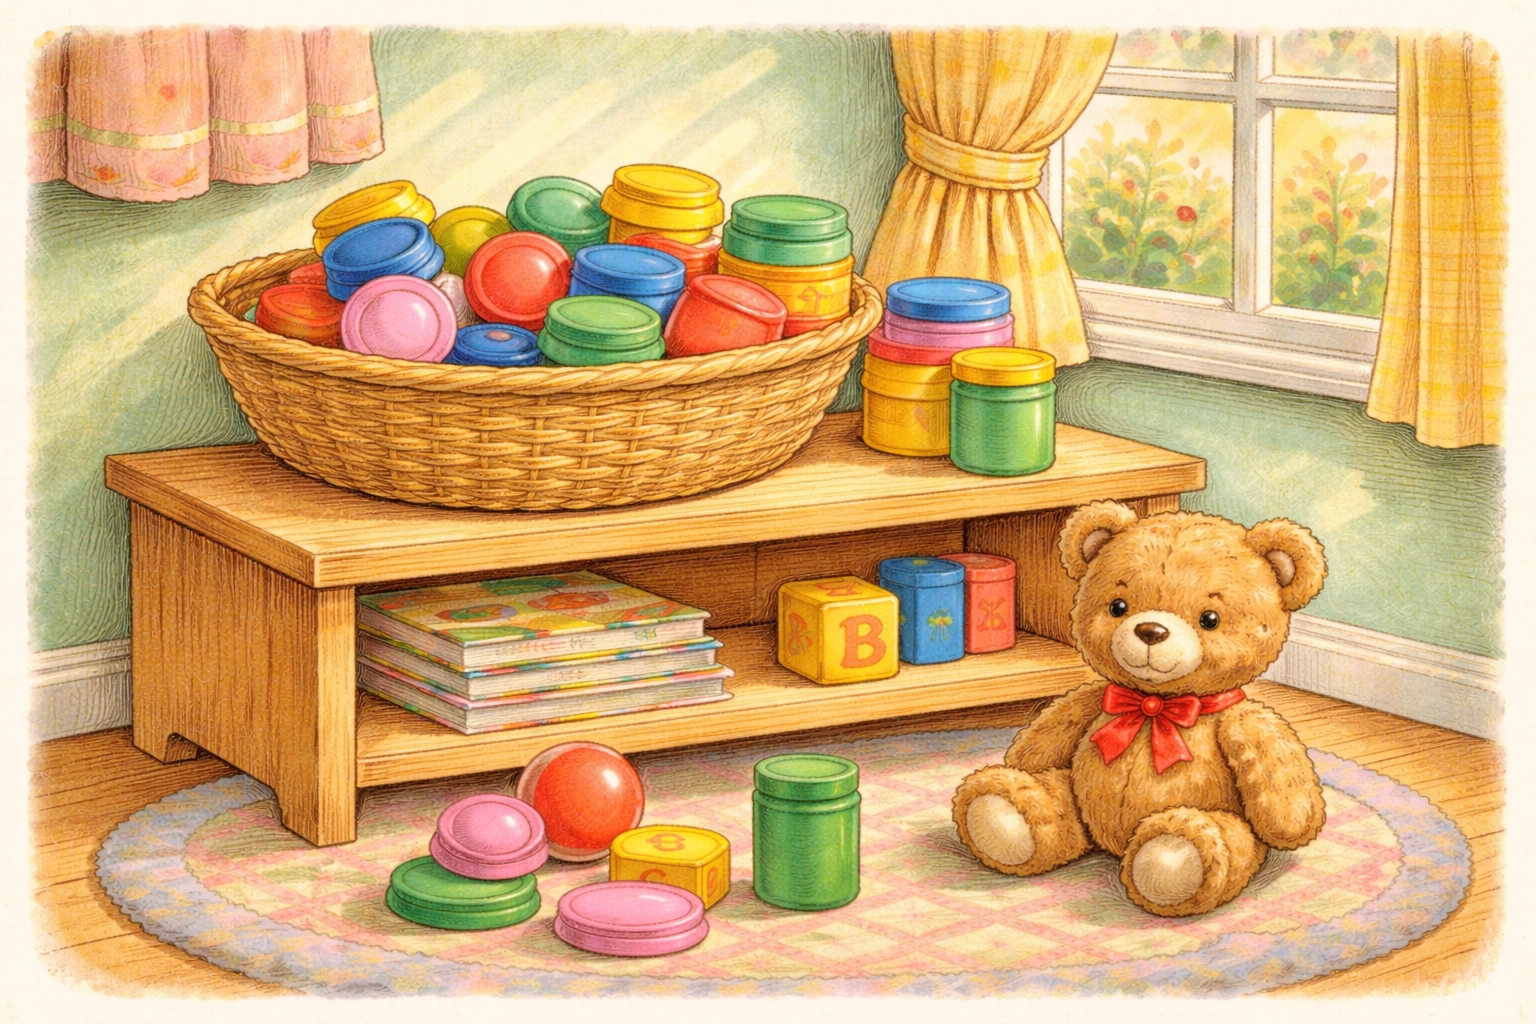
Step 6: Make It Available
Once your child understands the activity, place the basket somewhere they can access it independently. A low shelf, a corner of the playroom, or a spot in the kitchen where they can play while you cook all work well.
The magic of this activity often happens when you're not directly supervising. Kids return to it during transition times, when siblings are busy, or when they just want something calm to do with their hands.
Tips for Keeping It Fresh
Rotate containers regularly. Swap out a few containers every week or two to maintain interest. That yogurt container that's been in the basket for a month? Replace it with a cleaned-out jam jar.
Add decoy lids for challenge. Once your child masters the basic matches, throw in a few lids that don't have corresponding containers. This adds a problem-solving layer: "Wait, this one doesn't fit anything!"
Introduce themes. Use only clear containers one week, only colorful ones the next, or only twist-top jars for a fine motor challenge.
Combine with pretend play. Add dry pasta, pom poms, or cotton balls to some containers. Now it's not just matching: it's a pretend kitchen or shop.
Variations to Try
Color matching: Mark containers and lids with matching colored tape or stickers. Kids match by color first, then confirm by fit.
Size sequencing: After matching, challenge your child to line up containers from smallest to largest.
Blindfold challenge (for older kids): Can they match lids to containers using only touch? This is surprisingly tricky and entertaining.
Timed rounds: Use a sand timer and see how many matches they can complete. Great for kids who enjoy a bit of friendly competition.
Frequently Asked Questions
What if my child just wants to dump everything out and not match?
That's completely normal, especially for younger toddlers. Dumping and filling is its own developmental stage. Let them explore that way for a while: the matching will come later.
How many containers should I include?
Start with 5-7 containers for younger toddlers and work up to 10-15 for older children. Too many options at once can feel overwhelming rather than engaging.
My child gets frustrated when lids don't fit. What should I do?
Frustration is part of learning, but you can reduce it by starting with very different sizes that are easy to distinguish. As confidence builds, add containers that are more similar to each other.
Can I use this activity for multiple children at once?
You can, though it often works better as a solo activity. If you have siblings who want to play together, try giving each child their own set of 5 containers and seeing who can match them first.
How do I store the basket between uses?
Many families keep the basket assembled and ready on a low shelf. If space is tight, you can nest the containers inside each other and store lids in a ziplock bag inside the basket.
Is this activity safe for babies under 12 months?
Use caution with very young babies. Small lids can be choking hazards, and babies this age typically aren't developmentally ready for matching anyway. Wait until your child is past the "everything goes in the mouth" stage.
What if we don't have many containers at home?
Check your recycling bin over a few weeks: you'll likely accumulate plenty. You can also ask family members to save jars for you, or pick up a few inexpensive containers at a dollar store.
How long will my child stay interested in this activity?
Interest varies widely by child and age. Some kids play with their lid basket for months, while others cycle through it in a few weeks. Rotating containers and adding challenges helps extend engagement.
References:
- Various parenting and early childhood education resources on container matching activities for toddlers.
Looking for more simple activities that build real skills? Browse our Kids Crafts collection for projects that keep little hands busy without breaking the bank.


