


Setting up a mud kitchen for outdoor sensory play involves creating a dedicated space with a work surface, containers for mixing, basic kitchen tools, and access to dirt and water. You can build one in an afternoon using repurposed materials like wooden pallets, old pots, and thrifted utensils: or start even simpler with items you have on hand right now.
Mud kitchens give children the chance to dig, pour, stir, and create while developing fine motor skills, creativity, and an appreciation for messy, unstructured outdoor play. Here's exactly how to set one up in your own backyard.
Quick Reference Table
| Detail | Information |
|---|---|
| Best Ages | 2–9 years old |
| Estimated Cost | $0–$75 (depending on materials) |
| Setup Time | 30 minutes to 3 hours |
| Basic Materials | Work surface, containers, kitchen utensils, dirt, water source |
| Skill Level | Beginner-friendly |
Step 1: Choose Your Location
Find a spot in your yard that can handle getting muddy. Ideally, place your mud kitchen:
- Near a garden hose or water spigot for easy filling and cleanup
- On grass, dirt, or gravel rather than a patio you want to keep clean
- In partial shade so little ones stay comfortable during summer play
- Within view of the house so you can supervise from inside
You don't need a huge area. A space about 4 feet by 4 feet works well for most setups.
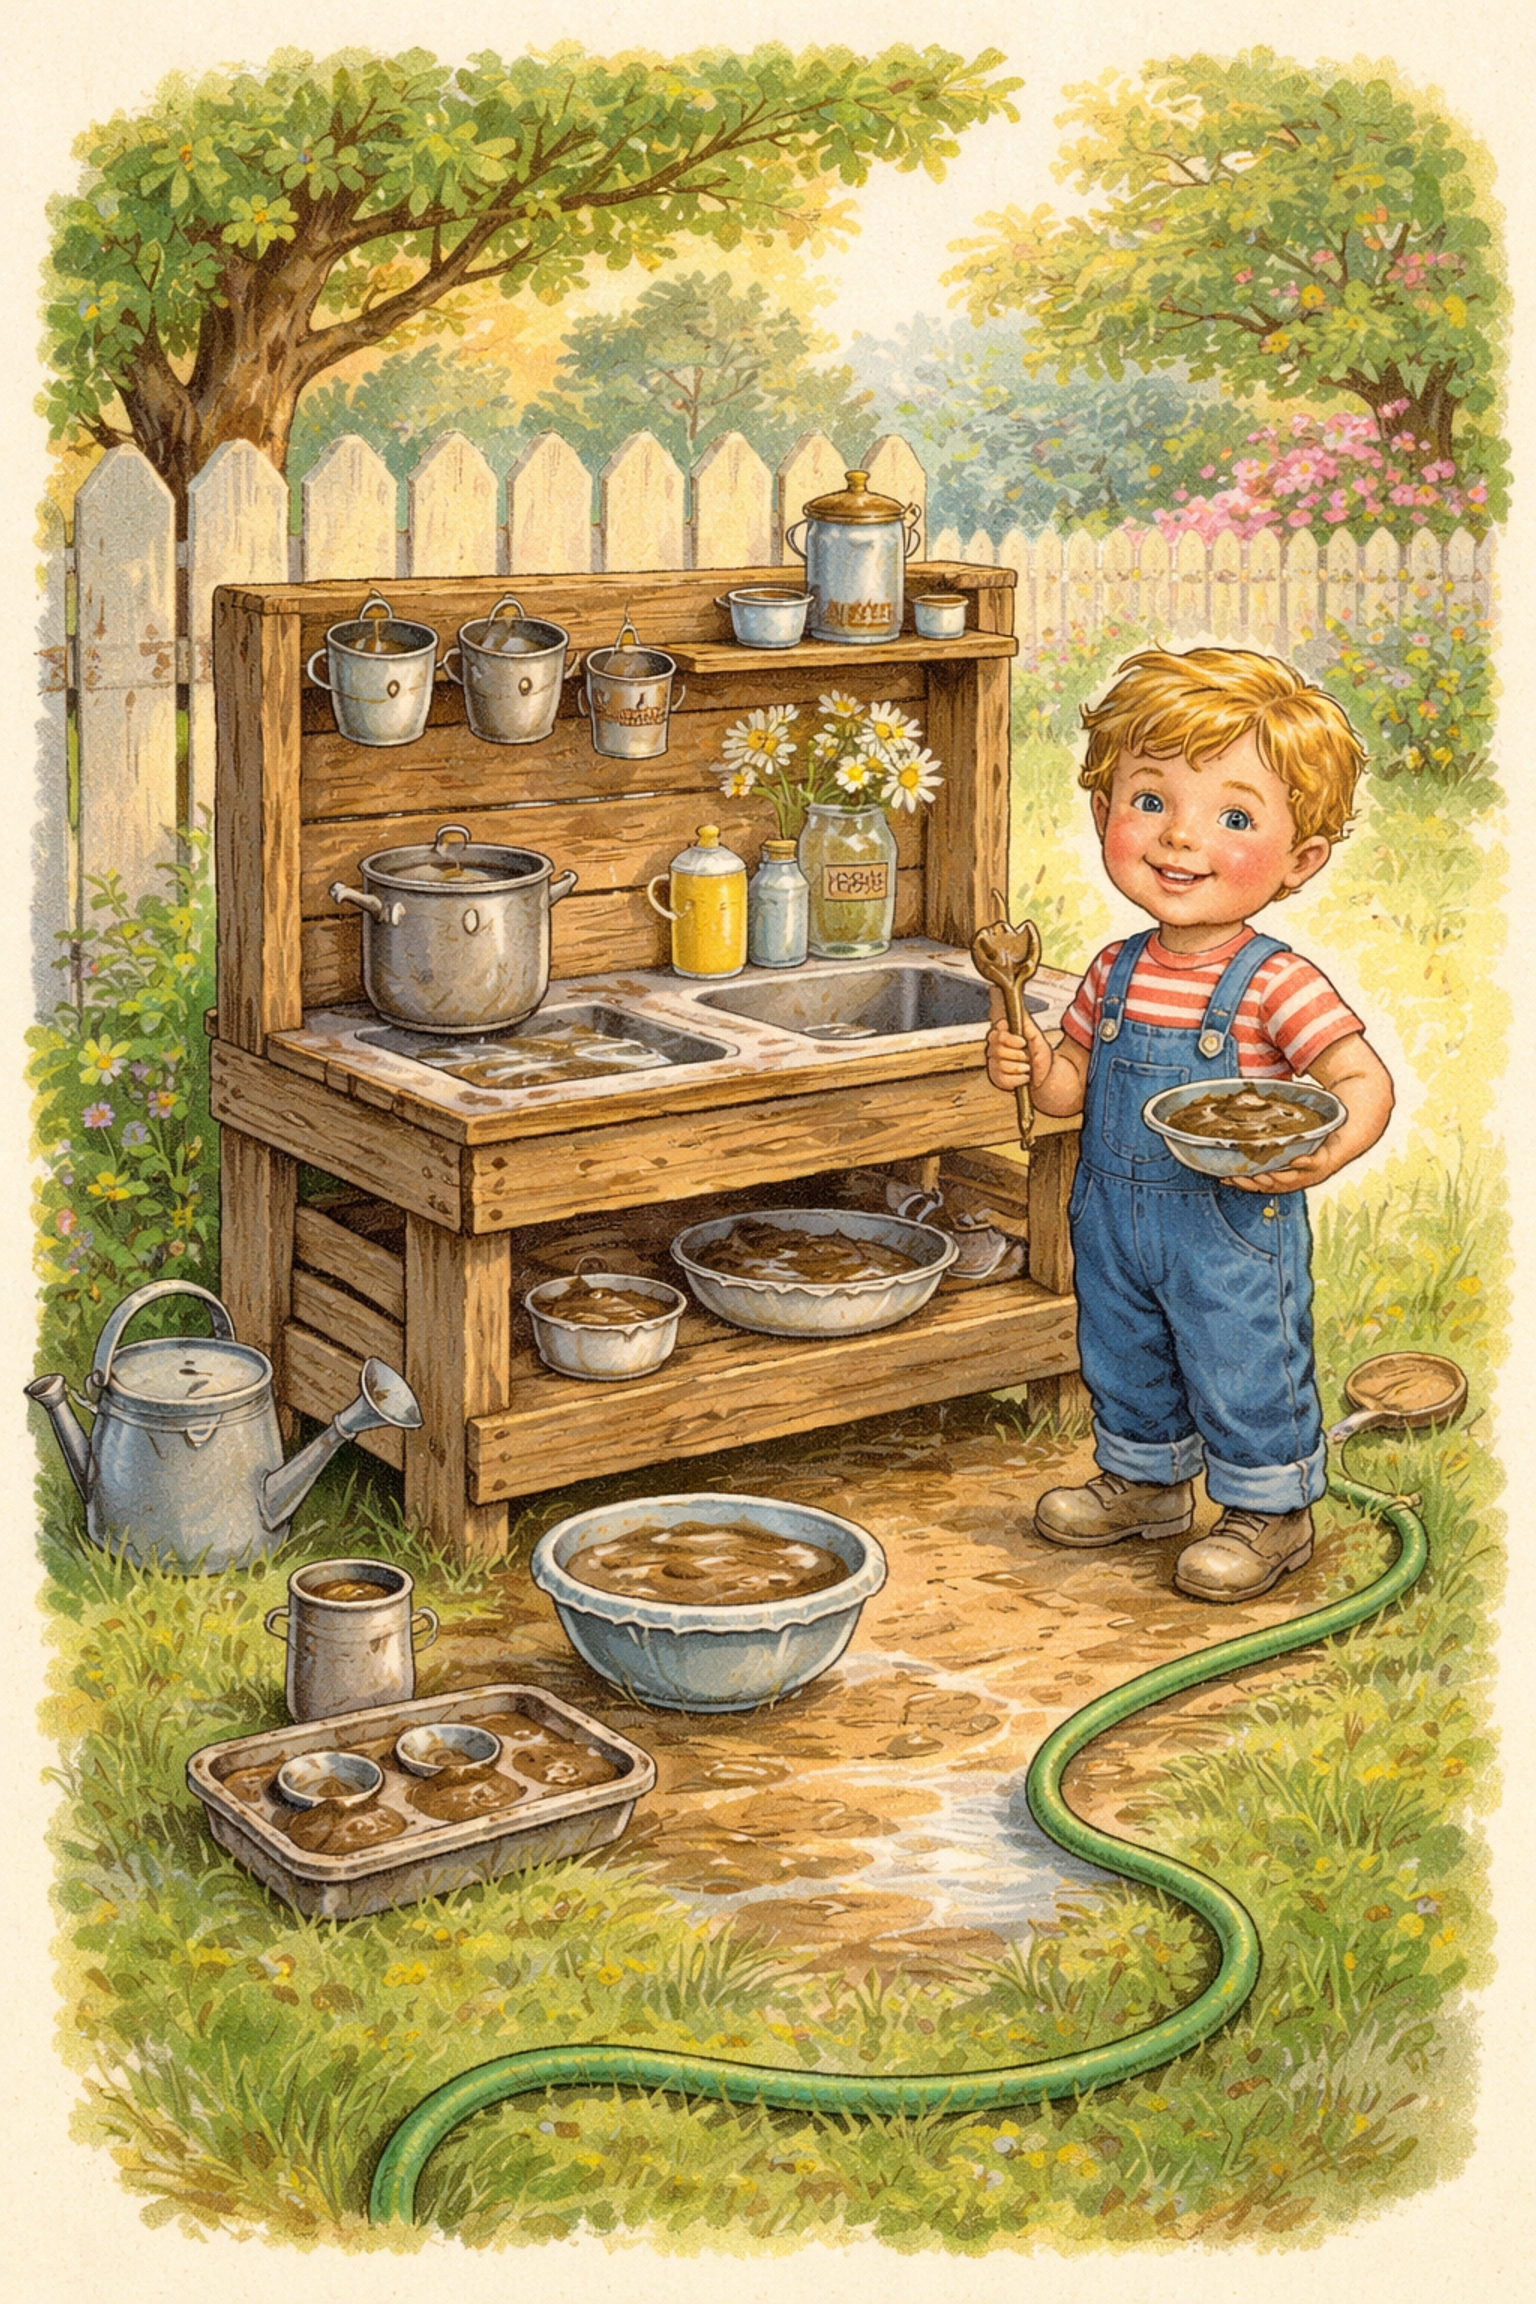
Step 2: Set Up Your Work Surface
The work surface is the heart of your mud kitchen. You have several options depending on your budget and DIY comfort level.
Simple Option: Use What You Have
- A sturdy cardboard box
- An overturned plastic storage bin
- A small folding table
- A low bench or step stool
Mid-Level Option: Repurposed Furniture
- An old nightstand or end table
- A wooden crate turned on its side
- A thrifted play kitchen (plastic ones hold up surprisingly well outdoors)
DIY Build Option: Wooden Pallets
If you want something more permanent:
- Find two wooden pallets of similar size
- Cut them down to your child's comfortable working height (typically 18–24 inches for toddlers, 24–30 inches for older kids)
- Connect them with a piece of plywood across the top as your countertop
- Attach a third pallet vertically to the back as a "backsplash" for hanging tools
- Sand any rough edges and seal with outdoor-safe paint or stain if desired
Step 3: Add a Sink or Washing Station
Every good mud kitchen needs water access. Here are easy ways to create a "sink":
- Plastic basin or dish tub set into a hole cut in your countertop
- Old metal mixing bowl placed on the surface
- Small bucket that kids can fill and dump
- Camping water container with a spigot for a "working faucet" effect
For the fanciest setup, you can install a small water tank (around 4.5 liters) with a push-button or gravity-fed faucet. Kids absolutely love having a tap that actually works.
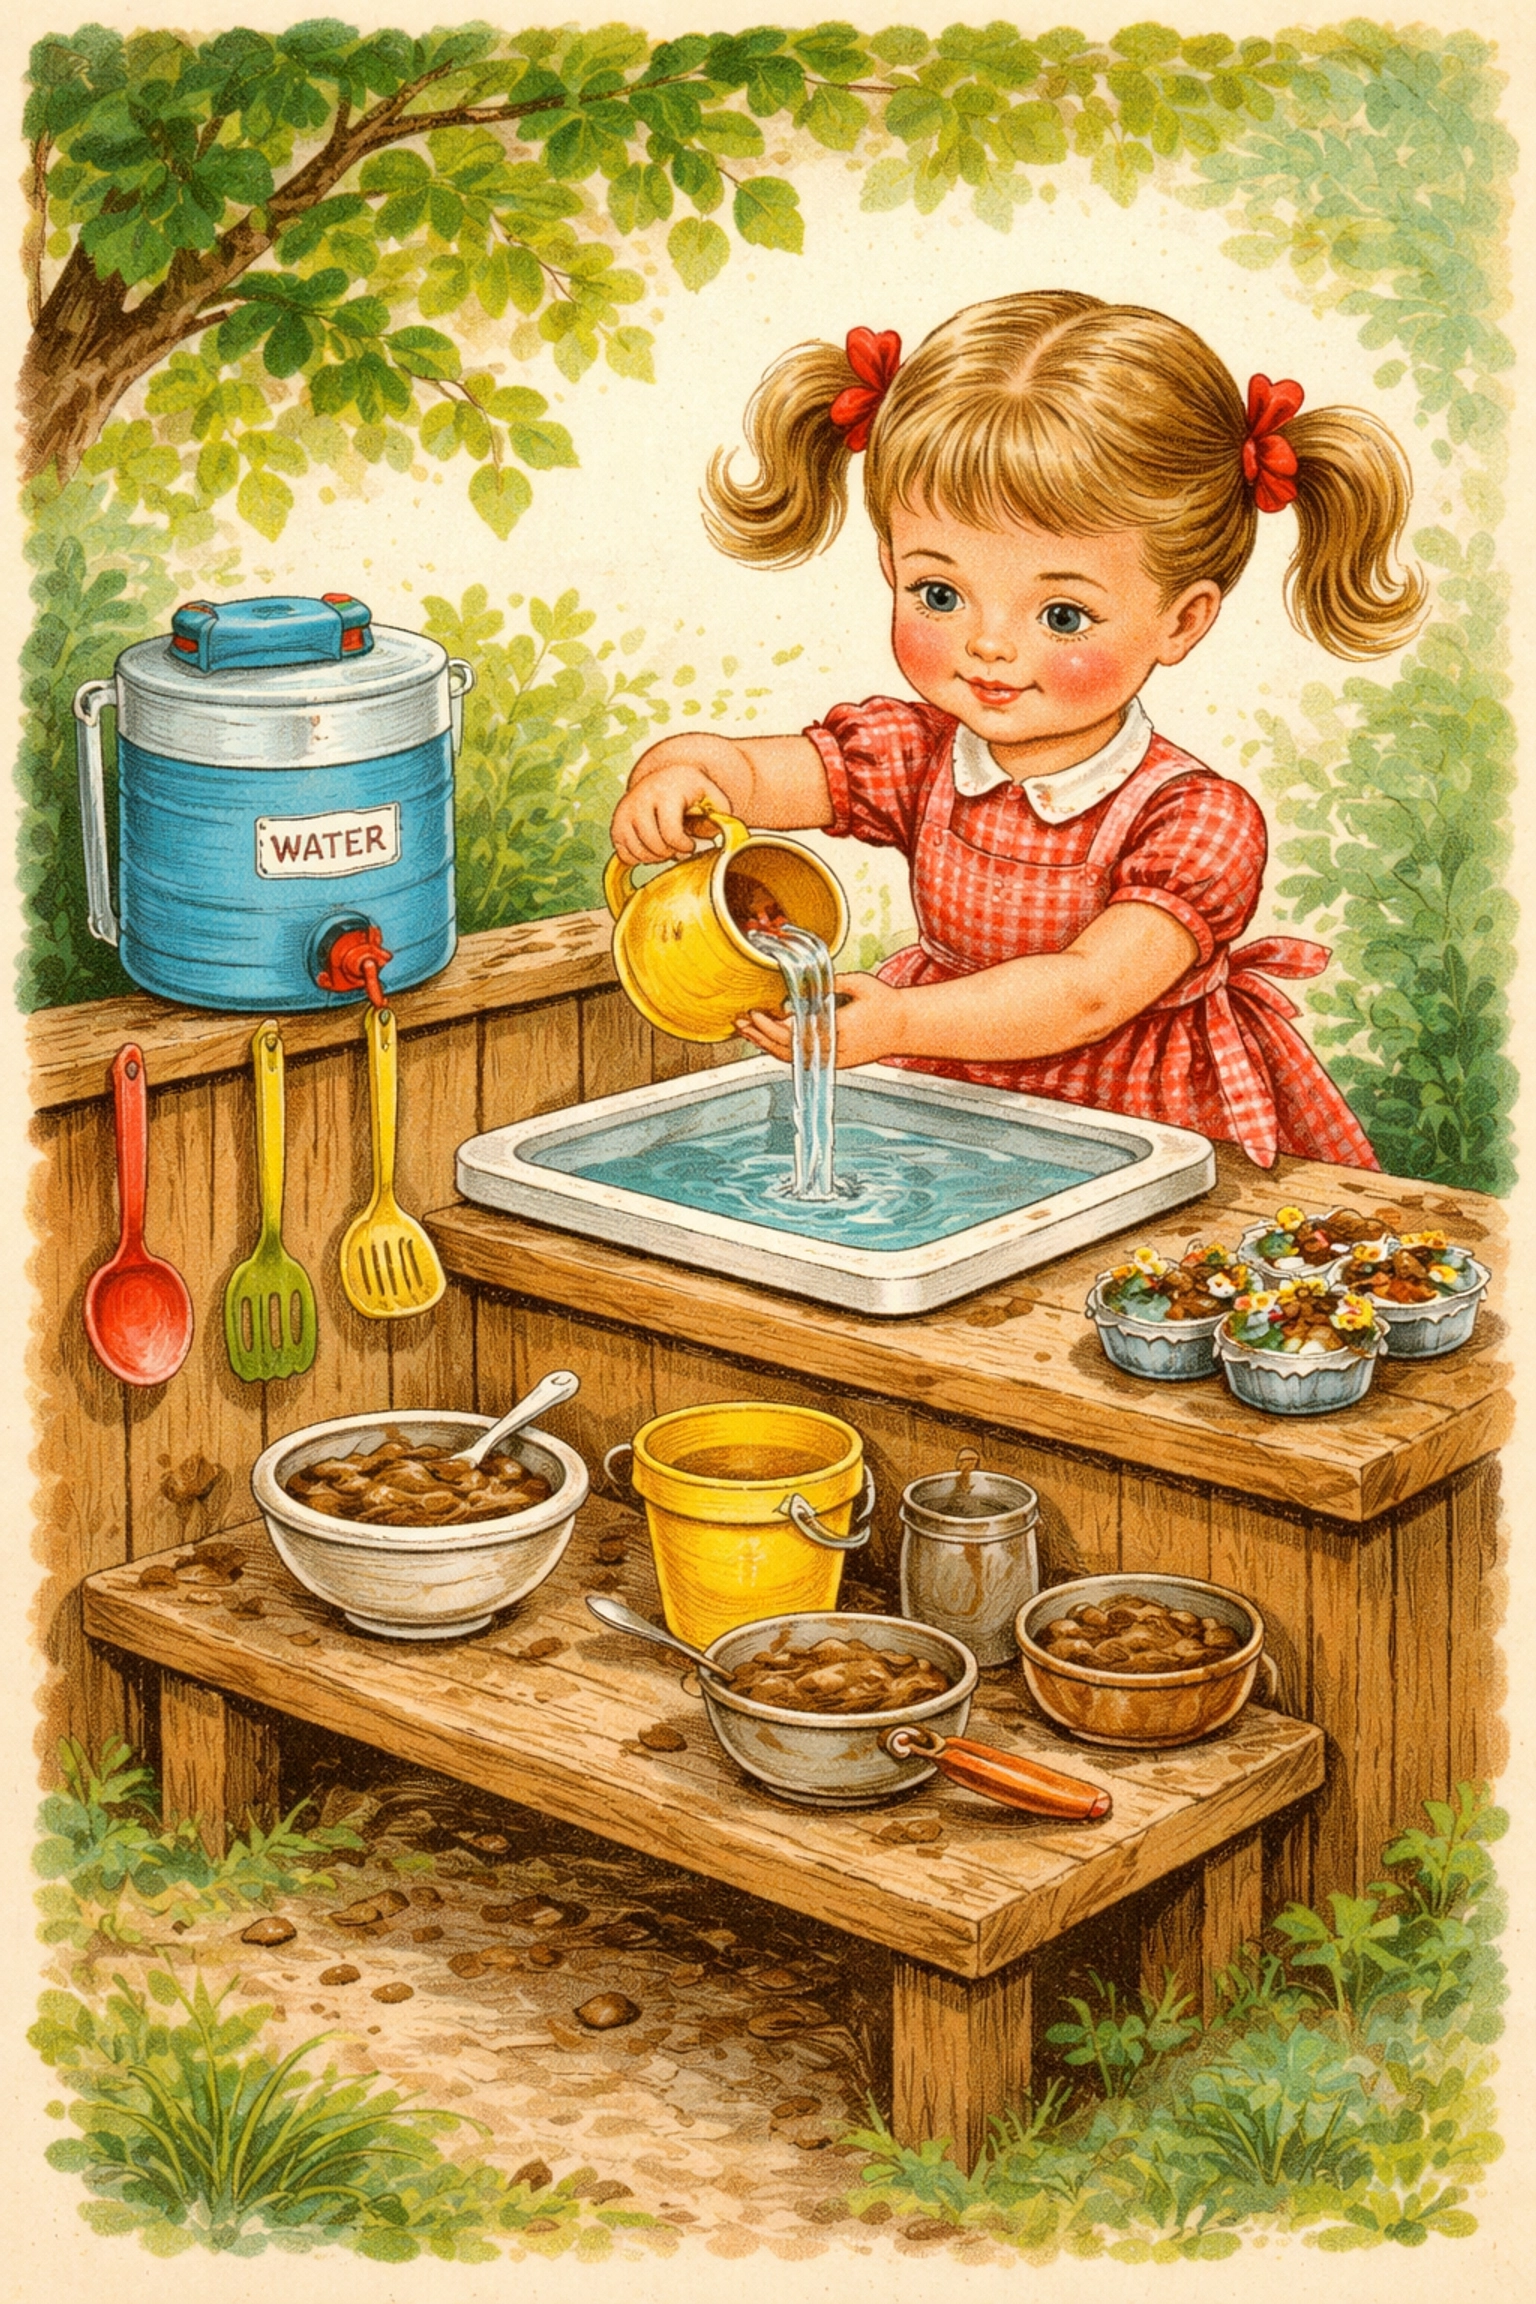
Step 4: Gather Your Kitchen Tools
Raid your kitchen drawers, hit up thrift stores, or check dollar stores for:
Mixing and Stirring:
- Wooden spoons
- Spatulas
- Whisks
- Ladles
Measuring and Pouring:
- Measuring cups and spoons
- Funnels
- Small pitchers
Containers:
- Pots and pans (old ones work great)
- Muffin tins
- Cake pans
- Tin cans with smooth edges
- Plastic containers and bowls
Extras:
- Colanders and strainers
- Cookie cutters
- Rolling pins
- Mini gardening trowels
Hang tools on hooks attached to your backsplash, store them in buckets, or arrange them on shelves beside the work surface.
Step 5: Stock Your Sensory Ingredients
The magic of a mud kitchen comes from the variety of textures and materials kids can explore. Set up containers with:
Base Ingredients:
- Dirt (the muddier the better when mixed with water)
- Sand
- Gravel or small pebbles
- Potting soil
Natural Add-Ins:
- Leaves
- Grass clippings
- Pine needles
- Flower petals
- Small sticks and twigs
Scented Elements:
- Fresh herbs like mint, rosemary, or lavender from your garden
- Citrus peels
- Pine cones
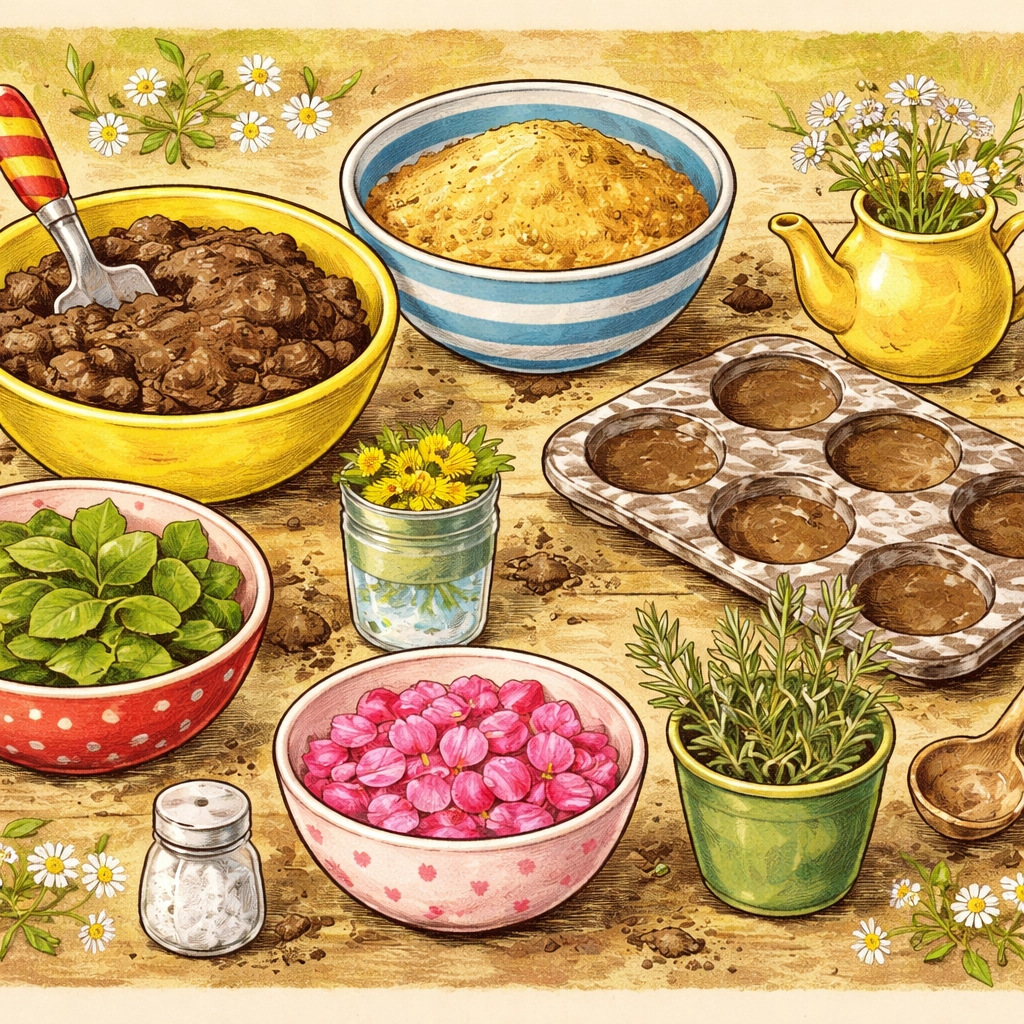
These ingredients let children create "recipes" and experiment with different textures, smells, and consistencies. You'll be amazed at the elaborate mud pies, soups, and cakes they dream up.
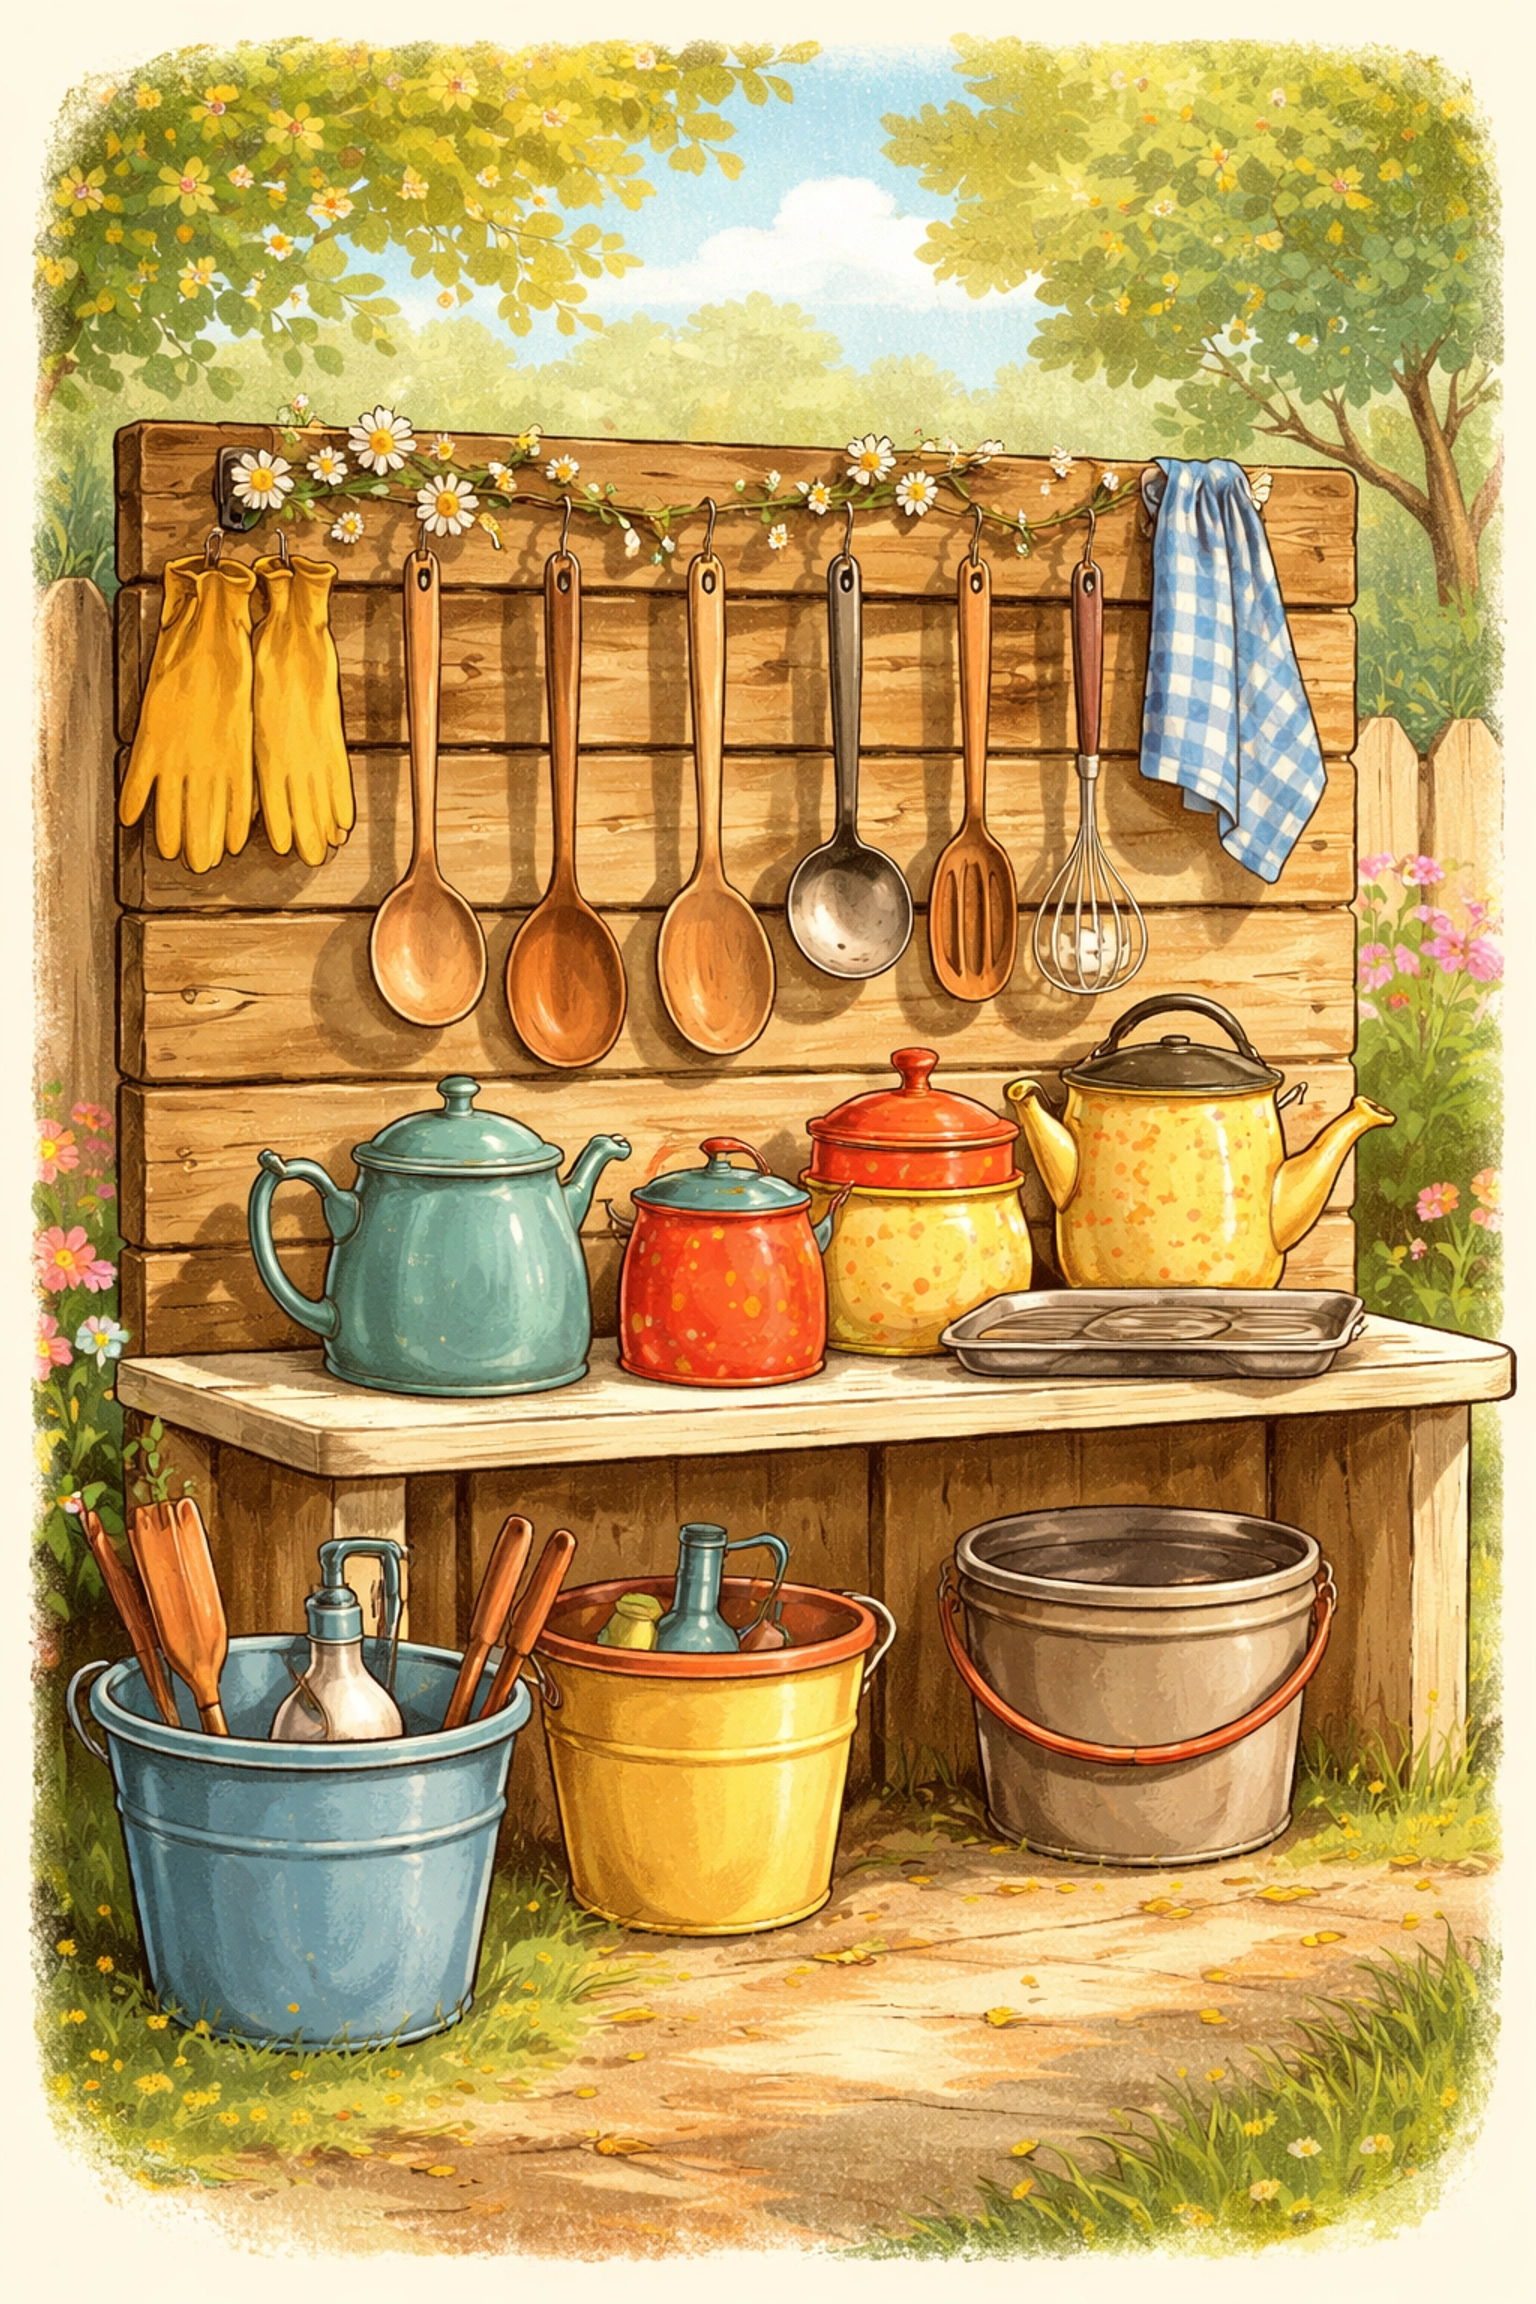
Step 6: Create Storage Solutions
Keep your mud kitchen organized with simple storage:
- Hooks on the backsplash for hanging utensils and towels
- Shelves below the counter for pots and pans
- Buckets or bins for loose items
- A covered container to keep dry ingredients (sand, soil) from getting waterlogged between play sessions
If your setup isn't weatherproof, consider storing tools in a nearby shed or garage and bringing them out for play time.
Practical Tips for Mud Kitchen Success
Dress for the Mess
Accept that children will get dirty: that's the whole point. Swimsuits work great in warm weather. In cooler months, rain boots and old clothes do the trick.
Set Expectations
Mud stays in the mud kitchen area. Pies are for pretend eating only. Hands get washed before going inside.
Make Cleanup Easy
Keep a towel and bucket of rinse water nearby. A quick hose-down of tools after play keeps everything ready for next time.
Rotate Materials
Switch out ingredients periodically to keep things interesting. Add colored rice one week, oatmeal another, or seasonal items like fallen autumn leaves or spring flower petals.
Embrace All Seasons
Mud kitchens work year-round. Frozen mud in winter offers a completely different sensory experience than squishy summer mud.
If you don't have outdoor space, you can create taste-safe "mud" for indoor play by mixing equal parts cocoa powder, cornstarch, and water. It's messy but washable and completely safe if little ones sneak a taste.
FAQs About Mud Kitchens
What age is best for a mud kitchen?
Mud kitchens work well for children ages 2 through 9. Toddlers enjoy the basic sensory experience of squishing and pouring, while older children create more elaborate pretend play scenarios.
How much does it cost to build a mud kitchen?
You can start with zero dollars using items from around your home. A more elaborate pallet-based build with purchased accessories might run $50–$75.
Is mud play actually educational?
Yes. Mud play supports fine motor development, creativity, early science concepts (mixing, measuring, cause and effect), and social skills when children play together.
What if I don't have a yard?
A balcony, patio, or even a large plastic bin indoors can work. Use the taste-safe cocoa powder mixture for mess-free indoor sensory play.
How do I keep the mud kitchen from becoming an eyesore?
A coat of outdoor paint, organized storage, and regular tidying help. Some families build a simple cover or store supplies in bins between uses.
Can mud kitchens stay outside year-round?
Wooden structures may need weatherproofing or covering. Plastic and metal items typically hold up well to the elements.
What about bugs and pests?
Avoid leaving food-based items (like oatmeal or flour) outside overnight. Covered bins and regular cleanup help keep critters away.
How do I get my reluctant child interested?
Start playing alongside them. Model making a mud pie, "taste" it dramatically, and invite them to help. Some children need a few sessions before they warm up to the mess.
For more outdoor projects your kids will love, explore our kids crafts collection or try building a DIY worm composting bin to pair with your new mud kitchen.
References:
- Research on mud kitchen setups and sensory play benefits
- DIY building guides for outdoor play structures


