


The Quick Answer
To set up button sorting jars for kids, you'll need a handful of containers with lids, colorful buttons in various sizes, and a way to mark each container by color. Simply cut a slot in each lid, color-code your containers to match your button collection, and let your little one sort away. The whole setup takes roughly 15-20 minutes and costs under $10 using supplies you likely already have at home.
This classic activity has been keeping tiny hands busy for generations: and for good reason. It's simple, satisfying, and sneaks in a whole lot of learning without kids even realizing it.
Why Button Sorting Works So Well
There's something almost magical about watching a toddler's face light up when they drop a red button into a red jar and hear that satisfying plink. Button sorting jars tap into a child's natural desire to organize their world: and that instinct is actually doing some heavy lifting developmentally.
When kids sort buttons by color, they're building:
- Color recognition – Matching buttons to containers reinforces color names and visual discrimination
- Fine motor skills – Picking up small objects and guiding them through slots strengthens those little finger muscles
- Problem-solving – Figuring out which button goes where encourages logical thinking
- Focus and patience – Completing the sorting task helps build attention span
- Early math concepts – Counting, grouping, and eventually recognizing patterns all come into play
And the cherry on top? This activity tends to keep kids engaged for a surprisingly long stretch, giving you a few peaceful minutes to sip your coffee while it's still warm.

What You'll Need: Materials Table
Here's everything you need to pull this together, and it should run you less than $10 total: possibly nothing if you raid your craft drawer.
| Material | Quantity | Estimated Cost | Notes |
|---|---|---|---|
| Containers with lids | 4-6 | $0-3 | Recycled food containers, mason jars, or plastic cups work great |
| Buttons (assorted colors) | 50-100 | $2-5 | Check dollar stores or your sewing kit |
| Non-toxic paint or colored tape | 4-6 colors | $1-3 | To color-code your containers |
| Sharp knife or box cutter | 1 | $0 | For cutting slots (adult use only) |
| Optional: Muffin tin | 1 | $0-2 | Alternative to jars for younger kids |
Total estimated cost: $3-10
Most families find they already have containers and buttons lying around, which brings the cost down to practically nothing.
Age Range: Who Will Enjoy This Most?
Button sorting jars work across a pretty wide age range, though you'll want to adjust the setup based on your child's stage:
18 months – 2 years: Use only large buttons (golf ball size or bigger) and wide-mouth containers without lids. At this age, simply dropping buttons into matching colored bowls is plenty challenging and plenty fun.
2 – 3 years: Introduce containers with slots cut in the lids. Stick with 2-3 colors to start and use medium-to-large buttons only. Small buttons are a choking hazard for this age group.
3 – 5 years: Go ahead and add more colors, smaller buttons, and additional challenges like counting or pattern-making. This is the sweet spot where kids often get really into the sorting groove.
5+ years: Older kids might enjoy timed challenges, sorting by multiple attributes (color AND size), or helping younger siblings set up their own stations.
Time Estimate
- Setup time: 15-20 minutes (one-time prep)
- Activity time: 10-30 minutes per session (varies by age and interest)
- Cleanup: 5 minutes
Once you've made your sorting jars, they're ready to pull out whenever you need a quick, screen-free activity. Store everything together in a bin or basket for easy access.
Step-by-Step Setup Instructions
Step 1: Gather Your Containers
Round up 4-6 containers with lids. Yogurt cups, plastic food storage containers, mason jars, or even disposable cups all work nicely. Clear containers have an advantage: kids can see their sorted buttons accumulating inside, which tends to be pretty satisfying for them.
Make sure all your containers are clean and dry before you start decorating.
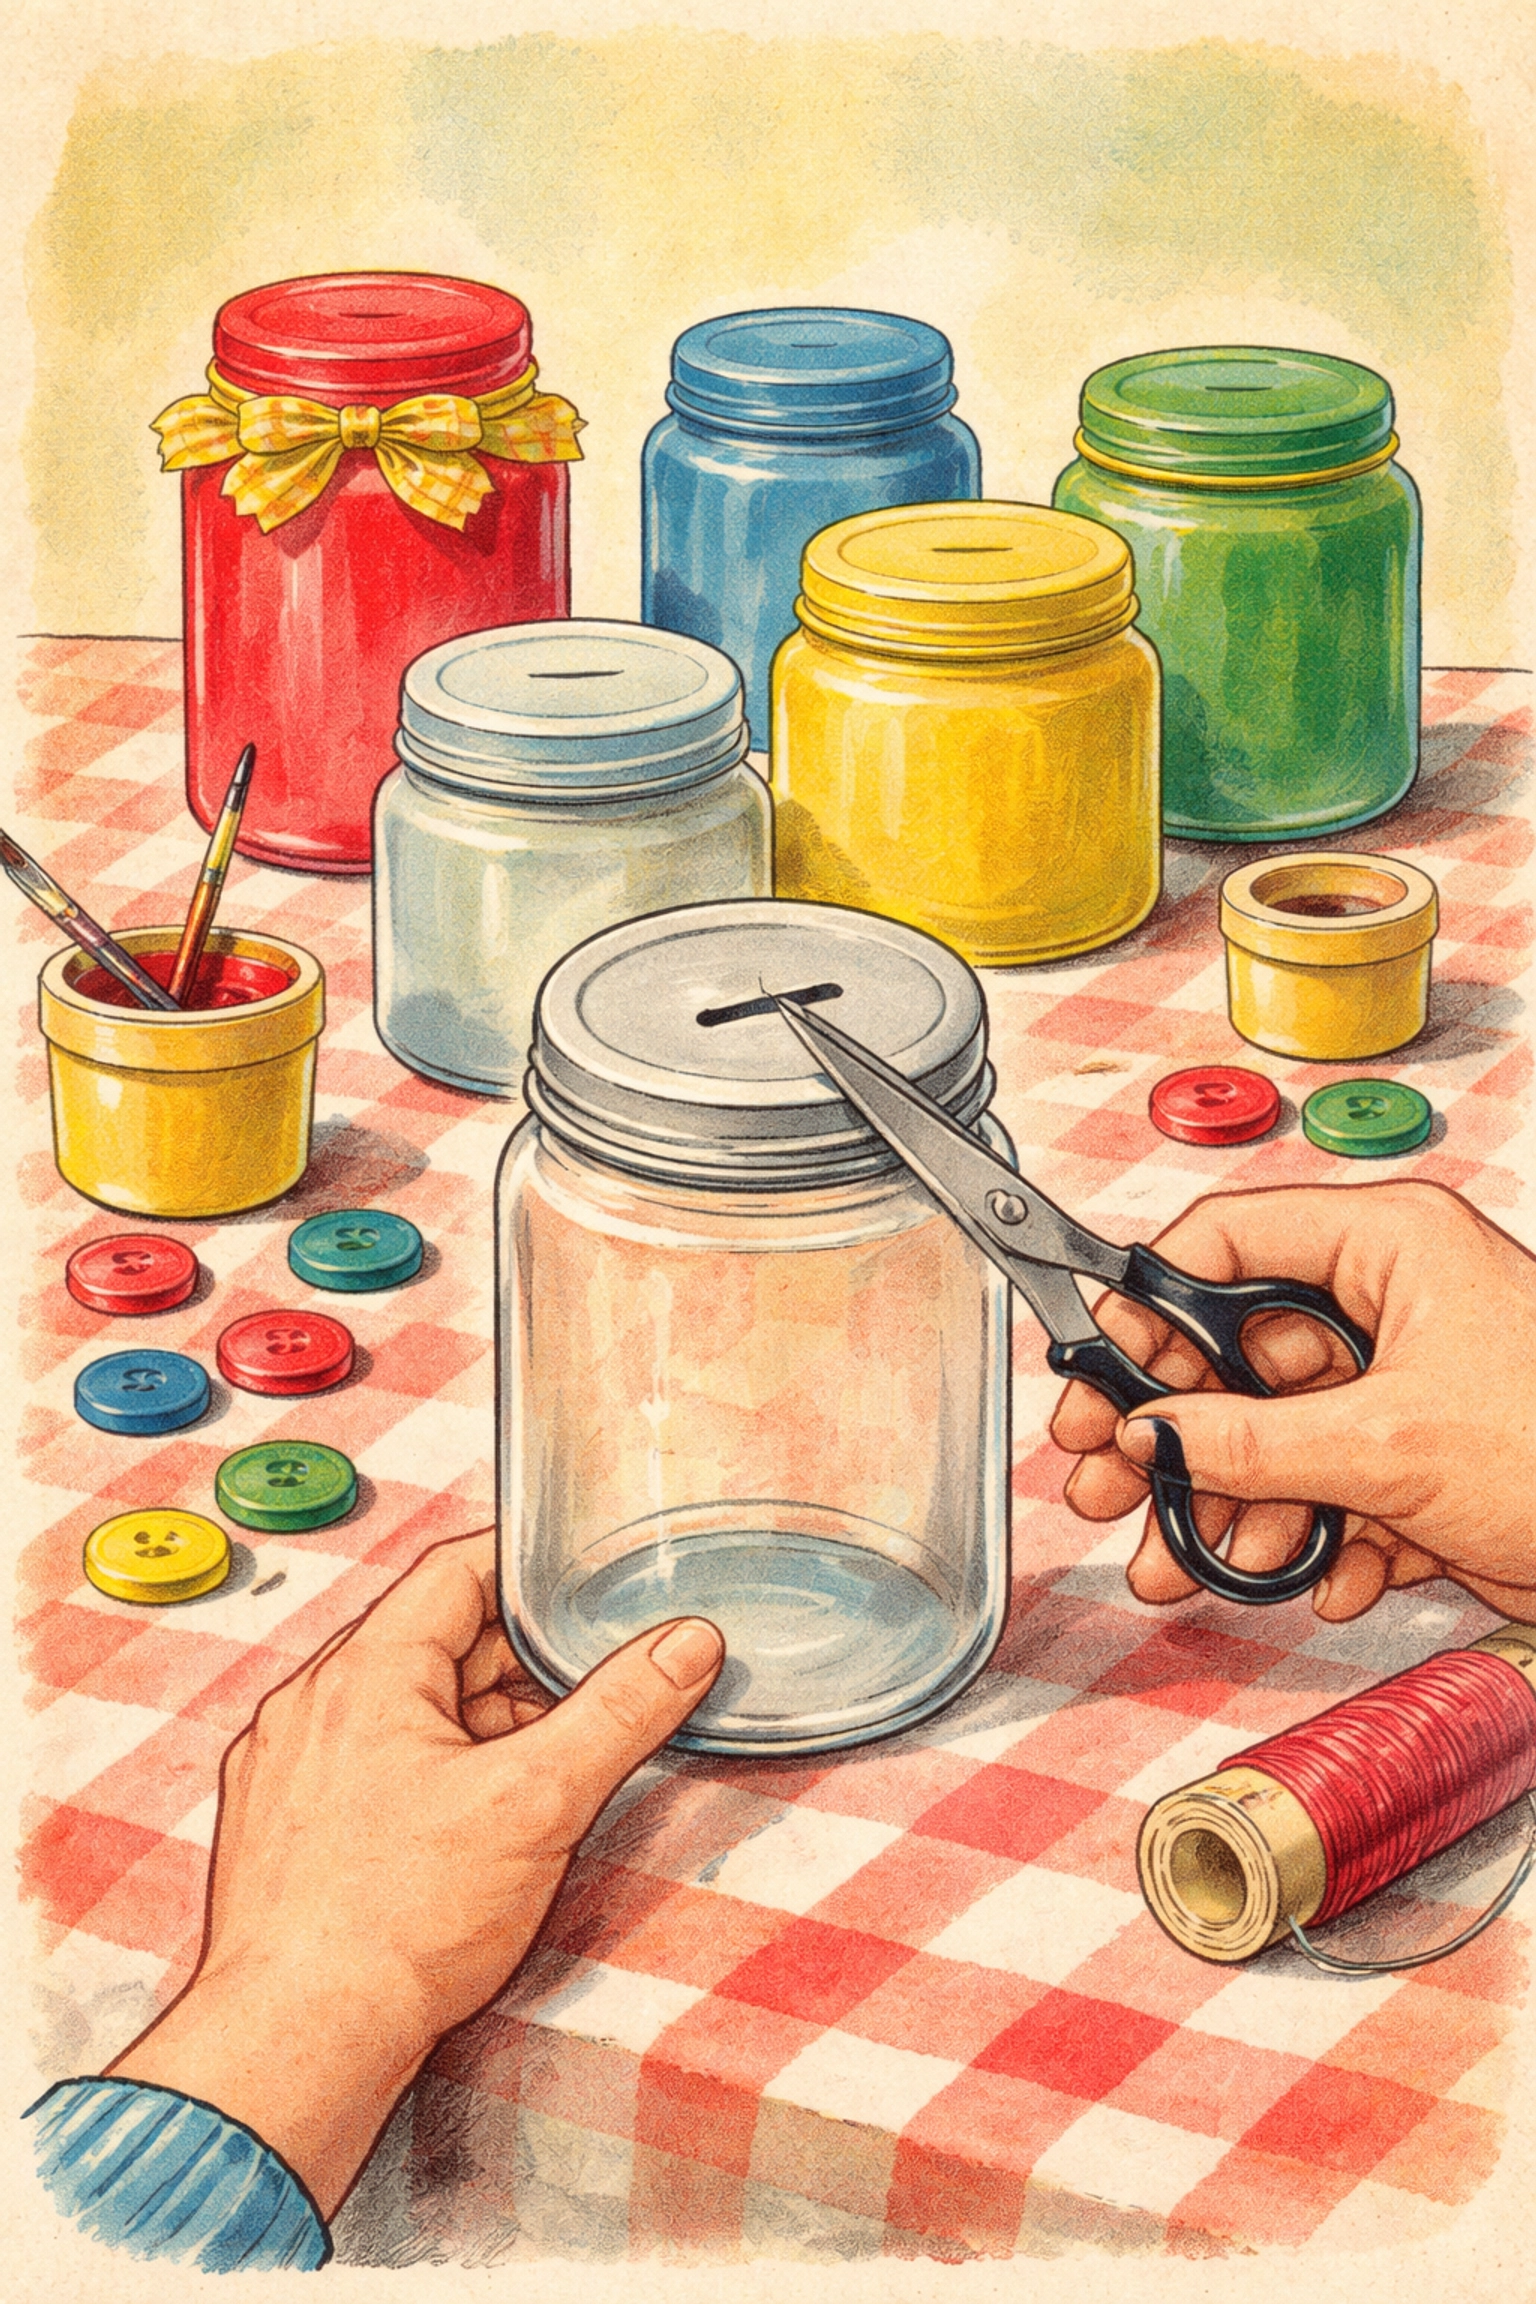
Step 2: Cut Slots in the Lids
Using a sharp knife or box cutter (this is definitely an adults-only step), carefully cut a slot in the center of each lid. The slot should be wide enough for your largest button to slip through with a little wiggle room: roughly 1 to 1.5 inches long and about half an inch wide usually does the trick.
Sand down any rough edges with fine sandpaper or cover them with tape so little fingers don't get scratched.
Step 3: Color-Code Your Containers
Now for the fun part. Match each container to a button color you'll be sorting. You have a few options here:
- Paint the lids with non-toxic acrylic paint
- Wrap colored tape around the container or lid
- Use colored paper secured with clear tape
- Draw with permanent markers on plastic containers
If you're using clear containers, painting just the lid works well since kids can still see inside. For opaque containers, color the whole thing or add a big colored dot.
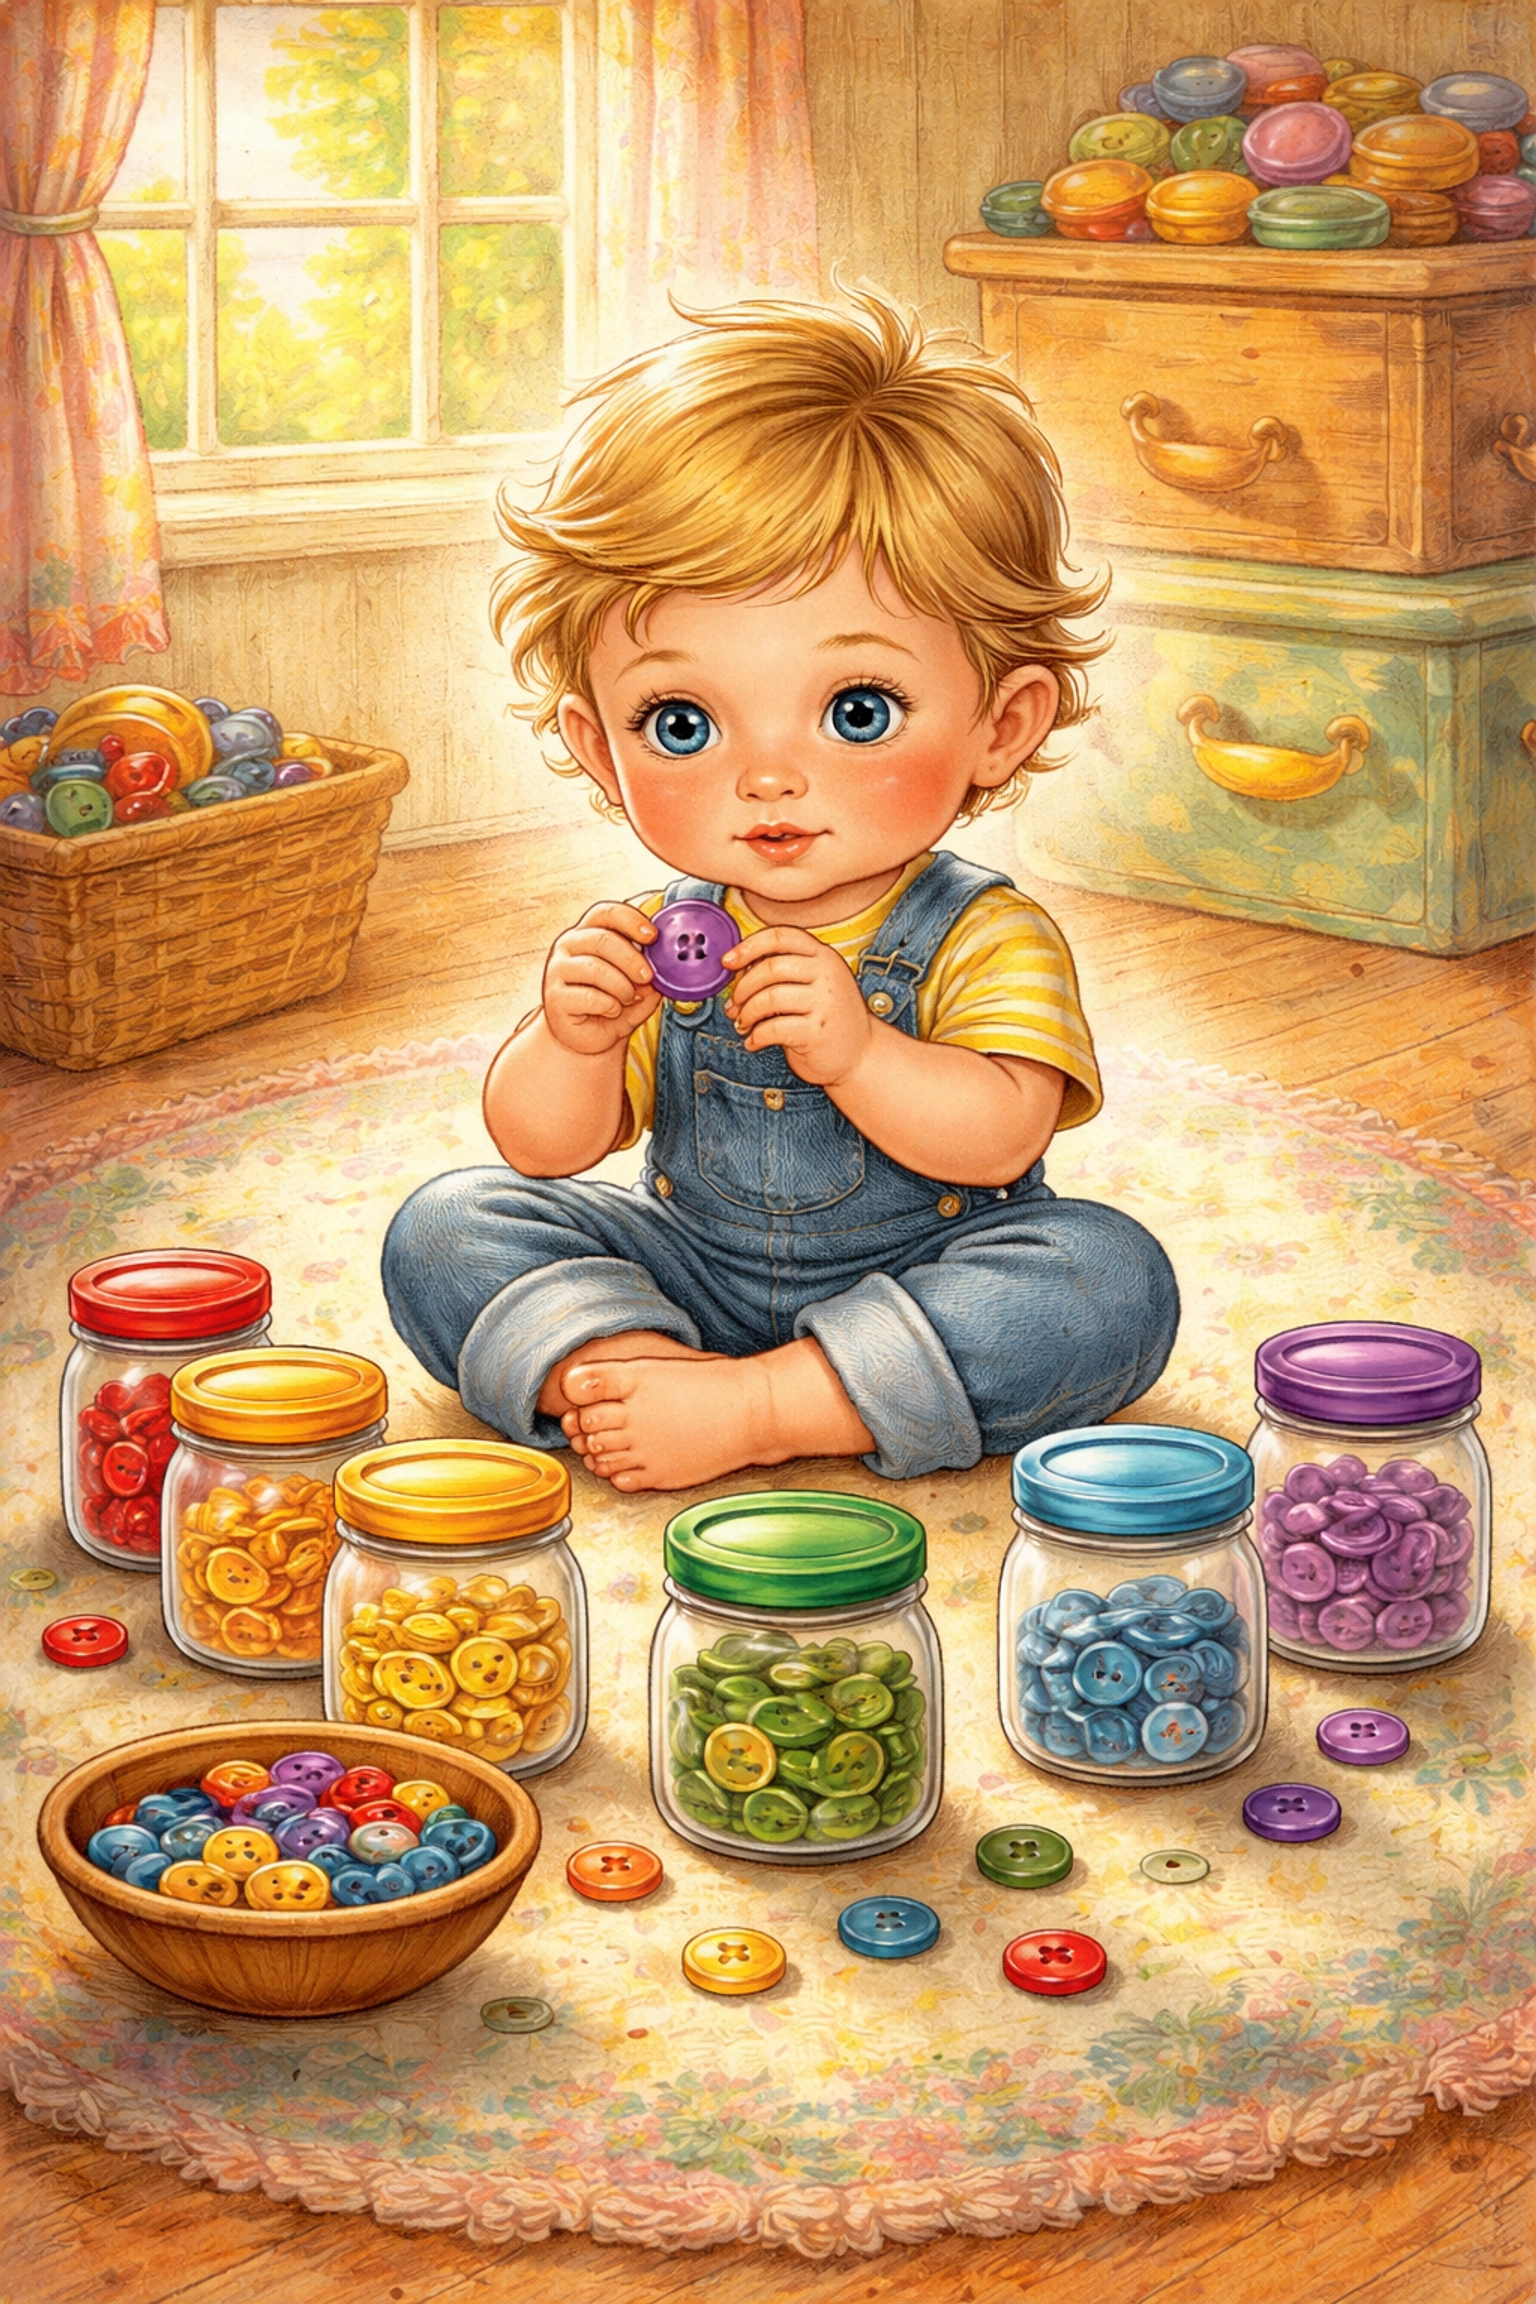
Step 4: Sort Your Button Collection
Dump out your button stash and organize them by the colors you've chosen. You don't need a perfect rainbow: just make sure you have a decent handful of buttons for each container color.
Safety check: If your child is under 3, remove any buttons smaller than a quarter. When in doubt, leave it out.
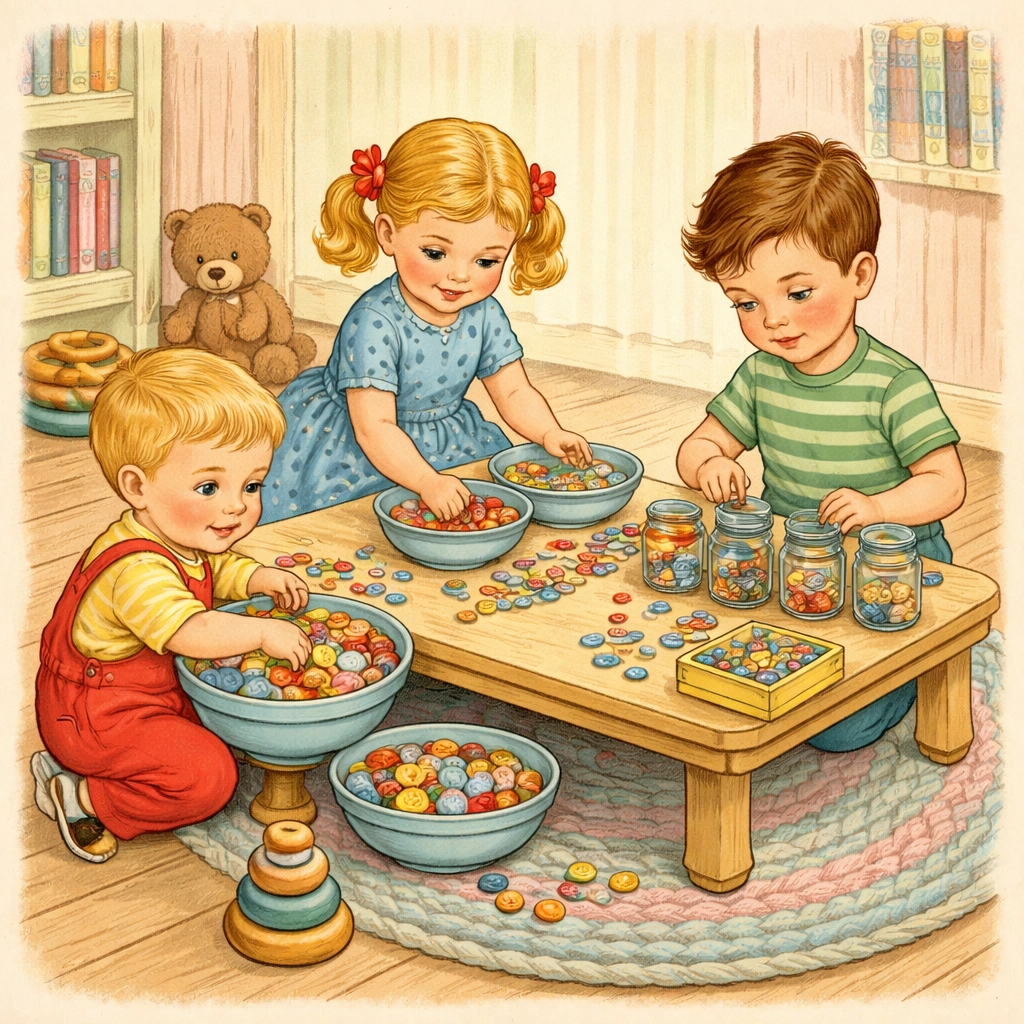
Step 5: Set Up the Activity Station
Arrange your color-coded jars in a row or semicircle on a table, tray, or the floor. Put all the mixed buttons in a bowl or pile in front of your child. That's it: you're ready to go!
For first-timers, demonstrate by picking up a button, naming its color, finding the matching jar, and dropping it through the slot. Then let them take over.
Ways to Extend the Activity
Once your kiddo has mastered basic color sorting, try these variations to keep things interesting:
- Add counting: "Can you put exactly 5 blue buttons in the blue jar?"
- Sort by size: Mix up small, medium, and large buttons regardless of color
- Create patterns: Lay buttons out in AB or ABC patterns before sorting
- Timed challenges: Use a kitchen timer and see how fast they can sort
- Blindfold sorting: Older kids can try sorting by feel alone (button size and texture)
You might also swap buttons for other small items like pom poms, foam shapes, or bottle caps to mix things up on different days.
Frequently Asked Questions
What if I don't have buttons at home?
No problem! Substitute pom poms, foam stickers, colored pasta, bottle caps, or even small toys. Anything that comes in multiple colors and is safe for your child's age will work.
Are buttons safe for toddlers?
Buttons can be a choking hazard for children under 3. For younger kids, use only large buttons (bigger than a golf ball) and always supervise closely. When children are still mouthing objects, consider pom poms or larger alternatives instead.
How many colors should I start with?
Two or three colors is usually a good starting point for beginners. Once your child sorts confidently, gradually add more colors to increase the challenge.
Can I use muffin tins instead of jars?
Definitely! Muffin tins are actually a great option for younger children since there's no slot to navigate. Just place a colored circle in the bottom of each cup.
How do I store the sorting jars between uses?
Keep everything together in a shoebox, basket, or plastic bin. Having it ready to grab means you can pull it out quickly when you need a calm activity.
What if my child dumps out all the jars instead of sorting?
Totally normal, especially for younger toddlers. Let them explore the materials their own way at first. You can gently redirect to sorting, but unstructured play with the buttons has value too.
How long will this activity hold my child's attention?
It varies quite a bit by age and temperament. Some kids will sort for 5 minutes, others for 30. Most children in the 3-4 range tend to stay engaged for 15-20 minutes.
Can siblings of different ages do this together?
Yes! Give younger children larger buttons and fewer colors while older siblings work with smaller buttons or added challenges like counting. They can work side by side at the same station.
Looking for more hands-on activities to keep little ones busy? Check out our Kids Crafts collection for plenty of simple, budget-friendly projects the whole family can enjoy.


