


To set up DIY magnet fishing for kids, you'll need a wooden stick or dowel, string, a small magnet, and paper fish with paper clips attached. Tie the string to your stick, secure a magnet to the other end, create colorful fish with metal clips near the mouth, and drop them in a container for your little ones to "catch." The whole project typically takes about 30–45 minutes and costs well under $10 using materials you likely already have at home.
This simple activity combines fine motor skill development, hand-eye coordination practice, and the pure joy of "catching" something: all without leaving your living room. Kids tend to play with their magnet fishing setup for weeks after making it, which makes this one of those crafts that keeps on giving.
Quick Facts
| Detail | Info |
|---|---|
| Best Ages | 2–7 years (with varying levels of help) |
| Time to Make | 30–45 minutes |
| Play Time | Hours across many days |
| Total Cost | Usually under $5 |
| Skill Level | Easy for adults, fun for kids |
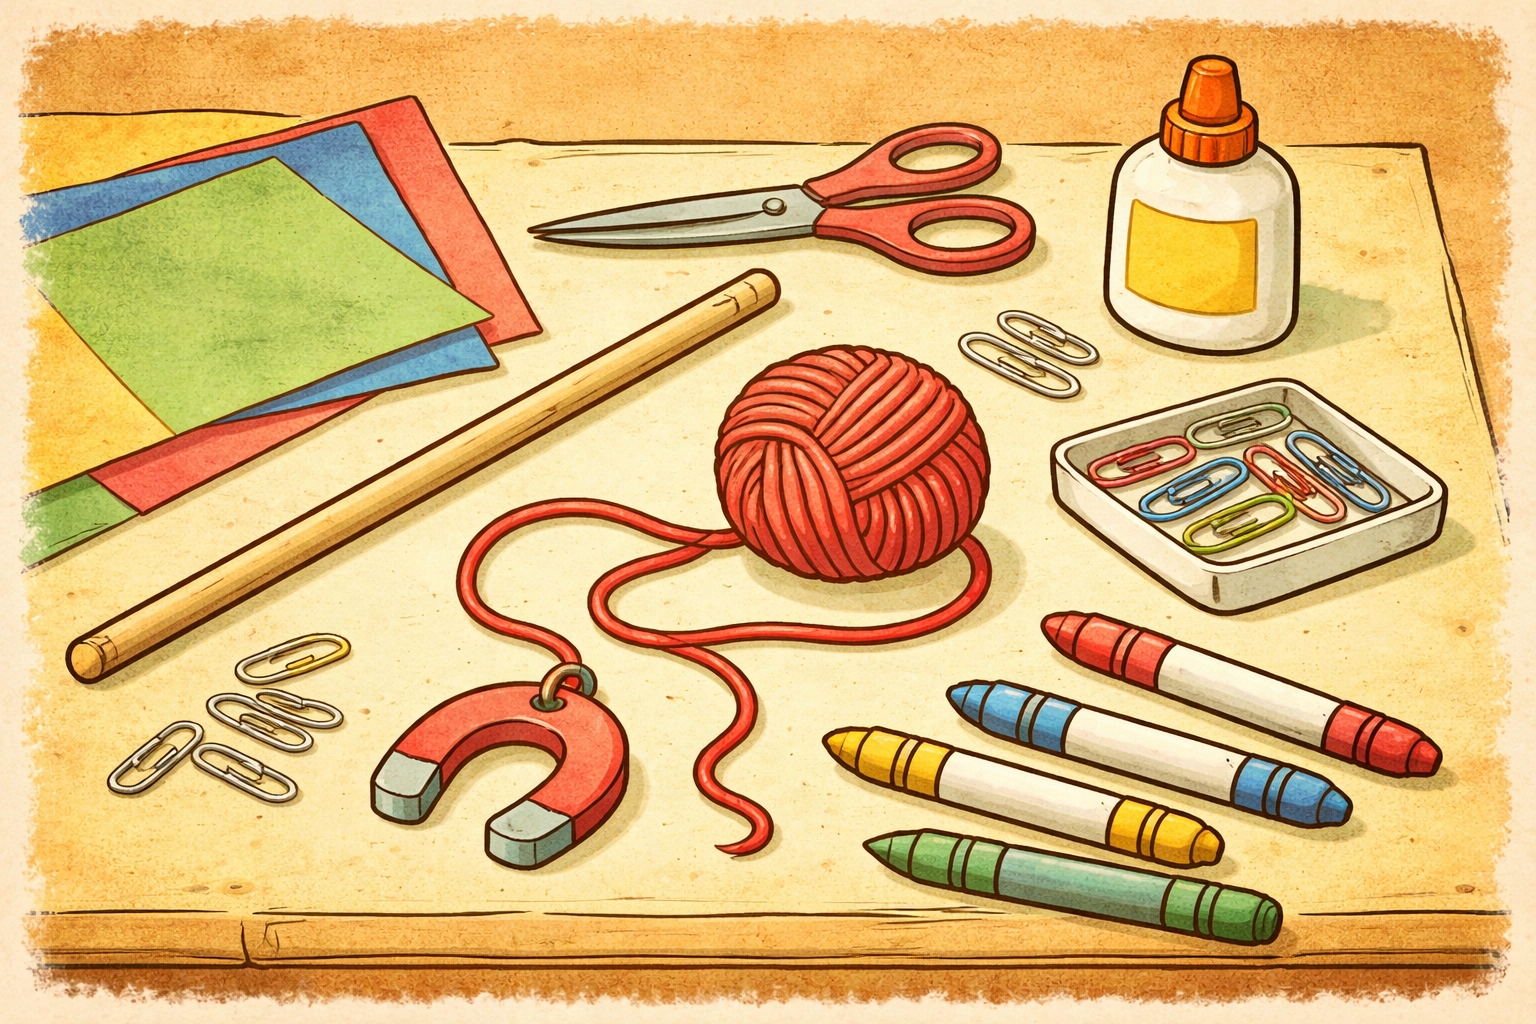
What You'll Need: Materials List
Here's everything you'll need to get started. Most families find they already have at least half of these items tucked away in a junk drawer or craft bin.
| Material | Purpose | Estimated Cost |
|---|---|---|
| Wooden dowel, stick, or chopstick | Fishing pole handle | Free–$1 |
| String, yarn, or ribbon (12–18 inches) | Fishing line | Free–$1 |
| Small magnet (craft magnet or refrigerator magnet) | The "hook" | $1–$2 |
| Construction paper, cardstock, or foam sheets | Fish bodies | $1–$2 |
| Paper clips (metal, not plastic-coated) | Makes fish magnetic | Free–$1 |
| Scissors | Cutting fish shapes | On hand |
| Markers, crayons, or colored pencils | Decorating | On hand |
| Hot glue gun or strong craft glue | Securing connections | On hand |
| Optional: googly eyes, stickers, glitter | Extra decoration | $1–$2 |
Total estimated cost: $3–$8
Age Guide: Who Enjoys This Most?
Toddlers (ages 2–3): They'll need help making everything, but the actual fishing part? Pure magic. Keep the string short (around 6 inches) so they can manage the pole without getting tangled. Expect lots of excited squealing.
Preschoolers (ages 3–5): This is the sweet spot. Kids this age can help cut simple fish shapes, decorate with supervision, and fish independently for surprisingly long stretches. They often start making up elaborate stories about their catches.
Early elementary (ages 5–7): Older kids can handle most of the construction themselves and often want to add educational elements like numbered fish for math practice or letter fish for spelling games.
Step-by-Step: Building Your Fishing Pole
Step 1: Gather Your Pole Materials
Find a sturdy stick for your fishing rod. A wooden dowel from the craft store works great, but so does a chopstick, an unsharpened pencil, or even a sturdy cardboard tube. Aim for something about 10–12 inches long that fits comfortably in small hands.
Step 2: Cut and Attach the String
Cut a piece of string, yarn, or ribbon somewhere between 6 and 12 inches long. Shorter strings work better for younger kids: they stay focused on fishing rather than accidentally lassoing the family cat.
Tie one end securely to your stick using a simple knot. If you're worried about it slipping, add a dab of hot glue over the knot to lock it in place.
Step 3: Secure the Magnet
This is the trickiest part, but still pretty straightforward. Tie or glue your magnet to the free end of the string.
A few options that work well:
- Magnets with holes: Simply thread the string through and knot it
- Flat magnets: Hot glue the string directly to the magnet's surface
- Two thin magnets: Sandwich the string between them and glue together
Test your connection by dangling the pole and giving it a few wiggles. You want that magnet staying put.

Step-by-Step: Creating Your Fish
Step 1: Draw and Cut Fish Shapes
Draw simple fish outlines on your construction paper, cardstock, or foam sheets. Don't stress about artistic perfection: blobby fish catch just as well as Pinterest-worthy ones, and kids honestly prefer the goofy-looking ones anyway.
Cut out your fish shapes. For younger helpers, you might pre-draw the outlines and let them do the cutting (with kid-safe scissors), or cut the shapes yourself and hand them over for decorating.
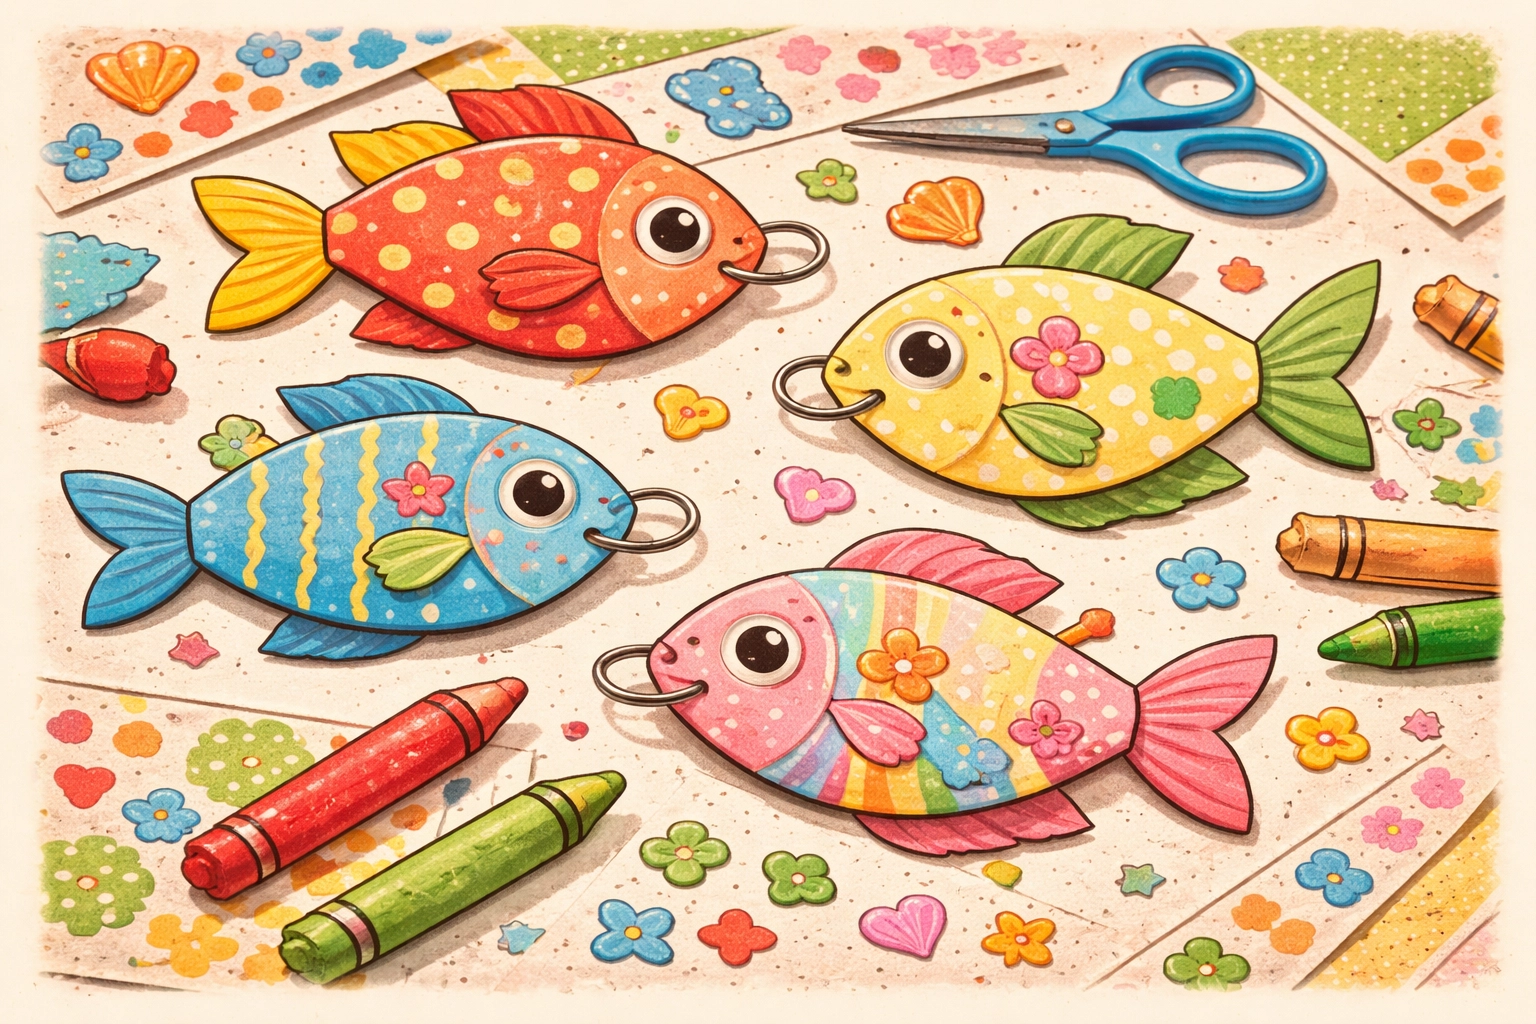
Step 2: Decorate Your Catch
This is where kids really shine. Set out markers, crayons, stickers, googly eyes, or whatever craft supplies you have available. Let them go wild decorating each fish.
Some families like to add:
- Numbers for counting practice
- Letters for alphabet games
- Different colors for sorting activities
- Silly faces for pure entertainment
Step 3: Add the Paper Clips
Here's the key step that makes the whole thing work. Slide a metal paper clip onto each fish, positioning it near the "mouth" area. This gives kids a target to aim for and makes the catching motion feel more realistic.
For extra durability, add a dot of glue to keep the paper clip from sliding around. If you're using foam sheets, you might need to poke a small hole first.
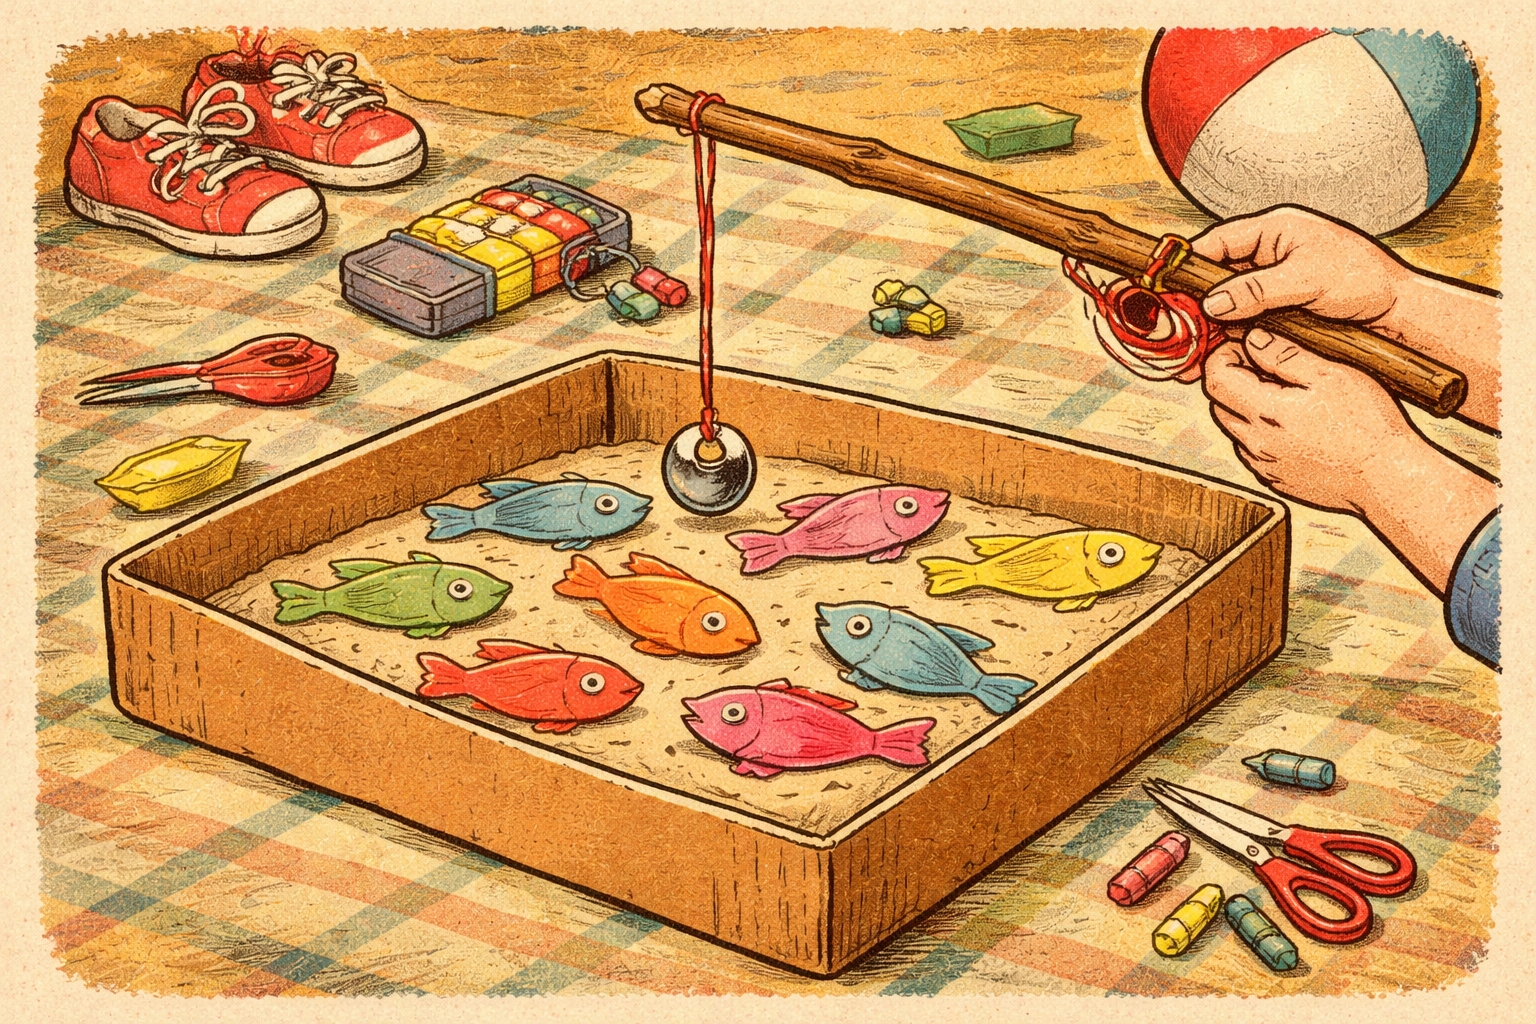
Setting Up Your Fishing Spot
You'll need some kind of container to hold your fish. Great options include:
- A shallow cardboard box
- A plastic storage bin
- A large mixing bowl
- A cookie sheet with raised edges
- Even a hula hoop laid flat on the floor
Scatter your decorated fish inside, paper-clip side up, and hand over the fishing pole. Watch the concentration (and celebration) begin.
Tips for Success
Keep backup fish handy. Paper fish tend to get loved to death after a few days of enthusiastic play. Having a few extras ready saves tears.
Try themed fish. Make seasonal versions: orange fish for fall, heart-shaped fish for Valentine's Day, or spooky fish for Halloween. It keeps the game fresh without buying anything new.
Add challenge levels. For older kids, try smaller fish, longer strings, or fishing while standing on one foot. They'll come up with their own ridiculous challenges too.
Store it simply. Everything fits nicely in a gallon zip-lock bag or small shoebox. The fishing pole might need to poke out, but the fish and extra clips store flat.
Educational Bonus Ideas
Once you've got the basic game down, you can sneak in some learning:
- Number recognition: Write numbers on fish and have kids catch them in order
- Color sorting: Make fish in different colors and sort the catch into piles
- Letter matching: Create uppercase and lowercase pairs to match
- Simple math: Add numbers to two fish and add them together after catching
- Sight words: Write common words on fish for reading practice
Kids rarely realize they're learning when they're having this much fun.
Frequently Asked Questions
What age is magnet fishing appropriate for?
Most children between ages 2 and 7 enjoy this activity, though the level of help needed varies. Toddlers need full supervision and assistance, while kids ages 5 and up can often play independently.
What kind of magnet works best for this project?
Small craft magnets, refrigerator magnets, or magnetic strips all work well. You don't need anything particularly strong: the paper clips are lightweight and easy to attract.
How do I keep the paper clips from falling off the fish?
A small dab of hot glue or strong craft glue over the paper clip helps it stay attached even with enthusiastic play. For foam fish, you can also slide the clip through a small slit.
Can I make this activity waterproof for actual water play?
Yes! Use foam sheets instead of paper, seal everything with clear packing tape, and make sure your magnets are coated or waterproof. The fish will float, adding another fun dimension.
How long does a homemade magnet fishing game typically last?
With reasonable care, the fishing pole can last for months. The paper fish usually need replacing every few weeks depending on how often kids play.
What if my child gets frustrated trying to catch fish?
Start with a very short string (6 inches or less) and larger fish with big paper clips. Success builds confidence, and you can gradually increase the challenge as their skills improve.
Are there any safety concerns I should know about?
Small magnets can be a choking hazard for children under 3, so supervise closely. Also, keep strong magnets away from electronics and credit cards.
How can I make this more challenging for older kids?
Try smaller fish, longer fishing lines, multiple fish to catch in sequence, or time challenges. You can also have them fish with their non-dominant hand.
Looking for more hands-on activities to keep little ones busy? Check out our full collection of kids crafts for dozens of ideas that work for real families.


