


Color-mixing zip bags teach preschoolers how primary colors combine to create secondary colors through hands-on, mess-free sensory play. By sealing paint or colored gel inside a plastic bag and taping it shut, children can squish, swirl, and blend colors without getting paint on their hands, clothes, or your kitchen table. It's one of the simplest ways to introduce color theory to young learners while keeping cleanup to a minimum.
At a Glance
| Detail | Info |
|---|---|
| Recommended Age (Skill) | 3–4 years old (with help sealing the bag) |
| Recommended Age (Enjoyment) | 2–6 years old |
| Setup Time | About 5 minutes |
| Play Time | 10–30 minutes (varies by child) |
| Budget | $0–$3 |
A note on age: Some sources suggest ages 4 and up work best for reduced mess, but we recommend trying this with 3–4-year-olds as long as you tape the bag securely. Younger toddlers (around age 2) can enjoy this activity with close supervision, though they may need extra reinforcement on the seal.
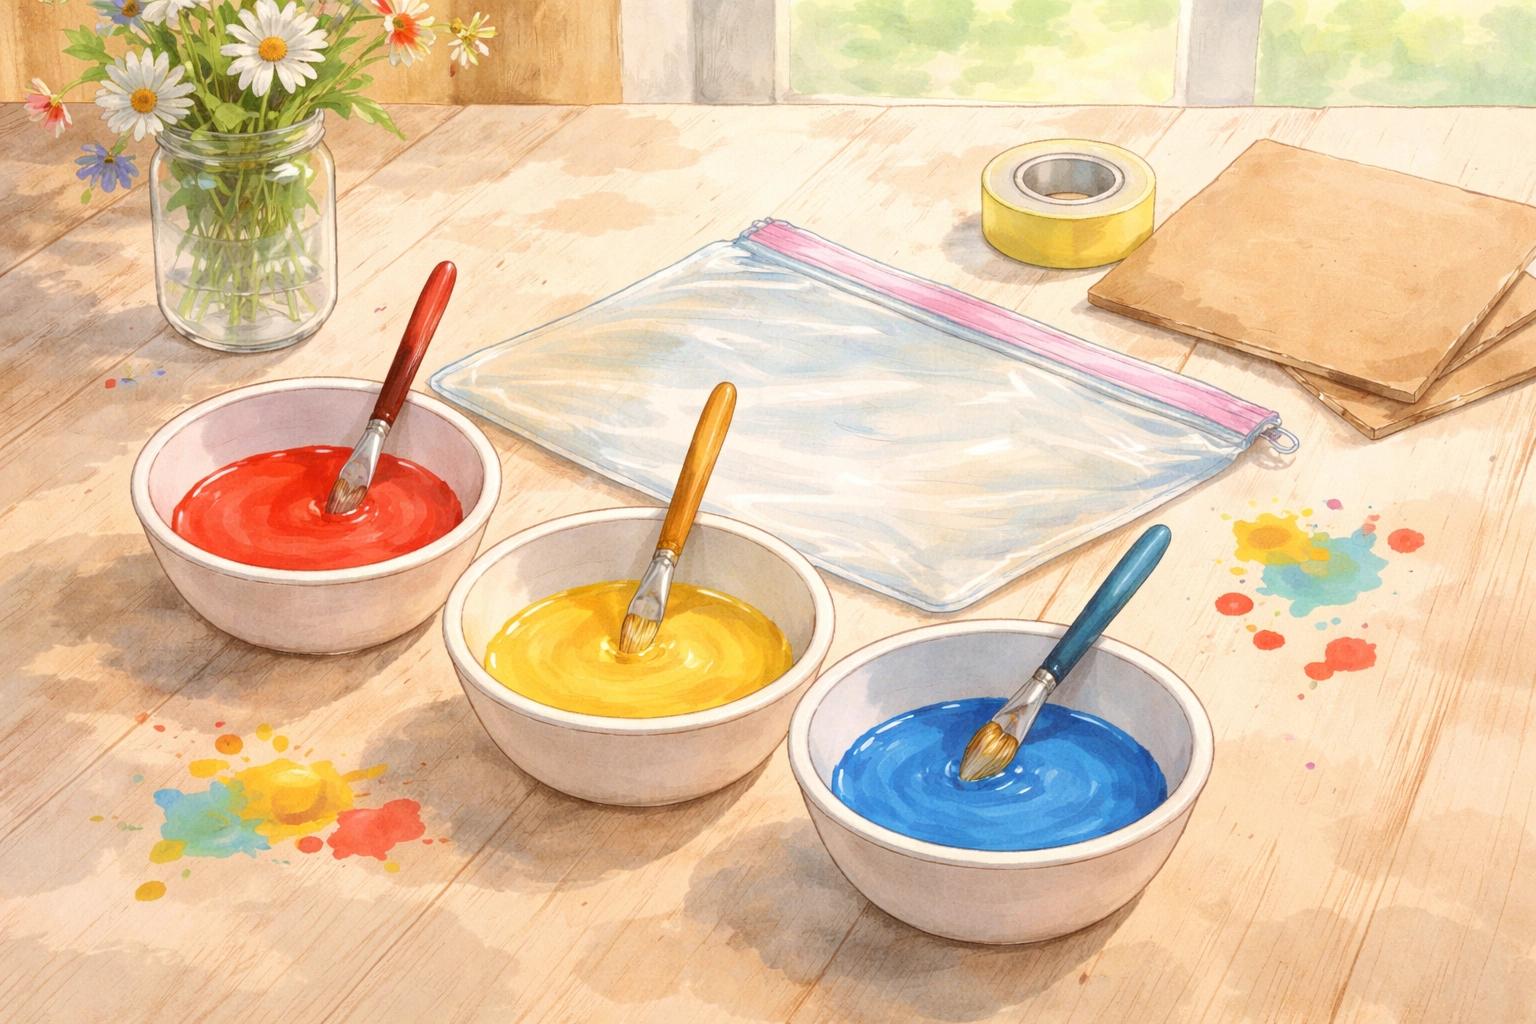
What You'll Need
Here's a quick materials list with estimated costs. If you have washable paint and zip bags at home, this project can cost nothing at all.
| Material | Likely Have at Home? | Estimated Cost (If Buying New) |
|---|---|---|
| Quart or gallon-sized zip-lock freezer bags (1–3) | Often | $0–$1 |
| Washable paint (2–3 primary colors) | Sometimes | $0–$2 |
| Strong packing tape or painter's tape | Often | $0 |
| Optional: Cardstock or cardboard backing | Often | $0 |
| Optional: Hair gel or flour mixture as alternative base | Sometimes | $0–$1 |
Total estimated cost: $0 if using household supplies, up to about $3 if purchasing everything new.
Step-by-Step Instructions
Step 1: Choose Your Base
You have a few options for what goes inside the bag:
- Washable paint – The classic choice. Use two primary colors (red and yellow, blue and yellow, or red and blue) to demonstrate mixing.
- Hair gel with food coloring – Creates a smoother, slower-moving medium that many kids find satisfying. Use about 3–4 ounces of clear hair gel and add drops of food coloring.
- Flour mixture – Combine 1 cup flour, 2 cups water, and 1 tablespoon salt until it reaches a thick pancake-batter consistency. Add food coloring to separate bowls before filling bags.
For most families, washable paint is the easiest starting point since you likely have some on hand.
Step 2: Add Paint to the Bag
Open your zip-lock bag and squeeze or spoon in two dollops of primary-colored paint. Place them on opposite sides or corners of the bag so there's room for mixing in the middle.
A few tablespoons of each color is usually plenty. You don't need much: too much paint can make the bag harder to seal and more likely to leak.
Step 3: Remove Air and Seal
Gently press out as much air as possible before sealing the zip-lock closure. This helps the bag lay flat and makes squishing easier.
Step 4: Tape It Shut
This is the step that makes or breaks the mess-free promise. Run a strip of strong packing tape or painter's tape along the entire sealed edge of the bag. Some parents prefer to double up on tape or even use a second bag as an outer layer for extra protection.
If you're using this with a 2- or 3-year-old, the tape reinforcement is especially helpful since little hands can sometimes pop open zip closures.
Step 5: Squish and Explore
Lay the sealed bag flat on a table, tray, or the floor. Invite your child to press, poke, and squish the bag to move the colors around. As the two colors meet in the middle, they'll blend into a new secondary color.
Ask questions like:
- "What do you think will happen when the red touches the yellow?"
- "Can you push the blue toward the yellow and see what happens?"

Tips for a Smoother Experience
Use freezer bags over regular storage bags. Freezer bags tend to be thicker and more resistant to punctures or bursting at the seams.
Consider a cardboard backing. Sliding a piece of cardstock or thin cardboard behind the bag gives it extra structure and can make the activity easier for smaller hands to manage.
Start with two colors, not three. While it's tempting to throw all three primary colors in at once, the result can quickly turn into a muddy brown or gray. Sticking to two colors at a time helps kids see the color transformation more clearly.
Don't overfill. A thin layer of paint spreads better and is easier to manipulate than a thick glob in the center.
Learning Extensions
Once your child has explored basic color mixing, here are a few ways to extend the activity:
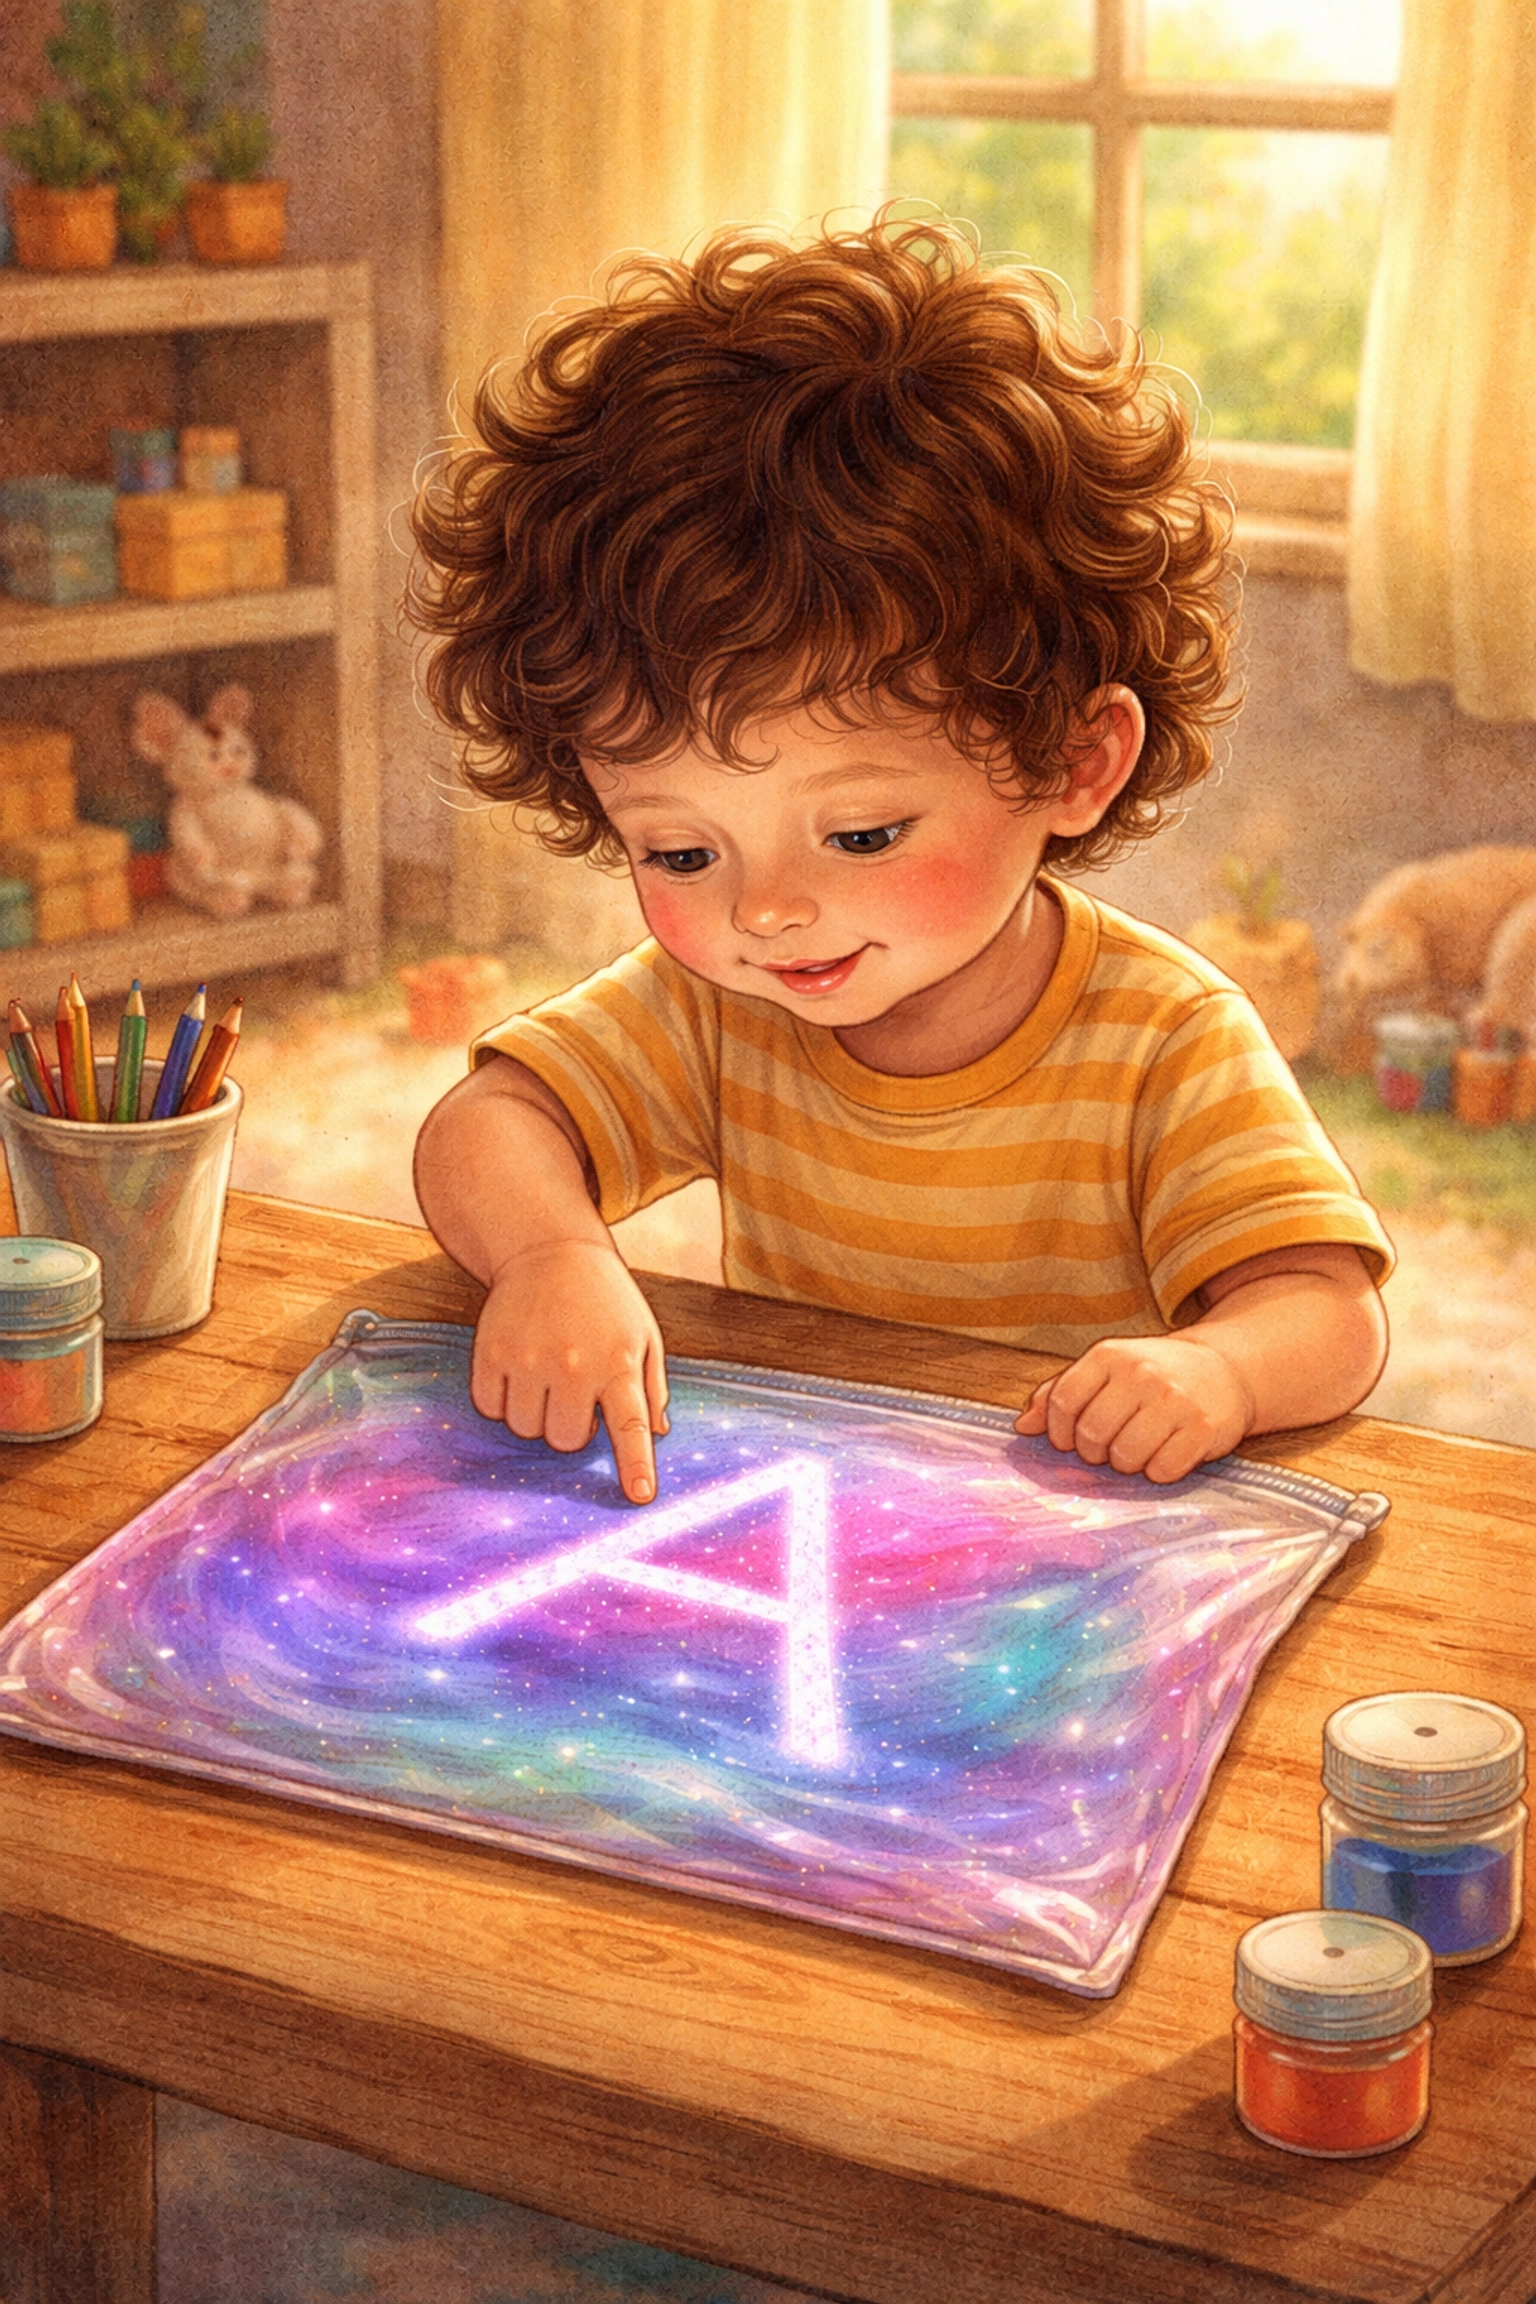
Practice Pre-Writing Skills
Have your child use their finger to "draw" shapes, letters, or numbers in the paint through the bag. The resistance of the paint provides sensory feedback that can help with motor control.
Color Matching Game
After creating orange, green, or purple, go on a quick hunt around the house to find objects that match the new color they made.
Predict and Record
For older preschoolers (ages 4–5), try a simple prediction chart. Before squishing, ask them to guess what color they'll create. After, compare their guess to the result.
Create Patterns
Encourage kids to make stripes, swirls, zigzags, or other patterns in the bag. This adds a creative element beyond just mixing.
What Colors Can You Make?
Here's a quick reference for primary color combinations:
| Colors Mixed | Result |
|---|---|
| Red + Yellow | Orange |
| Blue + Yellow | Green |
| Red + Blue | Purple |
If your child mixes all three primaries together, they'll likely end up with a brownish or grayish shade: which is a great opportunity to talk about what happens when too many colors combine.
Cleanup and Storage
One of the best parts of this activity is how little cleanup is involved. When your child is done:
- Check the tape seal to make sure nothing leaked.
- If the bag is intact, you can store it flat in a drawer or bin for future use. Hair gel and flour-based versions tend to last longer than paint for repeated play.
- If the paint has dried or the bag is damaged, toss it and make a fresh one next time.
The gel-based version, in particular, can be reused for several sessions if stored properly.
Troubleshooting Common Issues
The bag leaked.
This usually means the seal wasn't reinforced enough or the bag was overfilled. Next time, use more tape and less paint.
The colors turned brown too fast.
This happens when kids mix too vigorously or when three colors are used at once. Try starting with just two colors and encouraging slower, more deliberate squishing.
My toddler lost interest quickly.
That's okay. Some children are fascinated for 20 minutes, others for 2. You can bring the bag back out another day: sometimes activities are more appealing the second or third time around.

Why This Activity Works
Color-mixing zip bags hit a sweet spot for early childhood learning. They combine sensory input, cause-and-effect exploration, and basic science concepts in a format that doesn't require constant adult supervision or extensive cleanup. For busy parents, that's a win.
It's also a project you can repeat with different color combinations, or switch up the base material (paint one day, gel the next) to keep things fresh.
Related Projects You Might Enjoy
If your family likes hands-on, low-mess learning activities, check out some of our other DIY projects:
- How Do You Make a DIY Worm Composting Bin with Children
- How Do You Make a DIY Kitchen Scrap Regrow Garden for Under $10 with Your Kids
FAQ
What kind of paint should I use for zip bag color mixing?
Washable tempera or finger paint works best because it has a thick, vibrant consistency that's easy for little fingers to squish around inside the bag.
How do I prevent the bags from leaking?
Using high-quality freezer bags is key because they have stronger seams. For extra security, you can tape the seal shut with duct tape or packing tape.
Can we reuse the bags?
Once the colors are fully mixed, the paint inside will be a single color (like purple or orange). You can squeeze the paint out to use for another project, or simply start fresh with new bags for more mixing fun.
References
- Research on color-mixing zip bag setups using paint, hair gel, and flour-based mixtures
- Guidance on sealing techniques and freezer bag durability for mess-free sensory play
- Educational approaches for teaching color theory to preschool-aged children


